Green & Black: A Graphic Table Setting

To say I was nervous about hosting a small dinner party during the pandemic would be an understatement. I know most people have ventured into this territory many moons ago, but JuanCarlos and I have been super cautious. And rightfully so, since we know plenty of people who have had COVID, some of whom we were attempting to meet with until luckily we found out their positive status prior to gathering. We’ve had a few of those close calls so you can understand our hesitation. Thankfully, everyone we know has recovered and is fine.

With our caution has come both a sense of safety and a deep sense of isolation. Therefore, it was time to step out of our shell, out of fear and into joy again. And so we did. And indeed joy we felt. I spent the day preparing food and thinking about a table setting. (Well, it only took me that long because I had to stop to photograph everything, not because I made a feast.) Even though our dinner party total would only amount to 4, I wanted to make it feel a bit elegant and momentous given it would be the first time I’ve set our dining room table in over 2 years!! It’s the dead of winter here in NY, and the temps have been frightful. I have plenty of tablecloths that evoke Spring and Summer, even Fall vibes. But oddly enough not as many for Winter. I wanted the setting to be appropriate for the temperature but not feel cold.

I settled on a very graphic green and black table cloth that set a strong tone. Next was figuring out all the other elements that would complement without becoming overwhelming. Believe it or not, I had a hard time deciding on what napkin to choose. And that is saying a lot since I have a fairly large collection of napkins.

Please, no judgement. I’ve collected these over the years. And pre-pandemic, we entertained ALOT.

The black napkins seemed like an obvious choice but quite frankly there was plenty of black in the main cloth. Plus they wouldn’t have added anything to the party in the way of color dimension. White was clearly too stark and didn’t blend at all. Orange, as you can see, was way too shocking and garish, and would have been too many strong colors competing. Sometimes choosing a napkin is instantaneous, but this time around it took some thinking.

The orange and white ones felt too harsh of a contrast to me. The black might have worked but just felt Blah.

I landed on a multicolored stripe cotton napkin that softened the tablecloth’s intensity and added a whimsy of muted colors. Even though these napkins tend towards a springtime feel, their tonality was the ideal softening agent. To bridge that creamy base color in the napkins I decided to include a soft beige placemat.

Like Goldilocks and the Bears. This choice felt “just right”.

Since this was not going to be a formal dinner party, but an easy Saturday night with my sister, Alyssa and brother in law, Peter, no charger plates were needed. But a little bling was essential. Choosing white plates with a gold rim would help with that. Now that gold was introduced, adding the votive candle holders that I hand painted would finish off that golden touch.

Yes, those are OUI yogurt jars that I saved and hand painted with gold. I have a ton in silver too. I like how the design works with the movement of the tablecloth. Happy coincidence.

Votives provide a lovely low light glow, but I also like height. Which brings me to the candle sticks. Simple cut glass would add the height I wanted and also some sparkle without pulling attention away from everything else going on. Ugh, but now what color candle stick??? I must be out of entertaining practice because these decisions usual come to me in a flash. However, I do think showing this process helps to serve as a great demonstration of how a simple choice can change a look. And that there are no wrong decisions here. Just preferences. I had several choices; greyish silver, maroony purple, yellowy gold, or green. I chose the yellow gold, but any one of them would have worked just as well.

I might have immediately chosen the green since it was a perfect match, but for some reason I only had one.

Ok,
Tablecloth, check
Napkins, check
Napkin rings, check
Plates, check
Glassware, check
Candles, check
Let’s set a table…

When using placemats, sometimes I like turning them in other direction so they don’t cover as much of the tablecloth.

Gather all your elements. Once you see them all together the picture becomes clearer.

First layer down. I started with all the place settings in the center of the table, but right before our guests arrived I rearranged the seating.

To add some additional height, I went vertical with the napkin. Using a simple napkin ring and pulling the center of the fabric through to create an octopus-like vibe. It’s super simple but makes a visual impact.

This is a simple napkin style. For more options, check out my post entitled: Napkin Folding - 5 Basic Folds - Countless Options

I wasn’t serving any fish or seafood, but I did think the napkin resembled an octopus. It created the height I wanted and was playful.

I love how the whole table came together. It’s elegant but not fussy.

Finish with silver and glass ware, some florals and my first in-house pandemic table setting was in the books.

Some random thoughts:

I absolutely love the movement of this tablecloth. The big, graphic swirls are so eye catching. When you take in the whole print from above, with the flowers perfectly centered, the roots of the tree really come alive.

I also adore the details of this print. Every time I see the figures on this cloth I can’t help but to think of the famous Robin William’s line in The Bird Cage: “Who sets a table and doesn’t look at the bowls?” For those who know and love this movie, no explanation is needed. For those who don’t, I implore you to watch this very funny movie.

I hope this has inspired you to take a chance on setting a table with a super bold, very graphic, intensely strong tablecloth print. With the right complementary elements It can be fun and is sure to make a statement that will impress. The first thing my sister said was, “Wow!” Unlike me, who is clearly very wordy, she is a woman of few words, but in this case, only one was needed.

And in case you were wondering what we served… Here are a few images, and the menu.

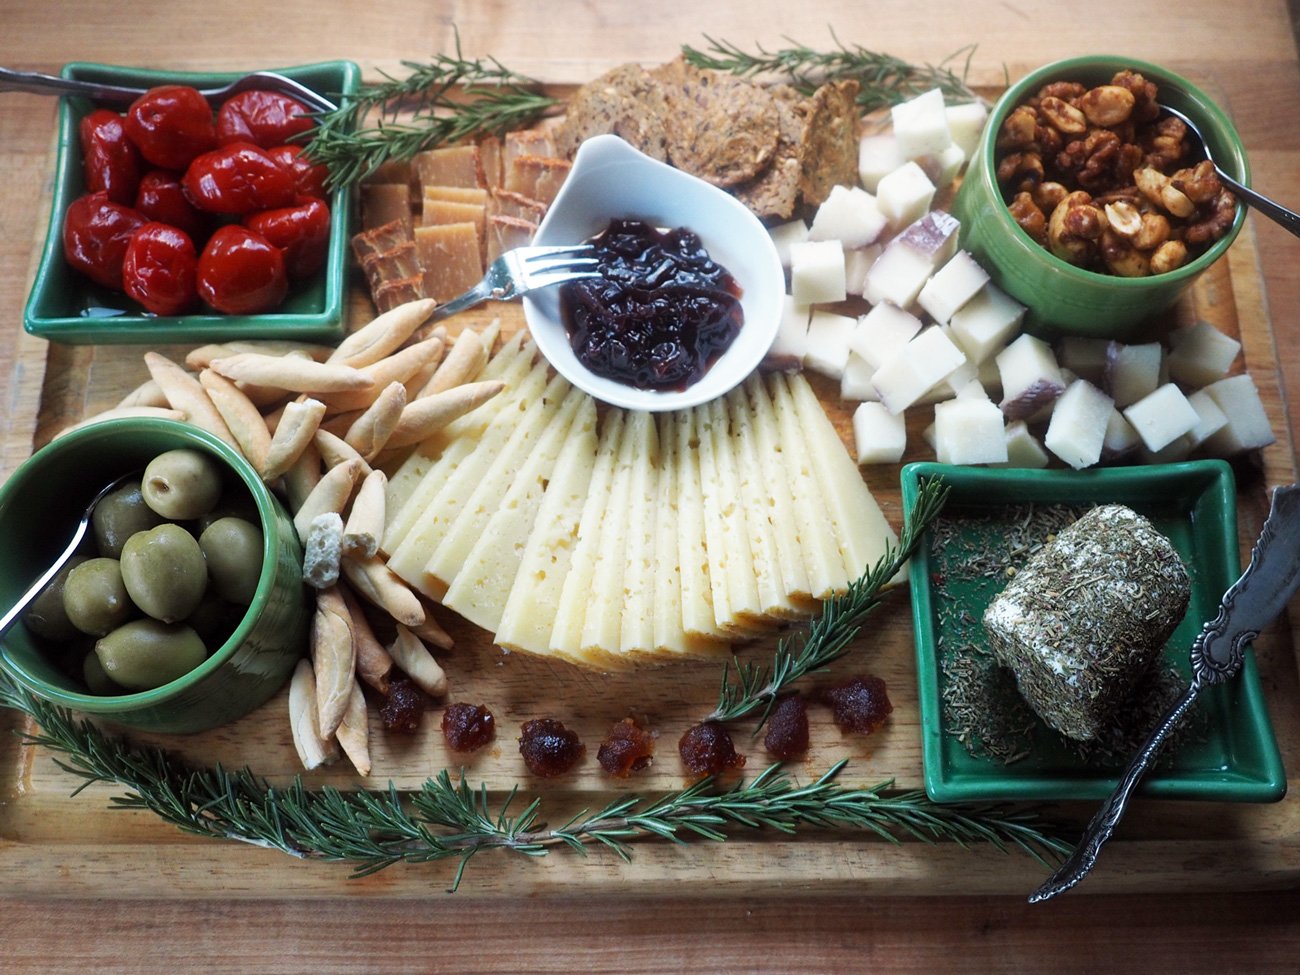
Cheese Board

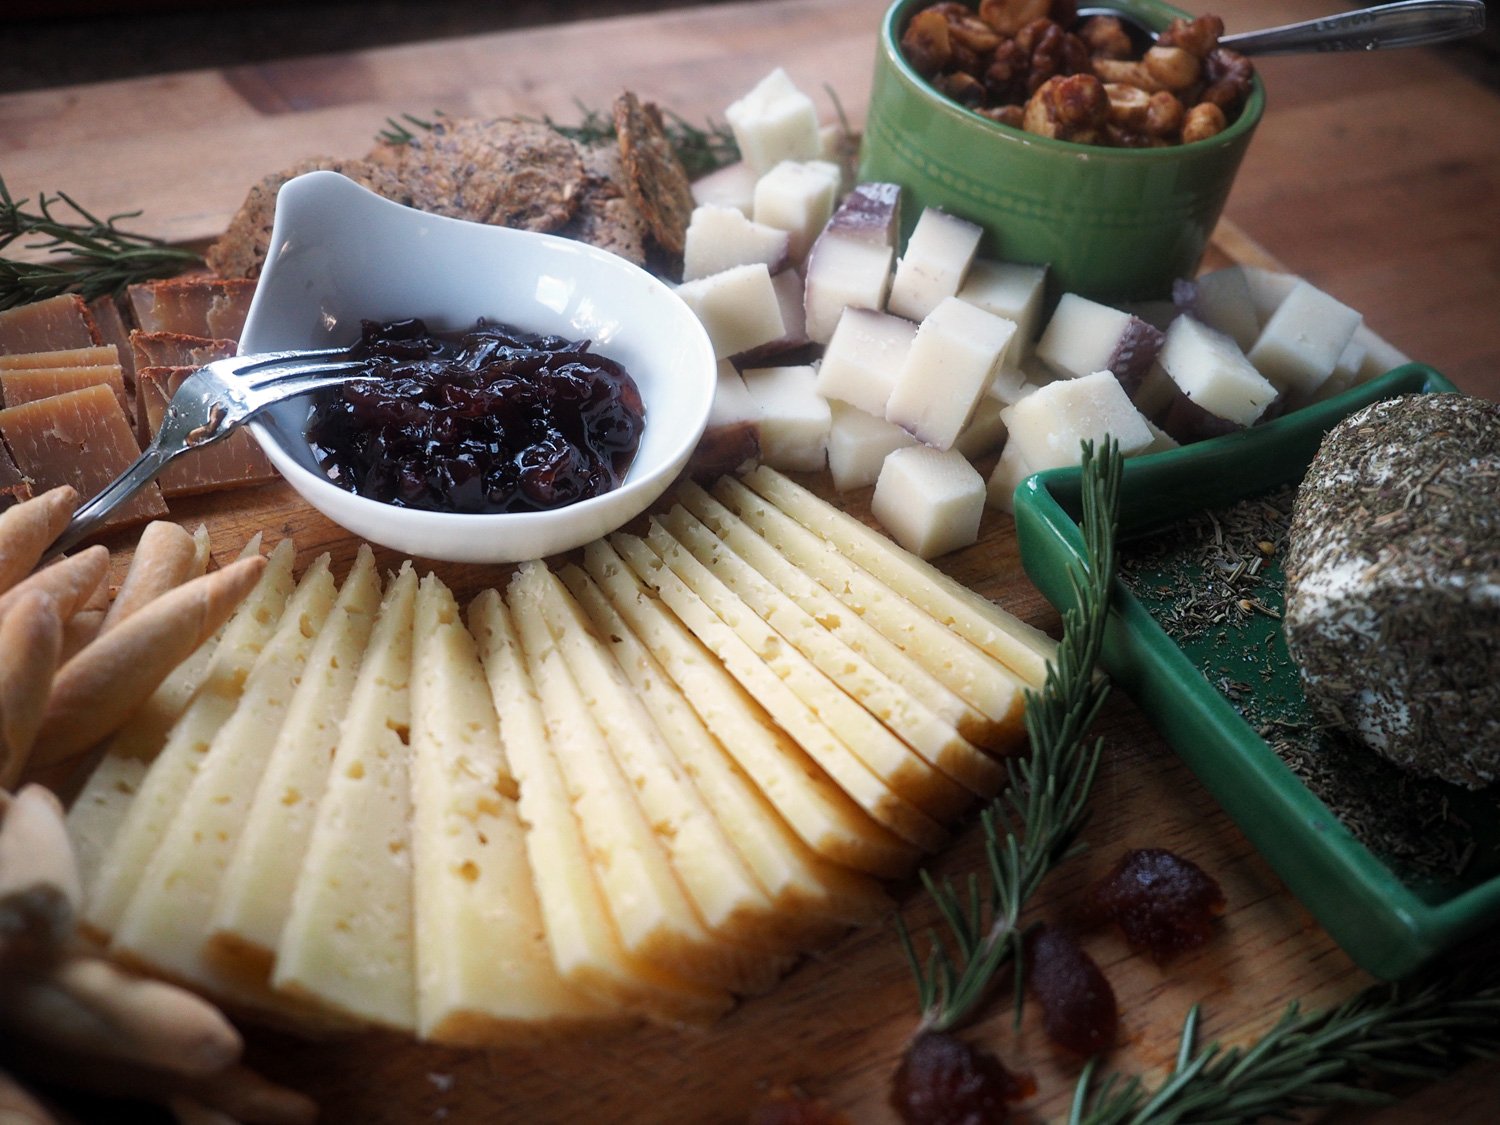
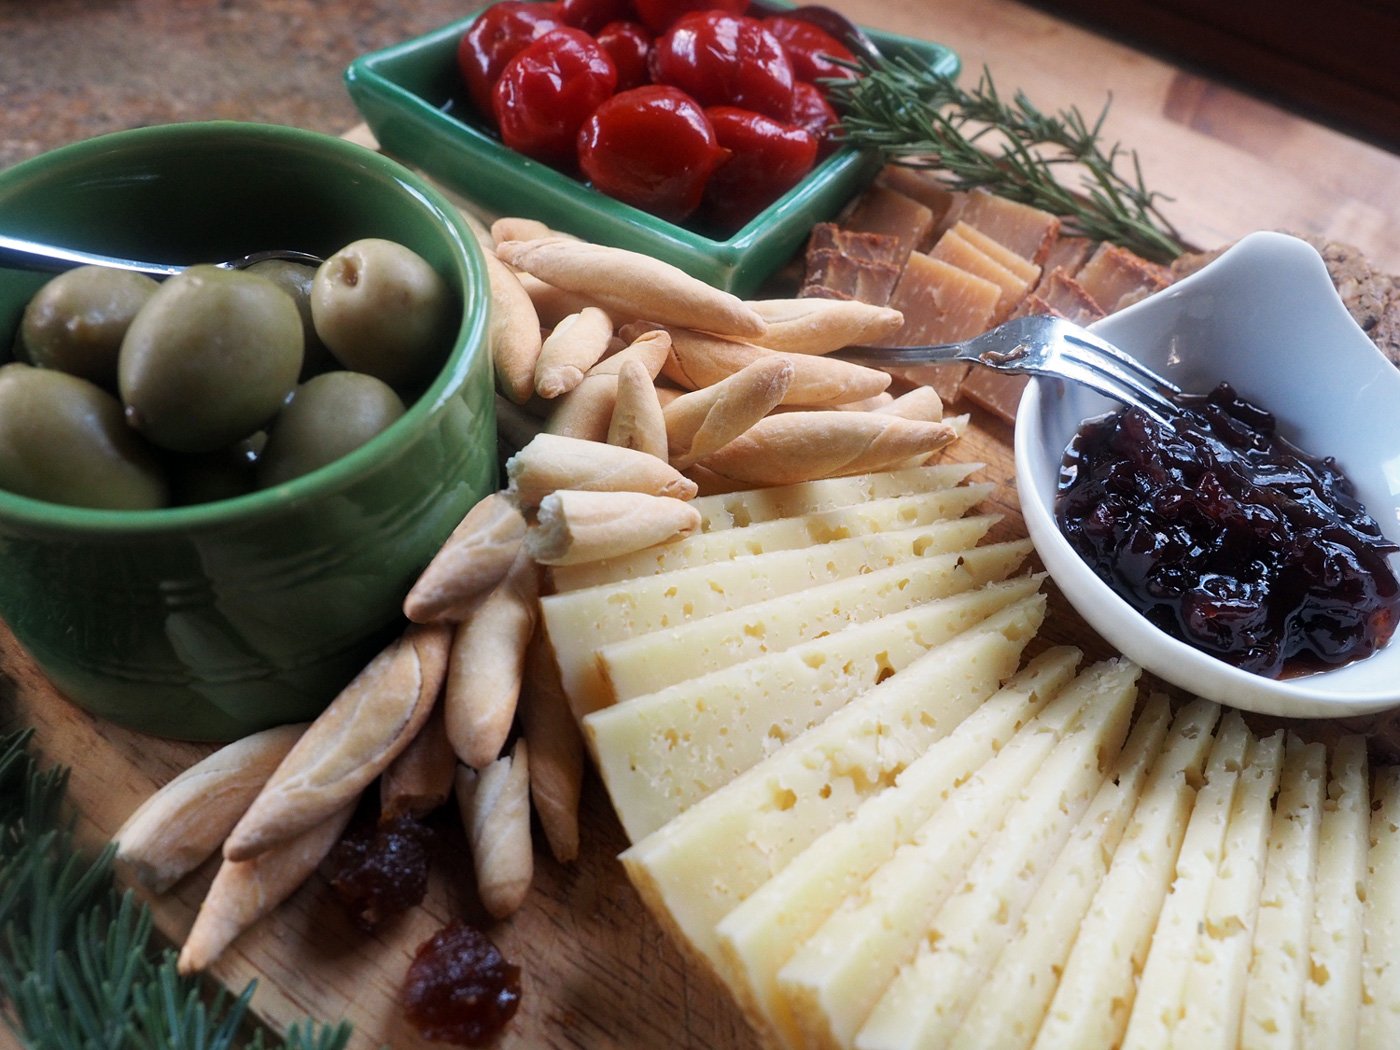
(Hot Peppers, Olives, Mini Bread Sticks, Majorero Pimentón Cheese, Mary’s Gone Crackers, Murcia al Vino Cheese, Dana’s Nuts: Spiced & Candied, Goat Cheese with dried herbs, Jammin’ Onion Jam, Manchego Añejo, Apple Paste)

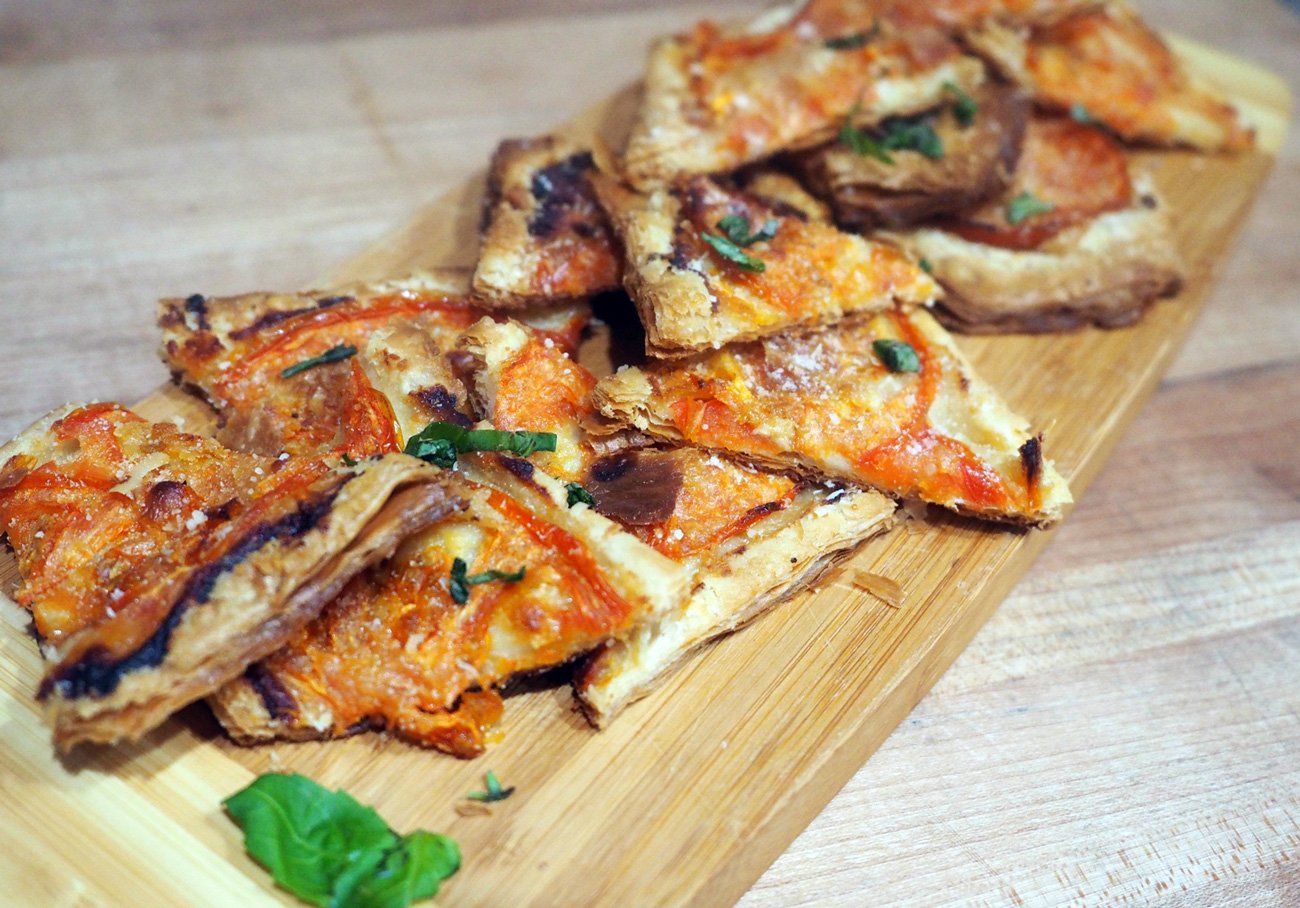
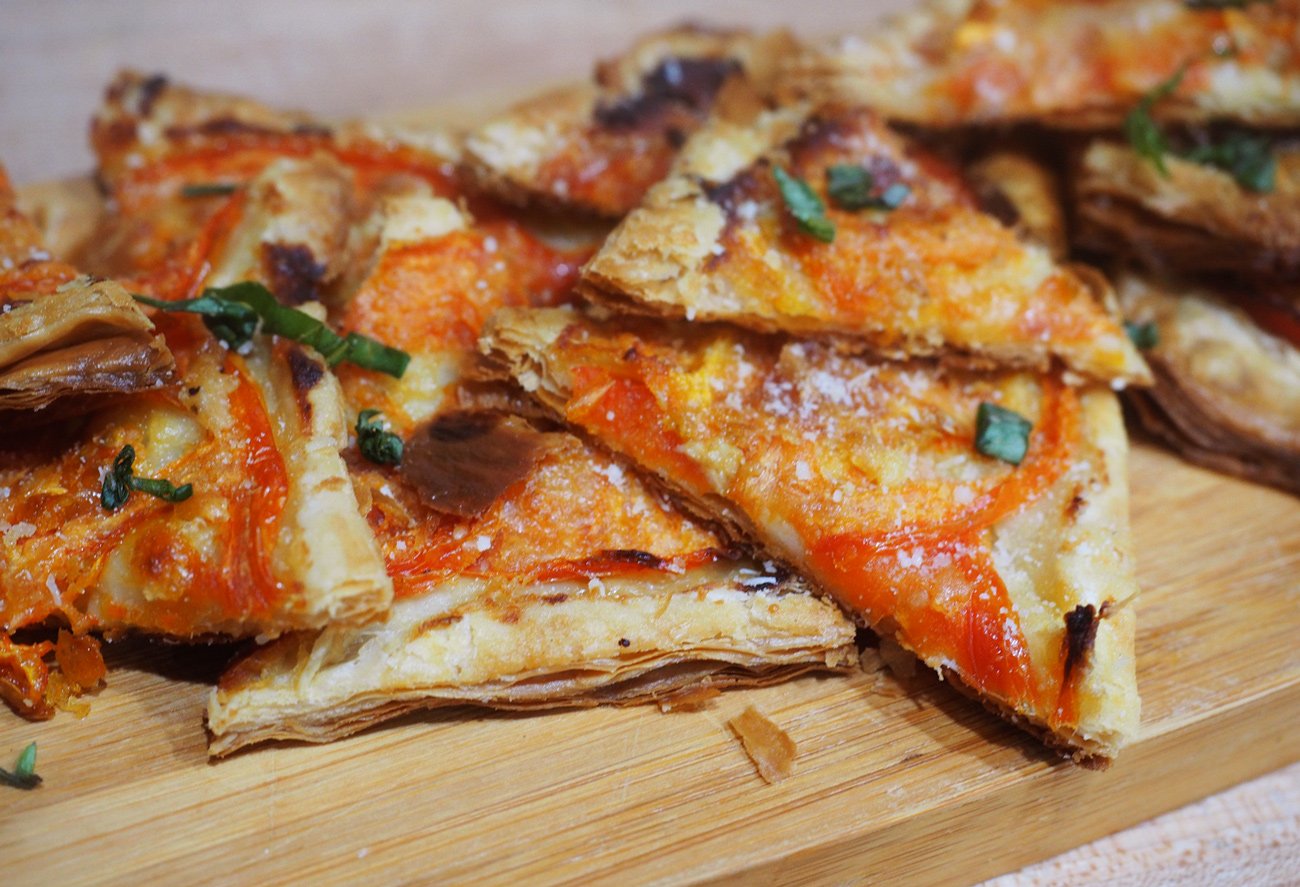
Tomato Tartlet

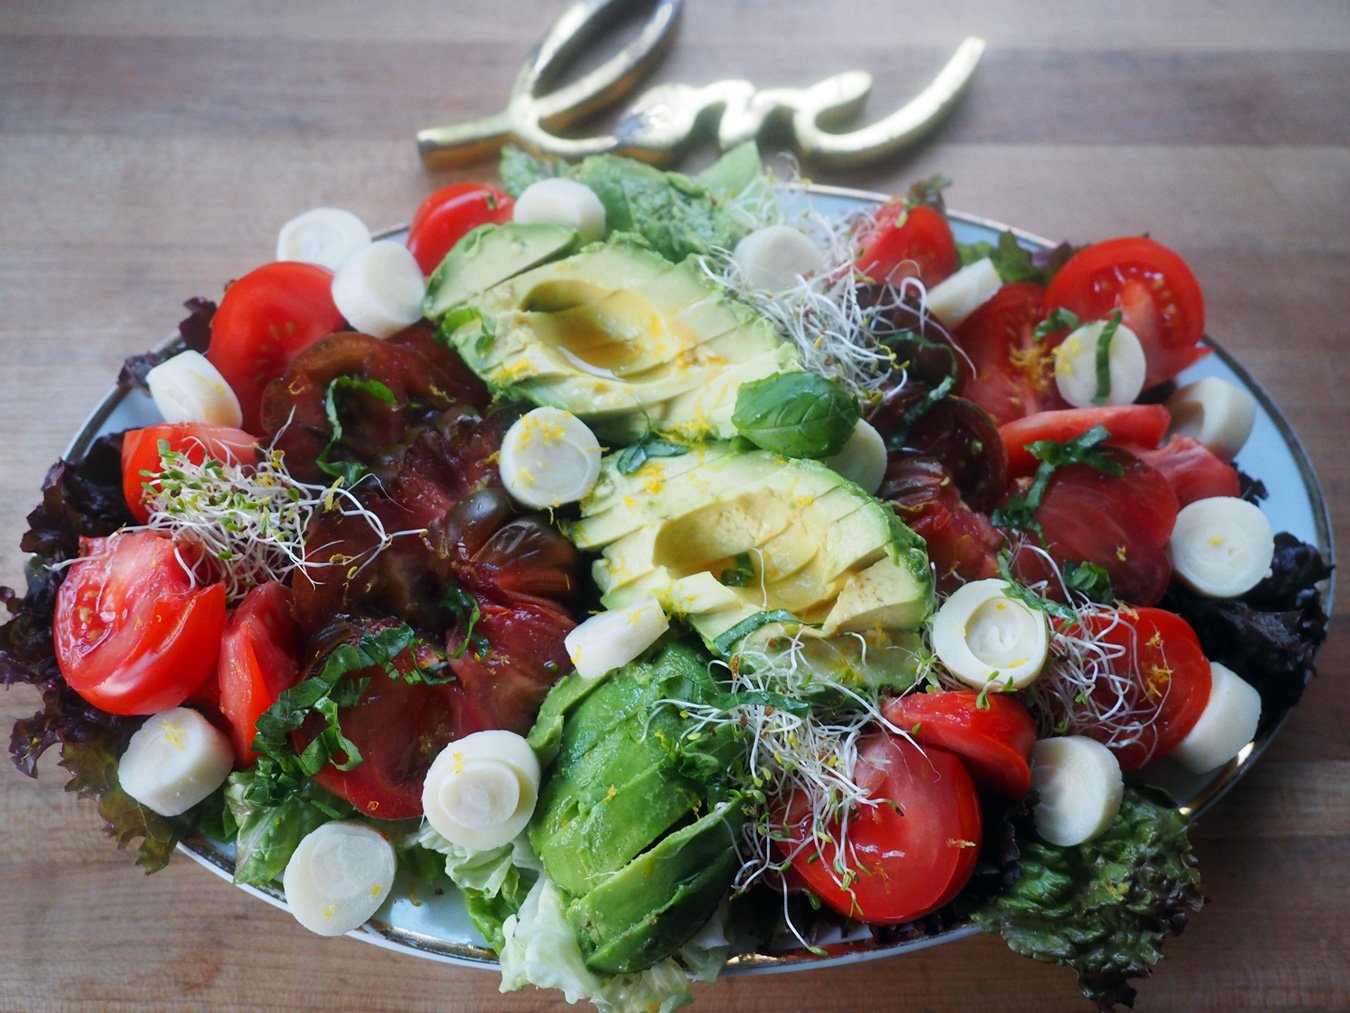
Tomato/Avocado/Hearts of Palm Salad

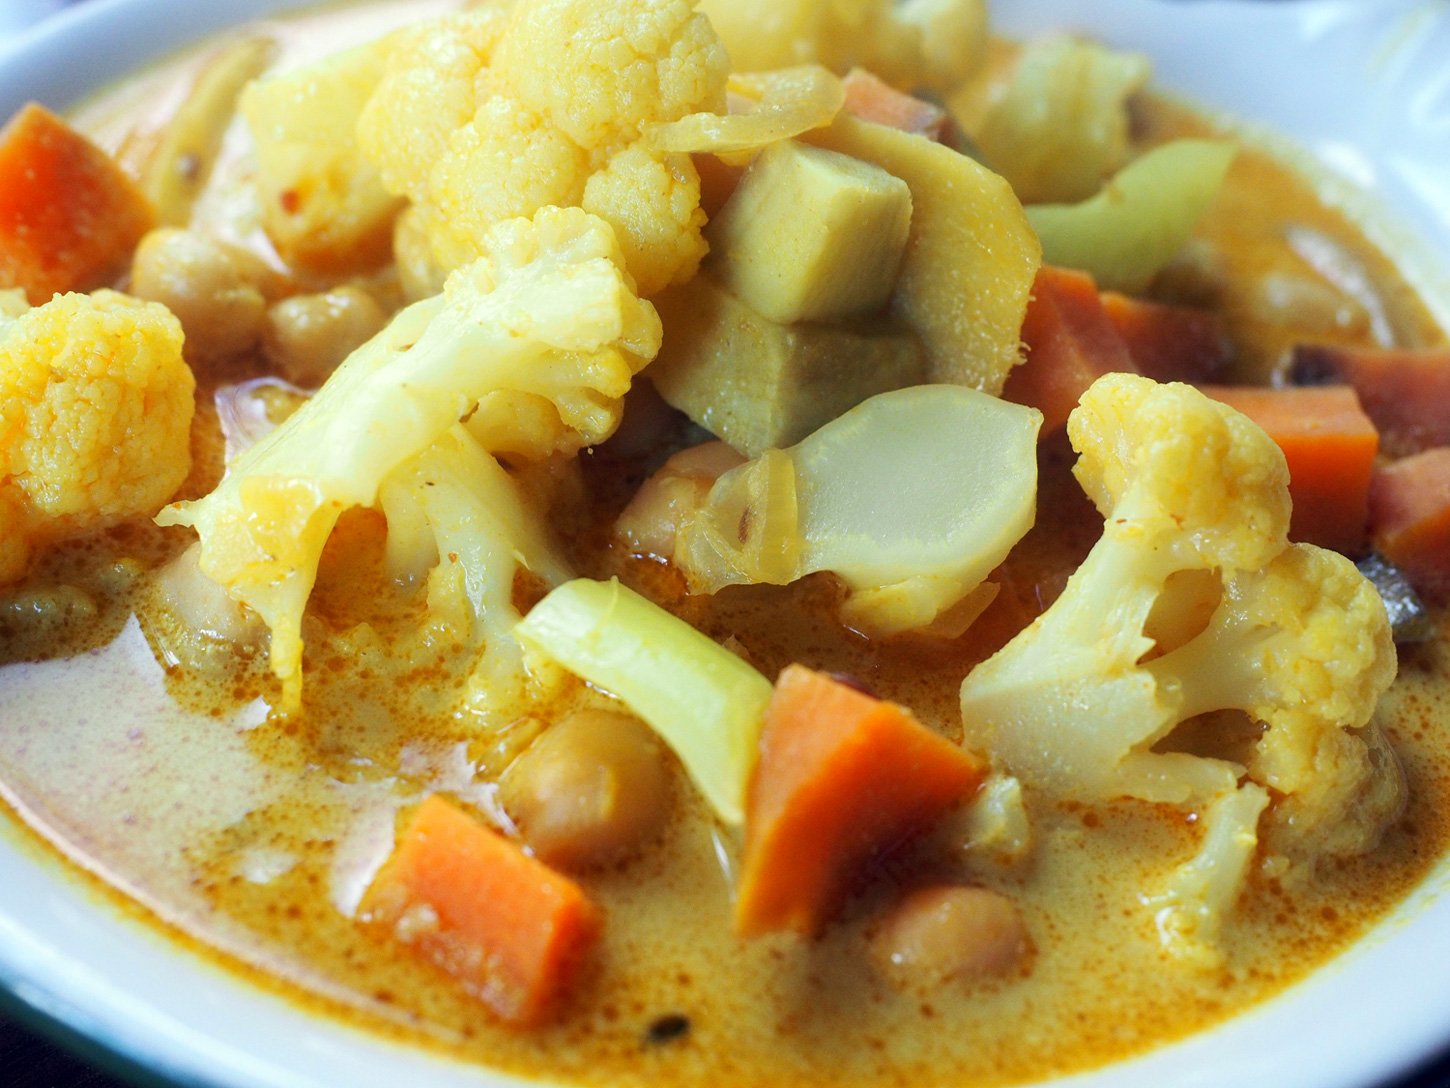
Cauliflower, Sweet Potato & Chick Pea Curry with Basmati Rice

Roasted Spiced Carrots & Onions

Oven Roasted Chicken

Apologizes, I didn’t take photos of the last two items to share.
 

3 Dips a Dipping...

3dips.final.jpg

Life with an obsessive buyer.

Well, I guess that’s the view from hubby, JuanCarlos’, seats. I buy things; be it material scraps, vintage dishes, glassware, and even food ingredients with big ideas. Sometimes with no specific ideas at all, I just love how they look and I’ll figure it out later. Maybe that is what I should have called this blog. Buy it Now - Figure it Out Later.

In the looking good category, I’m often tempted by the olive bar at specialty stores. Or the condiment and cheese aisles. Who wouldn’t? They are stocked with alluring foods. So, it’s no wonder that when you open my fridge you will encounter jars and containers of what JC likes to call stragglers. Annoying stragglers, to be exact. We differ greatly in our view points. I love having these food items around because they come in handy in a pinch. On the flip side, my husband finds these types of jars, containers and “dangling participles’ quite annoying. The main reason: he doesn’t have much use for these ingredients, hence the questioning as to why we need so many of them. Which often leads to him needing to shift, maneuver around and rejigger them in the fridge. Of course, I see the absolute need for these, but I’m willing to consider his point of view; me as condiment hoarder for the ‘just in case’ moment.

In an effort to keep the peace around the holidays (at least that is what I’m telling him), I decided to make him happy and clean the fridge from condiment craze. Yet, we all know the real reason. I’m a serial something from nothing, experimentalist. I can’t help myself from looking at ingredients and seeing what they could be. And what perfect timing, as we look down the barrel of the final few holiday parties and gatherings left in the year, a trio of dips comes in handy. Dips are not just useful for dipping, but great to spread on sandwiches, or on the base of pizza or stuffed breads, dollop on a salad or tacos, or dang near anything else you can think of.

main.setup.jpg

Here are 3 dips for dipping. Or spreading or whatever you want to name them, for use in whatever way you choose.


Avocado & Sour Cream Dip

Ingredients
1/2 c avocado, cubed
1/2 c sour cream
1/4 c scallions + 1 T for topping
1 garlic clove, rough chop
1 T parsley
1 t lemon juice
1/2 t salt
1/4 t pepper

avo.setup.jpg

Instructions
In a mini blender, buzz up the parsley, scallions and garlic first. Then add the avocado and sour cream. Add lemon juice, salt and pepper. Buzz again and taste for seasoning. Easy, breezy.

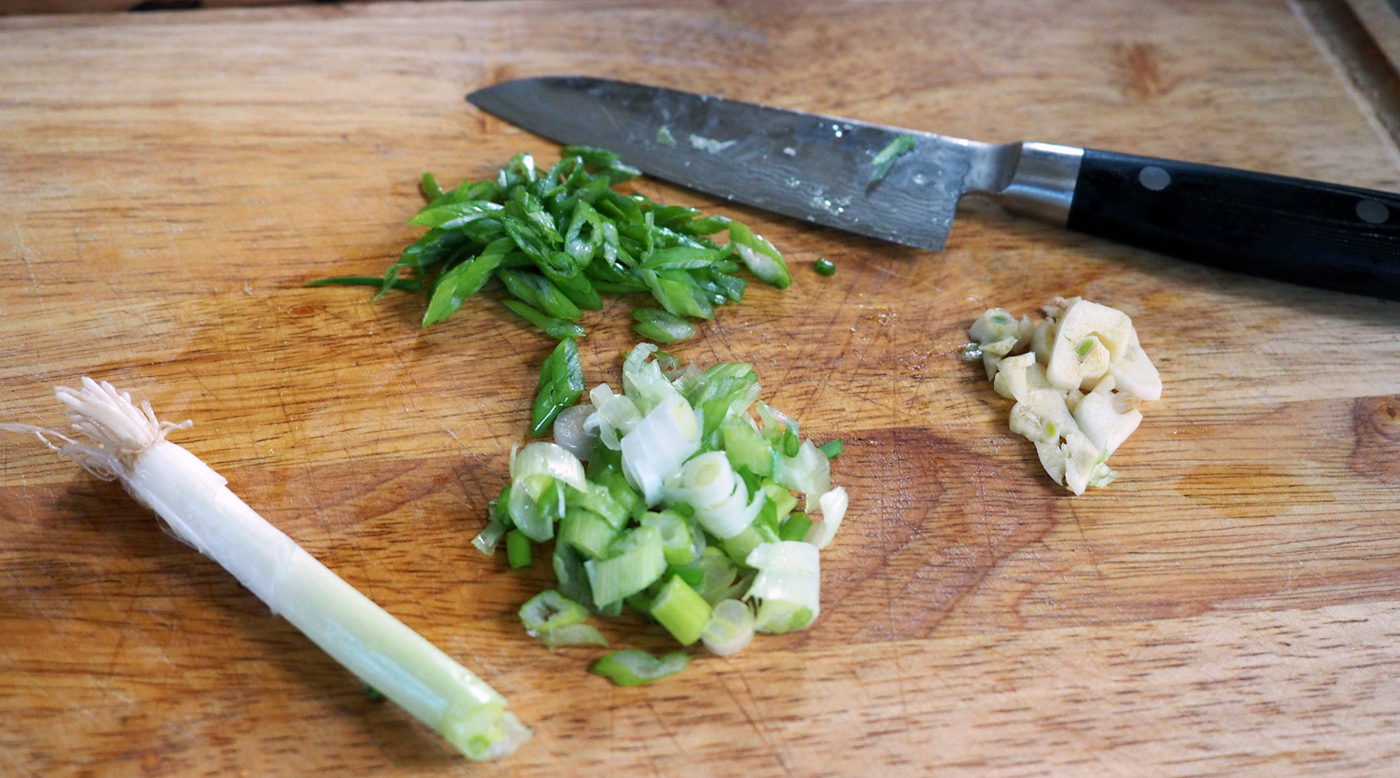
Chop up the scallions and garlic first. It helps to blend them up better.

Chop up the scallions and garlic first. It helps to blend them up better.

Chunks of avocado give it a creaminess.

Chunks of avocado give it a creaminess.

Fresh parsley and lemon give this dip a zip.

Fresh parsley and lemon give this dip a zip.

Avocado & Sour Cream dip. Creamy and tangy.

Avocado & Sour Cream dip. Creamy and tangy.

Roasted Pepper & Goat Cheese Dip

Ingredients
1/2 c marinated roasted red peppers
2/3 c goat cheese
1/4 c walnuts, roasted

Instructions
Roast the walnuts for 8-10 minutes in the oven or in a saucepan on the stove. Then using a mini blender, buzz up them up into small pieces. Remove from blender, then add the peppers and goat cheese and blend until you have a chunky consistency. Add the walnuts back in, and blend only until full combined, or you can simply stir them in. Taste for seasoning. Since I bought the marinated roasted peppers there was no need to add any additional seasonings.

Goat cheese makes it creamy and tangy. Peppers makes it sweet.

Goat cheese makes it creamy and tangy. Peppers makes it sweet.

Walnuts give a crunch. A wonderful combination.

Walnuts give a crunch. A wonderful combination.

Gorgeous bright color, full of tang, sweet and crunch.

Gorgeous bright color, full of tang, sweet and crunch.

Olive & Feta Cheese Dip

Ingredients
1/2 c oil cured black olives
1/2 c green olives
1/2 c feta cheese
1/4 c scallions, rough chop
1 garlic clove, rough chop
1/2 c parsley leaves
1/4 c olive oil
1 t lemon juice

The set up for something special.

The set up for something special.

Instructions
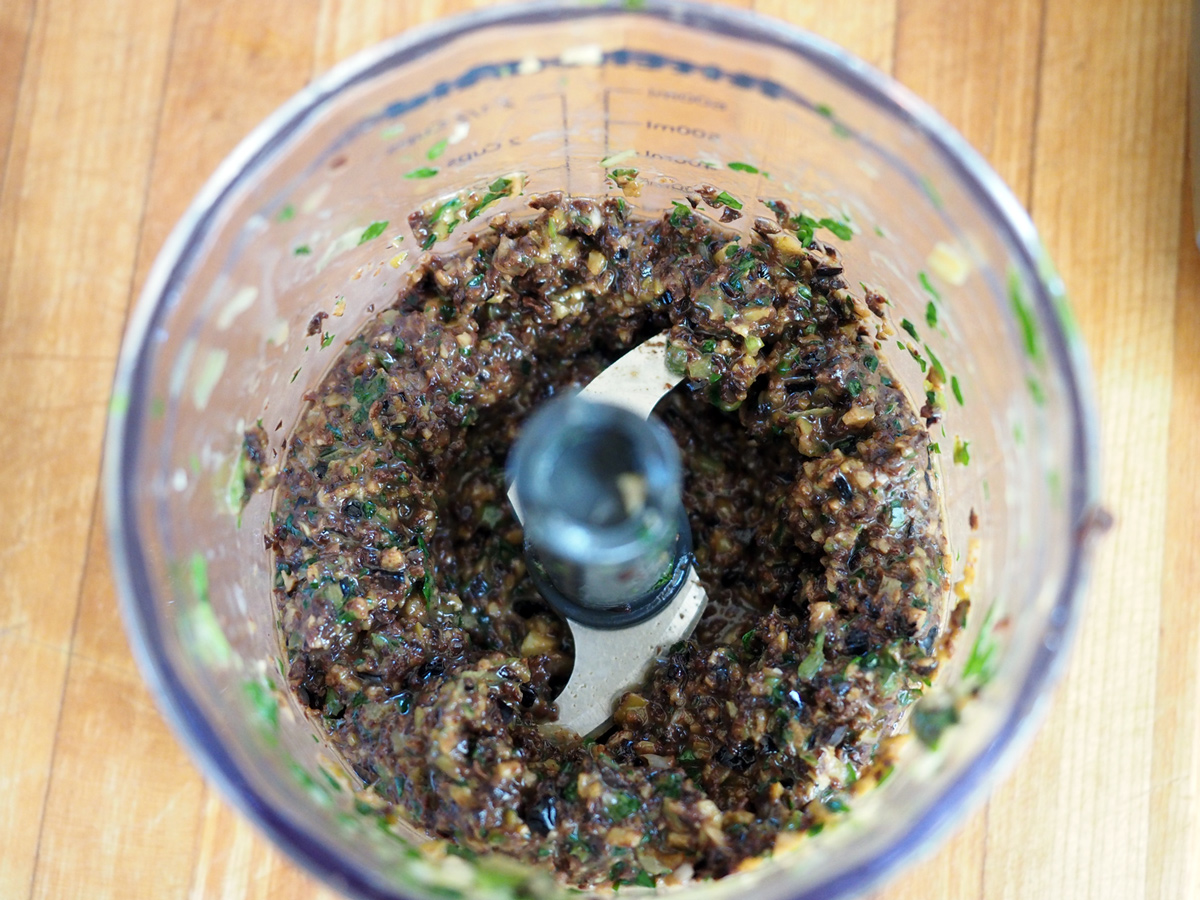
In a mini blender, buzz up the parsley, garlic and scallions. Add the black and green olives and buzz until it creates a paste. Add olive oil and lemon juice and blend until combined. Then add the feta cheese. Since the olives and feta have enough flavor and salt content, this dip should not require any additional seasoning. But always taste to see if you need more lemon juice or oil.

Toss the scallions, garlic and parsley in.

Toss the scallions, garlic and parsley in.

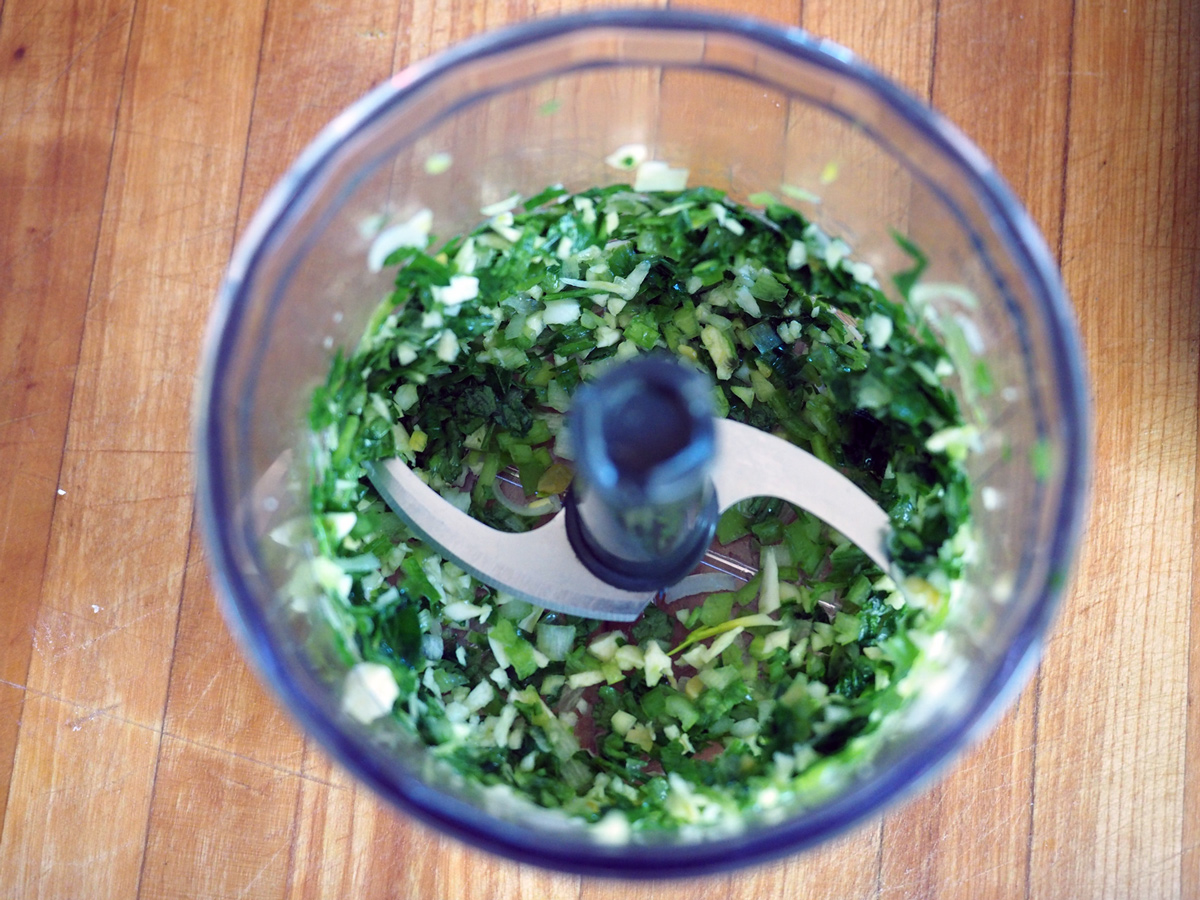
Buzz it up until coarsely chopped.

Buzz it up until coarsely chopped.

Add the olives. Then the oil, lemon juice and feta.

Add the olives. Then the oil, lemon juice and feta.

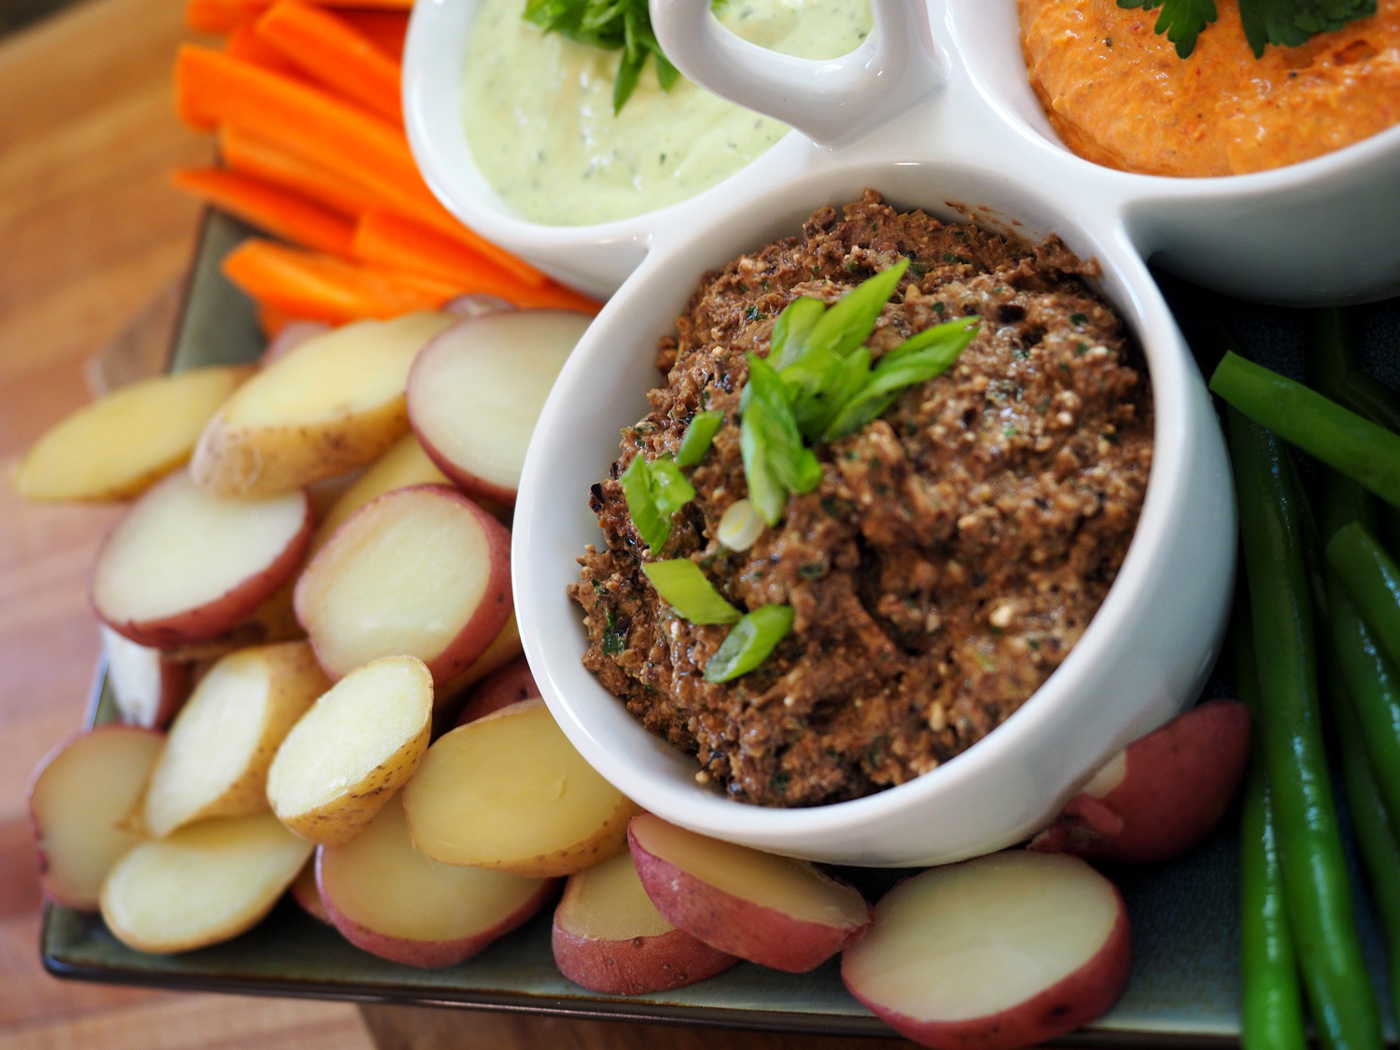
Olive tapenade with feta is a hearty dip, perfect with boiled potatoes for dipping.

Olive tapenade with feta is a hearty dip, perfect with boiled potatoes for dipping.

Bright, crunchy and super green string beans are a fresh and delightful addition to this platter.

Bright, crunchy and super green string beans are a fresh and delightful addition to this platter.

New and fingerling potatoes are the perfect size and consistency for dipping. They also make for a hearty bite.

New and fingerling potatoes are the perfect size and consistency for dipping. They also make for a hearty bite.

Did you see how easy it was to whip up not one but three dips? These were just one of those days when pulling ingredients out and seeing what works together creates ramekins full of goodness.

In my defense of stocking our fridge with these awesome ingredients, we had one of those ‘just in case’ moments when we needed to bring appetizers to a party. Perfect timing, I’d say, as I just finished making these dips and they were picture ready for the party. Pure evidence that having dangling participles in your fridge isn’t a luxury or a nuance but an absolute necessity. I feel redeemed and justified in my condiment collecting craze.

A colorful medley.

A colorful medley.

Fresh and inviting. So, go ahead and invite someone over. Pop some bubbly and dip away.

Fresh and inviting. So, go ahead and invite someone over. Pop some bubbly and dip away.

Post Note: While I was in North Carolina visiting my nieces, my youngest niece made all 3 of these dips for us to snack on. Then we brought the leftovers to my oldest nieces newly purchased townhouse, which we helped her moved into. These dips were the perfect snack as we unpacked, unwrapped and set up her new abode. Everyone loved them. I guess these 3 dips a dipping are even more handy that I originally thought.!

Shrimp Cucumber Roll - Tails Up & Out

Always a seeker of how to take ordinary ingredients and serve them up differently, an idea caught my eye the other day while I was working a catering gig. The chef was serving up coconut shrimp, sort of standing up with the tail sticking out. Of course, he served them with their tail shells still on. Which made sense for his presentation, so people could grab and bite away. I’m not usually a fan of shell tails on. Two reasons, really. One is that people often just bite up to that point and leave that cute little shrimp meat inside the tail, missing out the tail section. Two, it’s an extra thing people have to deal with, and can be messy depending on the presentation. But for this application, tails on it is. Tails UP & OUT to be exact.

So, borrowing from the ‘standing up shrimp’ idea I decided to create a shrimp roll of a different kind. I didn’t want something heavy, or that needed to be fried up or warmed up, making it more work for serving. I wanted something pretty, and pretty delicious. Using shrimp, avocado, daikon radish shoots and dab of wasabi sour cream, I wrapped everything up in a cucumber slice. Normally, we buy extra large, jumbo or Tiger Shrimp. But for this appetizer, using a smaller shrimp (medium 35 count) creates a one bite app that can be made ahead, kept chilled and served as guests first arrive.

Since we are all super busy with just days before Christmas I’m not going to make you read a ton of my mind’s meanderings. We are just going to get down to it, so you can serve this up for Christmas eve or day of. Also, no amounts for this one. It will all depend on how many guests you are having. An English cucumber will yield about 20 long slices. A large Gwen avocado will give you plenty of slices, then some.

Ingredients

Shrimp, smaller sized, cleaned and deveined
English Cucumber, long thin slices
Avocado, small, thin slices
Sour Cream
Wasabi paste (amount depends on how much heat you want)
Daikon Radish Shoots*
Aromatics for shrimp boil (bay leaf, peppercorns, garlic cloves, parsley, lemon, salt)

* You can use any micro sprout you find. However, the daikon radish sprout has a spicy note to it, so if you use something milder, you might want to increase the amount of wasabi paste. Use your taste buds as your guide.

It’s all about the green for this fresh bite.

It’s all about the green for this fresh bite.

Instructions

  1. Using a vegetable peeler, slice the cucumber lengthwise. And set aside covered with wet paper towels.

cucumber.slices2.jpg

2. In a small mixing bowl, mix together sour cream, wasabi paste and salt to taste. Refrigerate until ready to assemble. I used two heaping tablespoons of sour cream with 3/4 t wasabi. (only 1/4 t. shown below, because I tasted it wanted more heat so I added more.)

Wasabi comes in powder form or paste, and can be found in most grocery stores in the Japanese section.

Wasabi comes in powder form or paste, and can be found in most grocery stores in the Japanese section.

3. To get the shrimp really flavorful, prep the poaching water by bringing to a boil 6 cups of water with 2-3 bay leaves, 1 T peppercorns, garlic cloves, parsley and salt. Then let simmer for 10 minutes to allow the aromatics to infuse into the water.

The aromatics will lightly infuse flavor into the shrimp.

The aromatics will lightly infuse flavor into the shrimp.

A pot of goodness.

A pot of goodness.

4. Meanwhile, get an ice bath ready (a large bowl of water with ice cubes with a smaller bowl inserted in the middle) to transfer cooked shrimp immediately after to stop the cooking.

Nothing fancy, just a simple ice bath shocker to say ‘hey, no more cooking for you!’.

Nothing fancy, just a simple ice bath shocker to say ‘hey, no more cooking for you!’.

5. Once the water has simmered, squeeze the lemon into the water and toss it into the pot. Then add the shrimp and let cook for 2-3 minutes until they turn opaque pinkness orange. Transfer them immediately to the ice bath.

6. Cut the avocado into small strips. Sprinkle with course salt. (You can squeeze a bit of lemon, too.)

The avocado will add a creaminess to this bite.

The avocado will add a creaminess to this bite.

Mise en place. Get everything ready and in place.

Mise en place. Get everything ready and in place.

7. Assemble by laying the cucumber strip down and placing shrimp, avocado and radish shoots on the end of the cucumber, and begin to roll. Since shrimp curl when they cook, I found that straightening the shrimp out a bit helped with rolling it up.

Ready, set, ROLL.

Ready, set, ROLL.

8. Once rolled up, squeeze or place a dollop of the wasabi sour cream on top. (I used a piping bag because I find it easier. You can use a plastic bag with the tip cut off, or simply dollop it on).

Just a little squeeze of wasabi sour cream with brighten and bring heat at the same time.

Just a little squeeze of wasabi sour cream with brighten and bring heat at the same time.

Place on a platter. Or maybe a tiered plate rack. Whatever floats your shrimp boat. This bite size appetizer is light and a refreshing twist on the high fat, high calorie fried shrimp roll. I adore how the sprouts stick up. It’s colorful. It’s playful. It’s just the right size bite.

If you don’t have wasabi paste, then you can make any kind of jazzed up sour cream you like. Or even use mayo or yogurt. Some ideas:

  • smashed avocado mayo/sour cream or yogurt

  • lime zest mayo/sour cream or yogurt

  • siracha mayo/sour cream or yogurt

  • jalapeño mayo/sour cream or yogurt

You get the idea. Mix up a bit whatever creamy option you like with something you love that pairs well with shrimp to make it tad more special.

But wait, there’s more. Because I hate to waste, and I had cucumber left over, I cut it into thick slices and created a vegetarian option. All it took was some radish shoots, avocado slice and dollop of wasabi sour cream to create a bite for the non fish eating crowd. Another ‘leftover’ was the outer peel of the cucumber. I tied it into a knot and used it to decorate the plate. Two for one, all the way around.

Extra cucumber, comes to the rescue of vegetarians!

Extra cucumber, comes to the rescue of vegetarians!

Pretty, green pop in your mouth freshness.

Pretty, green pop in your mouth freshness.

Now that is a whole lot of LOVE going on. You might notice a new love sign. The large one was given to me by my sister, Jill. It brings me such joy that people notice a simple sign, and begin to spread the love. The whole idea is catching on. 2stirw…

Now that is a whole lot of LOVE going on. You might notice a new love sign. The large one was given to me by my sister, Jill. It brings me such joy that people notice a simple sign, and begin to spread the love. The whole idea is catching on. 2stirwithlove, everything you do.

These make a great pass-around appetizers as well as one that looks great on a buffet. Have yourself a Merry Little Christmas and a Shrimp Cucumber Roll, with their tails sticking out!


Print Friendly Recipe

Post Note: I made these again but I forgot the avocado. So in true ‘use what you have’ mode, I swapped it out with mango slices. I have to say, I think I liked it even more!

Screaming Shrimp Cooled by Creamy Avocado & Tomato

shrimp.final.plate3.jpg

Shrimp; sure their name might denote that they are small in size, but they are big in versatility.  As Bubba so notably recited, "Shrimp is the fruit of the sea. You can barbecue it, boil it, broil it, bake it, sauté it. There’s shrimp-kabobs, shrimp creole, shrimp gumbo. Pan fried, deep fried, stir-fried. There’s pineapple shrimp, lemon shrimp, coconut shrimp, pepper shrimp, shrimp soup, shrimp stew, shrimp salad, shrimp and potatoes, shrimp burger, shrimp sandwich. That, that’s about it.”  Well, that's where I disagree with Bubba. There are a thousand ways to prepare a shrimp.  Which makes them a perfect non meat dish to serve for a dinner party or crowd. Plus most people love shrimp. (Minus those poor souls with that horrible allergic reaction in the form of swelling, non breathing and other awful symptoms. So sorry for that group.)  

Shrimp, in any form, on a big platter equals party pleaser.  I have found this out the hard way.  Early on in our entertaining days, since I'm a pescatarian, we would make shrimp for me when meat was the main course.  But soon found out that everyone else loved them so much that they would eat up the small amount we made.  We realized that we often didn't make enough for everyone to partake.  Rookie move...that we remedied that quite quickly.  Now, if shrimp is on the menu, it's in quantities that can feed the entire crowd, not just selfish me.

If we get larger size shrimp (does that mean they aren't really shrimp?) then we often leave the shells on. It exudes a ton of flavor.  Marinate and cook them fully cloaked so that all that flavor from the shell cooks into the shrimp meat.   Then suck on the shell before peeling it off.  Don't groan and tell me that's gross.  It's delicious.  For this recipe you can peel the shell first or leave it on.  Your choice.  Either way this dish is about the play off the heat of the spicy shrimp cooled by the creaminess of the avocado and fresh cool tomato that makes it so satisfying.  I like this dish for a summer outdoor party or a late Saturday afternoon lunch. 

The setup.

The setup.

Ingredients

1.5 lb. large shrimp
2 avocados, cut into chunks
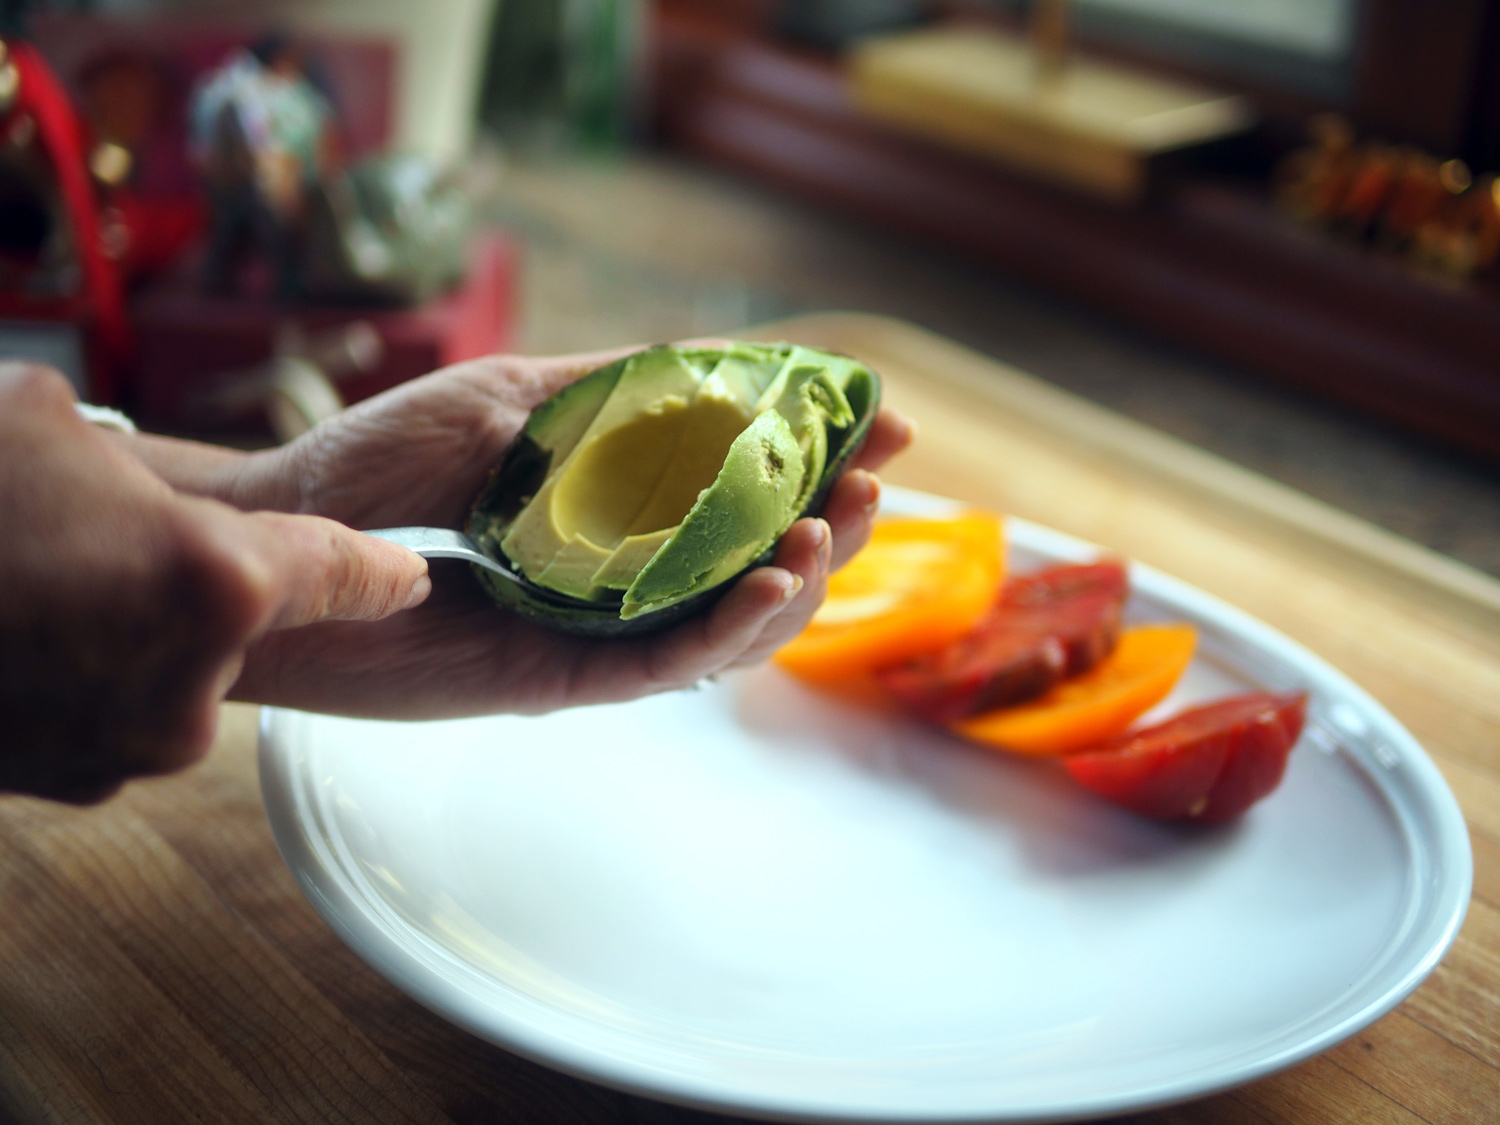
scrapings of avocado from the skin
2-3 medium (heirloom) tomatoes, thick slices
3-4 large garlic cloves, crushed
2-3 T jalapeño pepper, finely minced*
1/2 - 1 T Chili oil, or 1-2 t crushed red pepper flakes* 
1.5 -2 T ginger, grated*
1.5 T cilantro, chopped
1/2 c red onion, sliced
1 t salt
1/3 c olive oil
1/2 c white wine to deglaze pan
2 c basmati rice
1/4 c scallions, sliced
1/3 c cilantro
1 lemon, quartered
* These ingredients bring the heat. Adjust the amount according to how hot you like your food.

Dressing

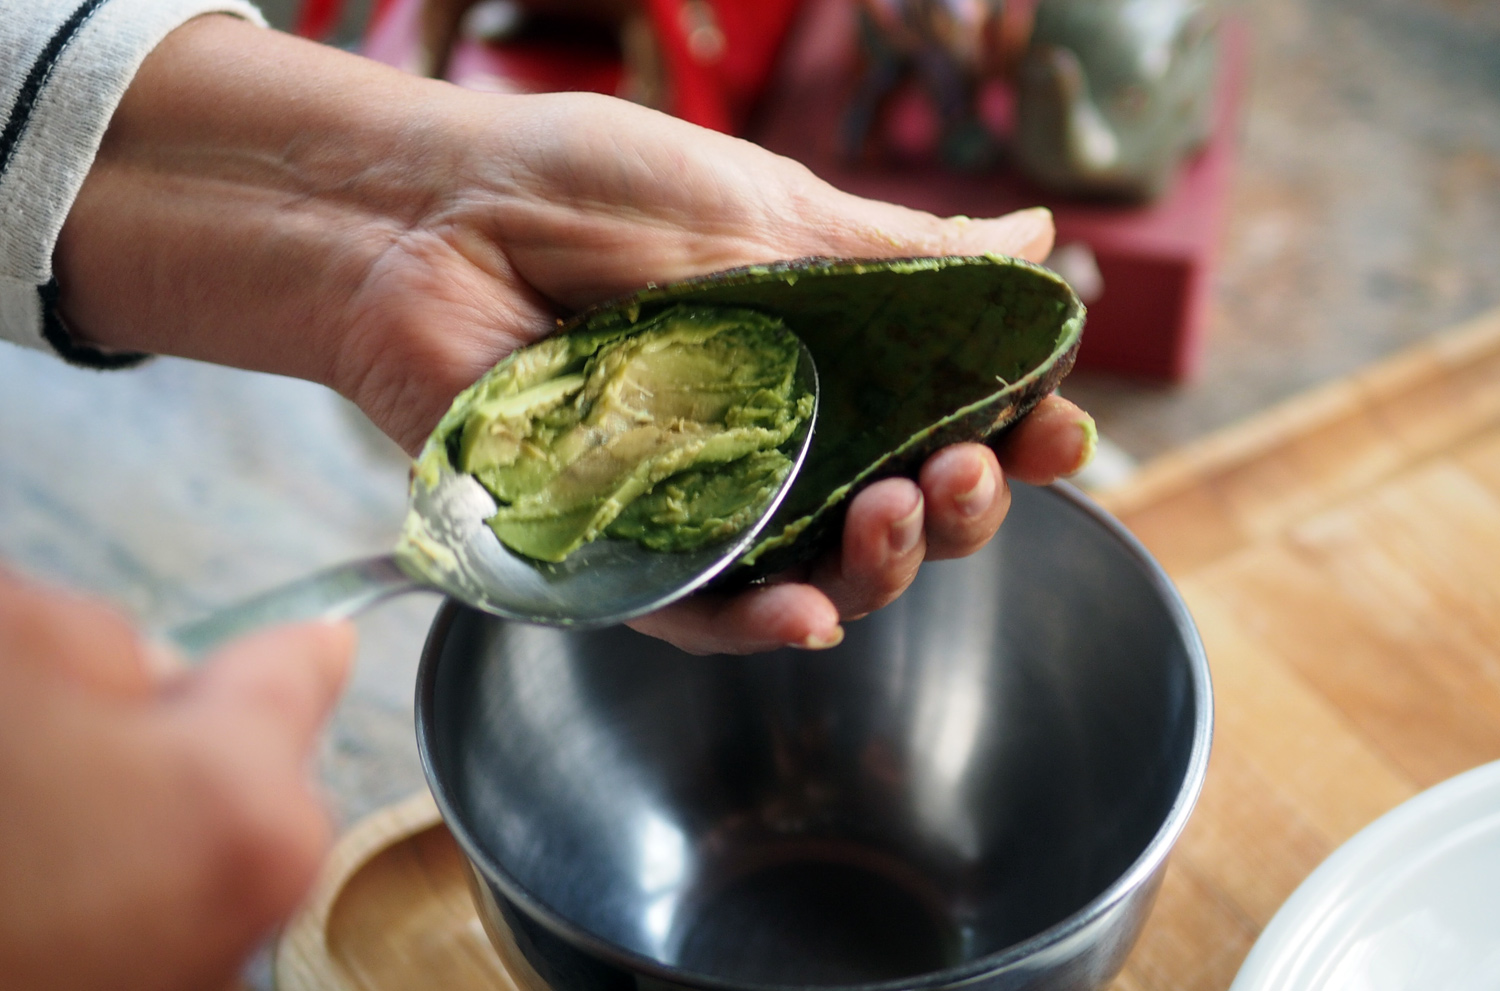
avocado scrapings from the inside of the shell
2 T fresh lemon juice
salt, pepper
1/2 c Olive oil
Whisk together all above ingredients
1 T cilantro, minced for garnish
1 T scallions, sliced for garnish


Instructions

In a bowl, combine garlic, jalapeño, chili oil, cilantro, ginger, scallions, red onion, salt and oil.  Mix together with shrimp ensuring all are coated.  Place in the refrigerator for at least 1/2 hour to marinate.  

Make it sing with spice!

Make it sing with spice!

Combine it all in non reactive bowl. I like glass

Combine it all in non reactive bowl. I like glass

Let those shrimps get cozy with heat.

Let those shrimps get cozy with heat.

While the shrimp are marinating, cook the rice.  I use 1.5 times water to rice ratio, bringing the water to a boil then adding rice.  I add a touch of salt to the water, cover and lower the heat to a simmer.   Let it cook around 15-18 minutes until light and fluffy.

Nothing better than fluffy rice. It's begging for some accents, like scallions and cilantro.

Nothing better than fluffy rice. It's begging for some accents, like scallions and cilantro.

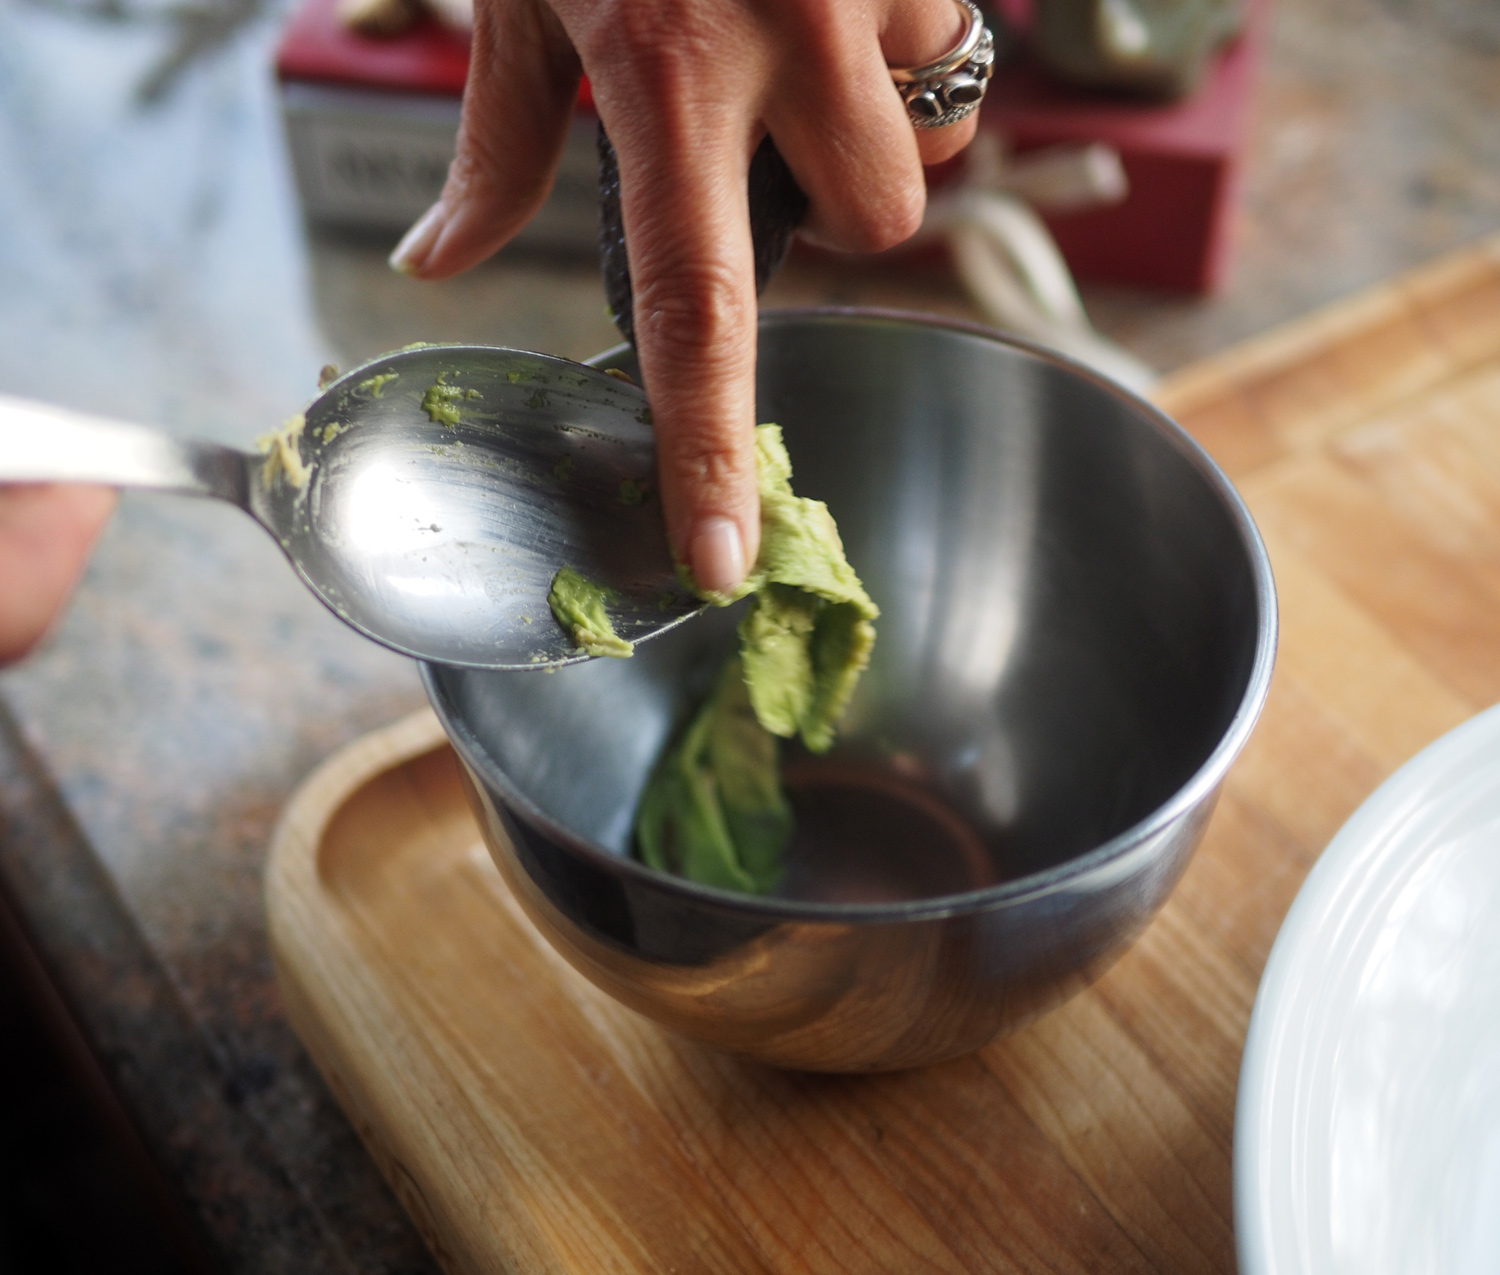
Cut the tomatoes and avocado and assemble your plates so that you only have to add the shrimp and serve.  Make the dressing by scraping out the odds and ends from the avocado shell.  Add them to all the dressing ingredients an whisk together, and set aside. 

avocado.cut.jpg
avocado.jpg
avocado.scrapings.jpg

You can create a family style platter. Or you can individually plate them using the avocado shells to hold the rice.   

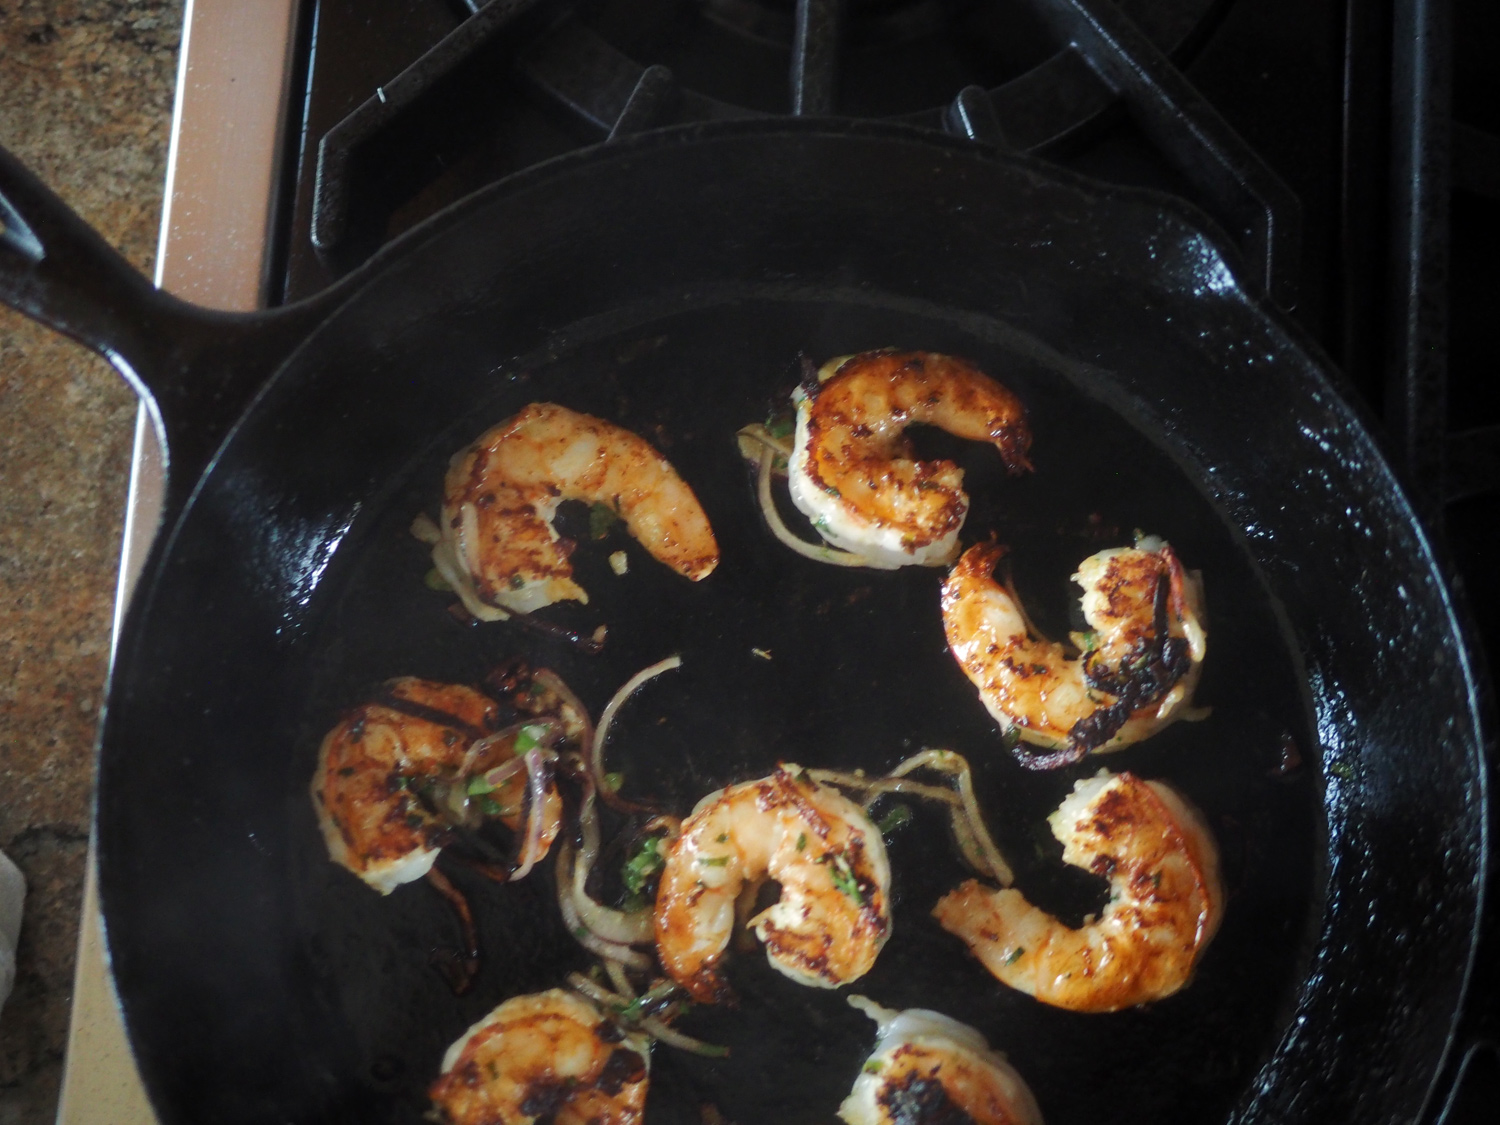
Then sauté the shrimp in a cast iron pan over medium high heat.  You want to get a nice sear on both sides. Shrimp do not take but 2-3  minutes to cook.  Keep in mind that they will continue to cook once removed from the heat. 

Get some good color and crust on them. Yum!

Get some good color and crust on them. Yum!

While the shrimp are cooking, toss the scallions and cilantro into the rice.  You can plate it by using the avocado shells, or simply plate alongside the tomato and avocado. Be creative, and make a pretty plate.

Fill the shell as a rice holder.

Fill the shell as a rice holder.

Or just lay the rice up against the tomatoes.

Or just lay the rice up against the tomatoes.

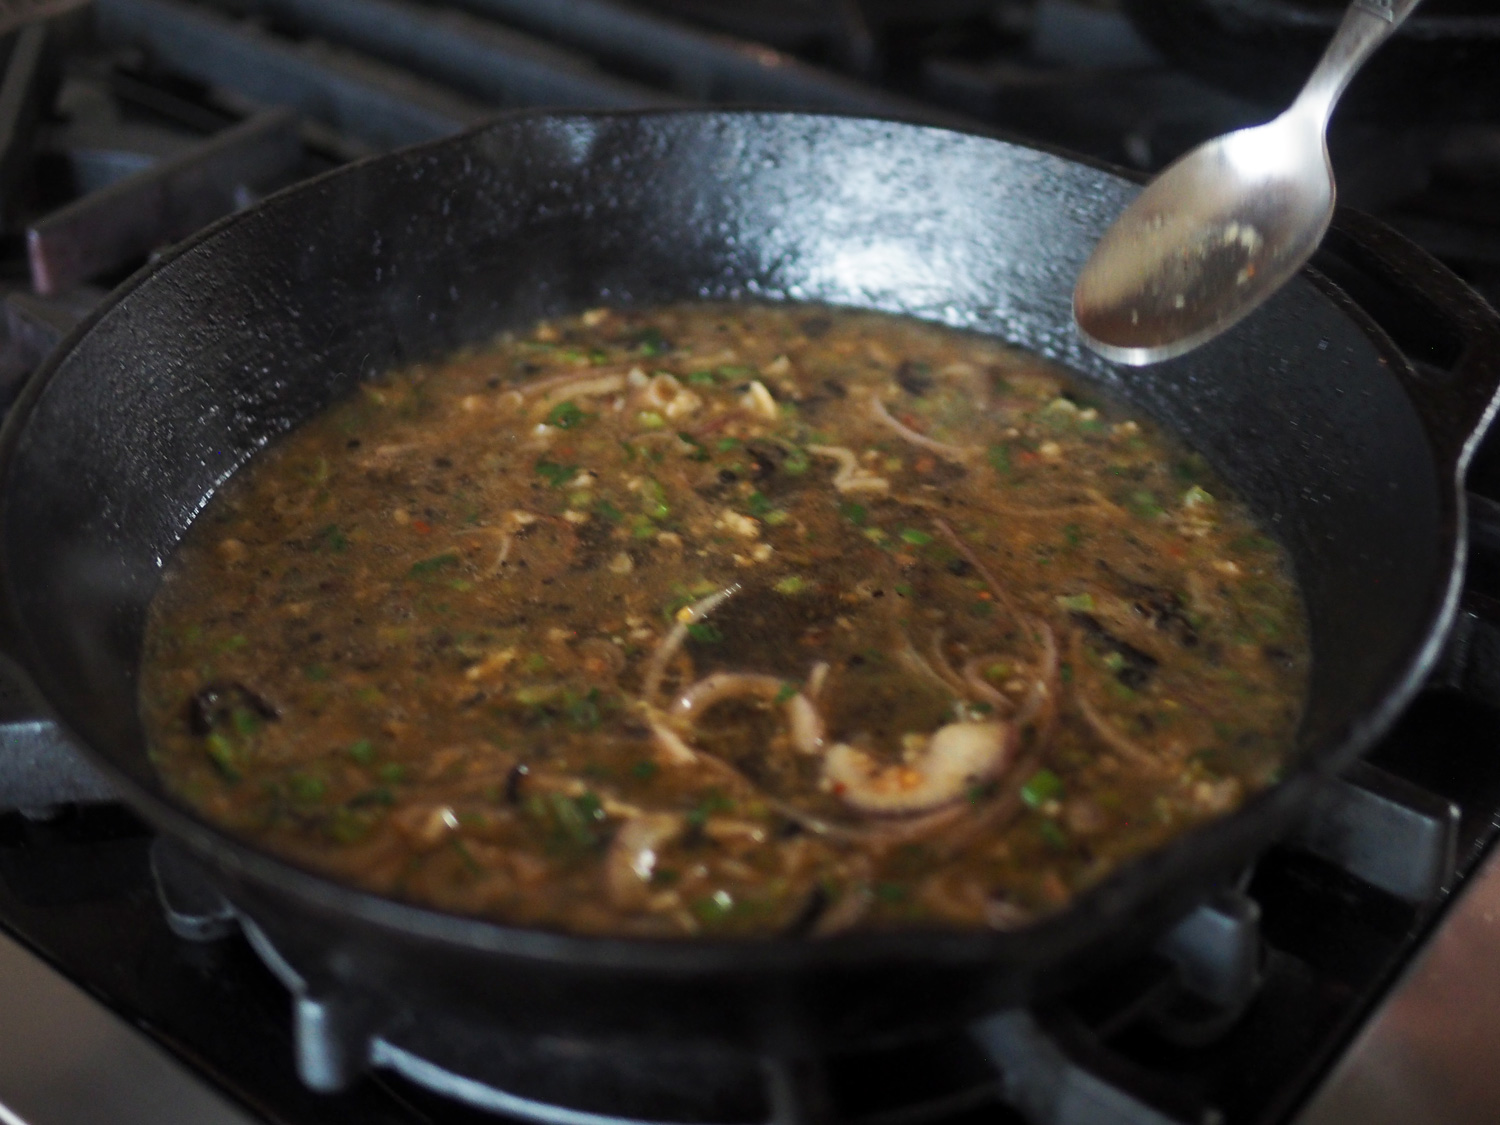
After all the shrimp are cooked, sauté the marinade in the pan, then add a splash of white wine. 

wine.jpg
sauce.jpg

Pour over the shrimp and place them on the platter, garnishing with the lemon pieces.  Drizzle the avocado dressing over the tomatoes and avocado. You can sprinkle more cilantro over the shrimp with a squeeze of lemon, too. Serve immediately. 

dressing.pour2.jpg

I love all the textures of this dish.  Fluffy, soft rice. Crisp, sweet but spicy shrimp. Creamy Avocado and Cool, sweet tomatoes.  What's not to love?  Let your shrimp scream.

Lunch with a Friend - Casual with Style

My dear friend, Donna, and I had been trying to make plans to get together for months. We had set a date to meet in the city for lunch, but alas those plans got axed.  Once we switched the day, it meant she was able to come up to my house for a 'ladies lunch'.  Does that make us sound old?  If so, then forget it.  We were just eating together.

It had been a while since we had last seen each other, so the idea was to enjoy each other's company and not have cooking occupy my time. The plan to keep it easy peasy was to create a menu where the majority of items could all be roasted in the oven and the rest could be made ahead of time.  Leaving me hands free for when she arrived.  I like starch (pasta, potatoes, rice not the kind used for ironing), and wanted to include that too. My immediate thought was polenta. However, after surveying the menu, a last minute swap out for rice felt like it paired better with the rest of the offerings, which also included a salad.  When it came to dessert, this needed to be super simple because I didn't have the time to bake.  Add to that, I wanted something that I could enjoy too. A traditionally baked item uses flour and eggs, well, no good for me. 

Sure sandwiches would have been even easier. Sure we could have eaten at the kitchen table.  But a little extra detail is much nicer. And so...

How hard is it to keep it casual but amp it a bit to feel special?  Simply throw down a runner the opposite way to create an more intimate area on a large table, add some placemats. Toss cloth napkins on the plate and put glasses on the table.  That always ups the ante, and really it doesn't take more effort than that.

So when you want to keep it chill yet with touch of style for no fuss lunch, here's a menu that can be pulled off without a hitch. The best part of this for me was that since it was pouring out and despise schlepping in the rain, I already had everything in the house, and didn't even need to shop!!  

Prep everything in their pans, season right before putting in the oven and have a glass of wine.

Prep everything in their pans, season right before putting in the oven and have a glass of wine.

If you need some recipes guides for the below menu, the highlighted items link to previous blog posts that feature each one. Also at the very bottom, you will find printable recipe versions.  If you have any questions on how to pull this menu off, write a comment below or email me

Lunch Menu

Simply roasted salmon nestled up against beautiful roasted vegetables all on one plate.

Simply roasted salmon nestled up against beautiful roasted vegetables all on one plate.

Paella rice risotto style with 3 kinds of onions (red, yellow and scallions)

Paella rice risotto style with 3 kinds of onions (red, yellow and scallions)

For the Paella Rice Risotto style, first sauté a mixture of red, yellow onion and scallion until caramelized.  Set aside. In a medium sized pot, simply sauté some more onions in oil, salt and pepper then add the rice to toast it. Then add either hot water or hot stock (chicken or vegetable) a few ladles at a time until the rice absorbs the liquid. Continue until the rice is tender then stir in the sautéd onion mixture. 

Another option, you can check out my Garlic Rice recipe.

You know this salad. This is the Citrus Salad Bowl, but in one big bowl not individually plated. This way we could go back for seconds.

You know this salad. This is the Citrus Salad Bowl, but in one big bowl not individually plated. This way we could go back for seconds.

The skinny on how the dessert portion was pulled together with just a few ingredients: Open the fridge. Check out what you have and use your imagination.  I found strawberries and blueberries, and tucked in the back a tiny bit of left over chocolate ganache* (previously used for some profiteroles I had made).  And just like that I had a dessert.  Fresh Fruit Bark.

* Ganache is chocolate melted down by adding warmed cream to create a glaze .  When I originally made mine I used much less cream since I wanted a thicker consistency for the profiteroles.  If I had a traditional ganache, it would have never worked for this dessert.  

Spread the chocolate onto parchment paper.

Spread the chocolate onto parchment paper.

Instructions

I melted down the chocolate, spread it over parchment and jammed, I mean lovingly placed, the fruit into the chocolate. For texture, I sprinkled some crushed Marcona Almonds and popped it in the fridge to set and chill until time to serve. 

Arrange the fruit in a way that is appetizing to you.

Arrange the fruit in a way that is appetizing to you.

Since this was made with a semi ganache, it had a softer consistency than traditional bark.  That didn't bother either one of us, and the fresh fruit route was the perfect choice since Donna prefers fresh versus dried fruit. Phew, good call on my part.  This literally was the truest form of 'something from nothing', pulling a dessert out of the hat from whatever I had handy.  We both agreed it was quite delicious.  Bigger bonus, it gave her a new way to use up all the gorgeous summer fruit she gets at her country house.  

Starting with the lovely Shinn Estates Rosé that Donna brought, we had a relaxing time, ate well, caught up on each other's lives and travels, enjoyed a surprise yummy dessert, and of course, finished the entire bottle of wine. It ended as a perfect Lunch with a Friend.  

Sprinkle chopped Marcona Almonds all over the top.

Sprinkle chopped Marcona Almonds all over the top.