Years back I posted Winter Fresh Endive Boats and promised that I would post about the variety of other ways to stuff endive. And although it's been quite some time since that posting, I like to make good on my promises, even if it takes me years to come through. So here is my first round of fillings. And I promise, there will be more, especially since the title is Endless Endive.
Endive seems to have been specifically made as the perfect carry vehicle for fillings. I know most people cut them up and toss into salads, but I much prefer them as a big spoon! They are great for dipping and are literally the ideal shape to fill so guests can easily pick up and enjoy. Why in the world would anyone cut them up when their true purpose seems clear? Well, at least to me. That’s why I fill them, endlessly.
I entitled this Endless Endive because quite honestly the list of fillings is just that. The only limitation is one's lack of imagination. But I know that together we can invent tons of fillings. I’ll do my part to start us off. For this post I’m keeping it to two different fillings that are perfect for Spring and Summer Time.
But first some tidbits about Belgian endive. It’s like a small head of lettuce but instead of being round like Boston lettuce it has a cylinder shape usually around 6 inches long. The most typical has pale yellow leaves that are tightly packed together with one end more sturdy (the filling end) and the top end feathering out to a more delicate whisper. There is also a purple toned version, Red Belgian, which when combined with the greenish yellow version makes quite a stunning plate. Being part of the chicory family, it has a mild bitter taste, but not nearly as much as radicchio. I find endive to be mild and neutral. You can actually cook endive and it mellow out the flavor to a more nutty tone.
Ok, onto the fillings.
As I mentioned, there are two different toppings but both versions use the same cheese filling. You can use any combination of cheese fillings or a single cheese. The most important part is that it is whipped so that it is light and fluffy.
Ingredients
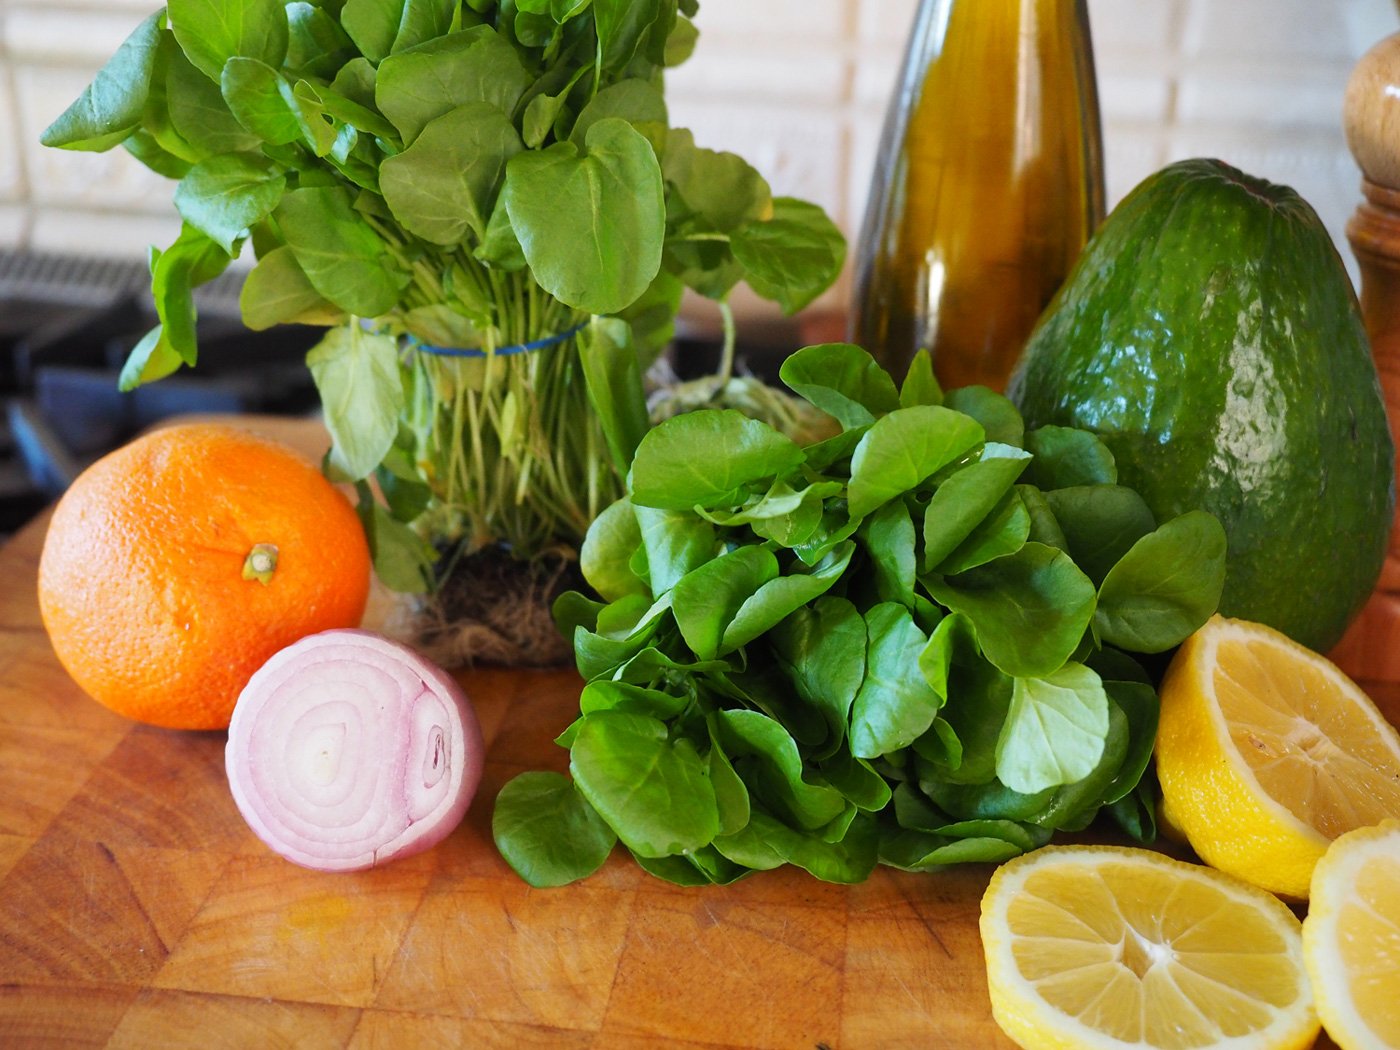
3-5 Endive*
12 oz Cream Cheese**
10 oz Goat Cheese**
Strawberry/Tomato Filling
1 qt Grape Tomatoes, chopped
1 qt Strawberries, chopped
1/4 c Basil, chiffonade
Peas/Shallot Filling
2-3 T Mint, chopped
1- 1.5 c Peas, frozen
1 small shallot, fine dice
Pea Shoots, for topping
Magic 3 (olive oil, salt, pepper)
* Depending on the size will determine how many leaves each one will yield. I always buy an extra one to be safe, especially since as you get closer to the center the leaves get smaller and smaller.
** You can use both cream and goat cheese combined. The cream cheese balances the tang of the goat. You can also use ricotta cheese with is lighter.

Instructions
Whip cream cheese and goat cheese together until fluffy. Season with salt and pepper to taste. Place in a pastry bag or large Ziplock bag and refrigerate until ready to fill.

You can certainly stir it together but I find using a hand mixer creates a smooth, creamy consistency.

Fill a pastry bag or plastic bag for easy filling.
2. Carefully separate the leaves from the core. I like having a clean edge, so I cut the bottom until leaves naturally release. Then continue to cut across the core releasing more leaves. This method helps to have even clean edges as well as ensuring not to tear the leaf. Let them dry on a paper towel.

Look as those lovely natural boats.
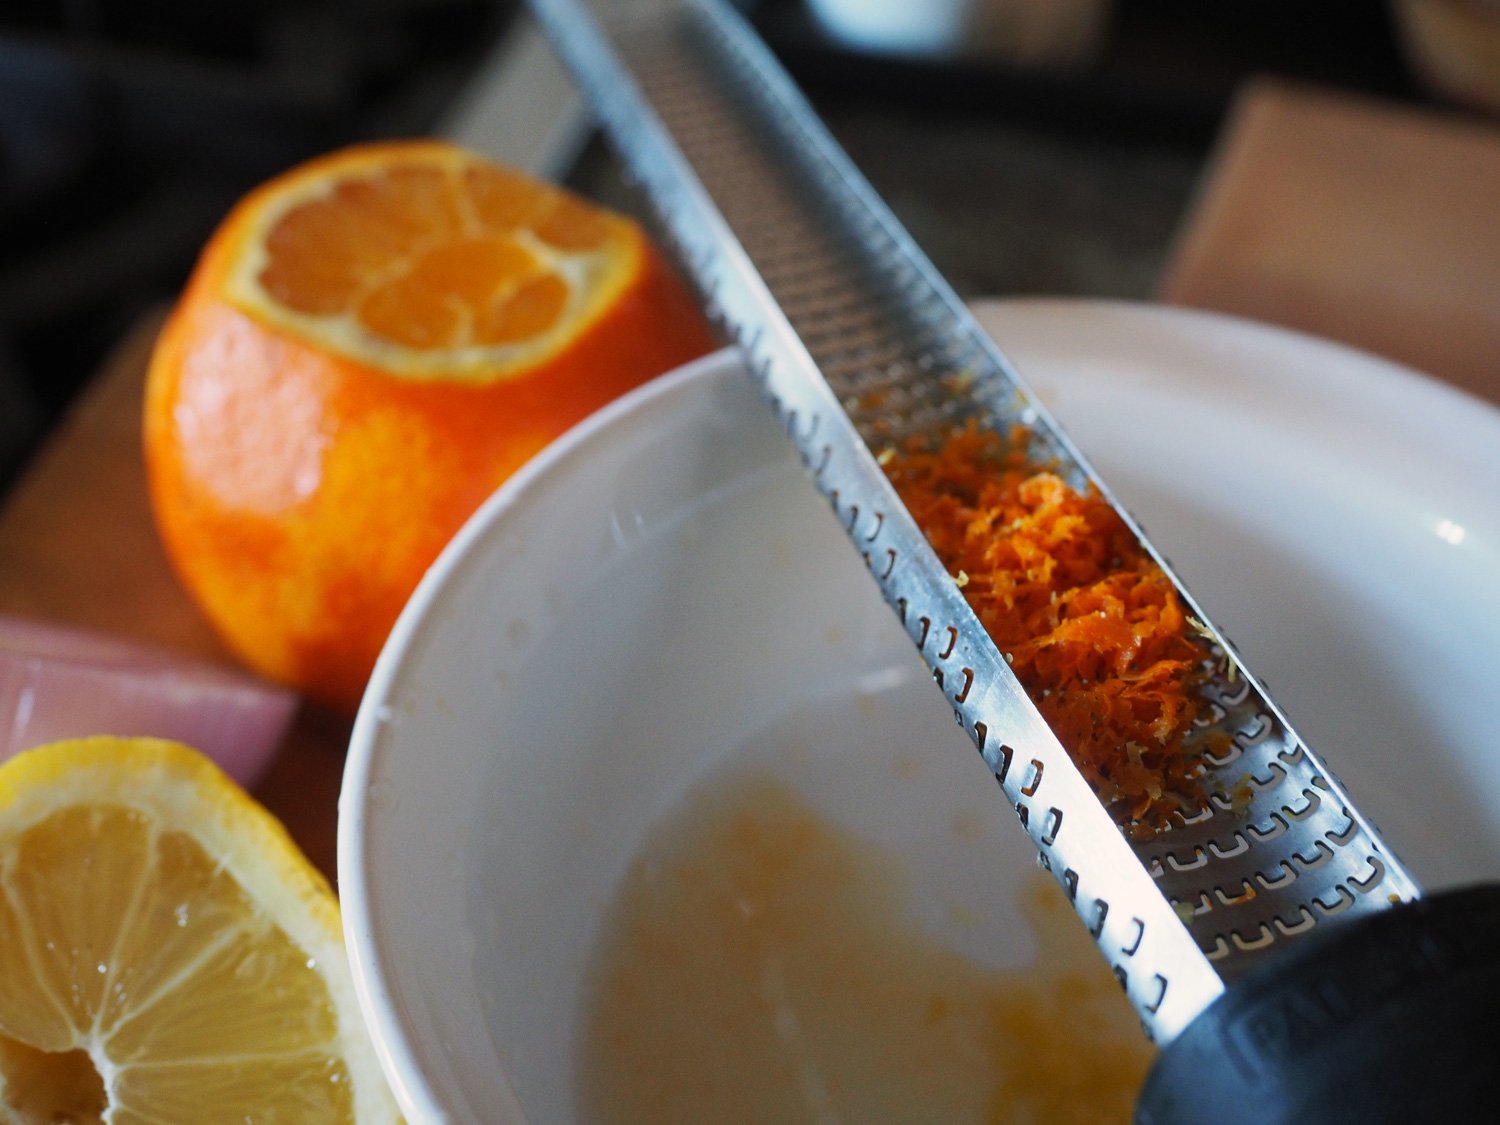
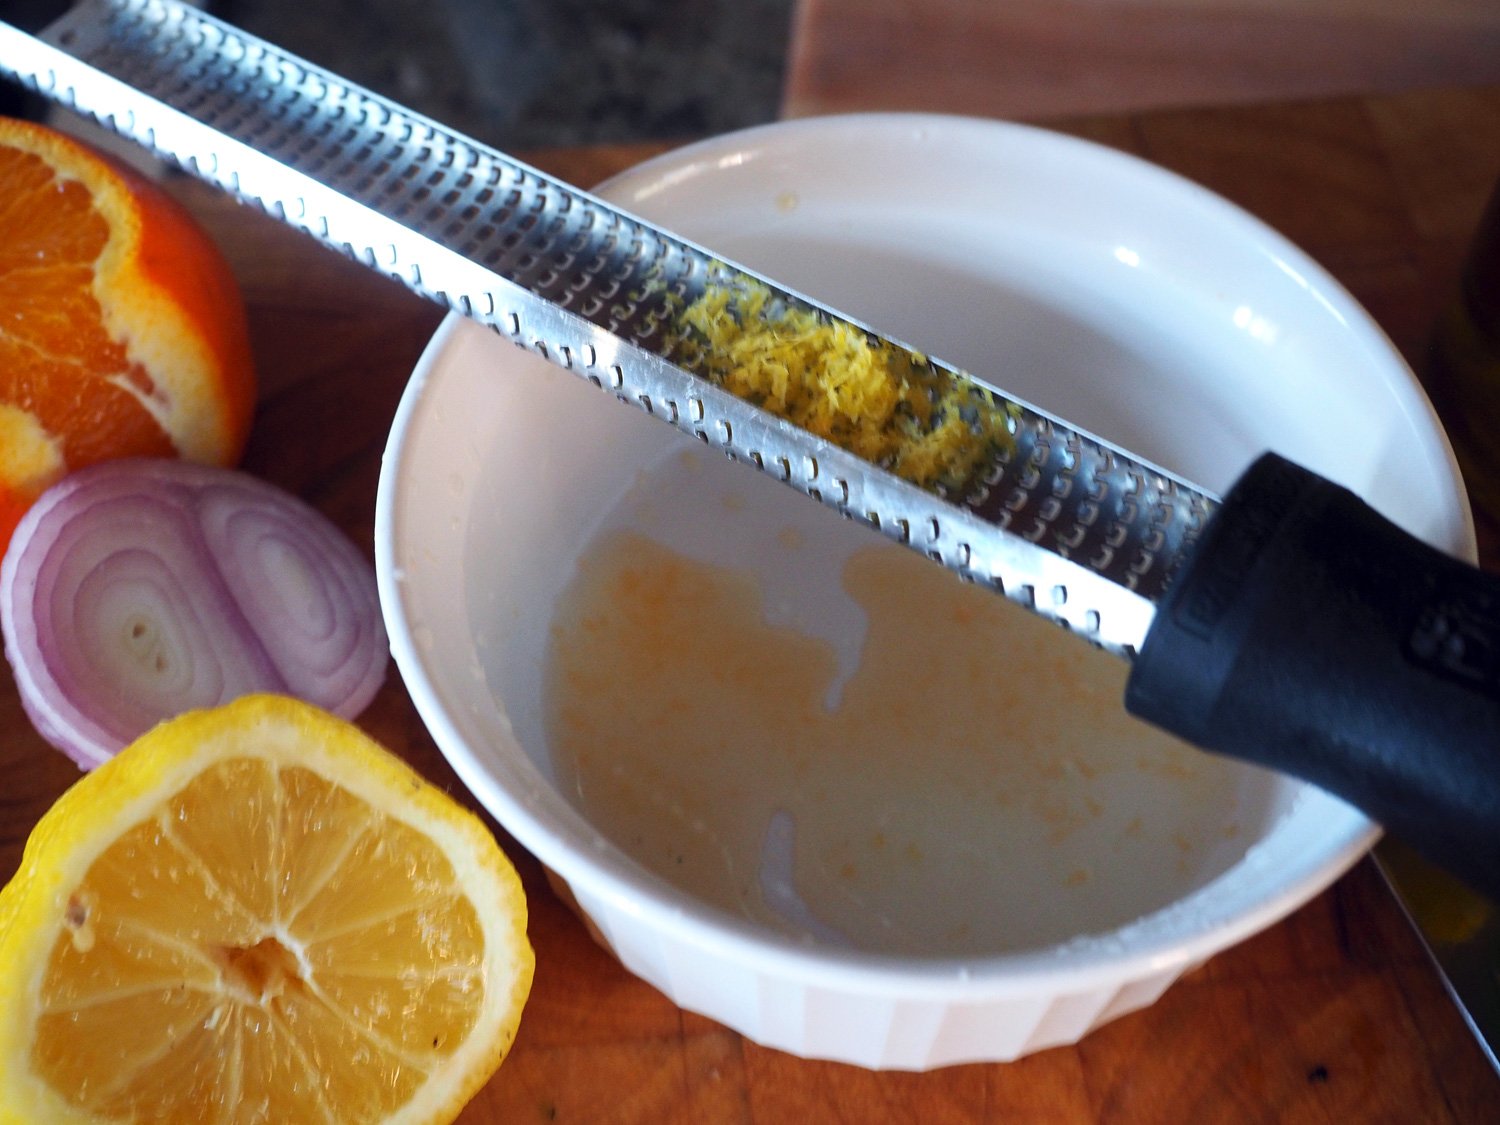
3. Wash, core and chop the strawberries. Wash and chop the grape tomatoes, and chiffonade the basil. Set aside. Combine everything in a bowl, season with salt, pepper and a drizzle of olive oil and set in the fridge to marinate. Note: I recommend a small dice so you can get several pieces of each when you fill the endive
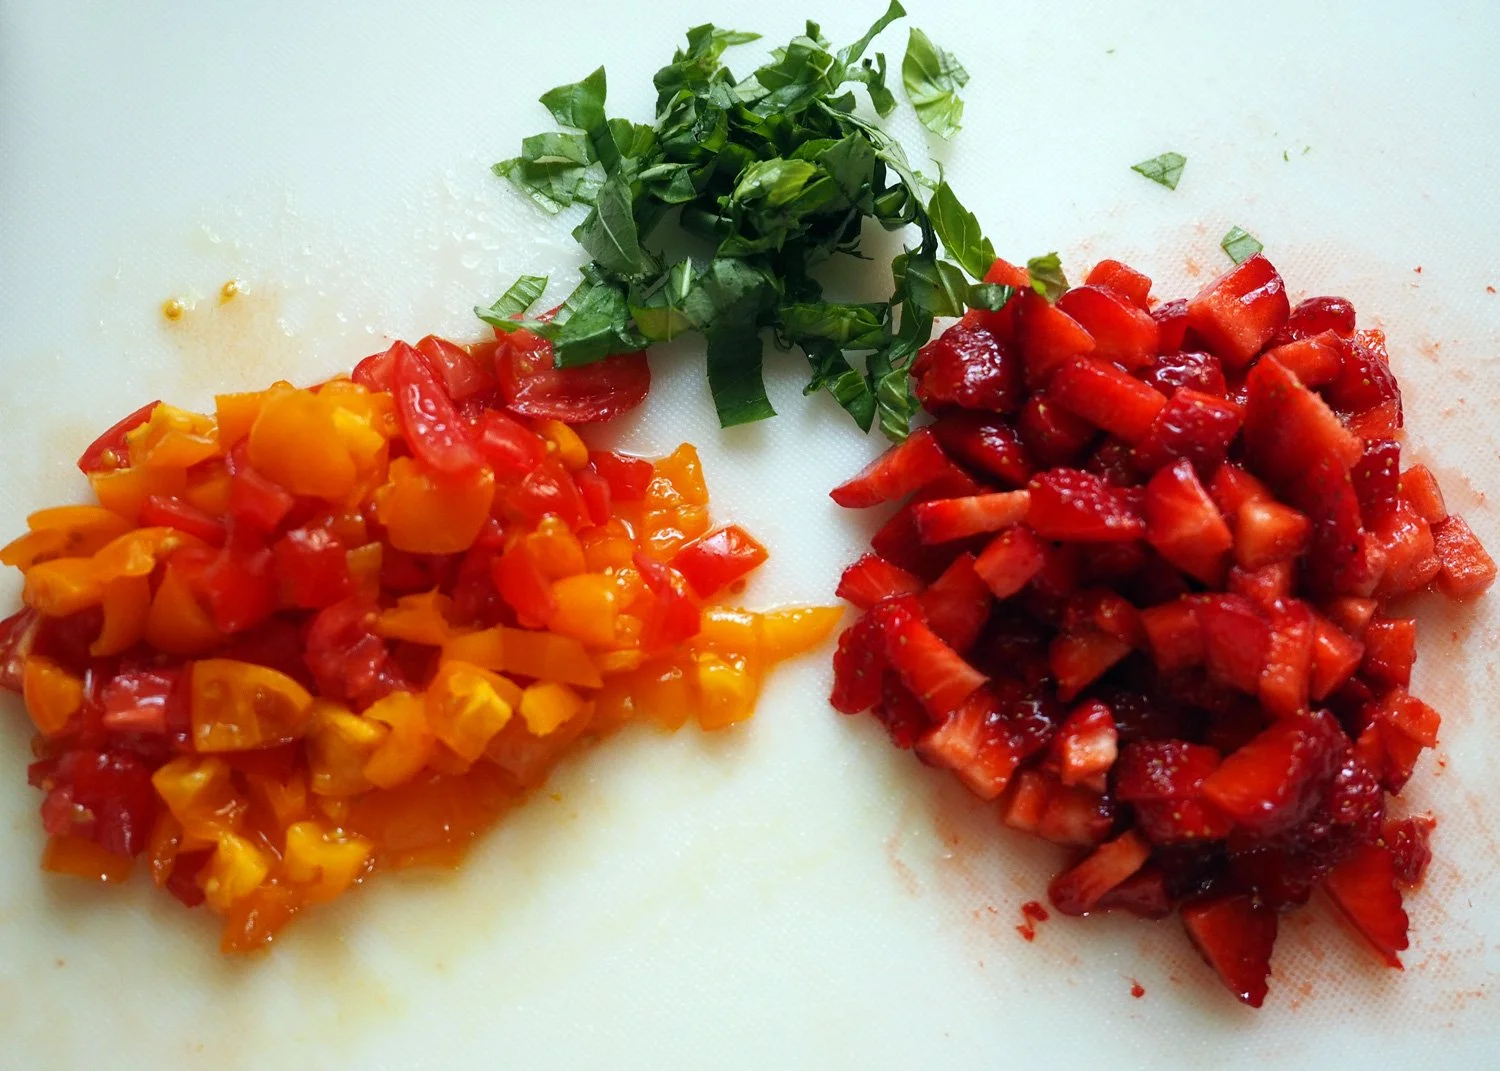
When you use fresh ingredients, you only need a few. Just let them shine and show their natural glory.

So appetizing.
4. Blanch the peas for 1-2 minutes and shock them in cold water to stop any further cooking.

Quickly blanch the peas. They don’t need much time.

Placing them in an ice bath stops the cooking and helps retain their vibrant green color.
5. In the same saucepan, sauté the shallots until softened. Season with salt and pepper

Shallots are milder then red onion and don’t overpower the sweet, tender pea. They also do not take long to sauté and soften.
6. Remove the peas with a spider, draining all the water and add them to the shallots. Taste for seasoning, and adjust if needed.

A tasty mixture.
7. Arrange the endive leaves on a platter and using the piping bag squeeze a hefty tablespoon amount of cheese into each leaf.

I like to arrange some greens on the bottom of the serving platter to finish the presentation.

Fill to your hearts content. If you like more cheese filling, then put more. I feel like a heaping tablespoon amount is just right.
8. Then fill with the leaves with each of the two toppings, separately.. Finish the pea version with pea shoots. I liked alternating the versions next to one another. But you can also arrange it so one side of the platter has the Pea/Shallot version, and the other side has the only the Strawberry/Tomato version.

So vibrant and fresh.
These can be made up to 1/2 hour prior to serving. However, you could prep all the components ahead of time (day before) and store airtight in the fridge. You can even fill the endive with the cheese filling hours ahead. Cover with plastic and then fill before serving.

A festive, refreshing Spring or Summertime appetizer.
I absolutely love the freshness of this appetizer. So crisp, so clean. So refreshing. The best part is it requires no dishes, no utensils. These are ‘pick up and devour’ apps. I hope you give these a try. With Spring sprung, we need a few fresh, cooling appetizers up our sleeves.