Life with an obsessive buyer.
Well, I guess that’s the view from hubby, JuanCarlos’, seats. I buy things; be it material scraps, vintage dishes, glassware, and even food ingredients with big ideas. Sometimes with no specific ideas at all, I just love how they look and I’ll figure it out later. Maybe that is what I should have called this blog. Buy it Now - Figure it Out Later.
In the looking good category, I’m often tempted by the olive bar at specialty stores. Or the condiment and cheese aisles. Who wouldn’t? They are stocked with alluring foods. So, it’s no wonder that when you open my fridge you will encounter jars and containers of what JC likes to call stragglers. Annoying stragglers, to be exact. We differ greatly in our view points. I love having these food items around because they come in handy in a pinch. On the flip side, my husband finds these types of jars, containers and “dangling participles’ quite annoying. The main reason: he doesn’t have much use for these ingredients, hence the questioning as to why we need so many of them. Which often leads to him needing to shift, maneuver around and rejigger them in the fridge. Of course, I see the absolute need for these, but I’m willing to consider his point of view; me as condiment hoarder for the ‘just in case’ moment.
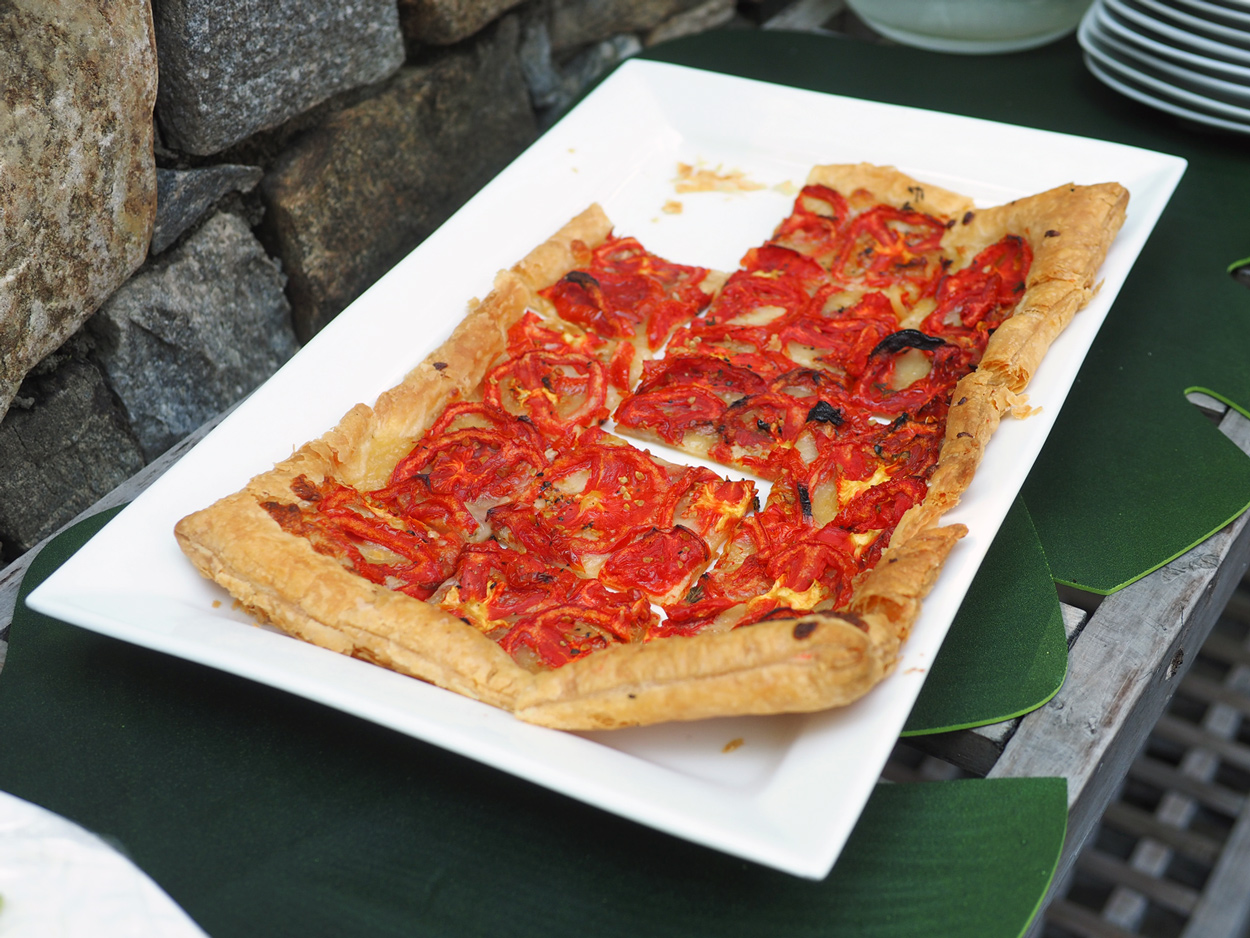
In an effort to keep the peace around the holidays (at least that is what I’m telling him), I decided to make him happy and clean the fridge from condiment craze. Yet, we all know the real reason. I’m a serial something from nothing, experimentalist. I can’t help myself from looking at ingredients and seeing what they could be. And what perfect timing, as we look down the barrel of the final few holiday parties and gatherings left in the year, a trio of dips comes in handy. Dips are not just useful for dipping, but great to spread on sandwiches, or on the base of pizza or stuffed breads, dollop on a salad or tacos, or dang near anything else you can think of.

Here are 3 dips for dipping. Or spreading or whatever you want to name them, for use in whatever way you choose.
Avocado & Sour Cream Dip
Ingredients
1/2 c avocado, cubed
1/2 c sour cream
1/4 c scallions + 1 T for topping
1 garlic clove, rough chop
1 T parsley
1 t lemon juice
1/2 t salt
1/4 t pepper

Instructions
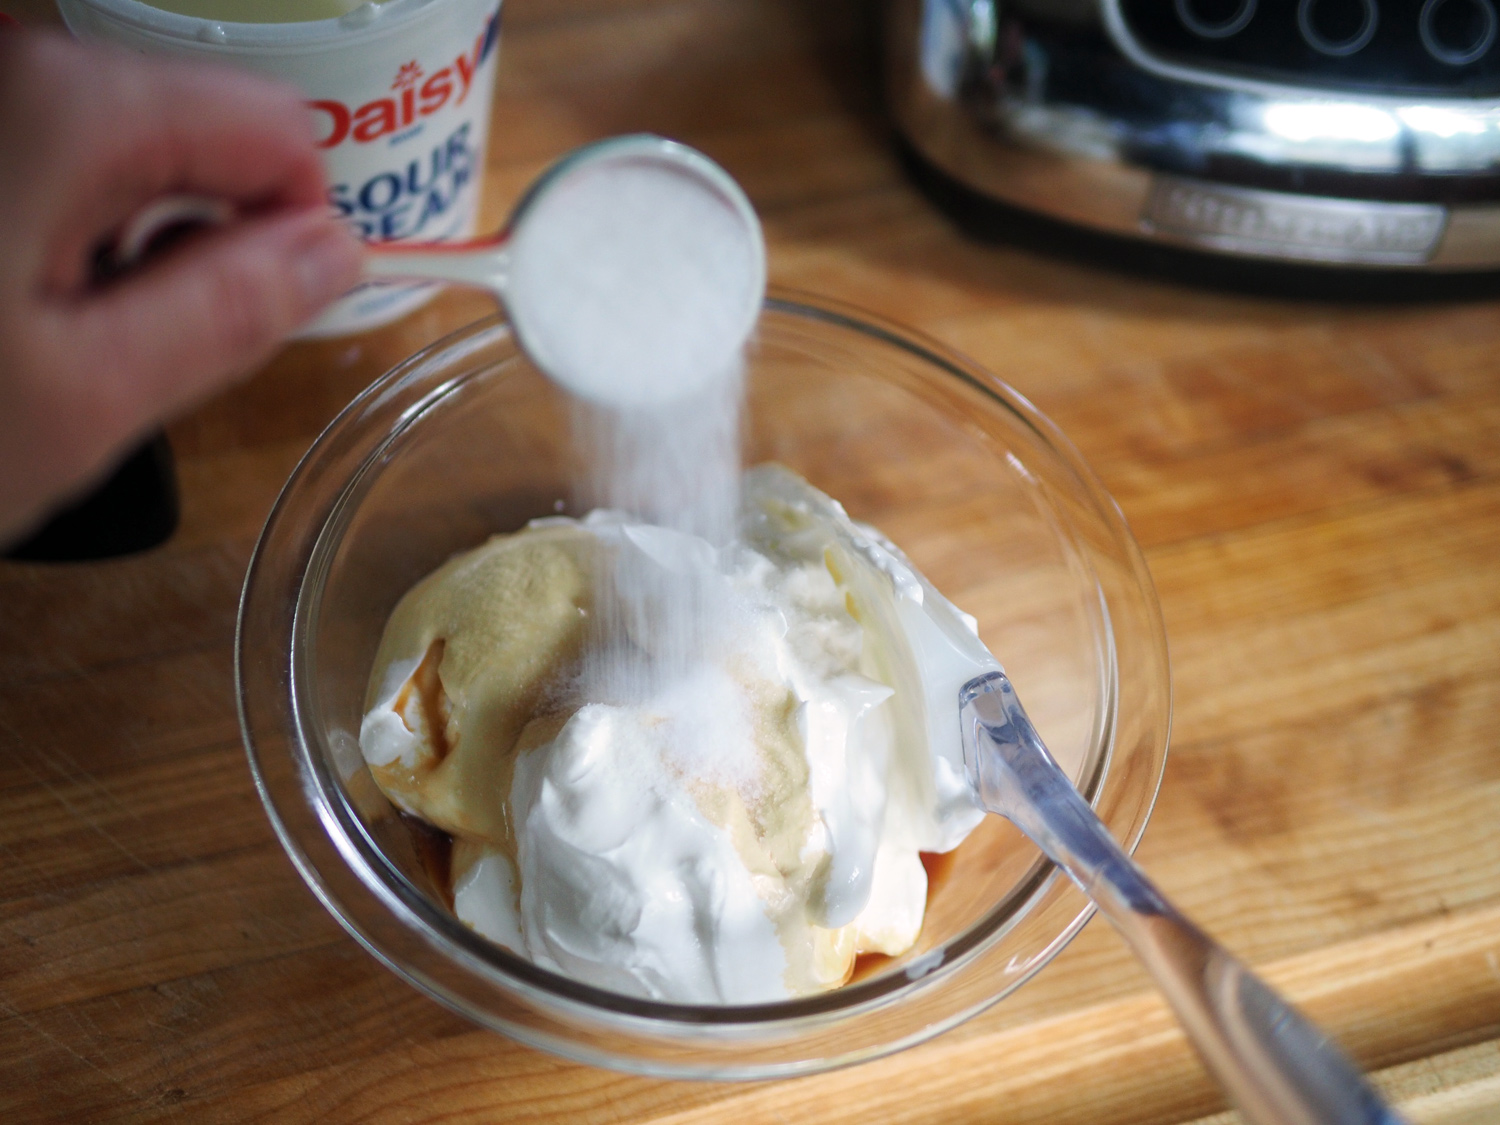
In a mini blender, buzz up the parsley, scallions and garlic first. Then add the avocado and sour cream. Add lemon juice, salt and pepper. Buzz again and taste for seasoning. Easy, breezy.
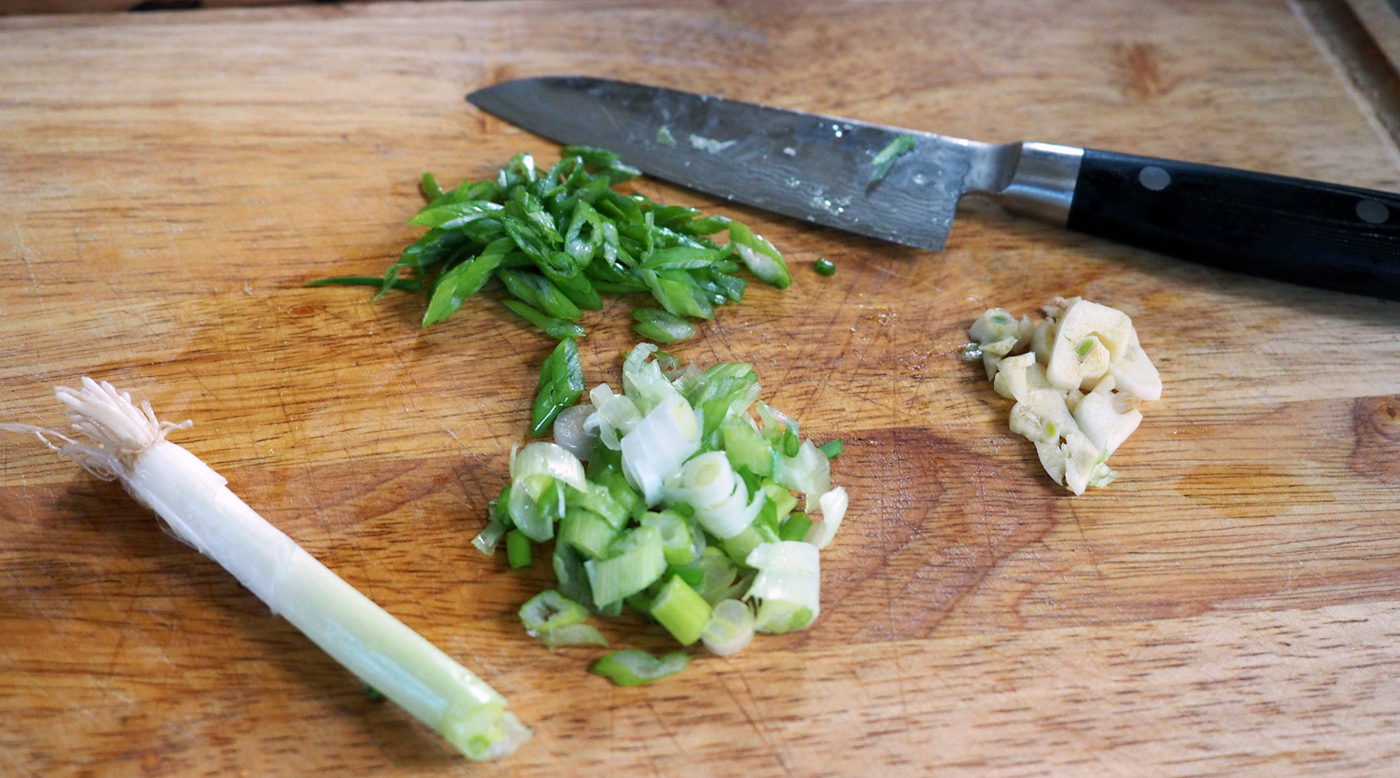
Chop up the scallions and garlic first. It helps to blend them up better.

Chunks of avocado give it a creaminess.

Fresh parsley and lemon give this dip a zip.

Avocado & Sour Cream dip. Creamy and tangy.
Roasted Pepper & Goat Cheese Dip
Ingredients
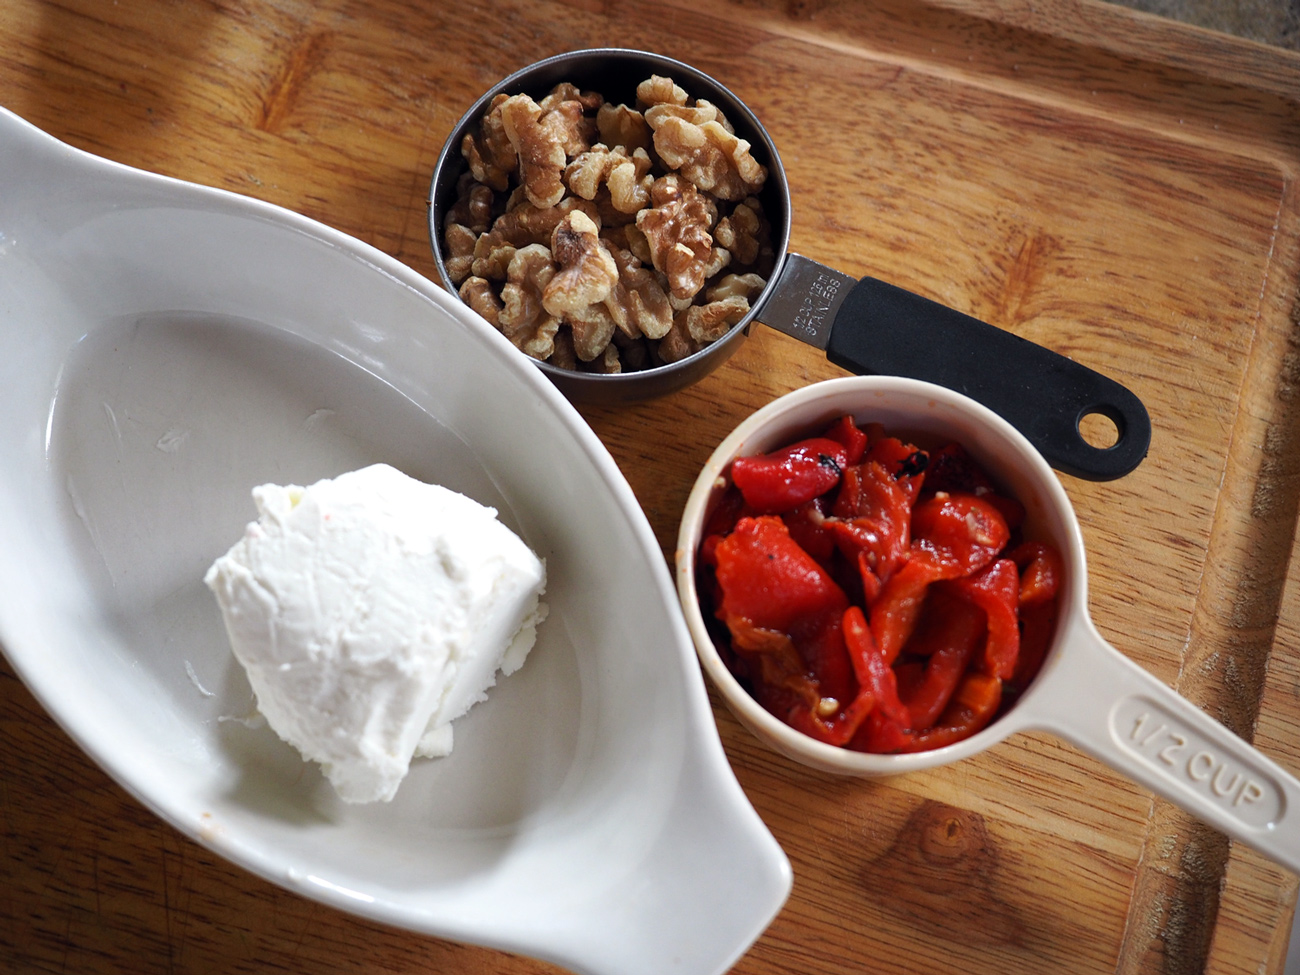
1/2 c marinated roasted red peppers
2/3 c goat cheese
1/4 c walnuts, roasted
Instructions
Roast the walnuts for 8-10 minutes in the oven or in a saucepan on the stove. Then using a mini blender, buzz up them up into small pieces. Remove from blender, then add the peppers and goat cheese and blend until you have a chunky consistency. Add the walnuts back in, and blend only until full combined, or you can simply stir them in. Taste for seasoning. Since I bought the marinated roasted peppers there was no need to add any additional seasonings.


Goat cheese makes it creamy and tangy. Peppers makes it sweet.

Walnuts give a crunch. A wonderful combination.

Gorgeous bright color, full of tang, sweet and crunch.
Olive & Feta Cheese Dip
Ingredients
1/2 c oil cured black olives
1/2 c green olives
1/2 c feta cheese
1/4 c scallions, rough chop
1 garlic clove, rough chop
1/2 c parsley leaves
1/4 c olive oil
1 t lemon juice

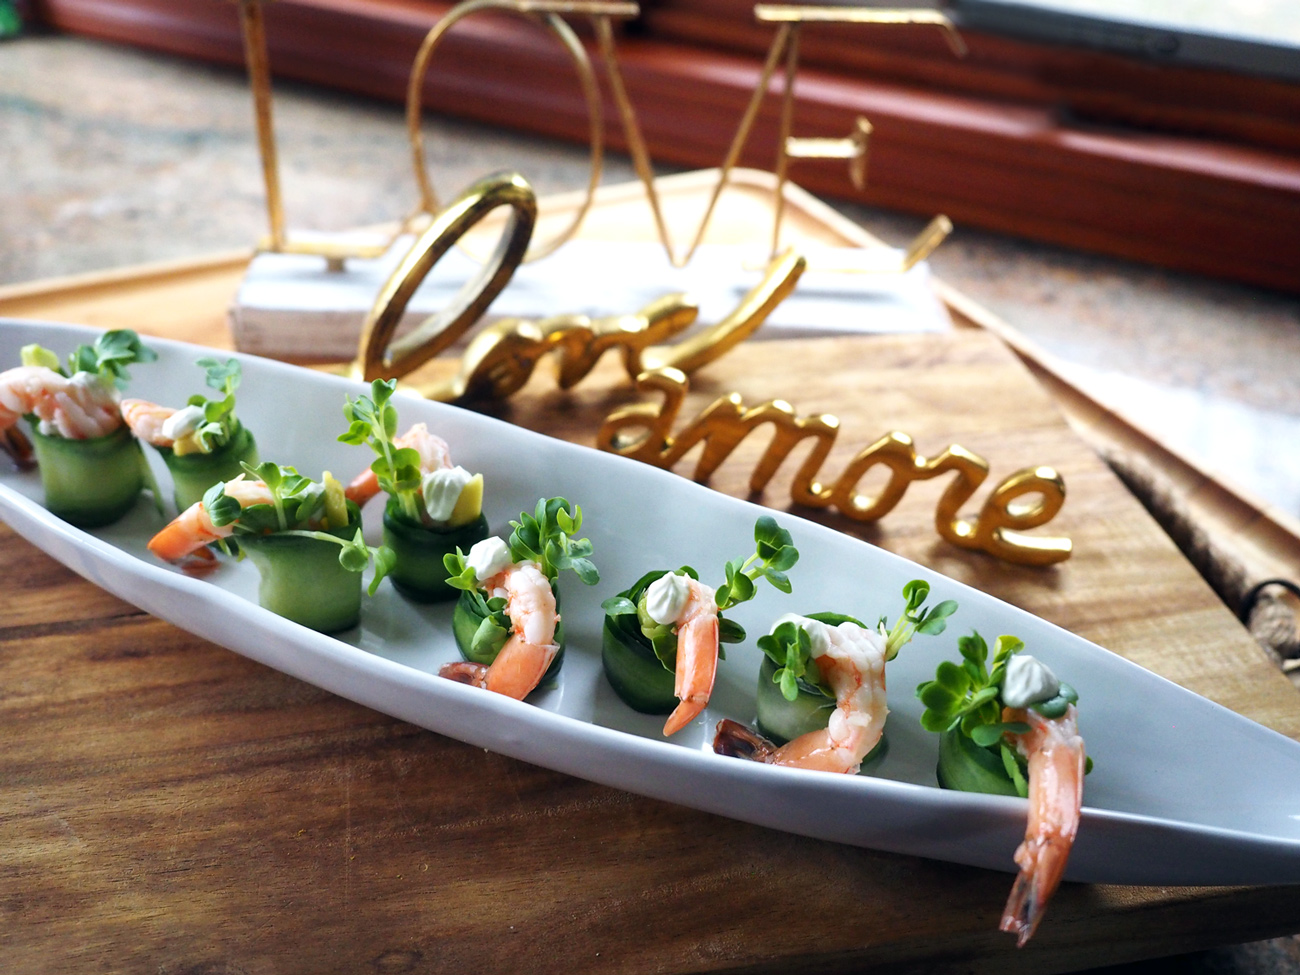
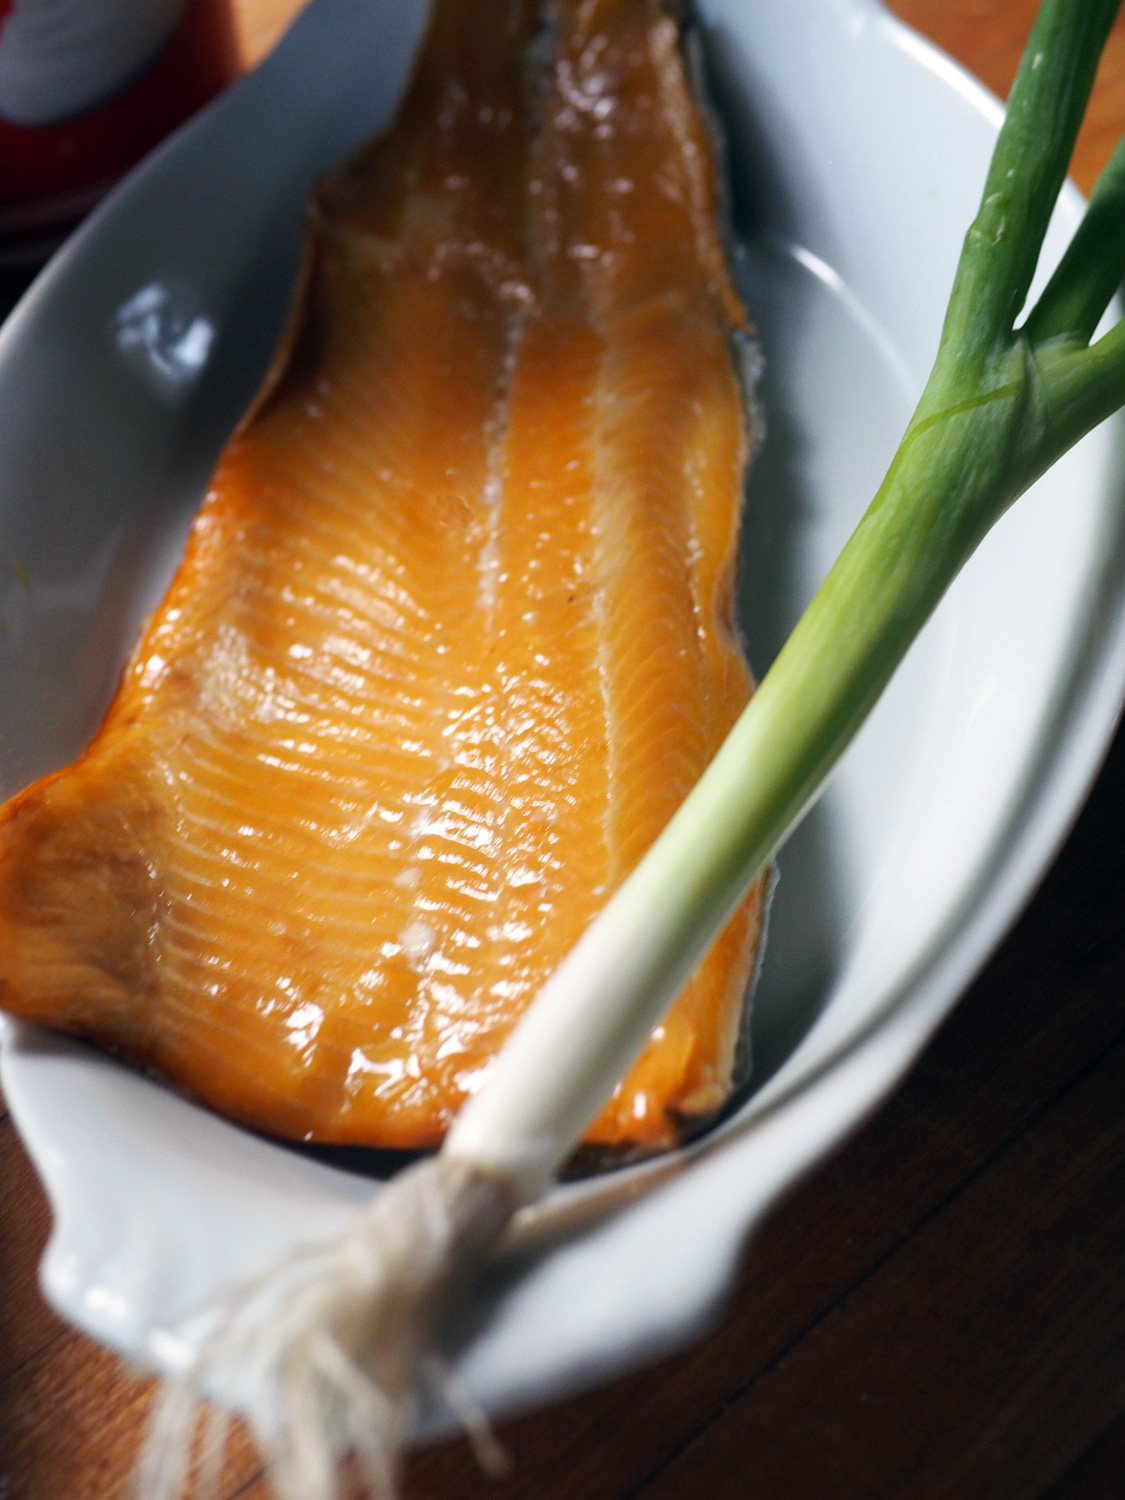
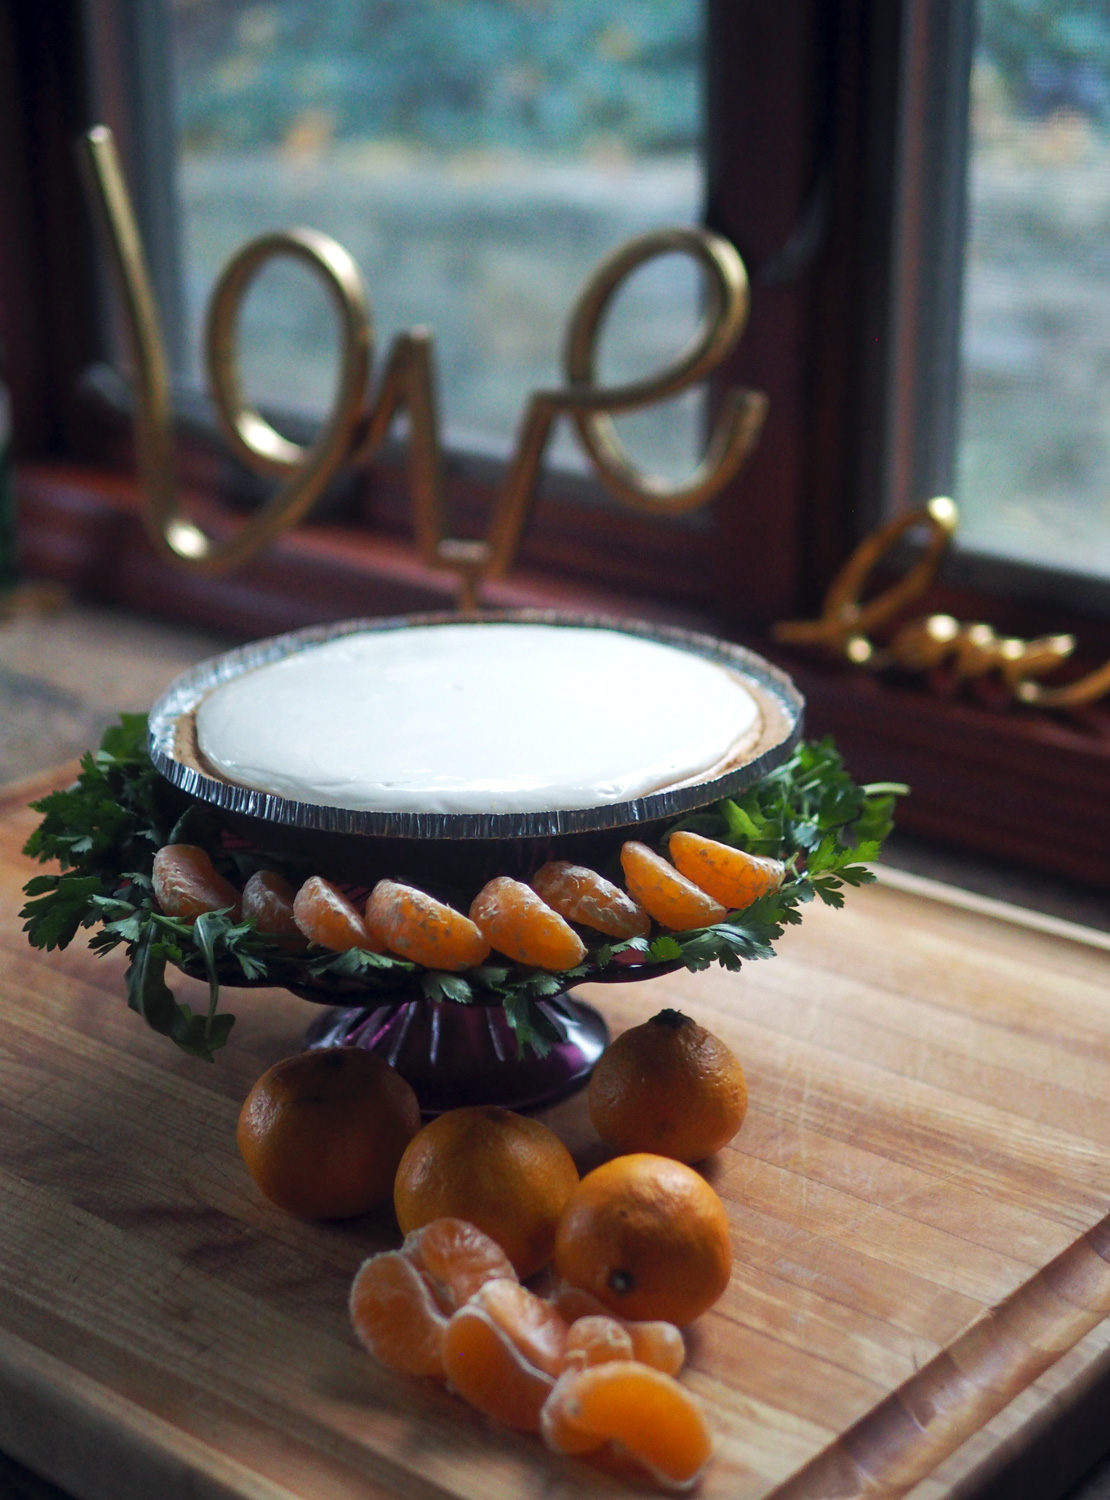
The set up for something special.
Instructions
In a mini blender, buzz up the parsley, garlic and scallions. Add the black and green olives and buzz until it creates a paste. Add olive oil and lemon juice and blend until combined. Then add the feta cheese. Since the olives and feta have enough flavor and salt content, this dip should not require any additional seasoning. But always taste to see if you need more lemon juice or oil.

Toss the scallions, garlic and parsley in.
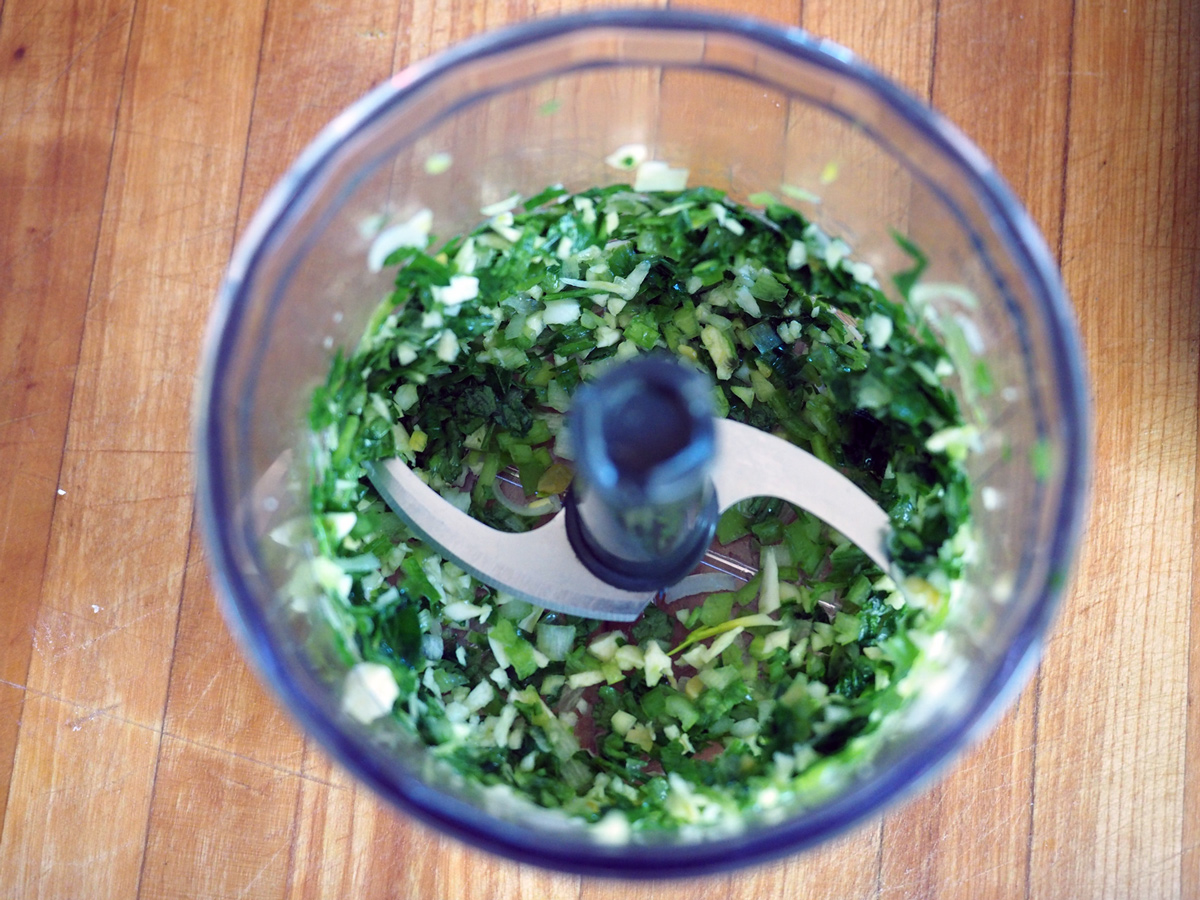
Buzz it up until coarsely chopped.
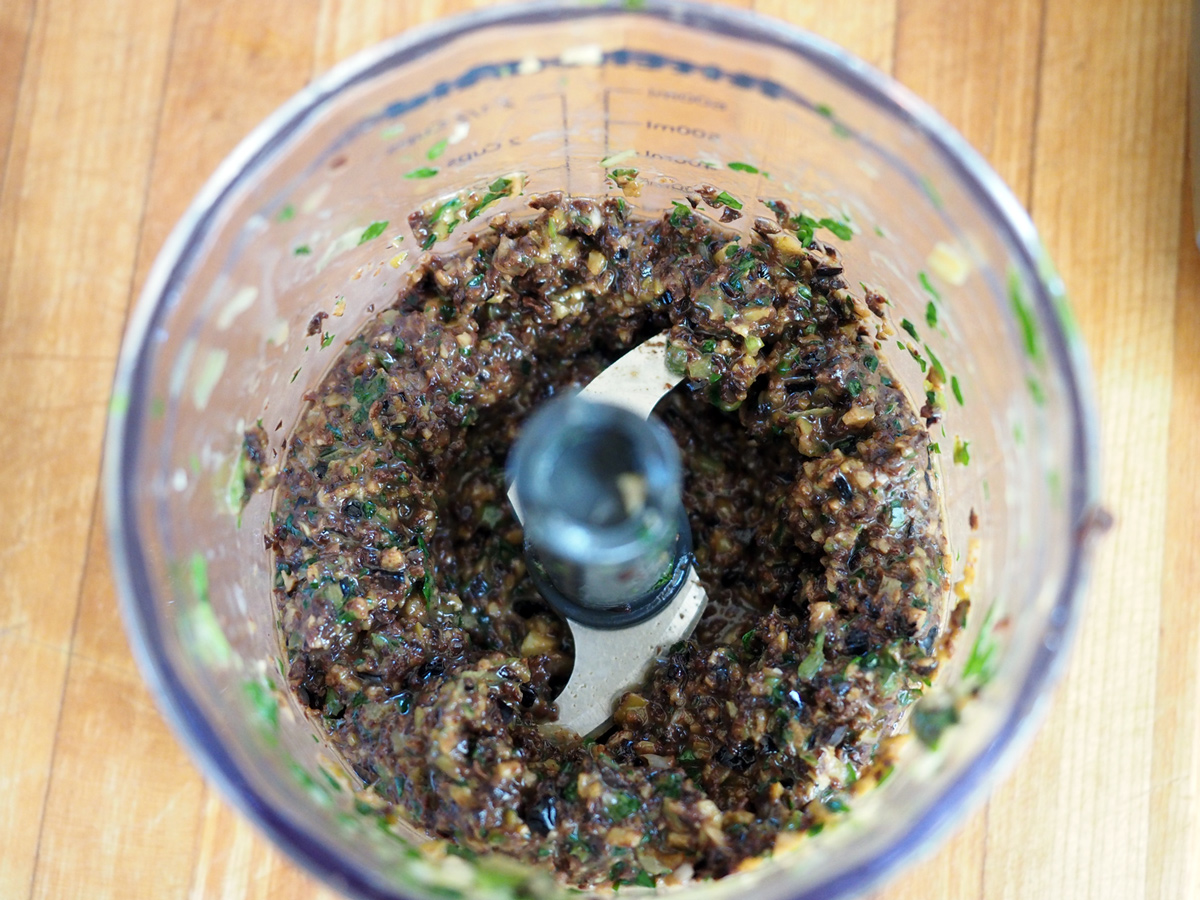
Add the olives. Then the oil, lemon juice and feta.
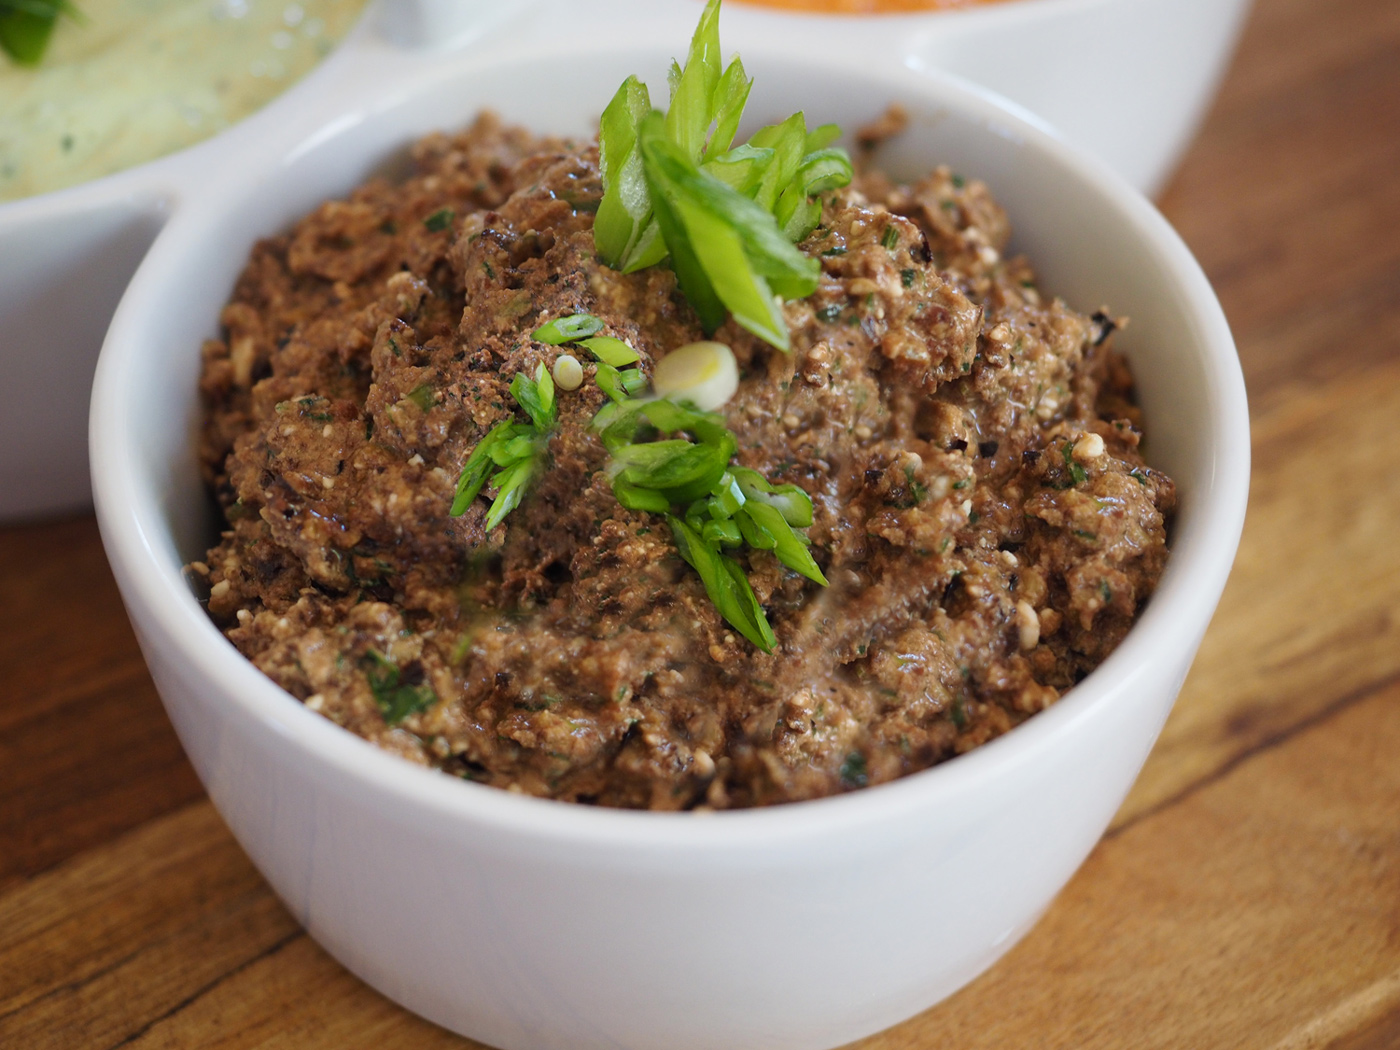
Olive tapenade with feta is a hearty dip, perfect with boiled potatoes for dipping.

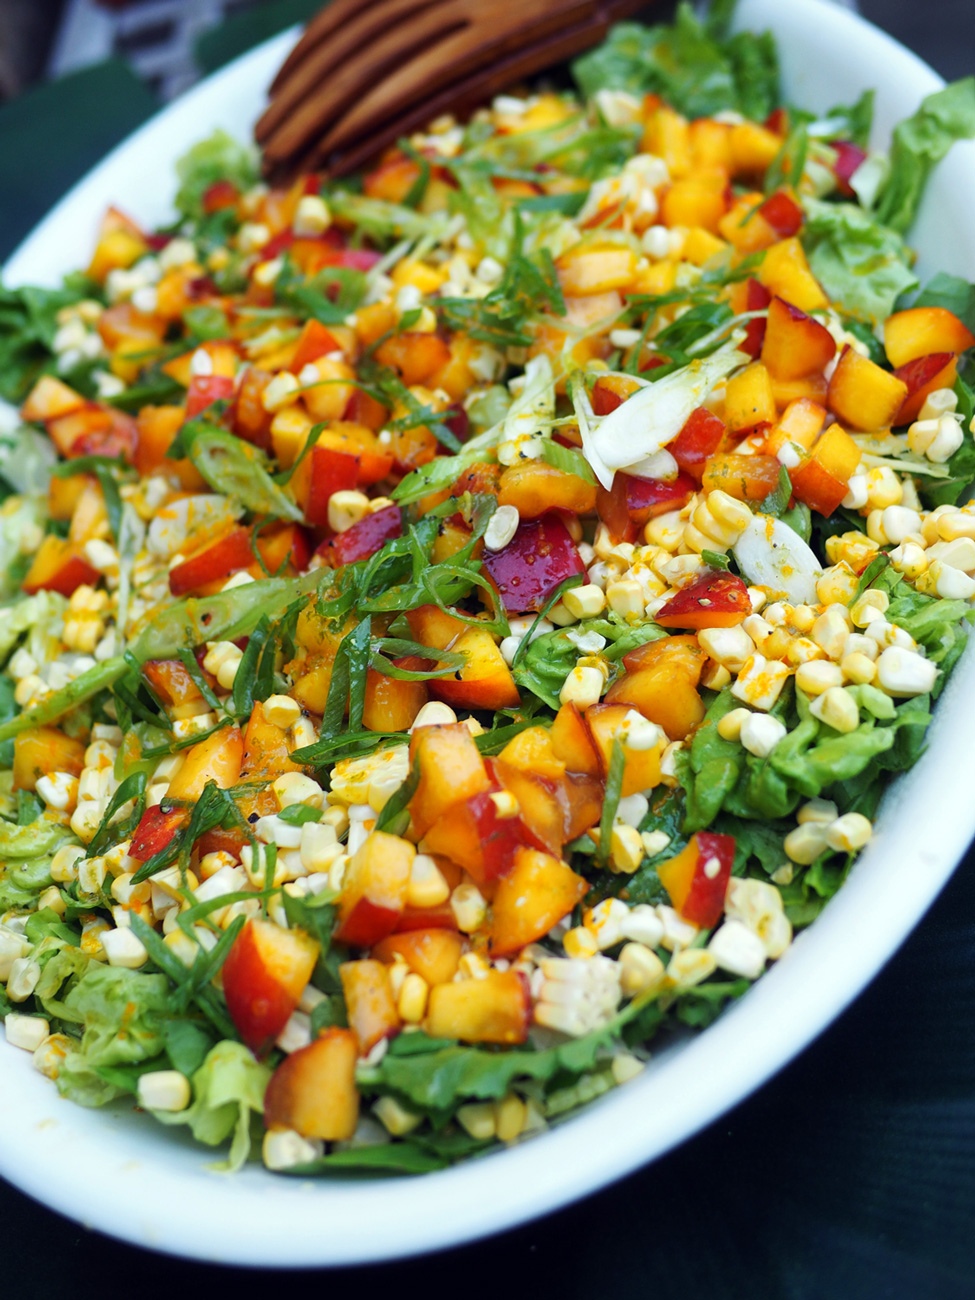
Bright, crunchy and super green string beans are a fresh and delightful addition to this platter.
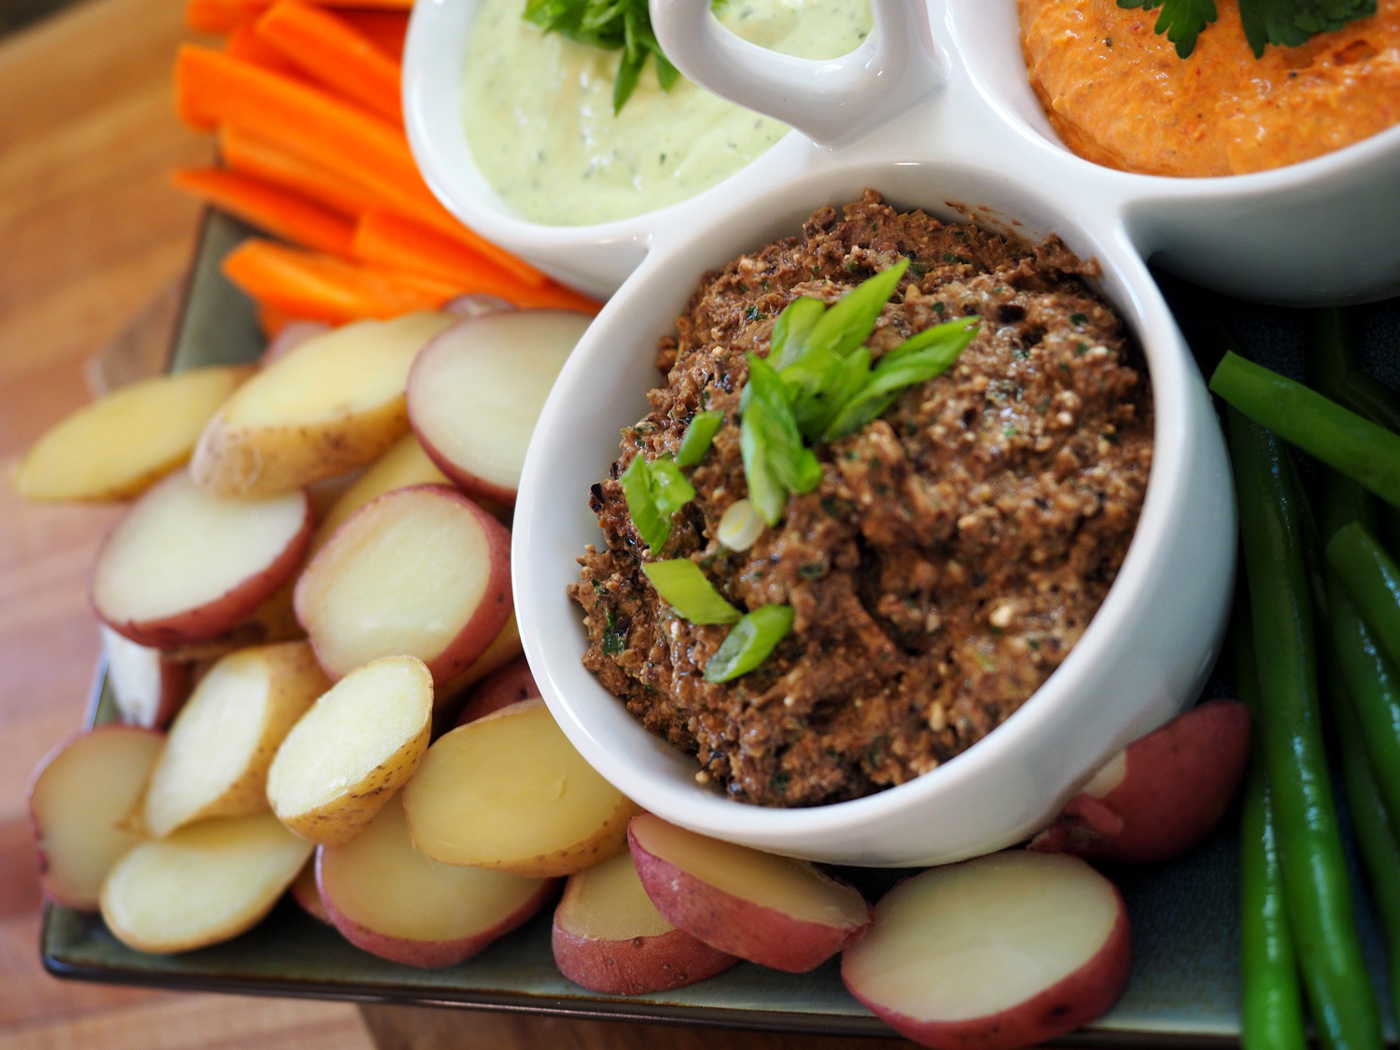
New and fingerling potatoes are the perfect size and consistency for dipping. They also make for a hearty bite.
Did you see how easy it was to whip up not one but three dips? These were just one of those days when pulling ingredients out and seeing what works together creates ramekins full of goodness.
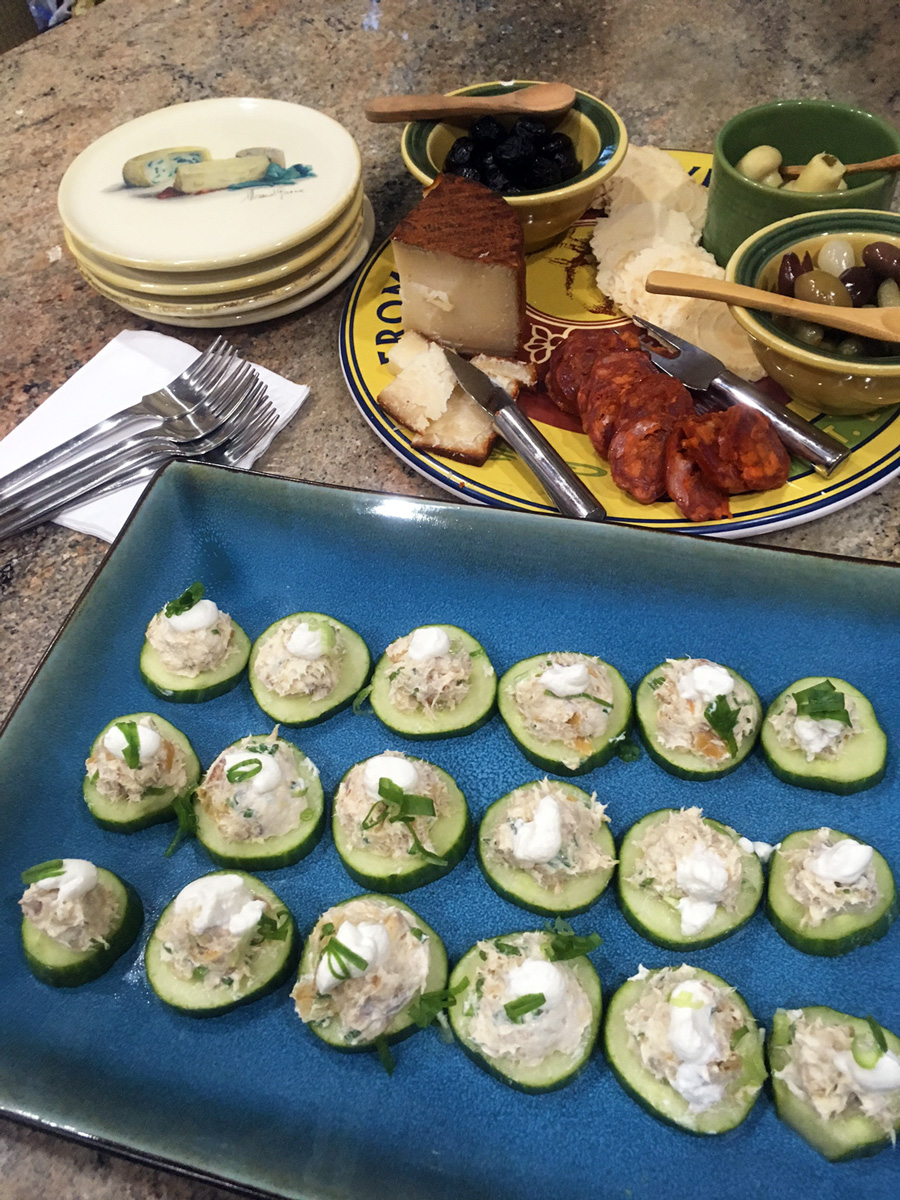
In my defense of stocking our fridge with these awesome ingredients, we had one of those ‘just in case’ moments when we needed to bring appetizers to a party. Perfect timing, I’d say, as I just finished making these dips and they were picture ready for the party. Pure evidence that having dangling participles in your fridge isn’t a luxury or a nuance but an absolute necessity. I feel redeemed and justified in my condiment collecting craze.

A colorful medley.

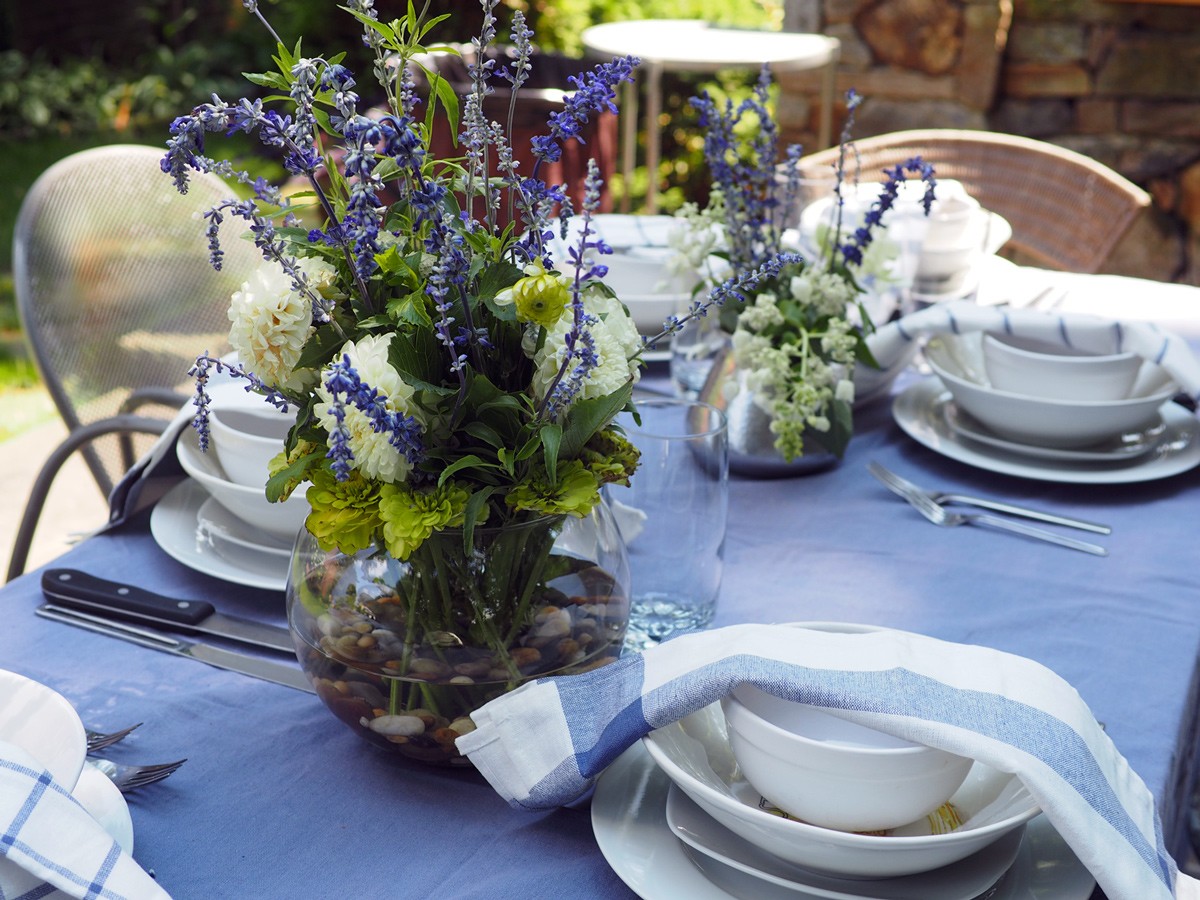
Fresh and inviting. So, go ahead and invite someone over. Pop some bubbly and dip away.
Dip, spread or dunk your way to a New and Prosperous Year.

Post Note: While I was in North Carolina visiting my nieces, my youngest niece made all 3 of these dips for us to snack on. Then we brought the leftovers to my oldest nieces newly purchased townhouse, which we helped her moved into. These dips were the perfect snack as we unpacked, unwrapped and set up her new abode. Everyone loved them. I guess these 3 dips a dipping are even more handy that I originally thought.!