You may remember way, way back I wrote about our travels to Chile and the biggest, sloppiest, oddest pork sandwich we encountered, Germany in Chile - A Super(bowl) Pork Sandwich. Thanks to the advice of the dearly missed, uber-talent of Anthony Bourdain, JuanCarlos and I visited one of his restaurant recommendations. The draw to the unusual German spot was a pork sandwich called the ‘lomito’; for what Tony described as a ‘towering monument all its own’ and delicious. And it was. (To watch the episode, and you should, visit Anthony Bourdain No Reservations. I miss him and his thoughtful insights into cultures around the world. A moment of pause for his passing.)
The sandwich was not just good because we were tired, starving and practically had lost hope on finding a place to eat. It was good because it was filled with individually good foods that seemingly didn’t go together, but somehow worked.
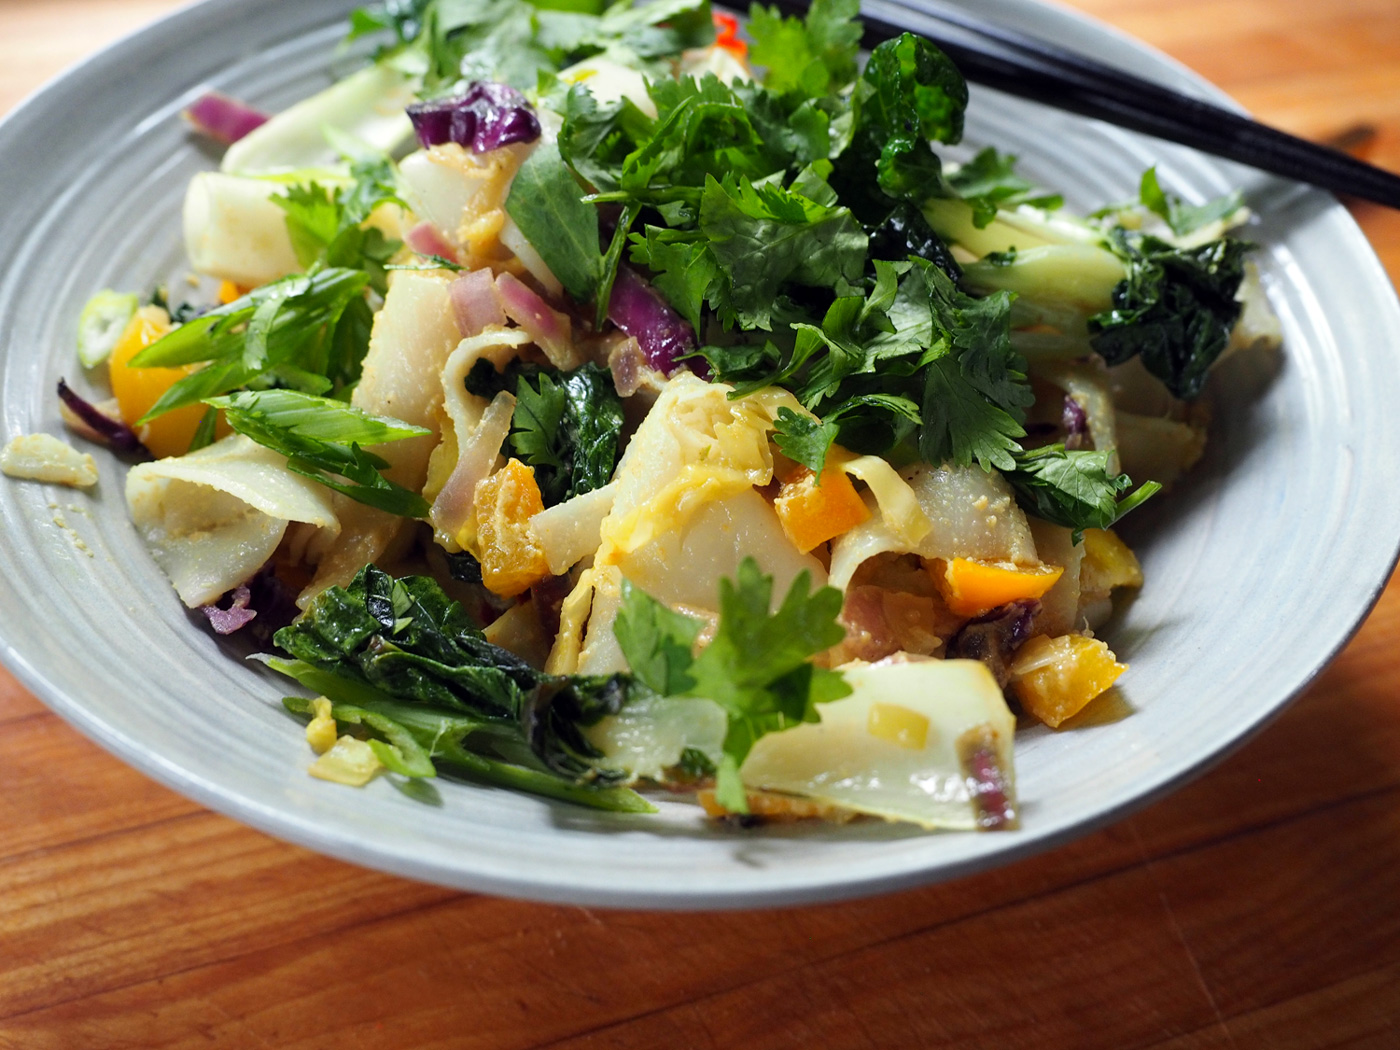
I promised way back then that I would try to recreate it. It may have taken awhile, but JC and I finally did. Mind you, this was not exactly that sandwich but it was our homage to the lomito. Nothing truly can ever be the original experience. But according to our guests, ours was delicious.
First you have to make the pork. Or you can buy cooked pork from a specialty market. You can go two different avenues - the pulled pork kind or roast pork slices. Here is what we did with JuanCarlos leading the charge on the pork as I captured his messy hands along the way. If you make your own pork, bare in mind that you have to start a day (or 2 depending on what time you need to serve it) ahead of time because once the pork is marinated it needs rest in the fridge for several hours or overnight, plus the cook time of an additional 7 hours. So, this is not one of those “let’s make pork” tonight recipes.

The spice rub line up.

The pork shoulder. Definitely a piece of meat you can lean on.
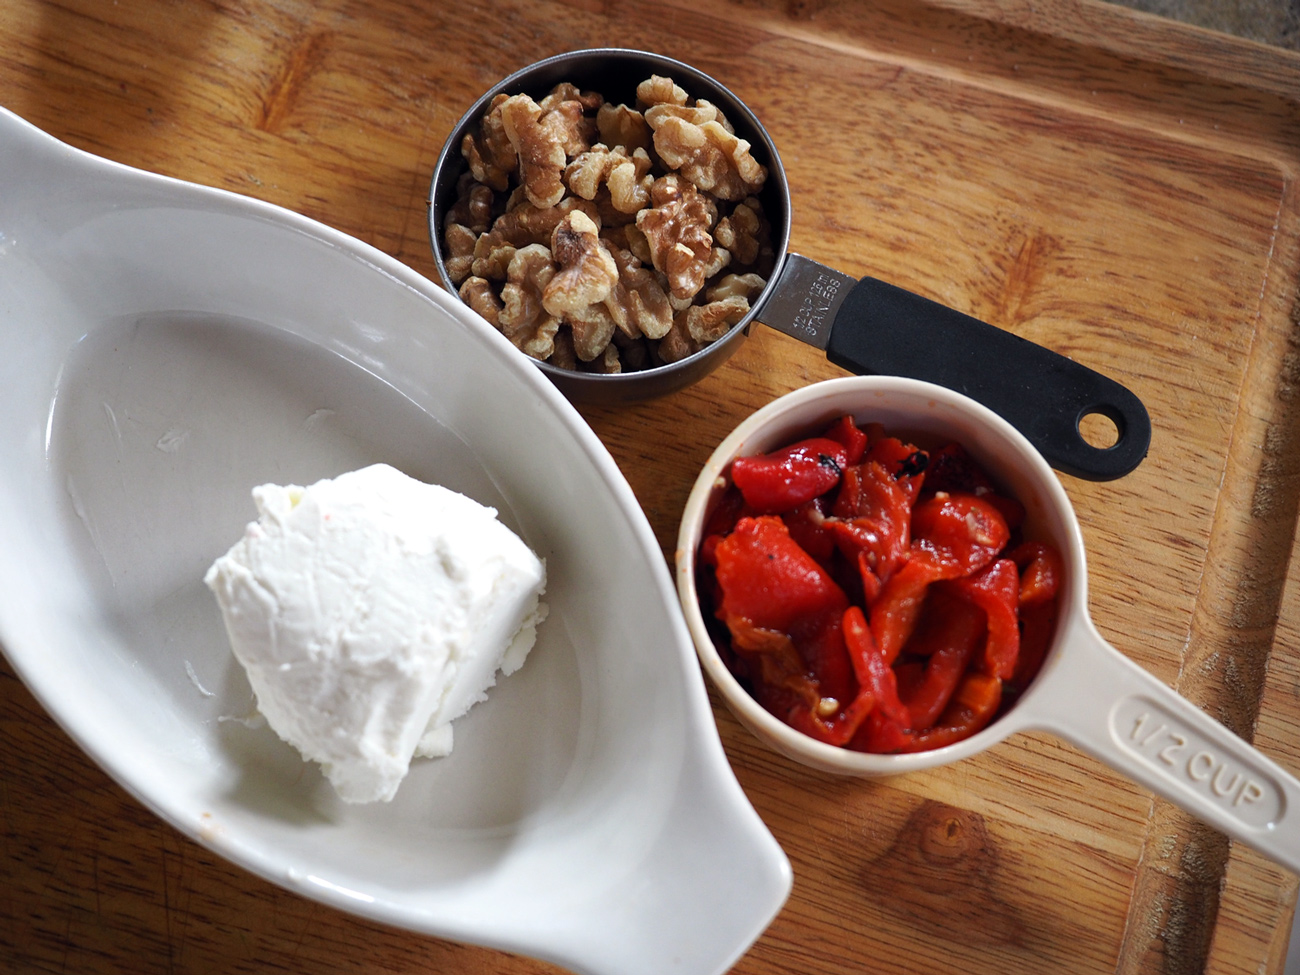
Ingredients
We used Ree Drummond Pork Recipe as a guide, but added a few of our own ingredients. Below were the amounts we used. Follow the linked recipe for cooking. JC made two modifications. He didn’t refrigerate overnight, and he cooked the pork for only 6 hours. This gave us pork slices instead of shreds but I would be careful doing it this way as it is easy to run the risk of the pork not being tender. If you are experienced with cooking pork shoulder, go ahead. If not, I would recommend cooking it according to the Ree’s recipe to get the pull of the pork. Also, we did not use BBQ sauce. We only used the luscious juices that it produced along with the onions.
For the Pork Roast
1 Pork Shoulder roast
1 t Cayenne
1 T Chili Pepper
1 t Cumin
2 T Anise Seeds
1 T Paprika
Bay Leaves
1/3 c Garlic
1/2 c Sugar in the Raw
1 heaping T salt
1 t freshly ground black pepper
4 onions, cut into halves
For the Sandwich Fixings
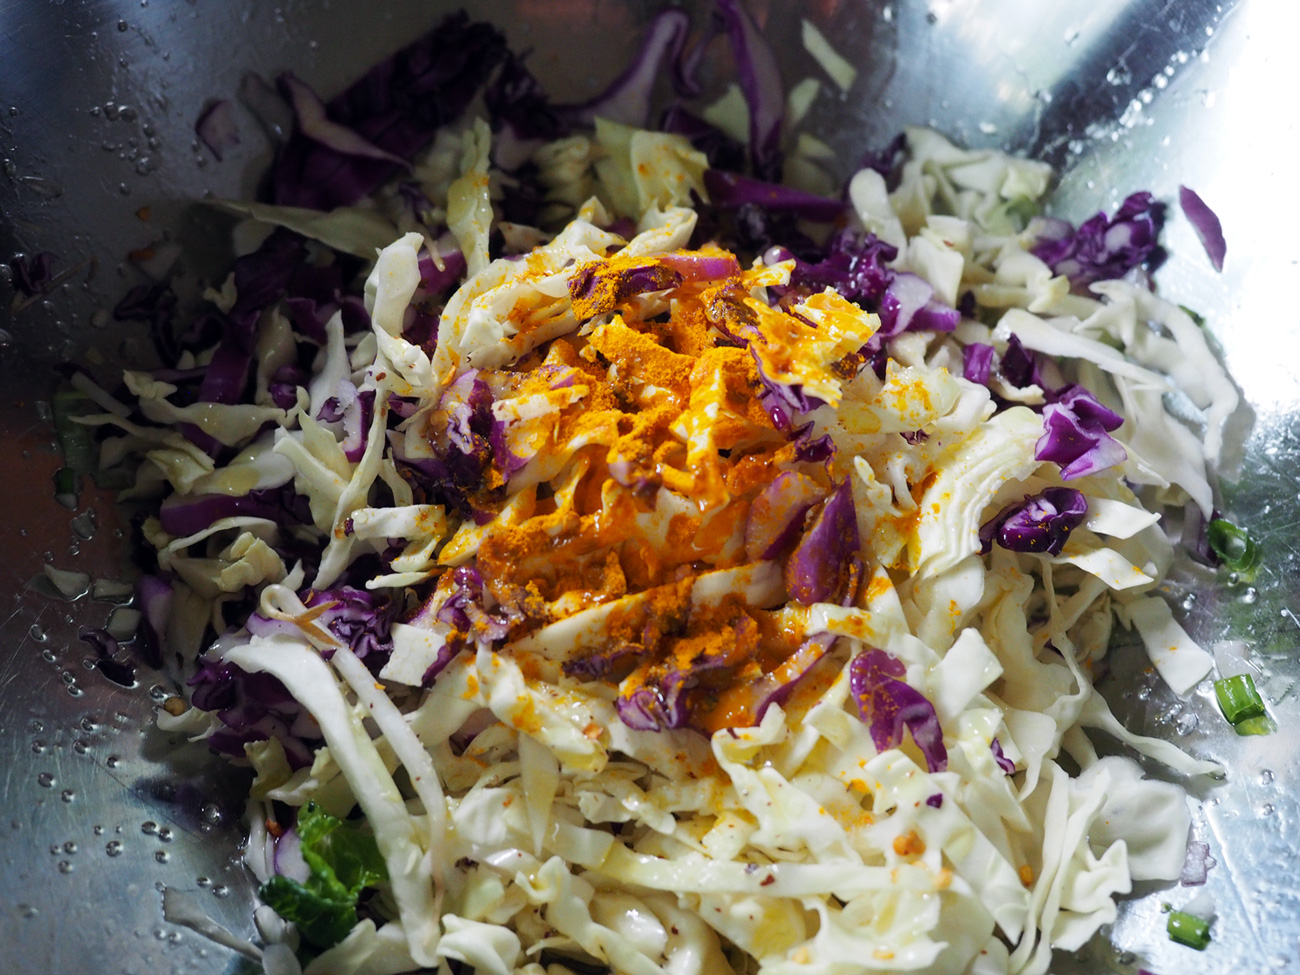
Spicy Slaw
Guacamole (store bought)
Mayo or Yogurt Lemon Sauce
Sautéed Peppers & Onions
Buns
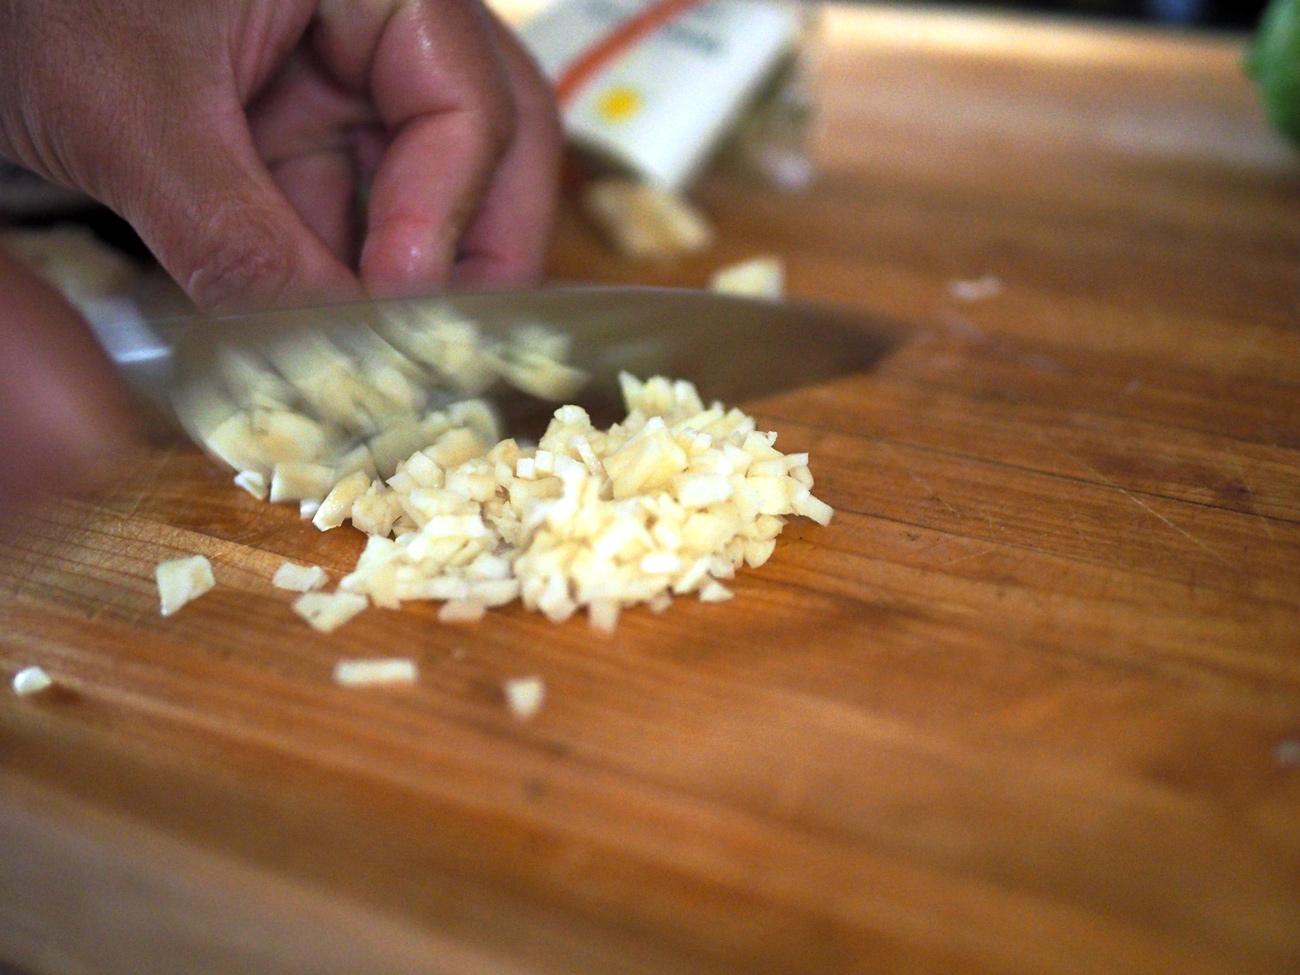
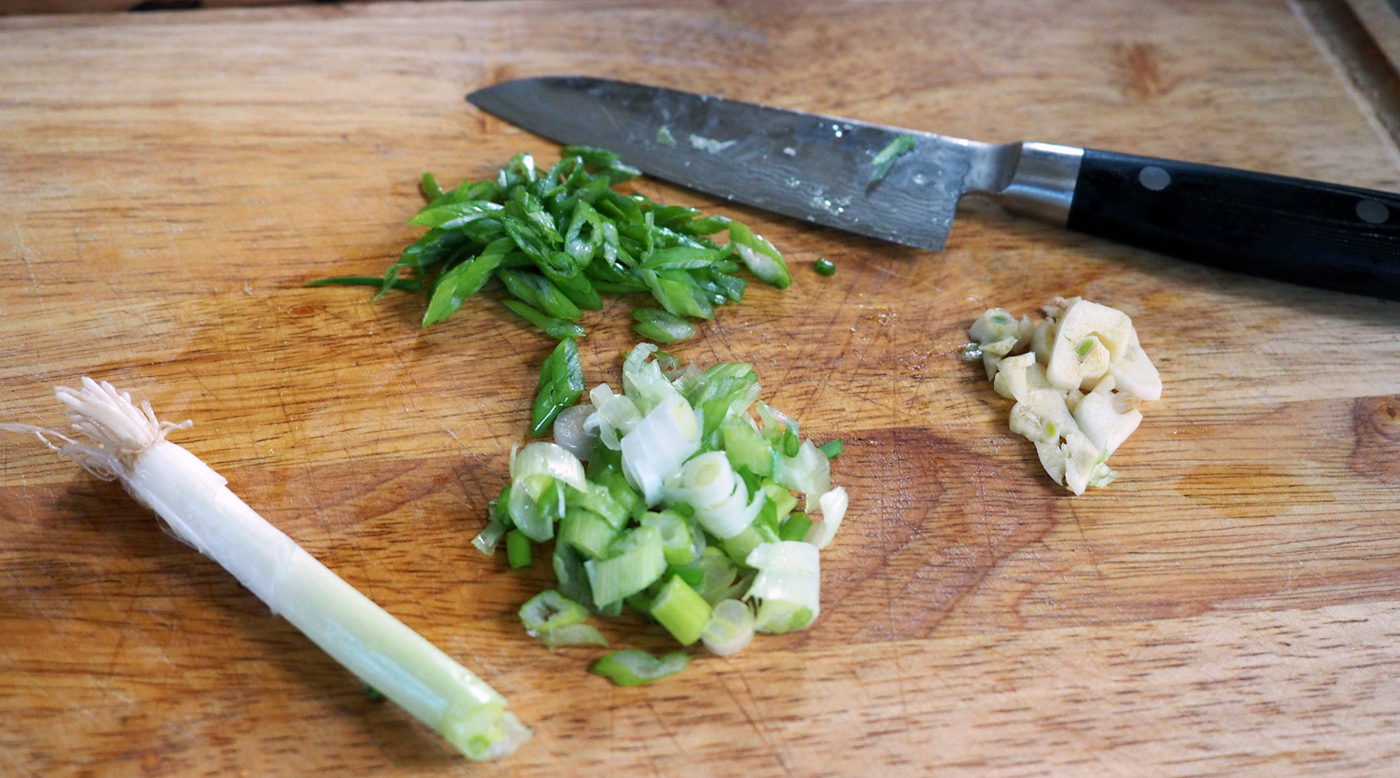
We used fresh garlic.


After you have all the ingredients mixed together, lovingly rub the mixture ALL over (front and back) the pork. Then wrap it in plastic wrap and refrigerator for several hours or overnight.

Rub-a-dub-dub, Rub it with love.

Then place the pork in a large roasting pan on a bed of the onion halves and cook in a 300 degrees F. Roast until fork-tender and falling apart, about 7 hours. Remove the pork from the pot and set it on a cutting board. Slice some of the onion.
While you are waiting for the pork to cook, move on to making all the fillings. I decided that instead of the limp string beans, I would make a slaw. I used my Spicy Crunch Slaw recipe which I knew both the crunch and spice would work well with the pork. I bought guacamole because frankly I had way too many other things to make, and a good store bought one can be delicious. I made caramelized peppers and onions, and created my own type of ‘mayo’. I used half mayo, half greek yogurt with lemon juice to thin it a bit, salt and pepper, but you can use mayo if that’s your groove. Once I gathered all the ingredients, all that was left to do was to pile them onto a soft bun.

Everyone was ready and waiting to be piled on.
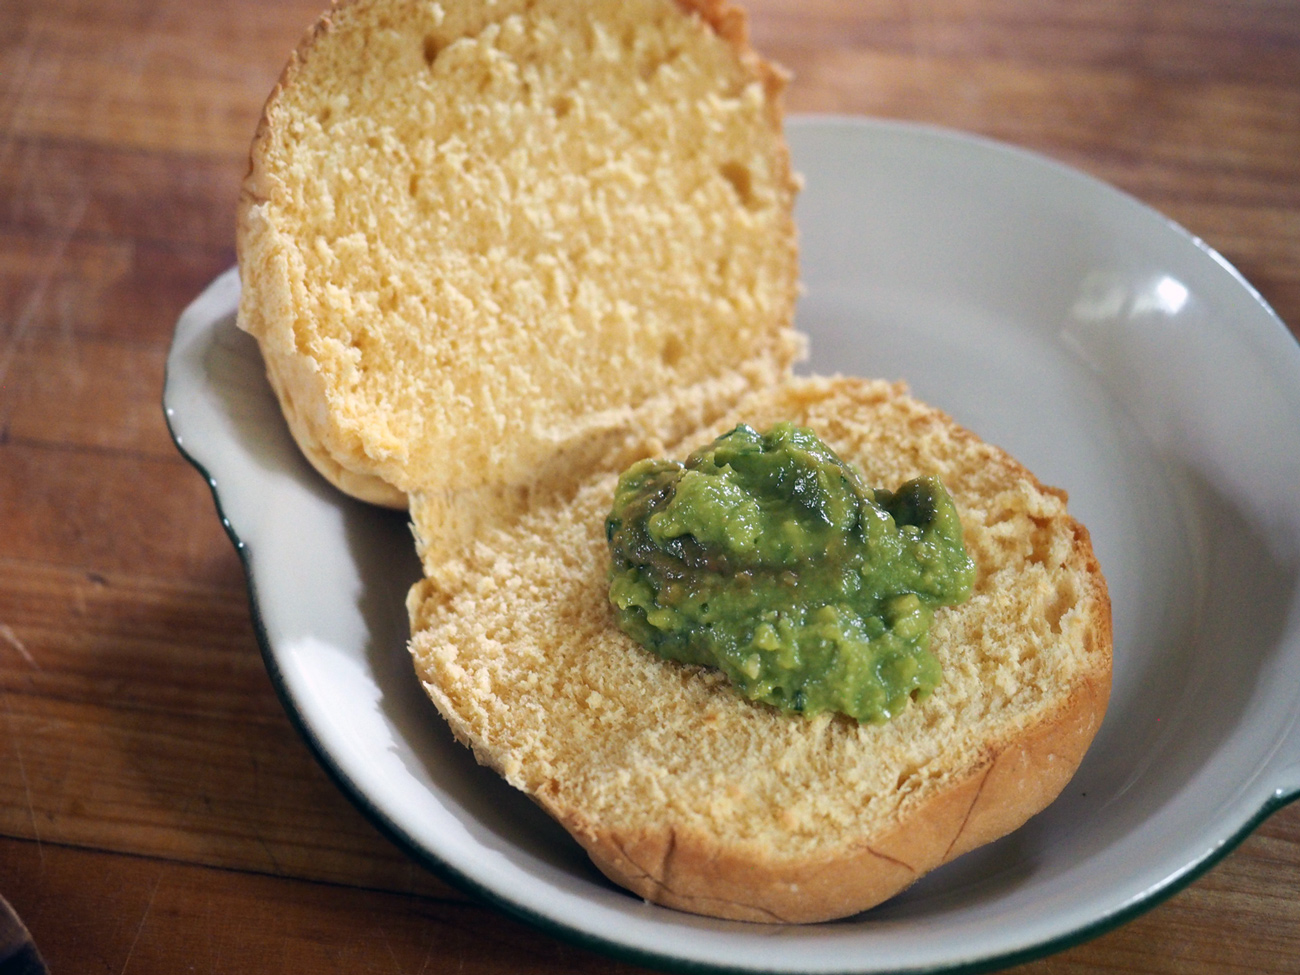
Guac first

Start piling on the flavors. I think the slaw works nicely with the guacamole.

Pork and onions.
Creamy and tangy mixture of mayo, yogurt, salt and pepper.

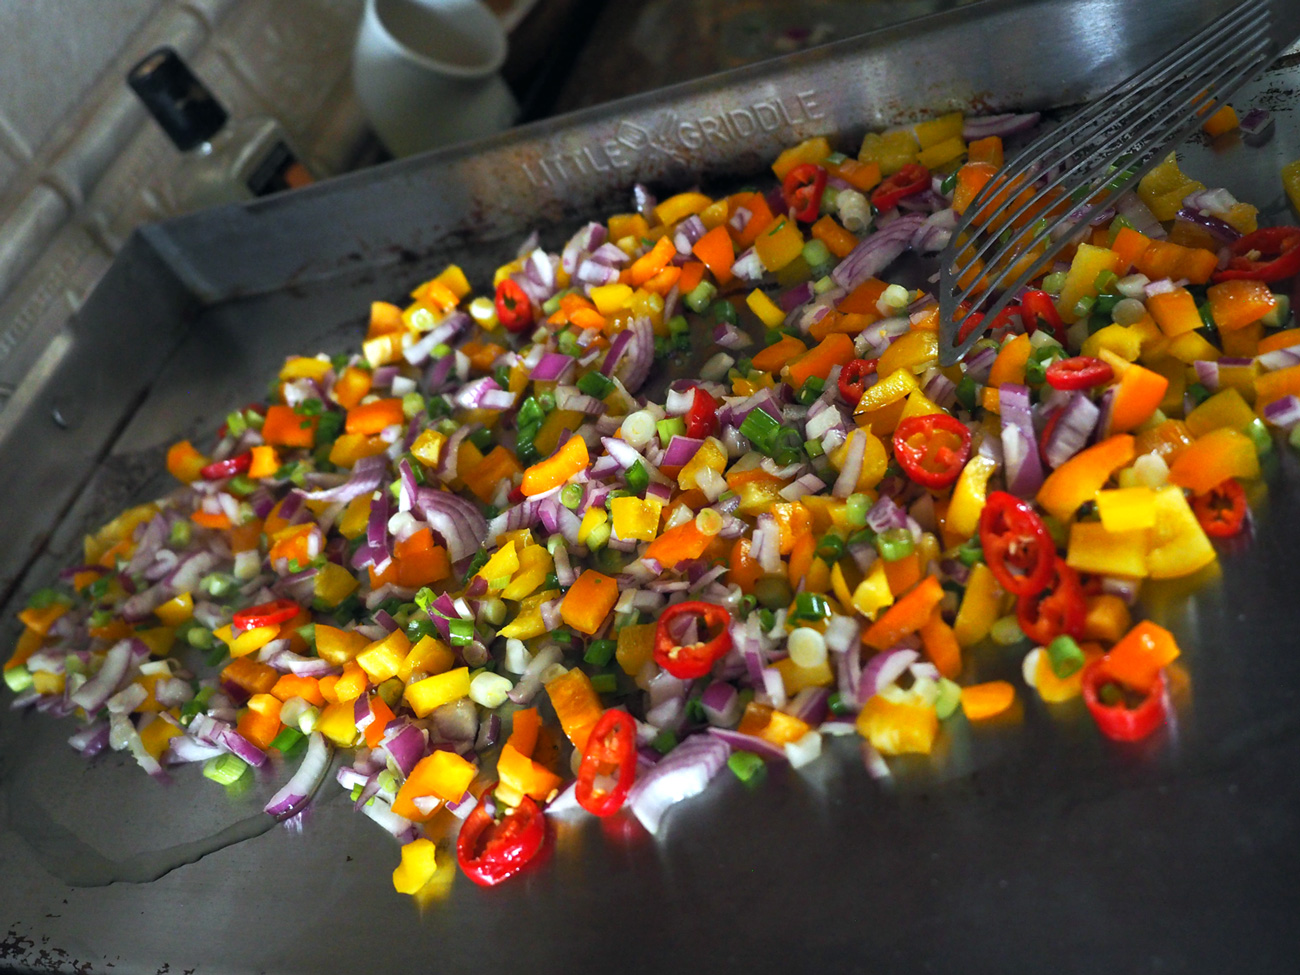
Sautéed peppers & onions.Simply slice them thin and slowly sauté them in oil and butter until they are soft and caramelized. Salt/pepper, too.

A platter full of pork with luscious juices and soft, flavorful onions.

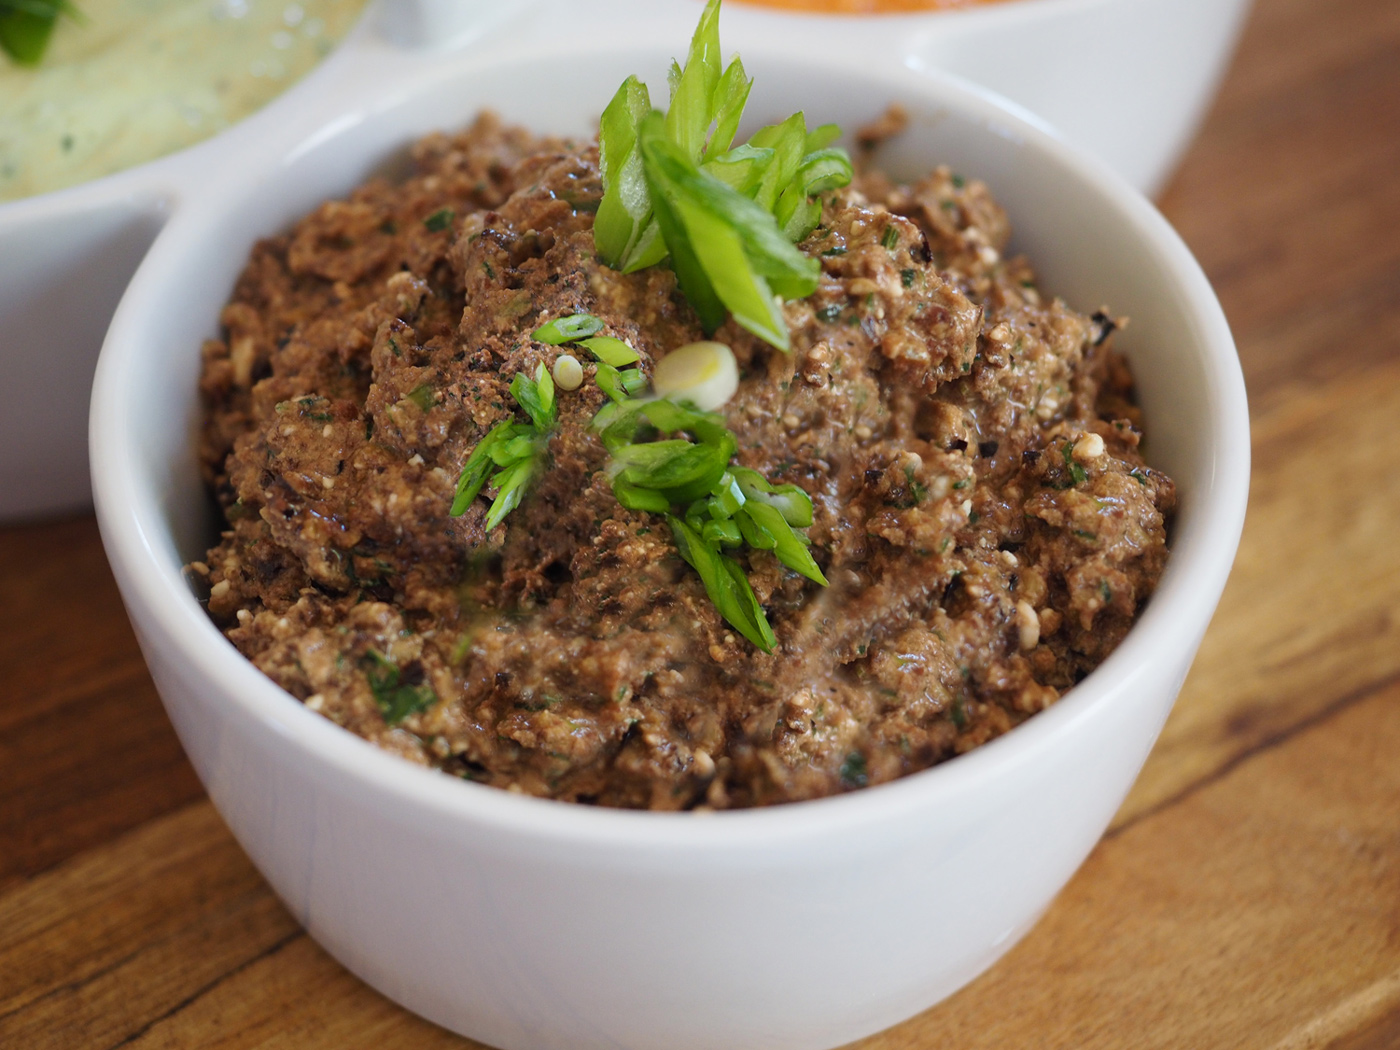
Funny enough, my original blog post suggested that this was a Super(bowl) of a sandwich and I posted right before SuperBowl Sunday thinking you might serve it for the big game. And now, I am posting my recreation again right before the SuperBowl. So, now you can serve up this ‘towering monument’ of pork to your cheering fans. You may also want to include a charcuterie/cheese platter, as I did. A few other ideas for game day; maybe make my 3 Dips or my Tapenesto. Great choices for a crowd. No matter what you serve, you are a winner in my book.