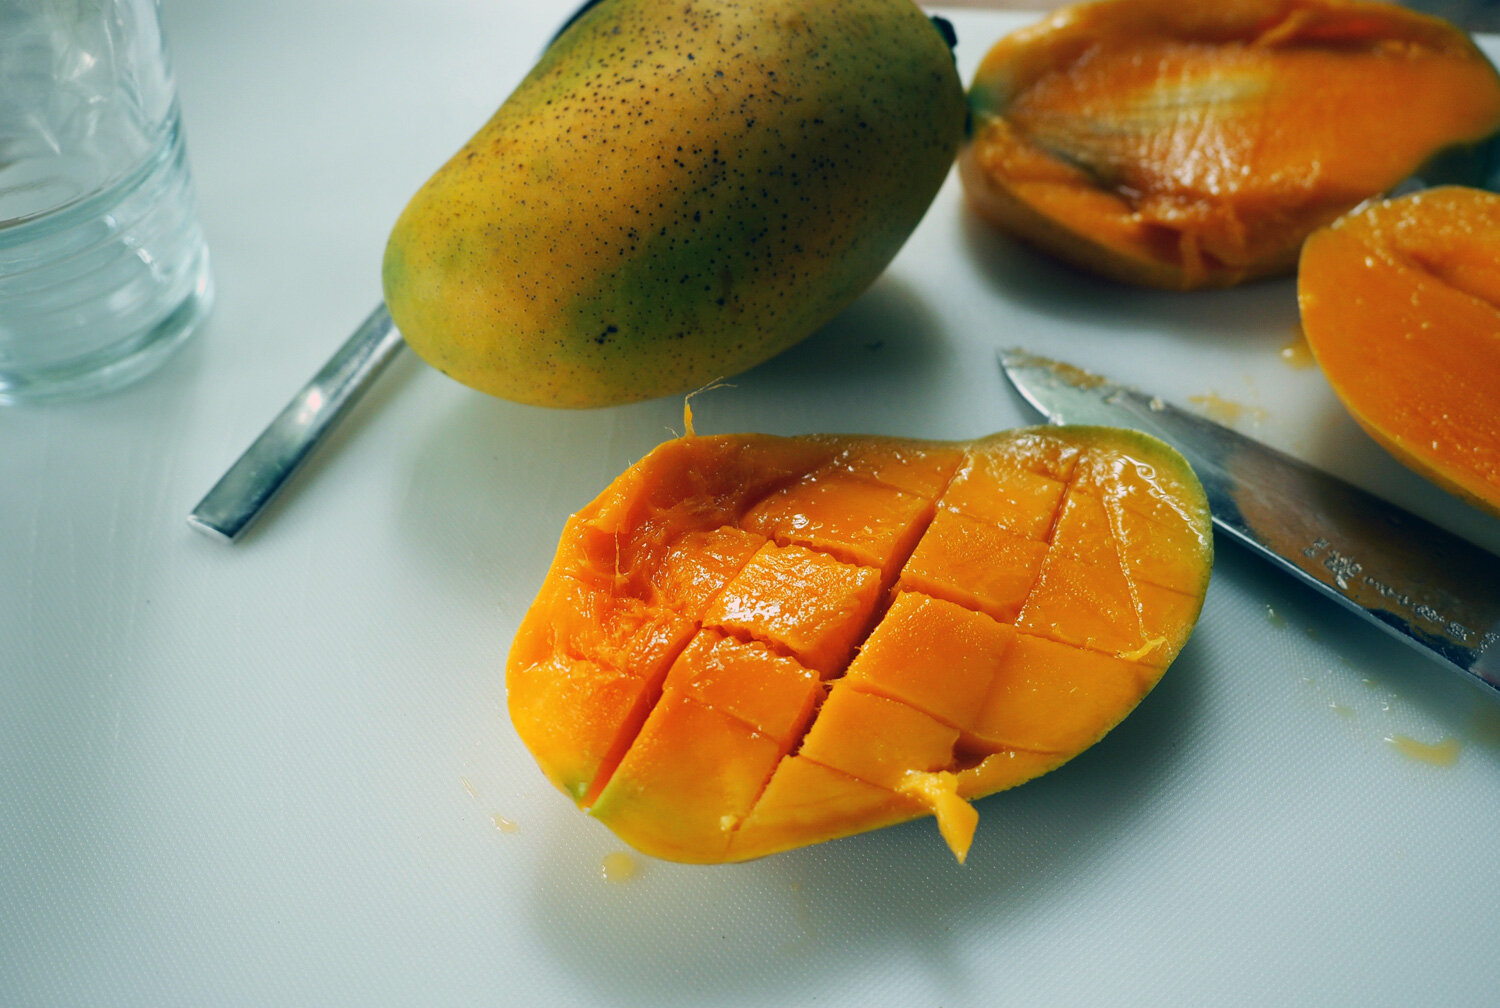
This idea literally presented itself to me while I was making gluten free pancakes for Sunday breakfast. As I was pouring the batter I was sorting out in my head, “Should I make a few to eat now then freeze the rest of the batter? Or should I make them all and freeze them for future use?” But while my brain was doing its usual mental gymnastics, a few small drops hit the pan forming baby pancakes. That’s when it hit me. I could make tiny little blini like discs and use them as vehicle to get different toppings in my mouth. Cracker gold. As you know, I am yeast and gluten free, so options for crackers, bread or any type of food holding device is limited for me. These gluten free pancakes would be perfect in the miniature size. And so I made the rest of the batter into small discs.


A mountain of mini pancakes
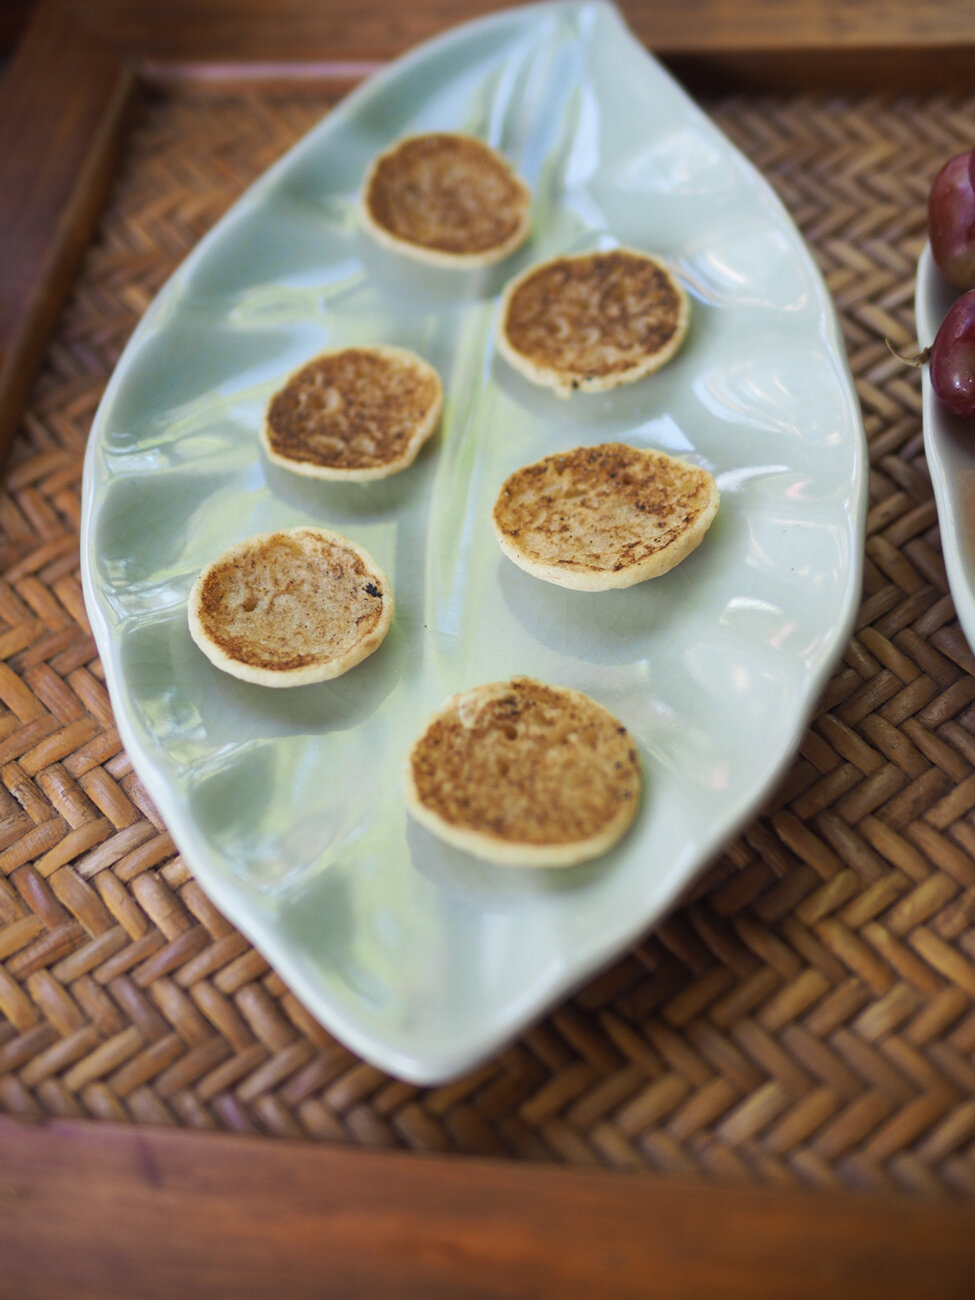
Clearly a cup and half of batter makes plenty of mini pancakes. Naturally, I needed some for this blog post, but the rest I pop these in the oven and eat them for breakfast with almond butter and strawberry jam.

Quick and easy, Arrowhead Mills Gluten Free Pancake Mix.
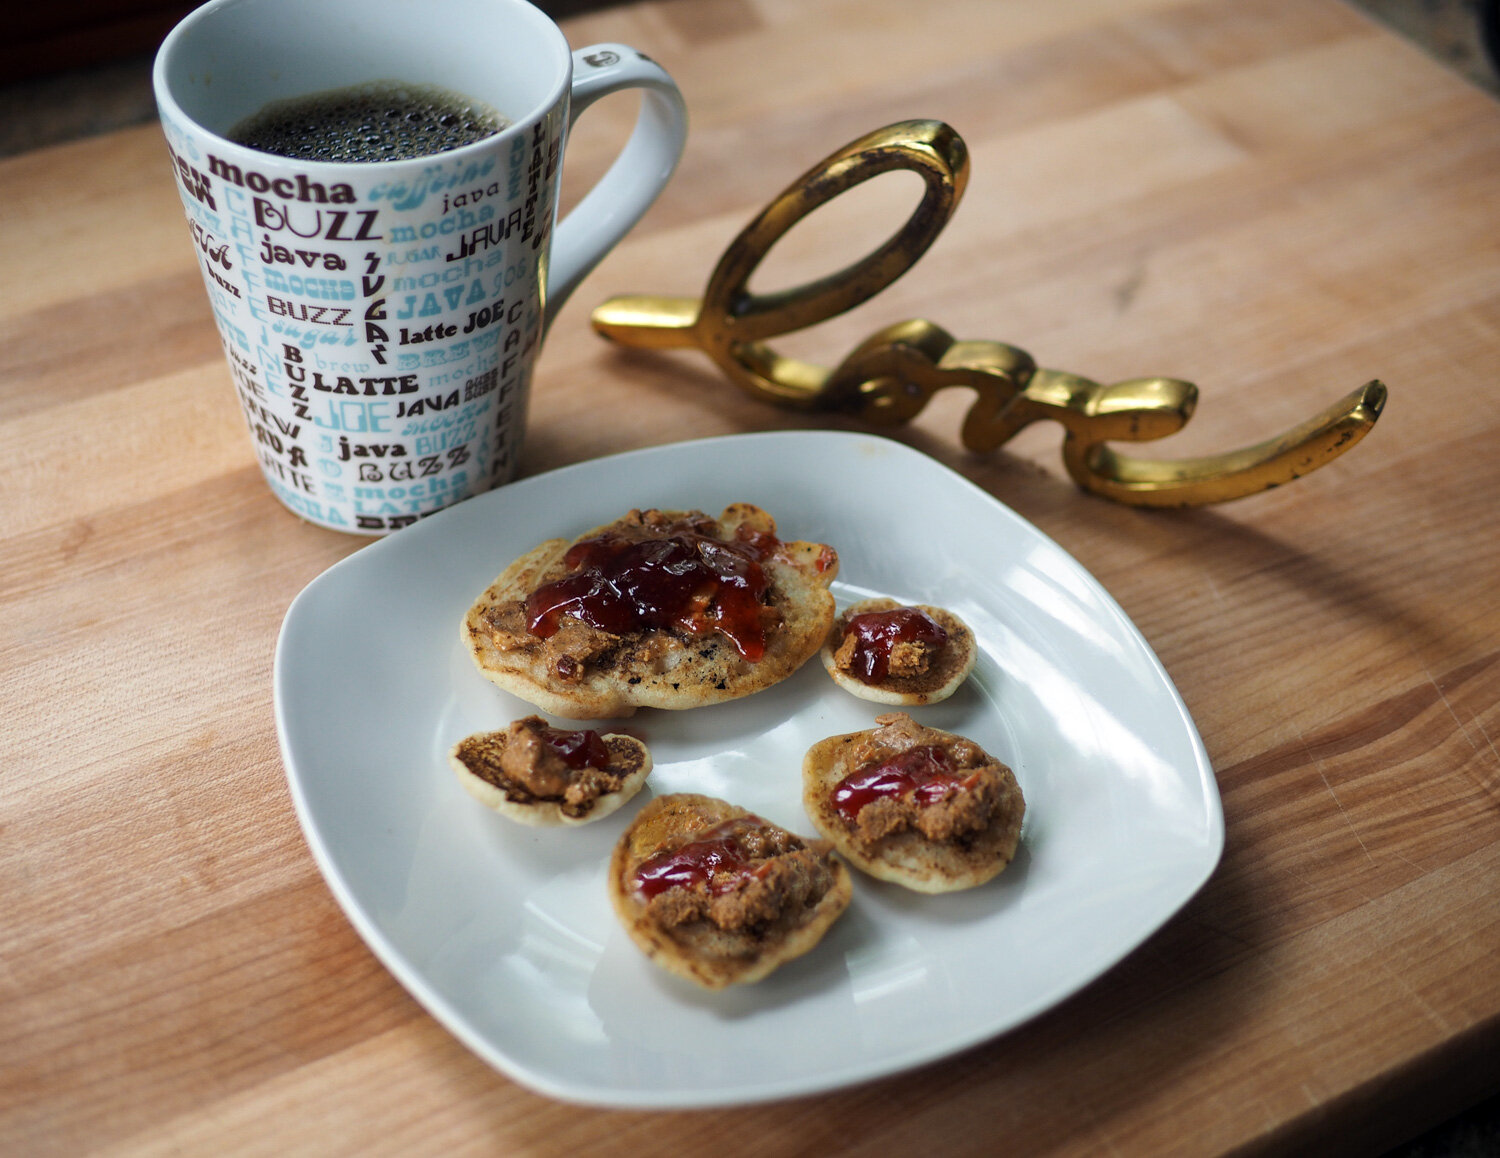
This ended up being my breakfast that Sunday. I topped them with almond butter and strawberry jam. It was very delicious.
My very next thought was how will this help you, my readers. Immediately, I thought of Mother’s Day, and how this year would be a tad different. Knowing that it might be a smaller event with just the immediate core family, why not create small little bite sized treats for mom. Plus the kids will love to pop these in the mouths, too. I used gluten free but certainly the same idea applies for regular pancake mix. Instead of a big stack of pancakes, opt for these delicate little versions and top them with a variety of breakfast goodies that will give Mom a pancake tasting plate. A few ideas:
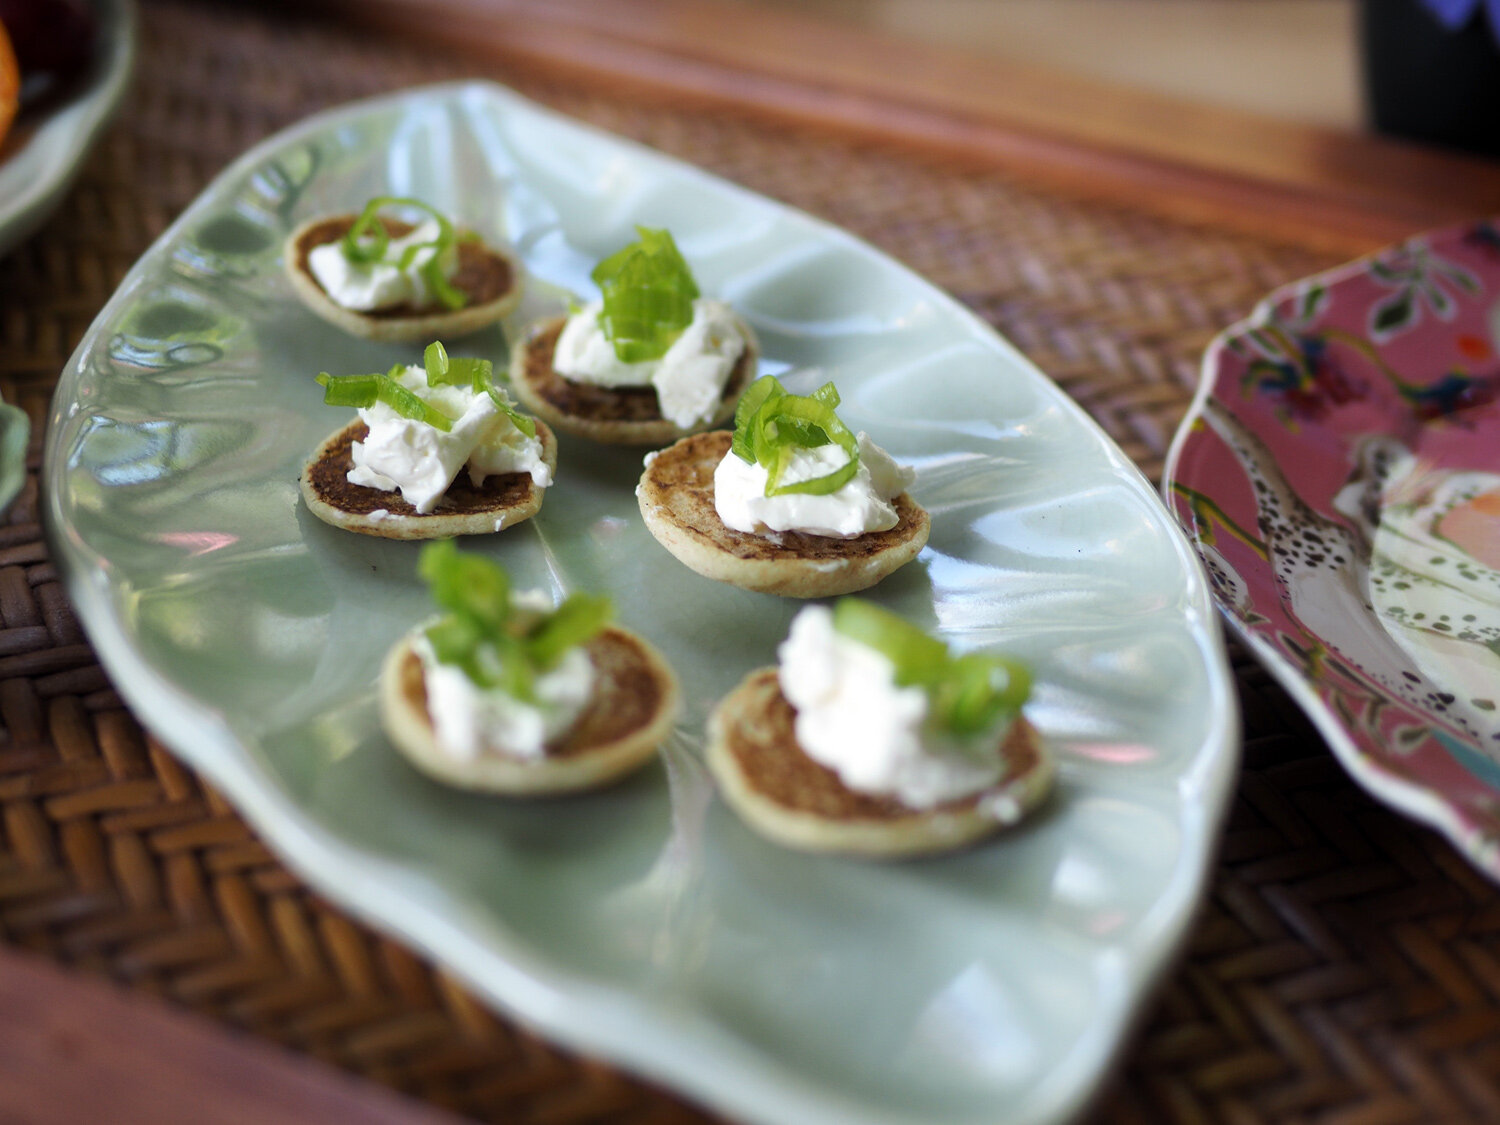
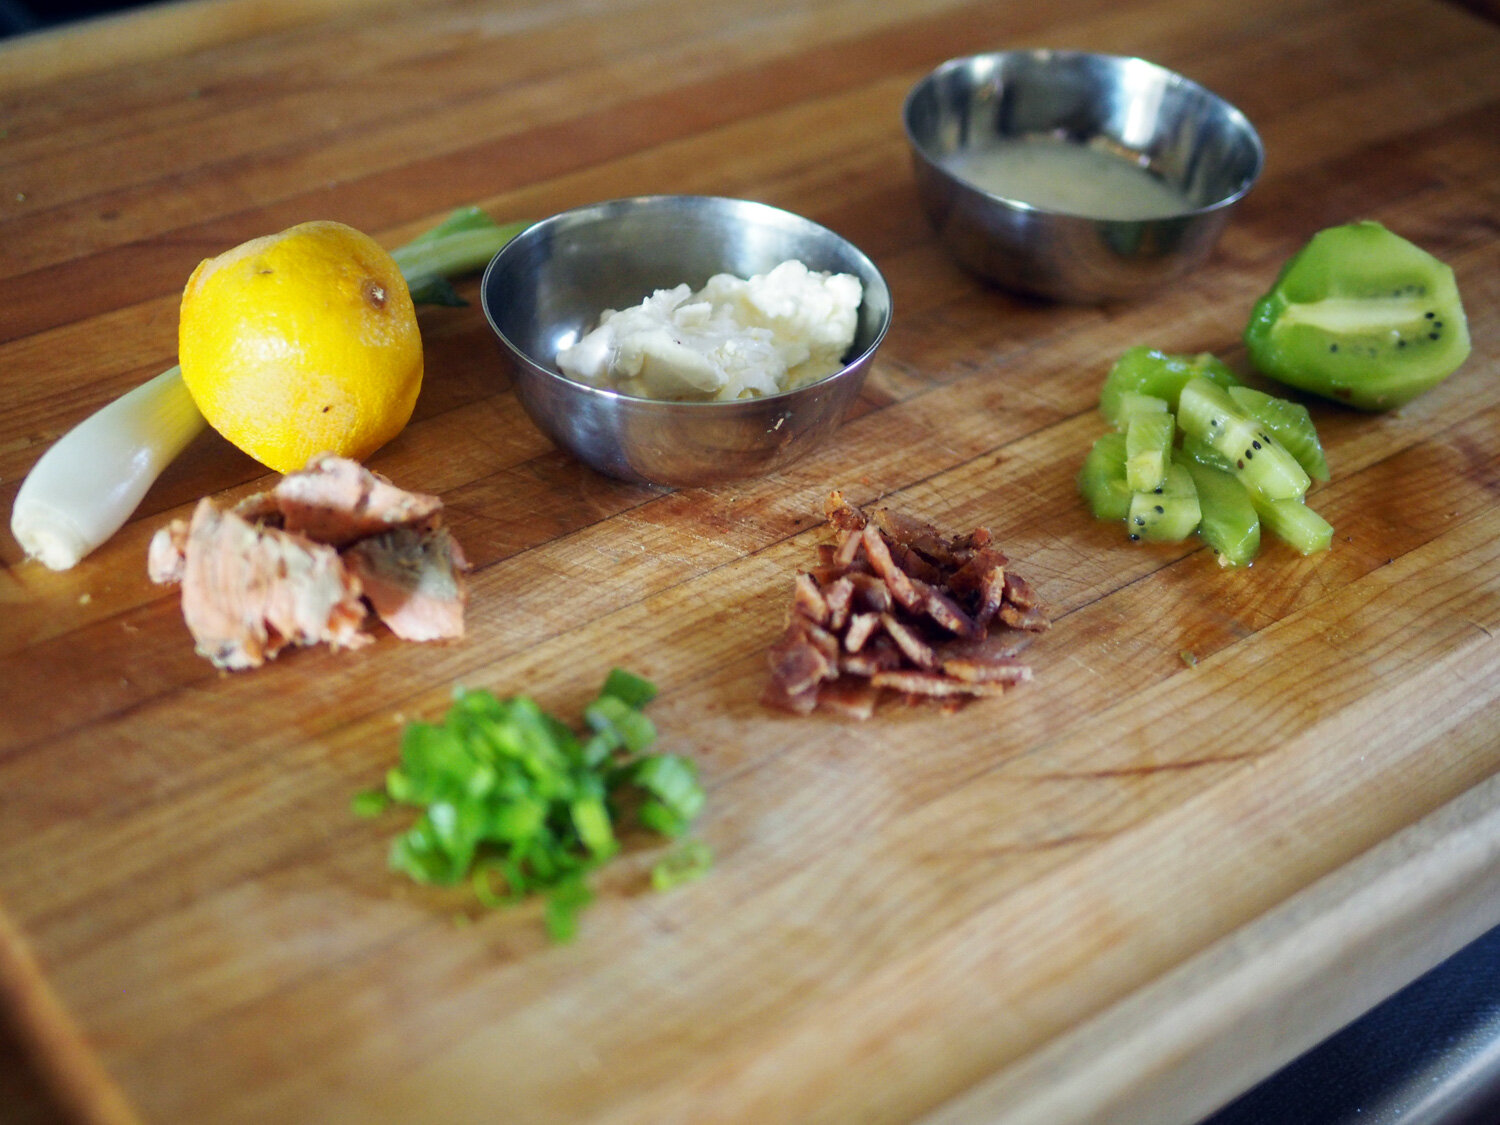
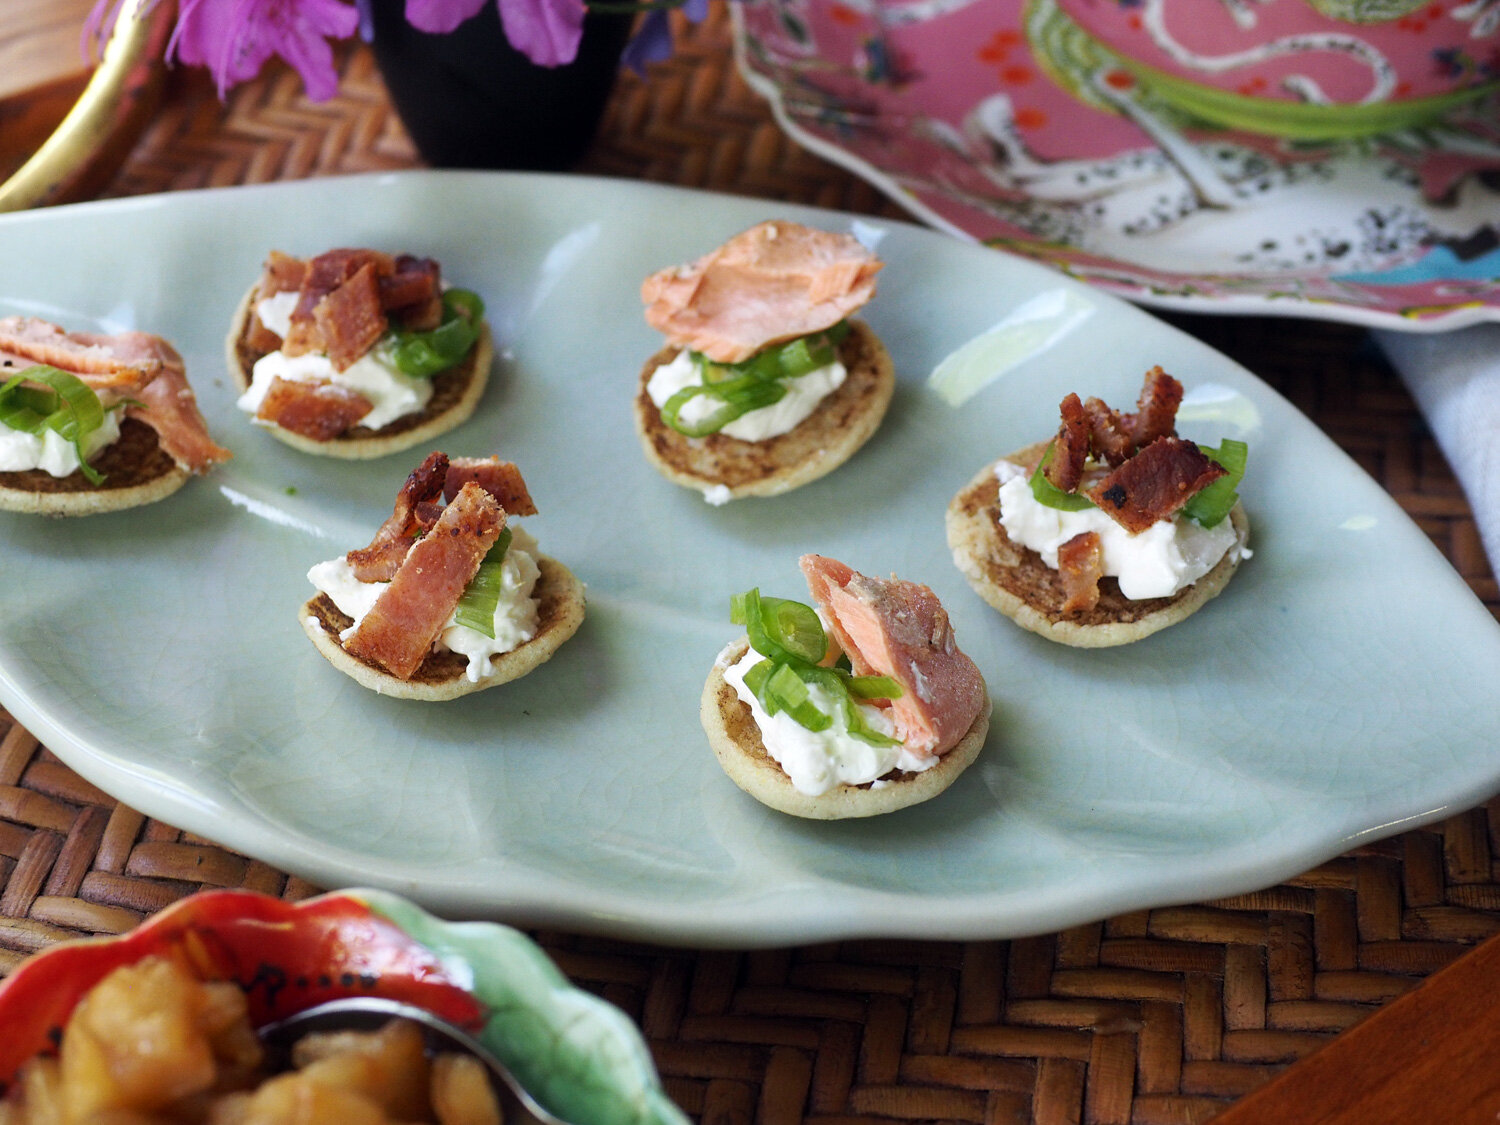
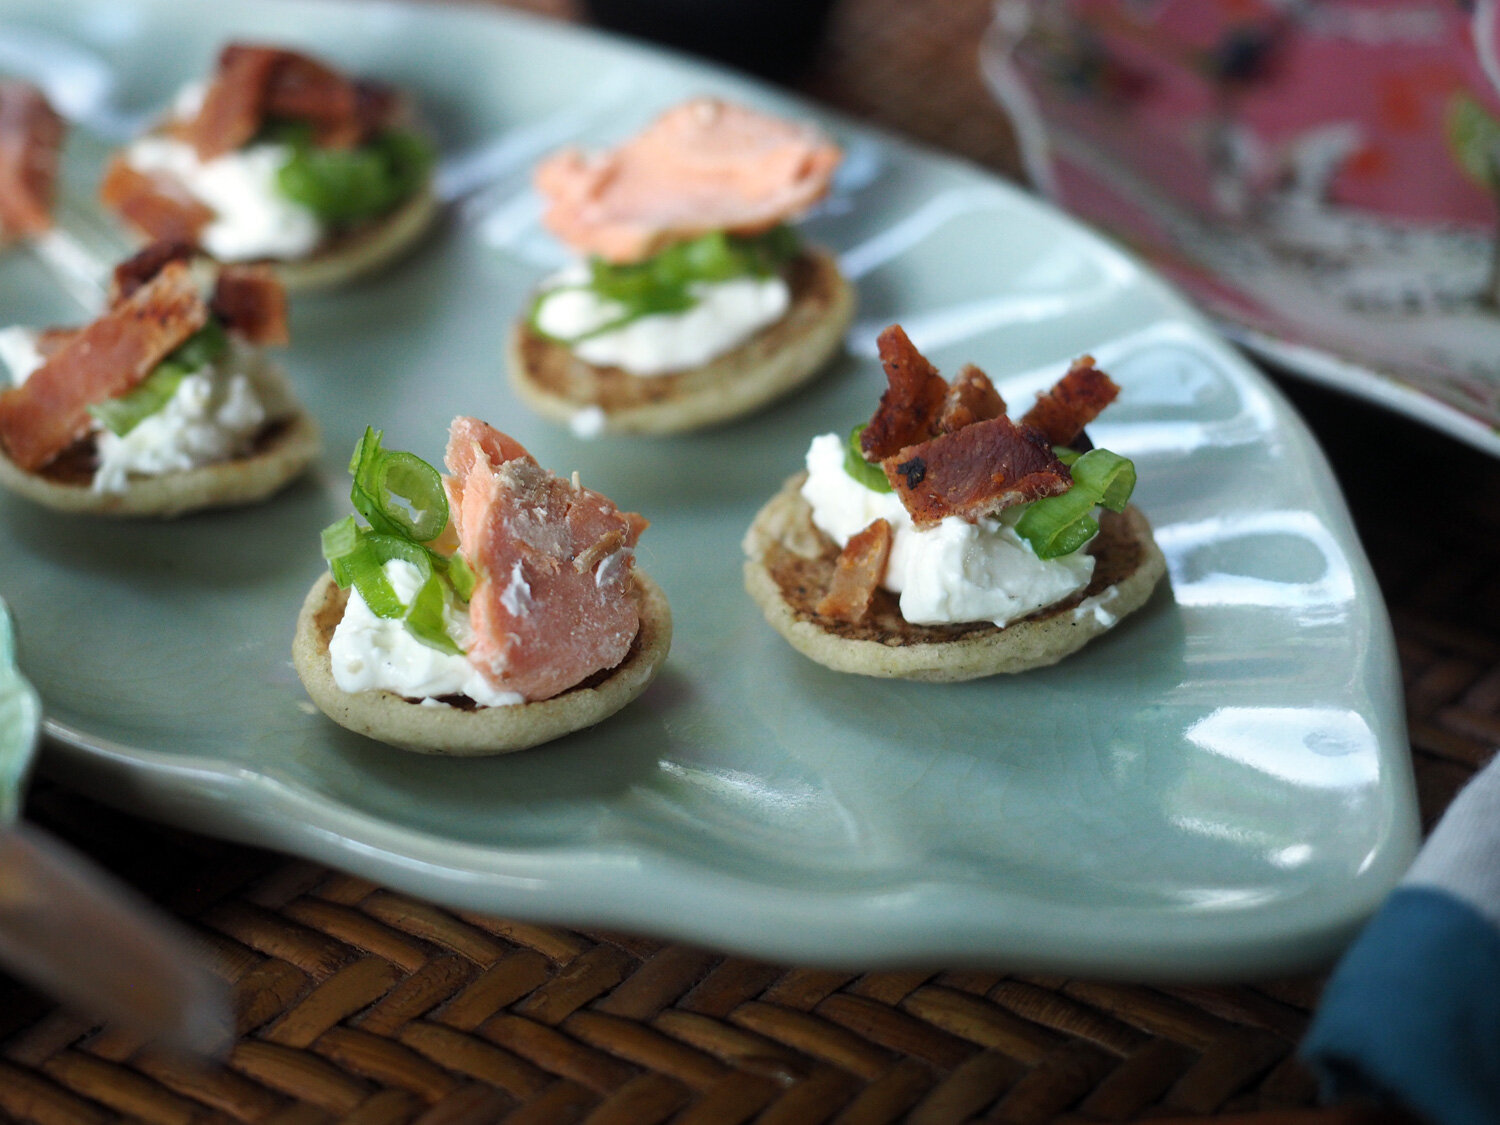
Flaked or Smoked Salmon & Scallion Cream Cheese
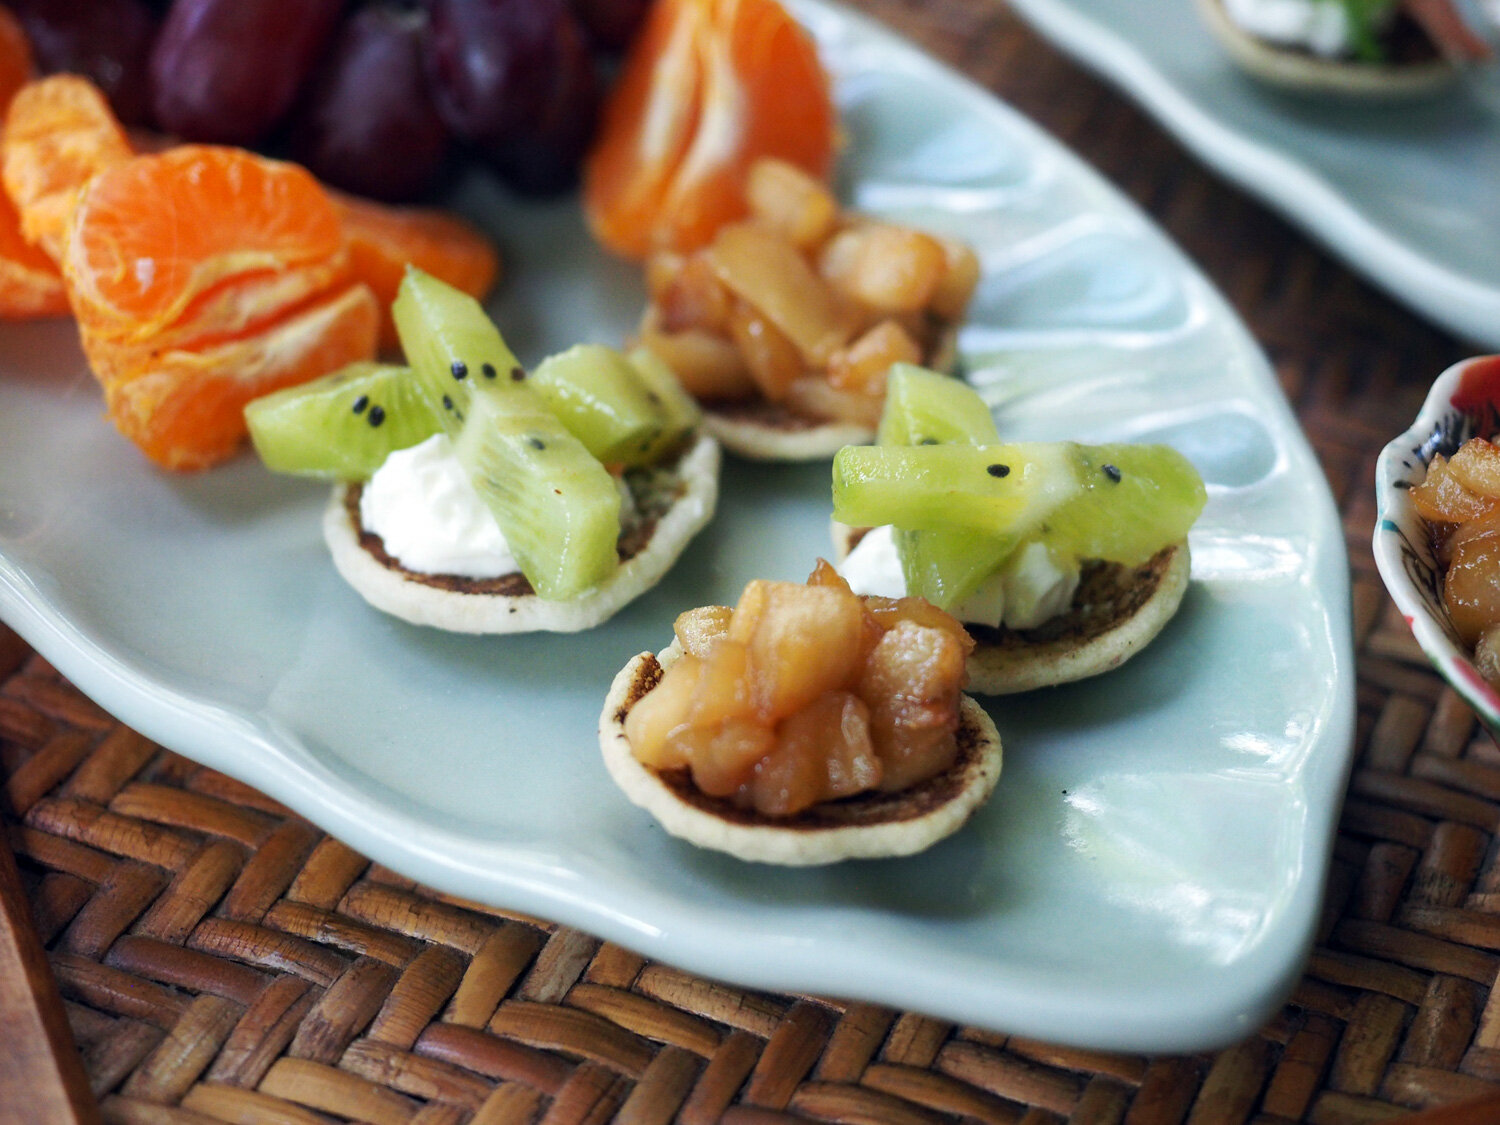
Fruit & Whipped Cream (Strawberries would be great, but I had Kiwi, so that’s what I used)
Crispy Bacon & Scallion Cream Cheese
Warm Apple Compote
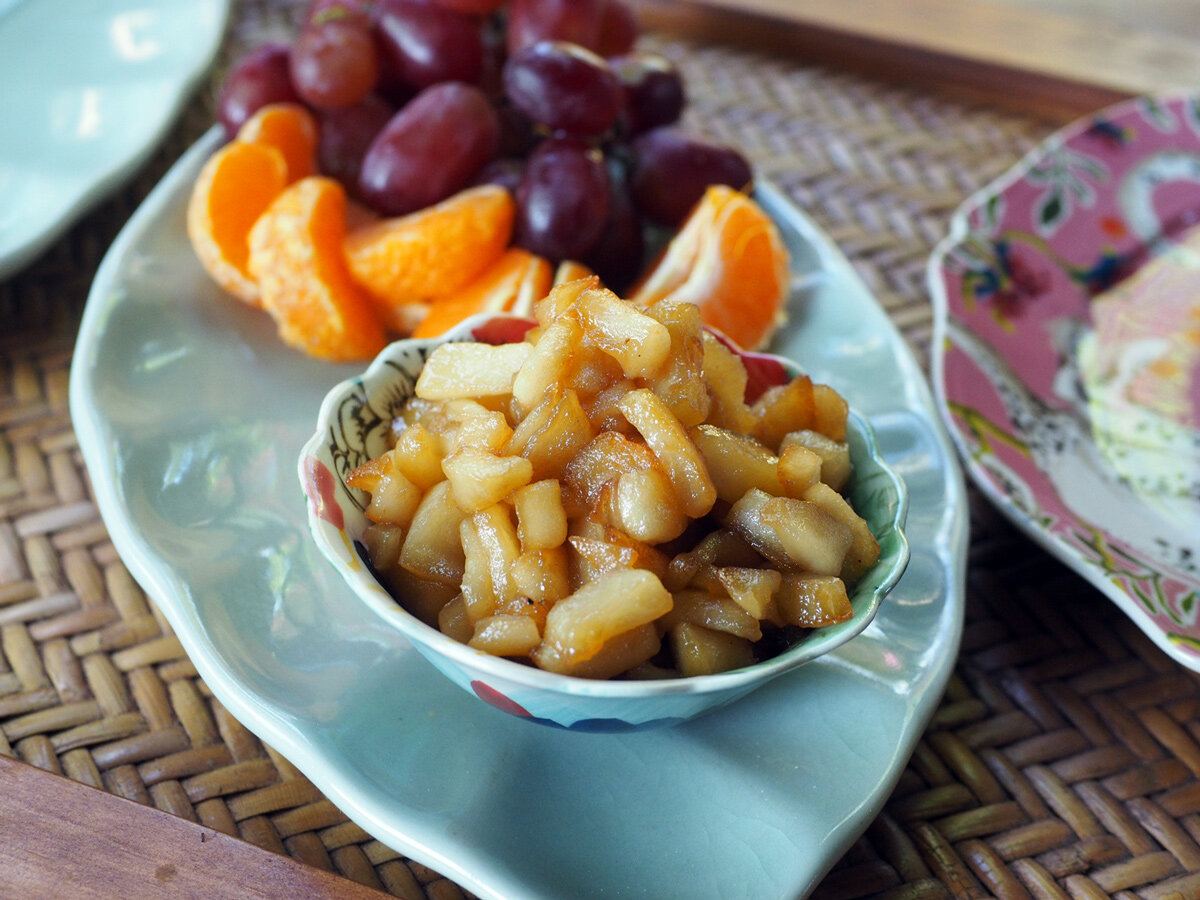
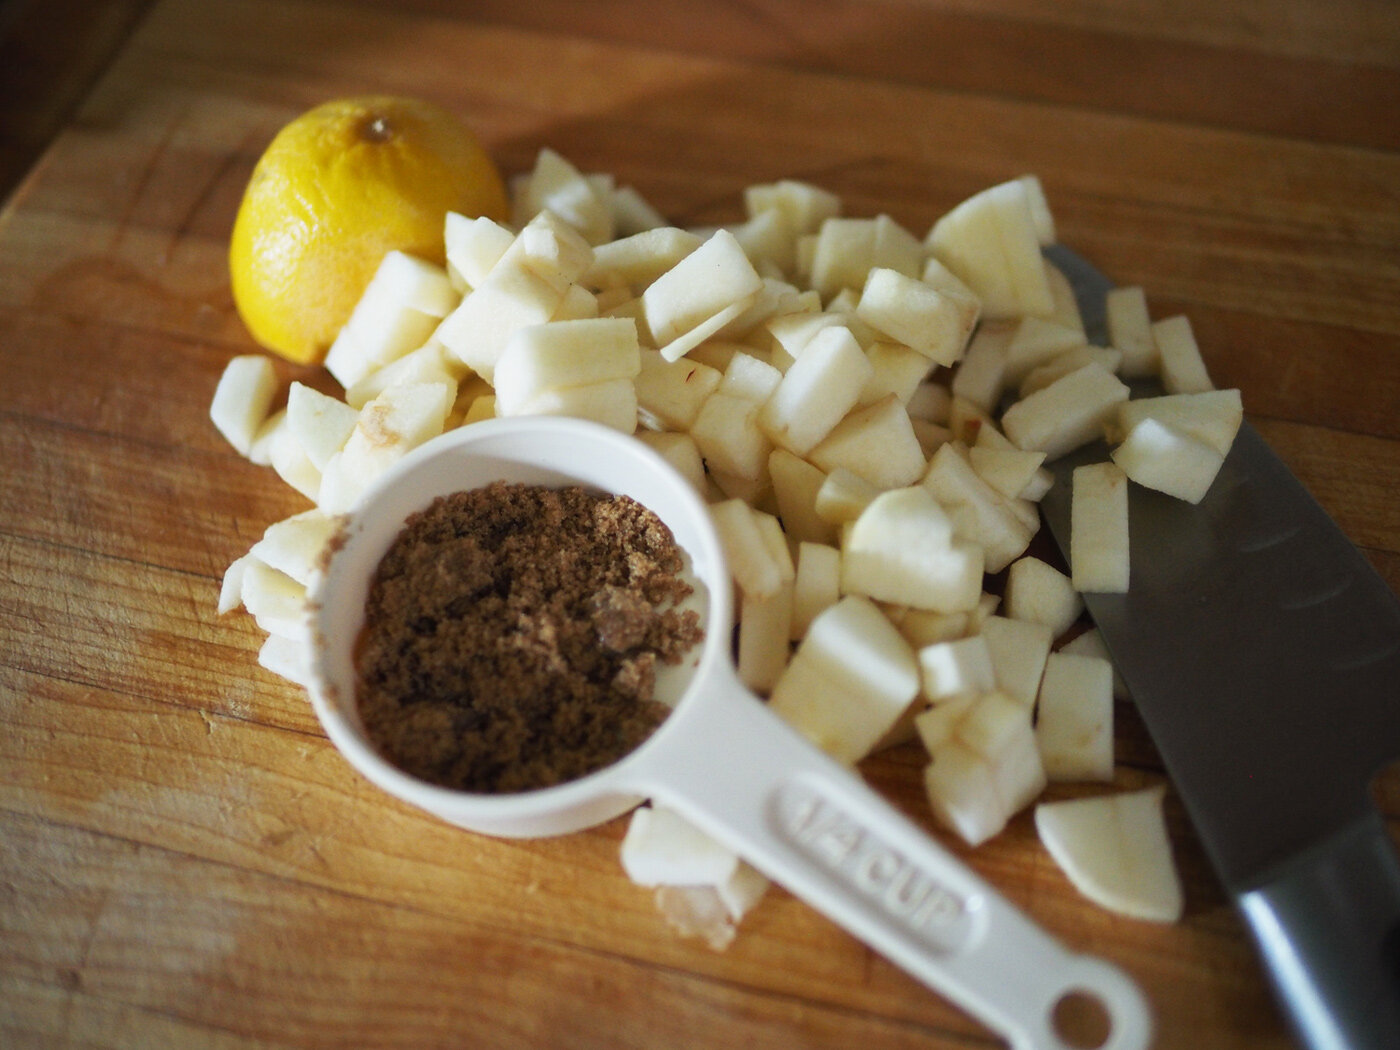
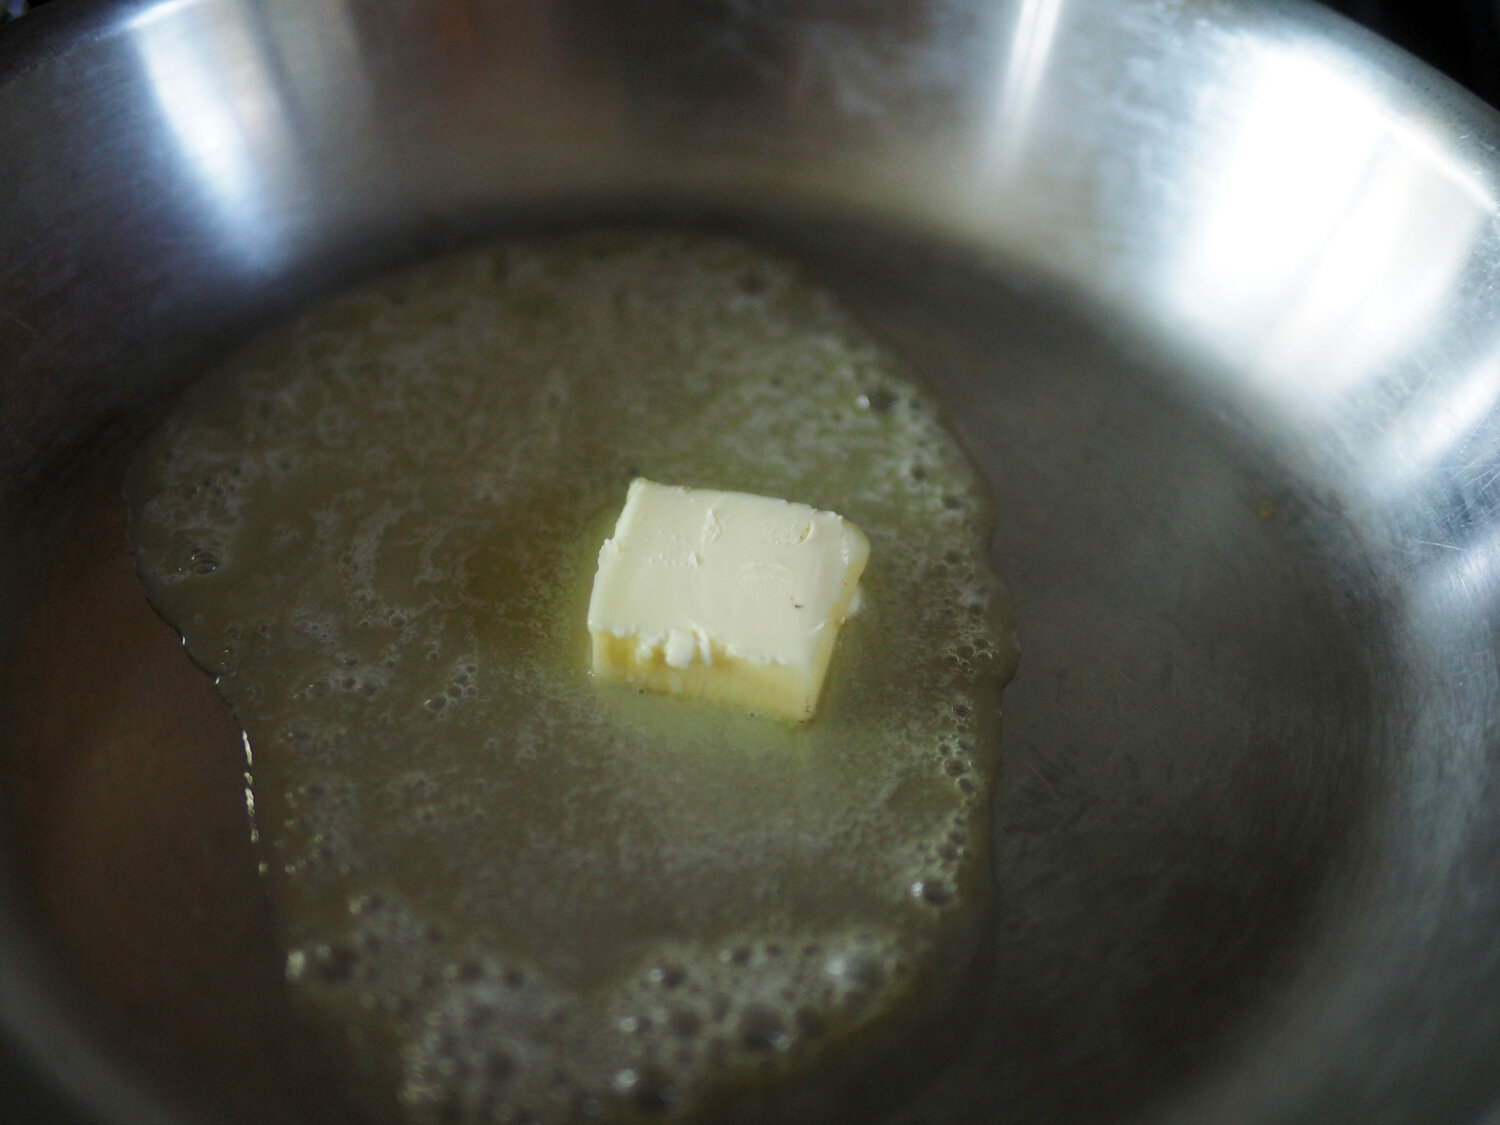
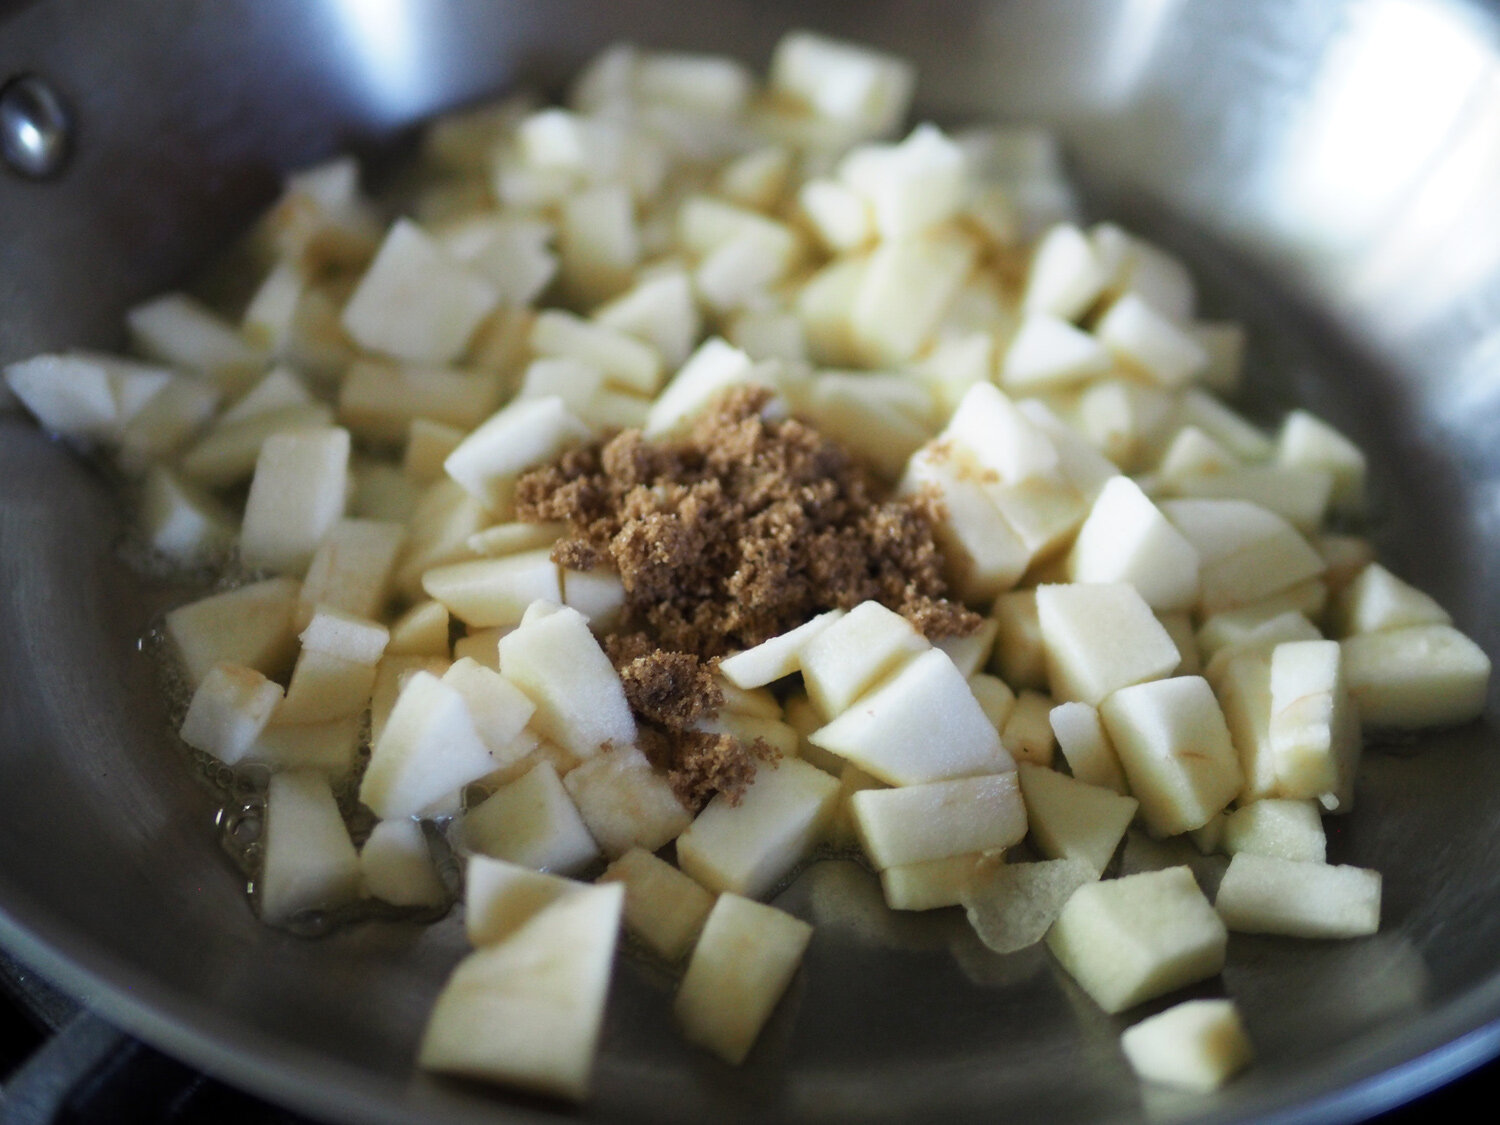
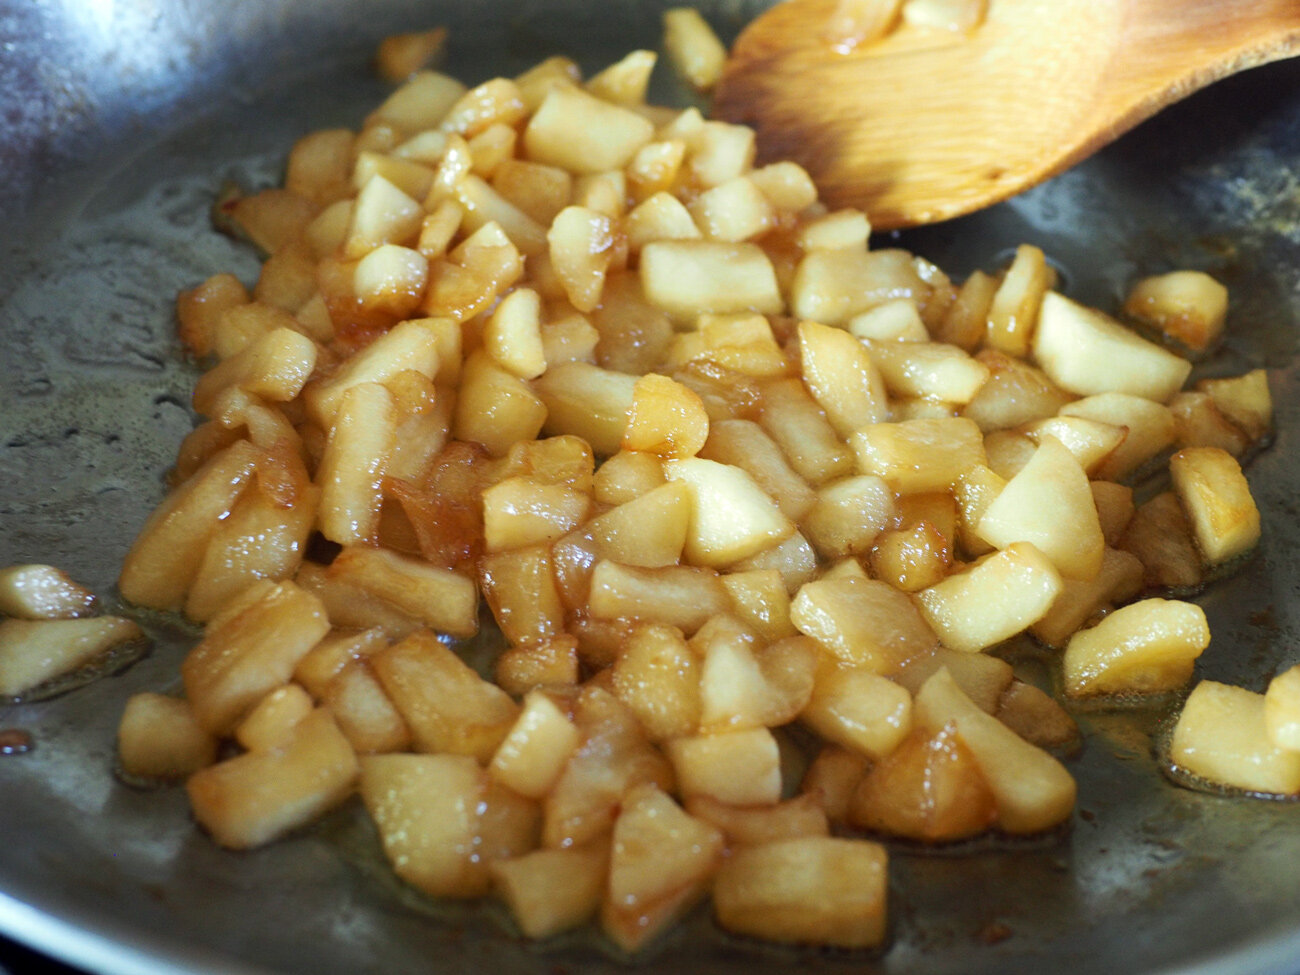
Making an Apple Compote sounds fancy, but it’s super easy to make.
Ingredients: Apples (1.5c), brown sugar (1T), butter (2T), lemon juice (2T)
Instructions: Cut the apple into small chunks, melt butter in pan, add apples, brown sugar and lemon juice. Let cook over medium low heat until the apples soften. Yup, that simple.

Naturally this tiny pancake idea can also be used as an appetizer for a party when we get back to throwing parties in larger groups. Until then, you can practice on Mom, and show her the love with bite sized treats with all her favorite toppings. This might be fun to get the kids involved, as I bet they’ll love the tiny pancake aspect.
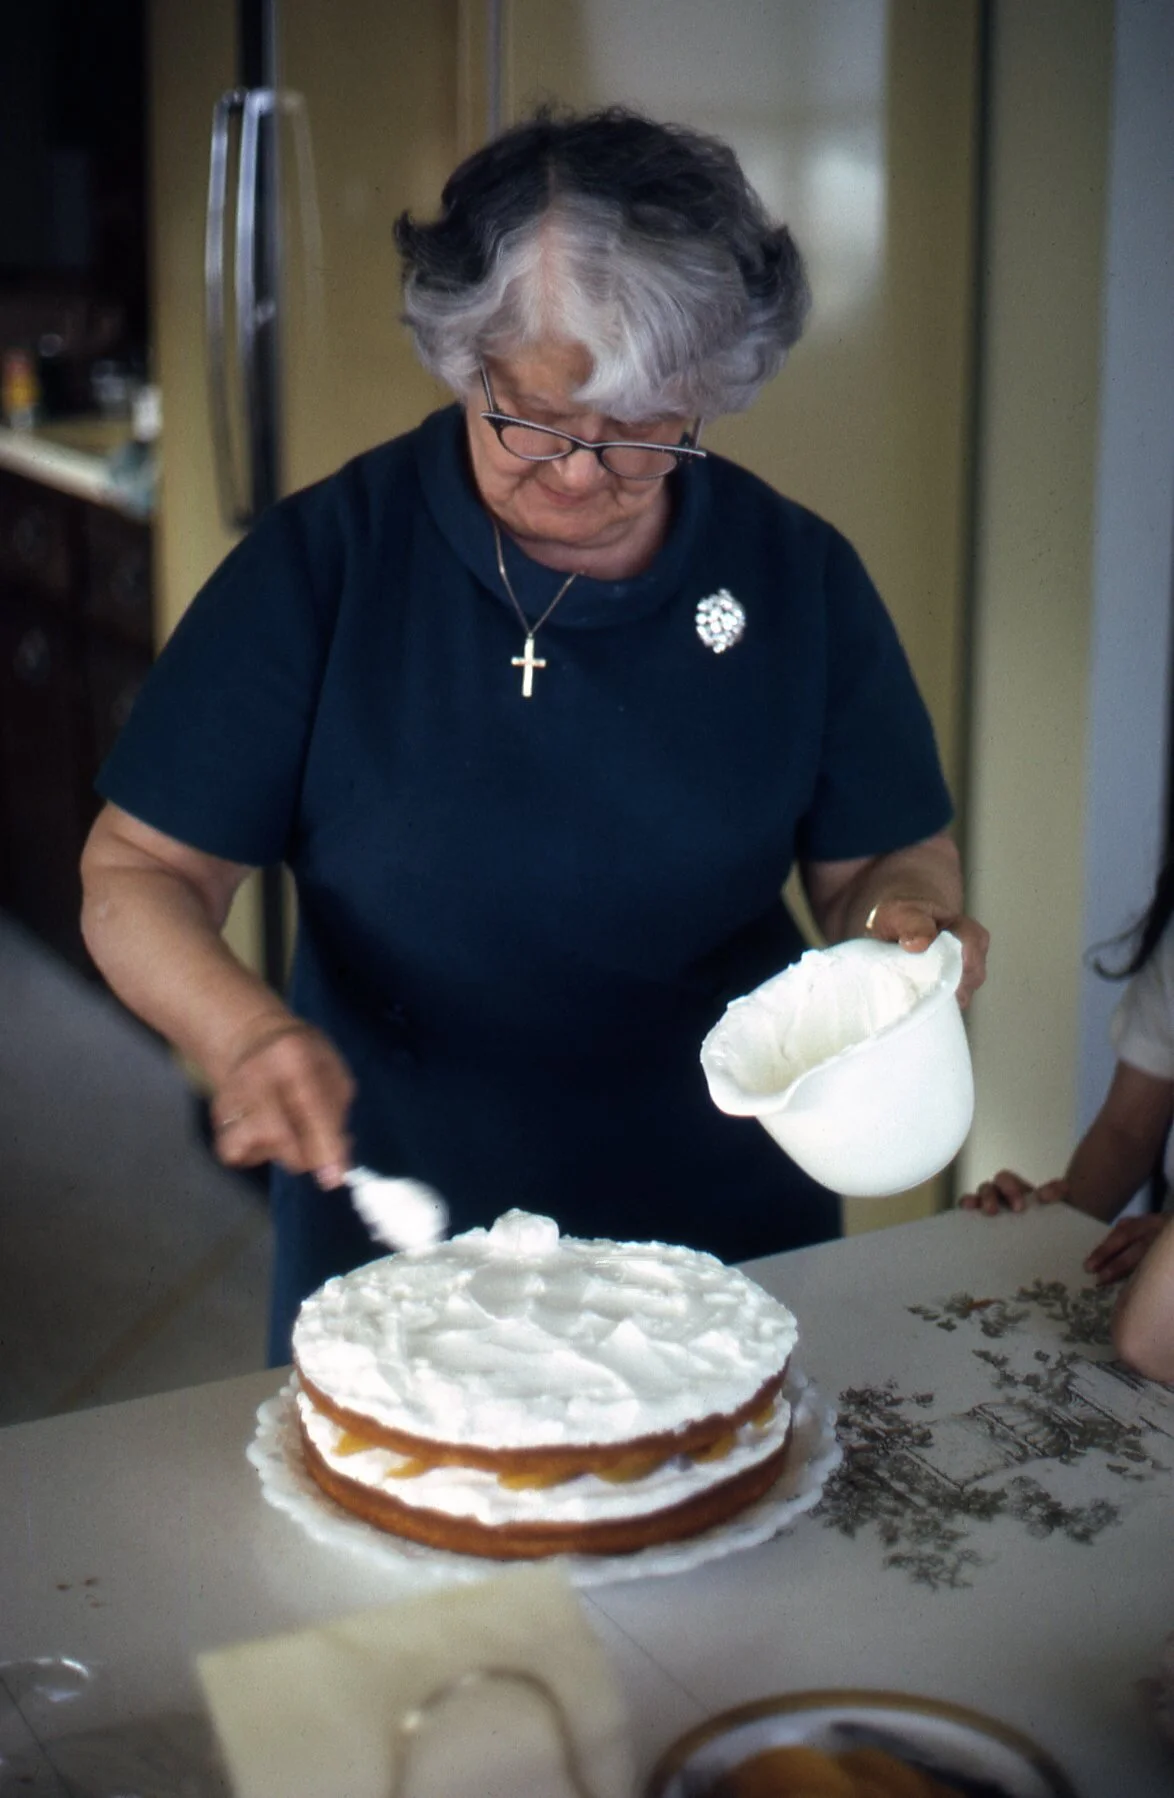
I must admit that I am sad not to be celebrating with my beautiful mom. She is angel that was sent to love and support us. Just look into those eyes and you know it. So, if you are like me, not being able to celebrate in the same physical space as your mom, then pick a day in the near future to treat her to a special day. Happy Mother’s Day to all the amazing moms.

My beautiful, generous, loving Mom.
Whatever you decide to make for your mom, remember the only necessary ingredient is LOVE. And you can never have too much of it.