Here we are again, right back at the holiday season. Time sure does blow by quickly. But it’s a guarantee that the holidays show up on schedule with all the trimmings, ie: hectic, hustle and bustle with a side order of stress. So since you might be experiencing some of these as you plan your menu, make shopping lists, tidy the house, pull out the turkey platters and hopefully breathe deeply, I thought I might help out in another area; table settings. Thanksgiving is one of those holidays that has very particular food servings. Typically guests want, in fact, they almost demand, the usual suspects. With that in mind, it seemed to me that posting yet another recipe variation on mashed or sweet potatoes wouldn’t be all that helpful. Most people straight up crave those heavy, carb laden dishes aka sleep inducers. So I say, go ahead and make what you know and what they love. Seriously, it’s one less thing to think about, go with tradition.
My goal for this Thanksgiving post is to give you tables-cape options; from the casual to the more elegant. These may be less traditional but festive all the same. And when I say options, brace yourself. I have taken that word to its ultimate meaning, providing a multitude of variations. Another objective for this mind bending table option extravaganza is to use basic items that you might already have, and combine them with inexpensive florals that won’t break the bank. Sure, more heavily Thanksgiving themed tablecloths can be used, but the idea here was to use a neutral palette and add pops of color to create a more subtle holiday vibe. Some of these ideas can easily be used any time during the year by simply swapping out the orange tones for other more seasonal colors. So, let’s just see how you can play with your tableware, since playing with your food is gauche.
(Also, I figure you might like some of the items I used, so I included a few resource links at the end that have similar items.)
First things first, florals. Since the meal can break the bank, I didn’t want the centerpiece to be sacrificed for budget reasons, so all the florals I chose are actually just fillers. That’s right, I only bought fillers which are the least expensive. I picked each one up at Trader Joe’s for $2.99 each. I will show you the various ways you can use these, so you can decide which works best for the way you want to style your table this holiday. In some cases it will only cost you $2.99. Other combinations incorporated several bunches but none of the arrangements I created cost more than $15. Now that is some frugal finagling. Here’s the floral line up.

Various greens

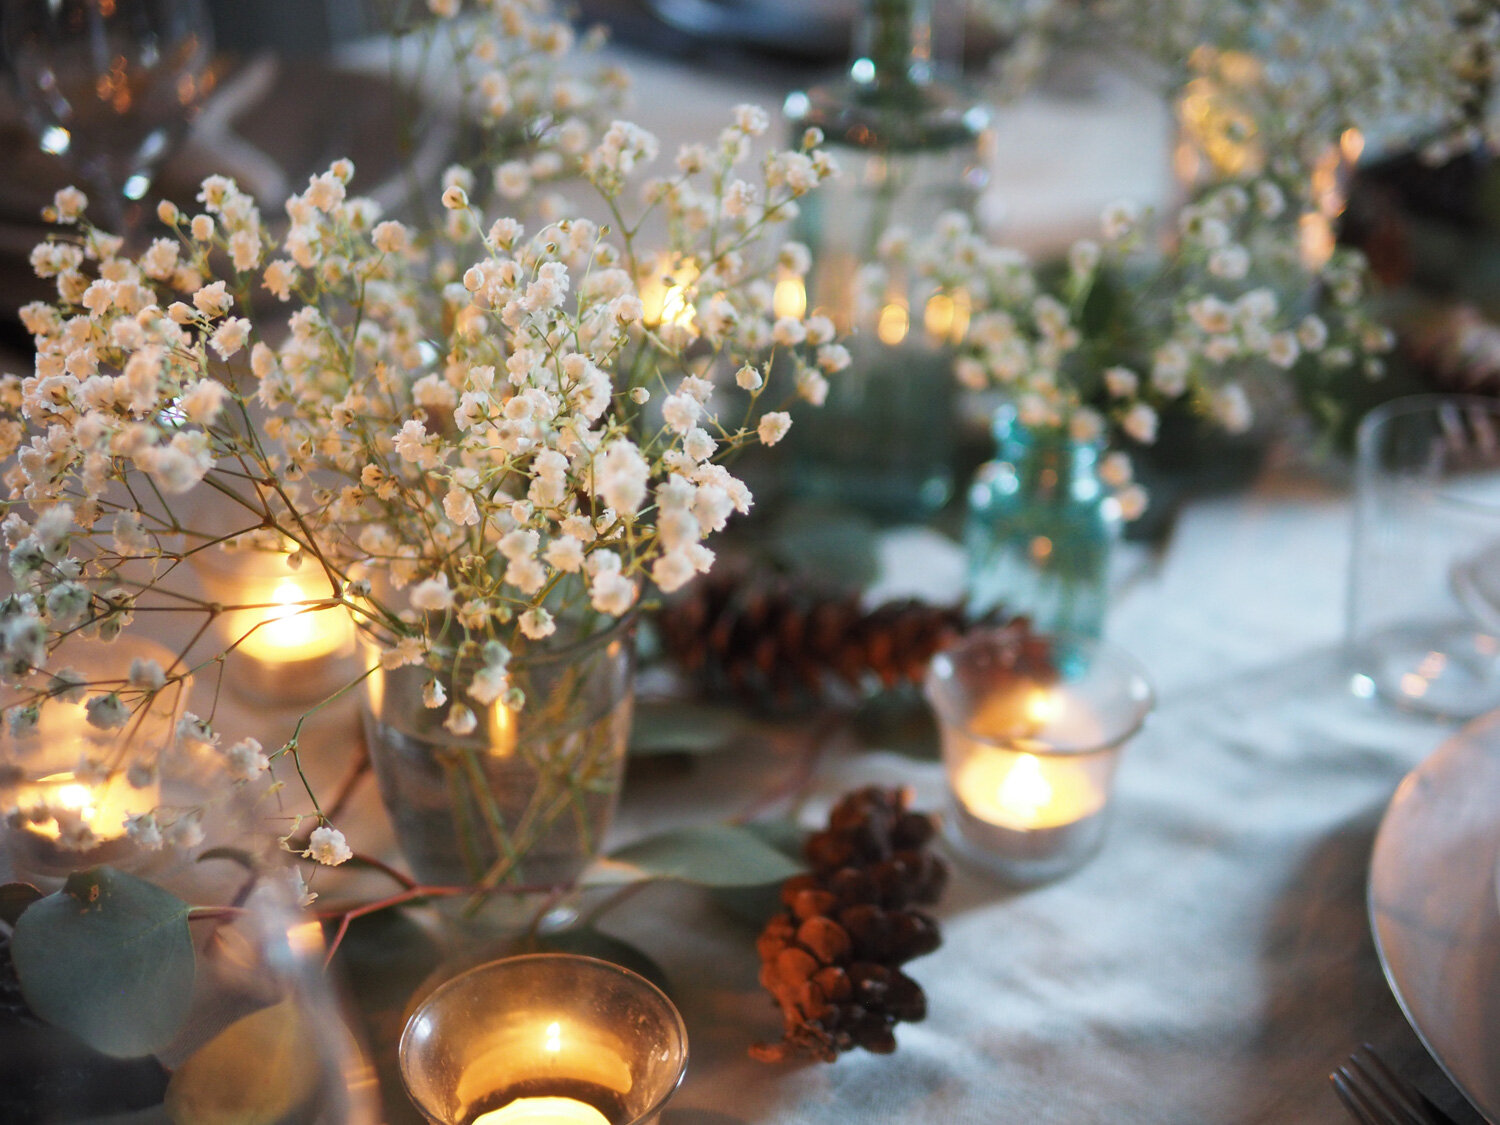
The simplicity of baby’s breathe

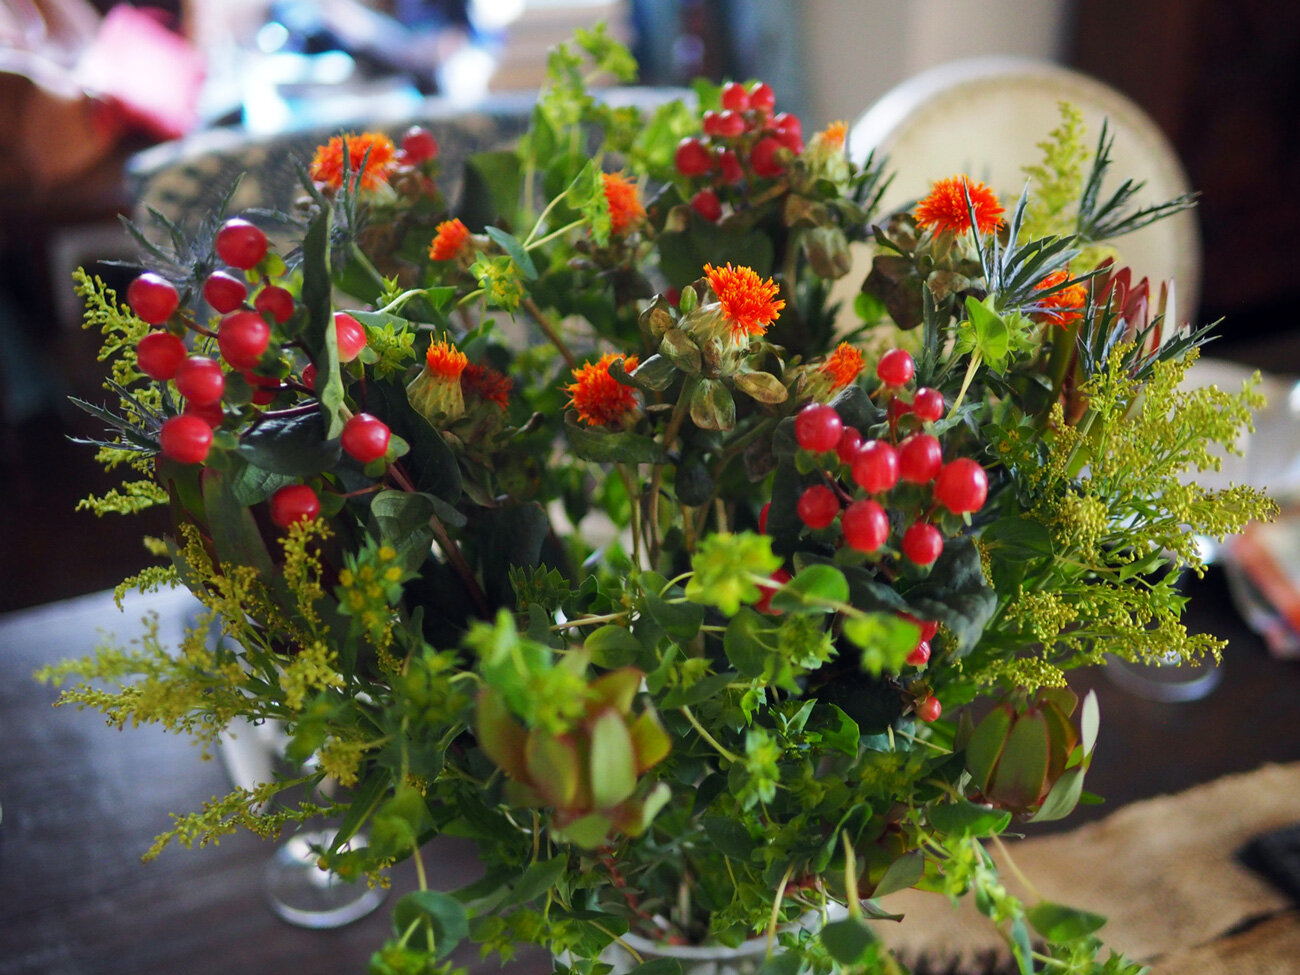
Pops of color
Ok, before proceeding hold onto your hats. There is going to be a ton of photos to demonstrate the various options. As I was writing this piece and pulling together all the elements I knew it needed to be orderly, so to make it manageable I broke up the various options into sections. If you already know that you want something more elegant, maybe jump down to that section. If you want to see all the various, grab a cup of coffee and enjoy.
Casual Table Settings with options
Centerpiece options
Simple Elegance Table Setting with options
True Elegance Table Setting with Options
(Truth be told, it was overwhelming for me to decide what to share and what to leave on the cutting room floor. I tried to limit the amount but still show the variations and then grouped them. I hope I’ve made it easier for you to digest all this. Including a new way of displaying imagery through slideshow boxes. This seemed the perfect way to display it all. (Would certainly love to hear your feedback on this way of showing photos.)
Simple & Casual Table
Let’s say you are having a less formal Thanksgiving dinner, but still want to make it feel special.
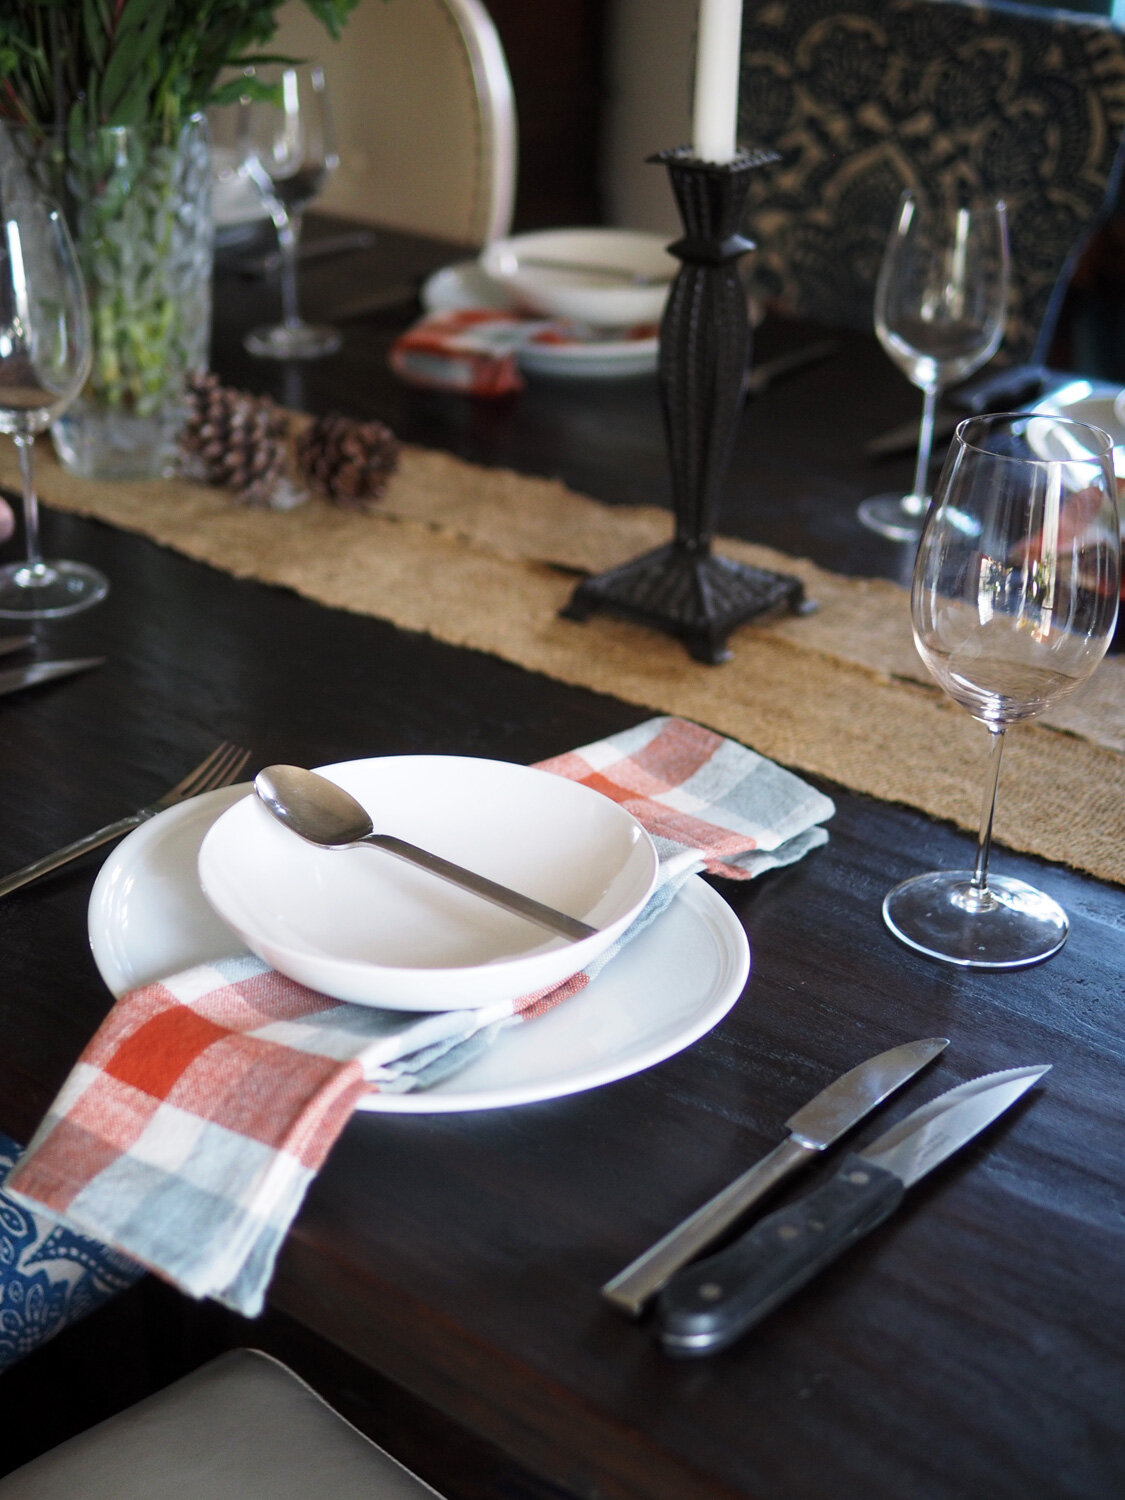
Option #1 - No Tablecloth | Autumn Colored Plaid Napkins | Burlap Table Runner
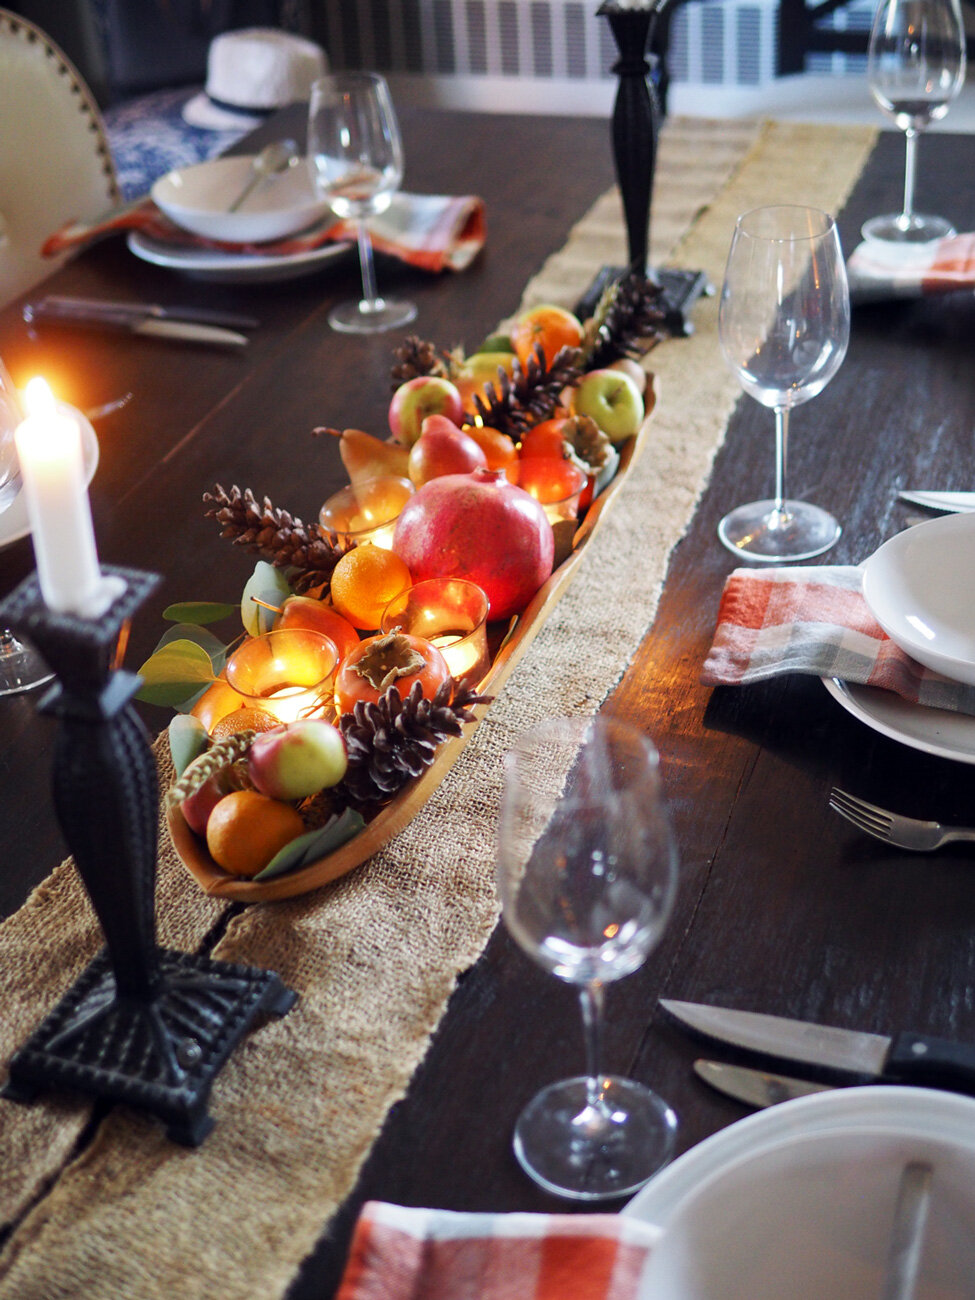
The simple use of white plates and bowls right on the table keeps this setting more casual. Balancing the spoon on the bowl makes it fun and whimsical. Giving a nod to the season, the plaid, autumn colored napkins continues the laid back feel while the burlap runner adds a rustic tone and gives a landing spot for centerpieces and candles. I used dark metal candlesticks to blend with the theme.


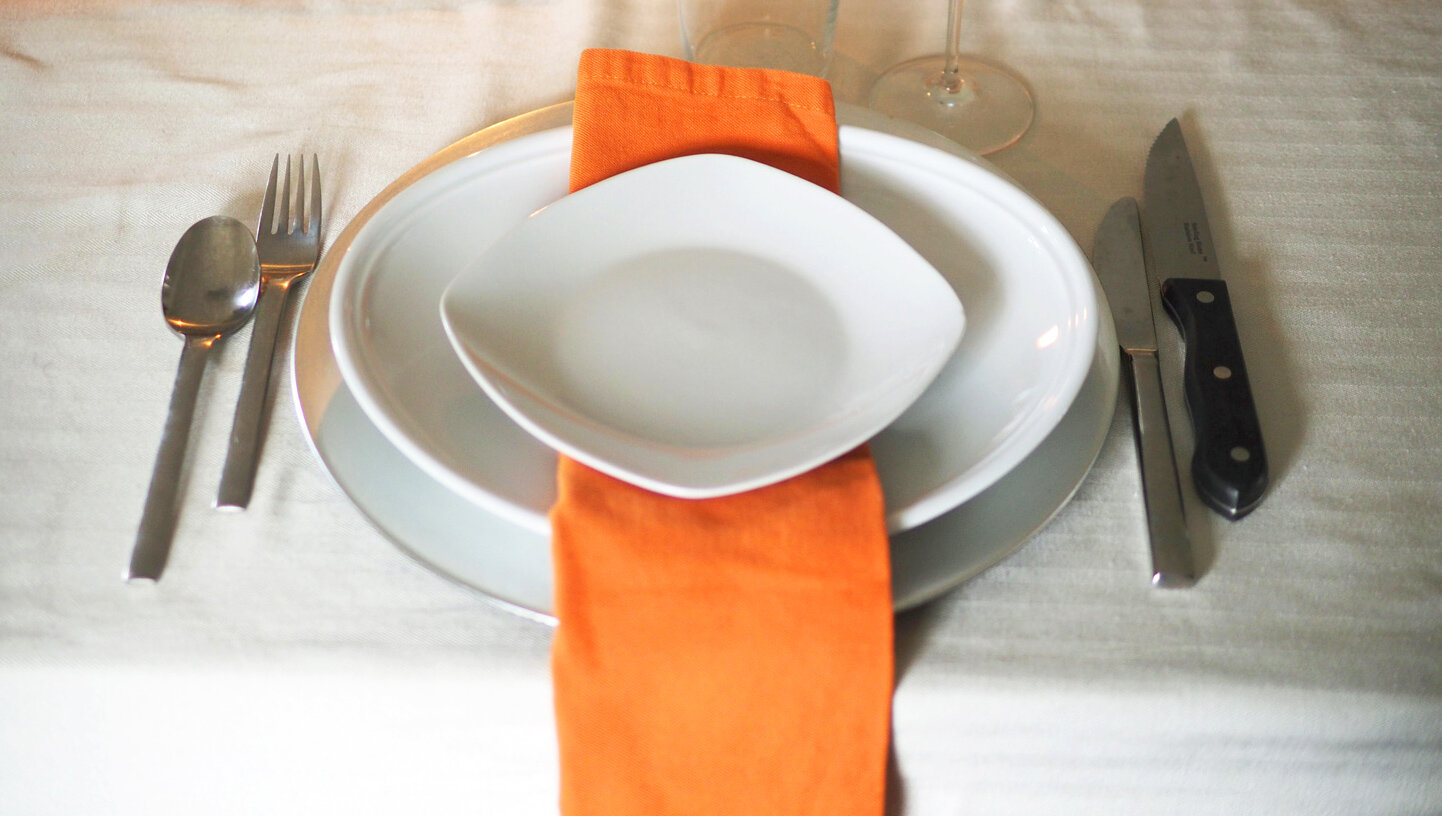
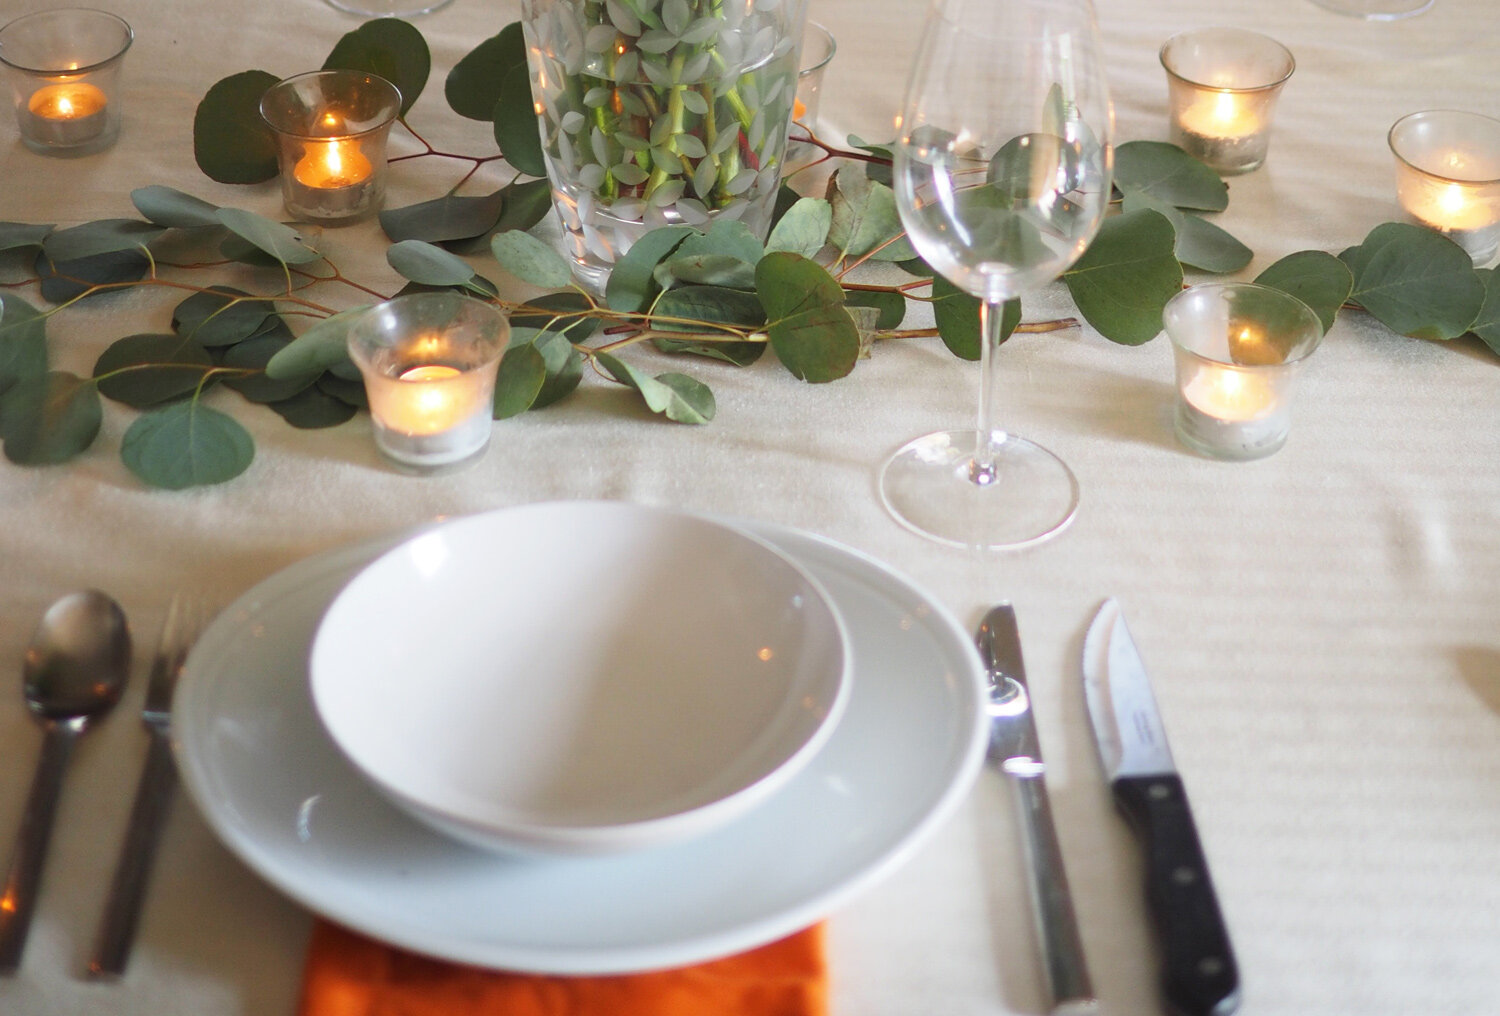
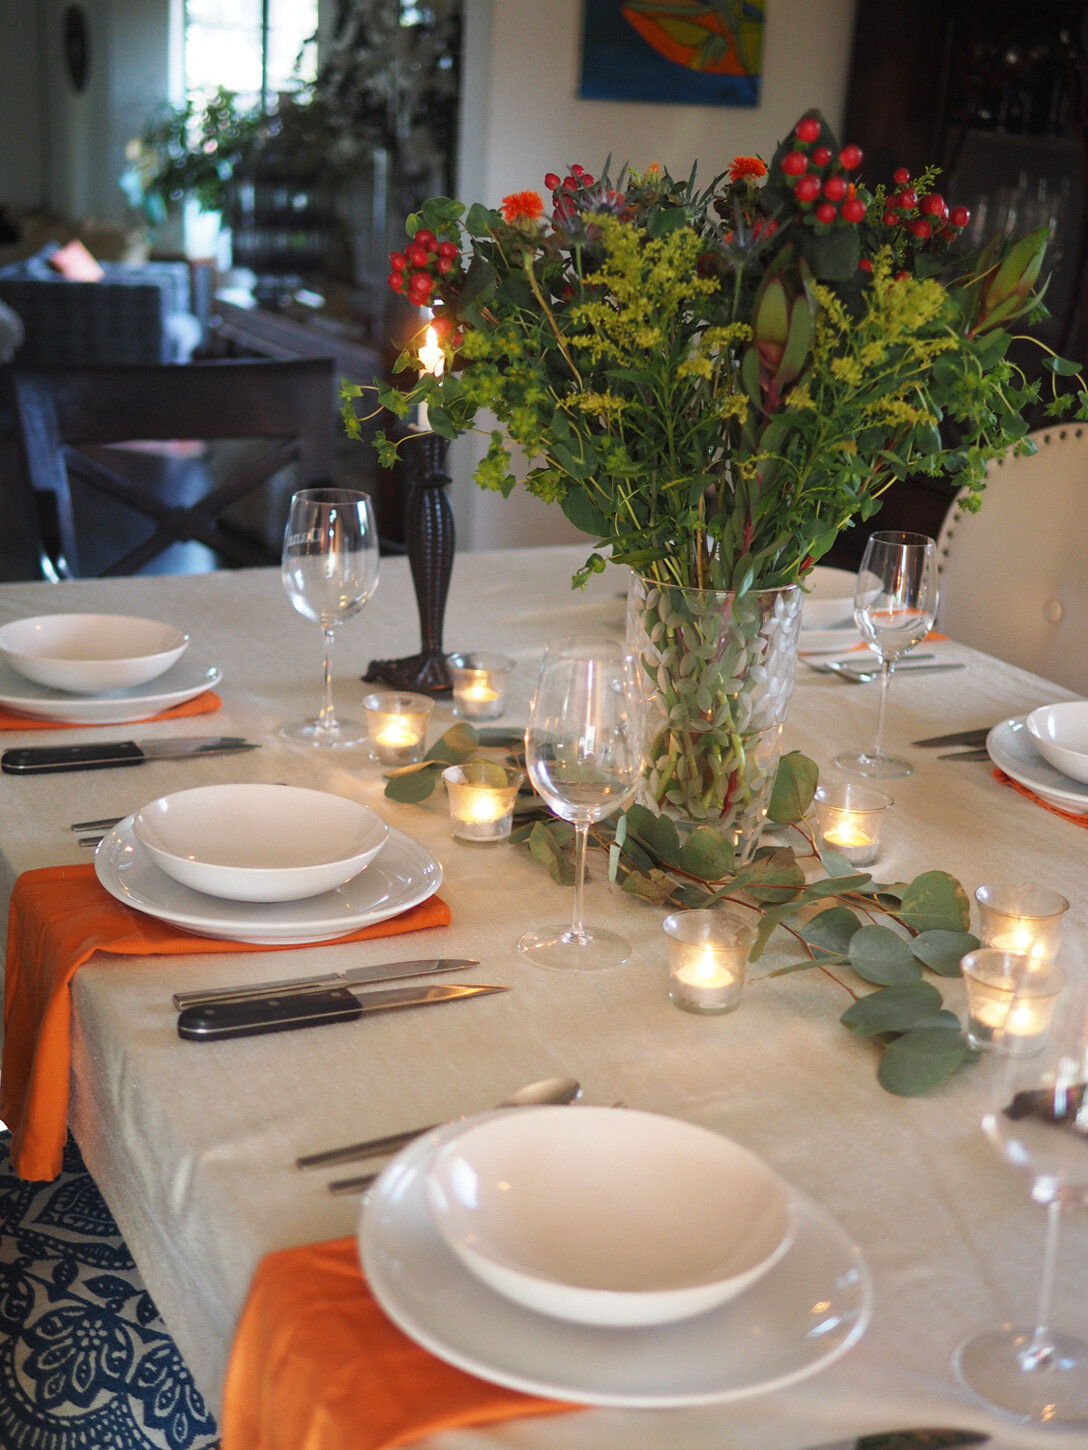
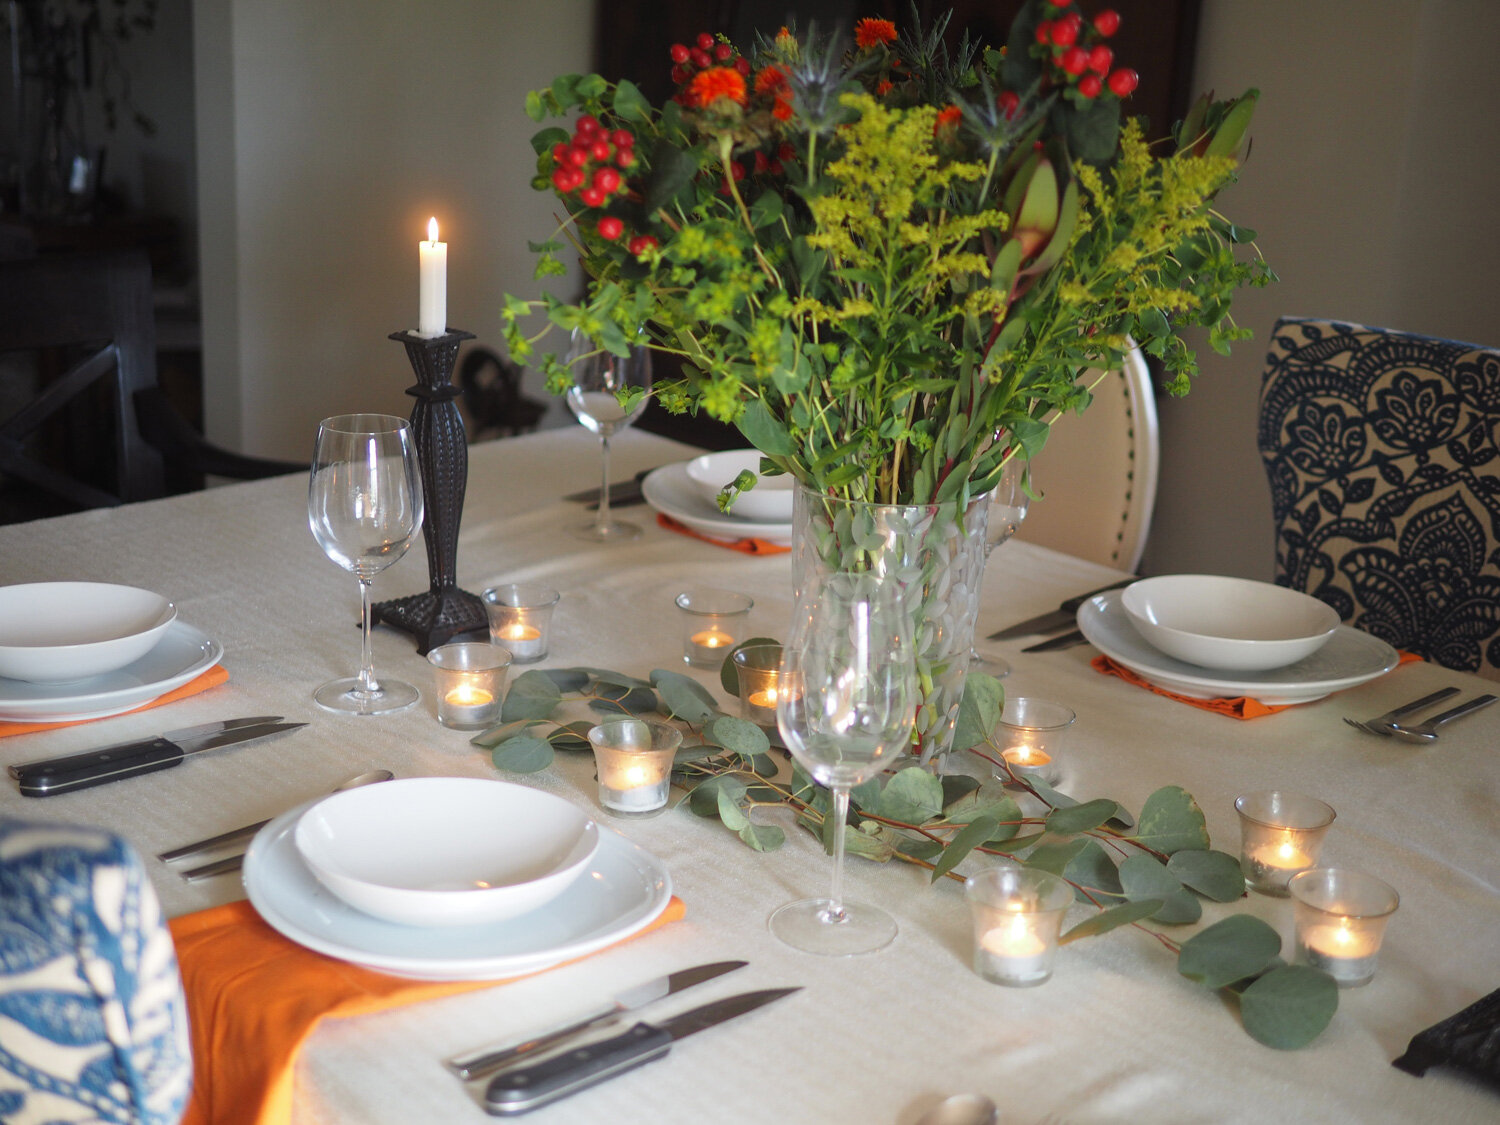
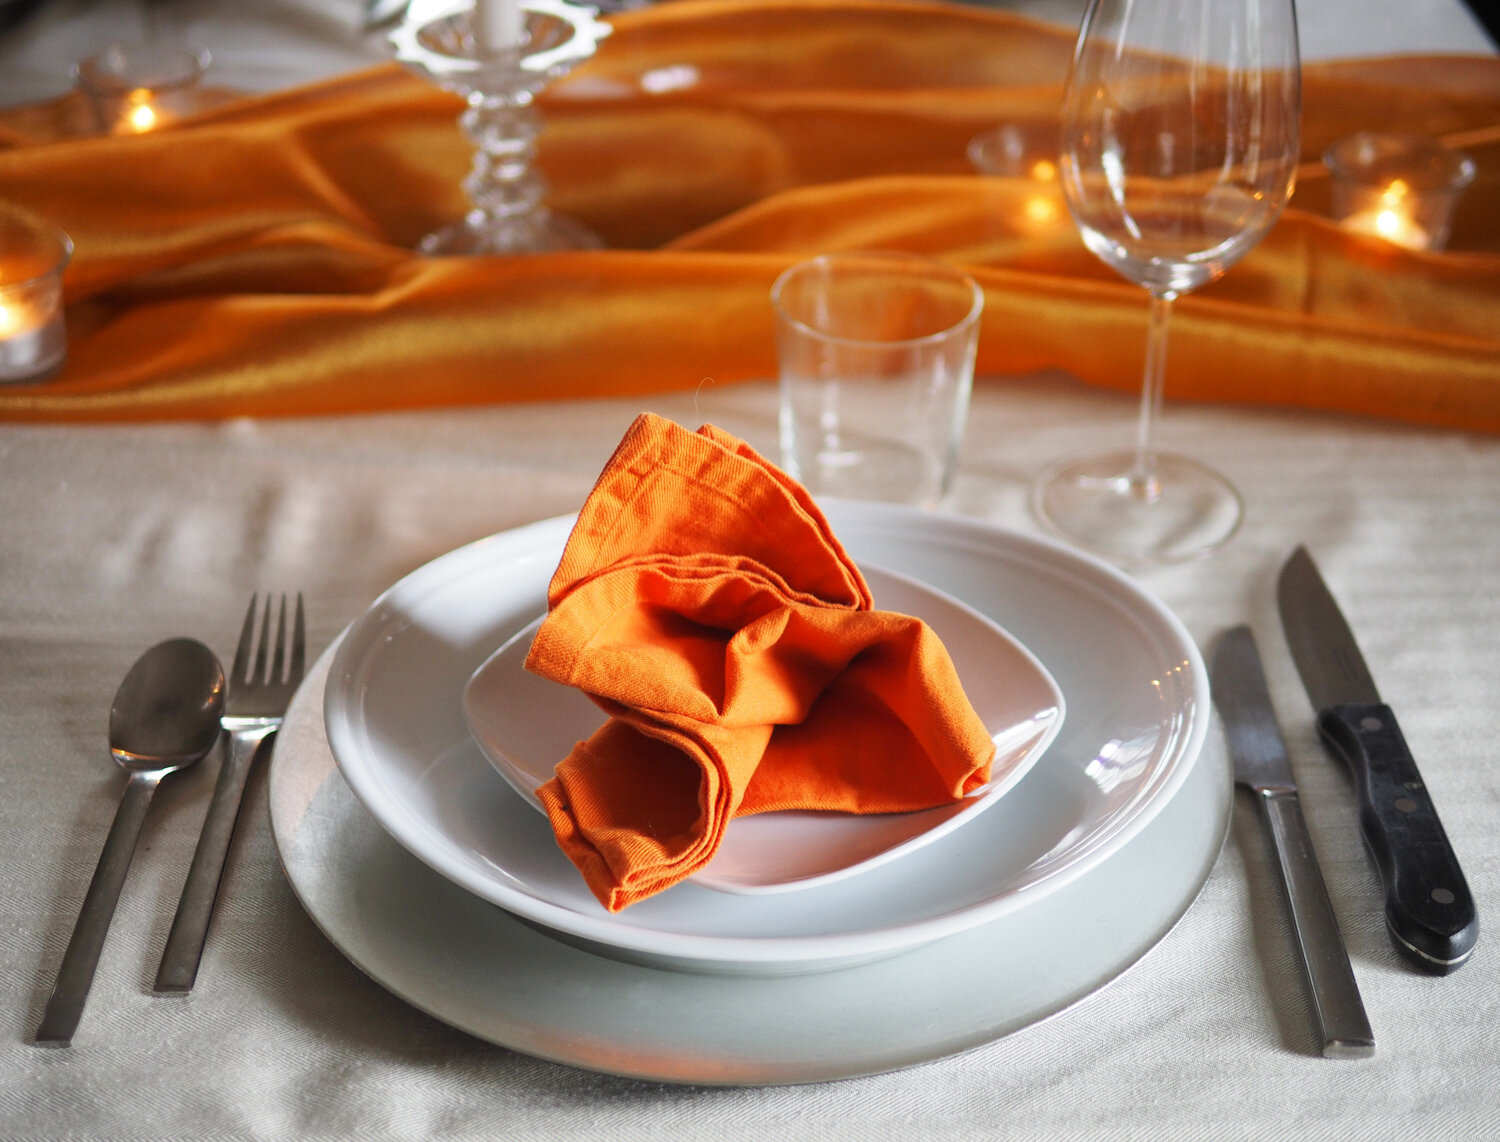
Option #2: White Tablecloth | Orange Napkins | Floral Runner
Still casual with the ante upped a tad. Use a white or cream tablecloth and the same white dishes. Swap out the plaid napkins for plain orange ones to give an instant pop of color. No formal runner here, just the eucalyptus leaves as a base for one main centerpiece.

Centerpieces for Casual Table
These two casual settings can take on a different tone simply by the centerpiece choice. Here are a few options.
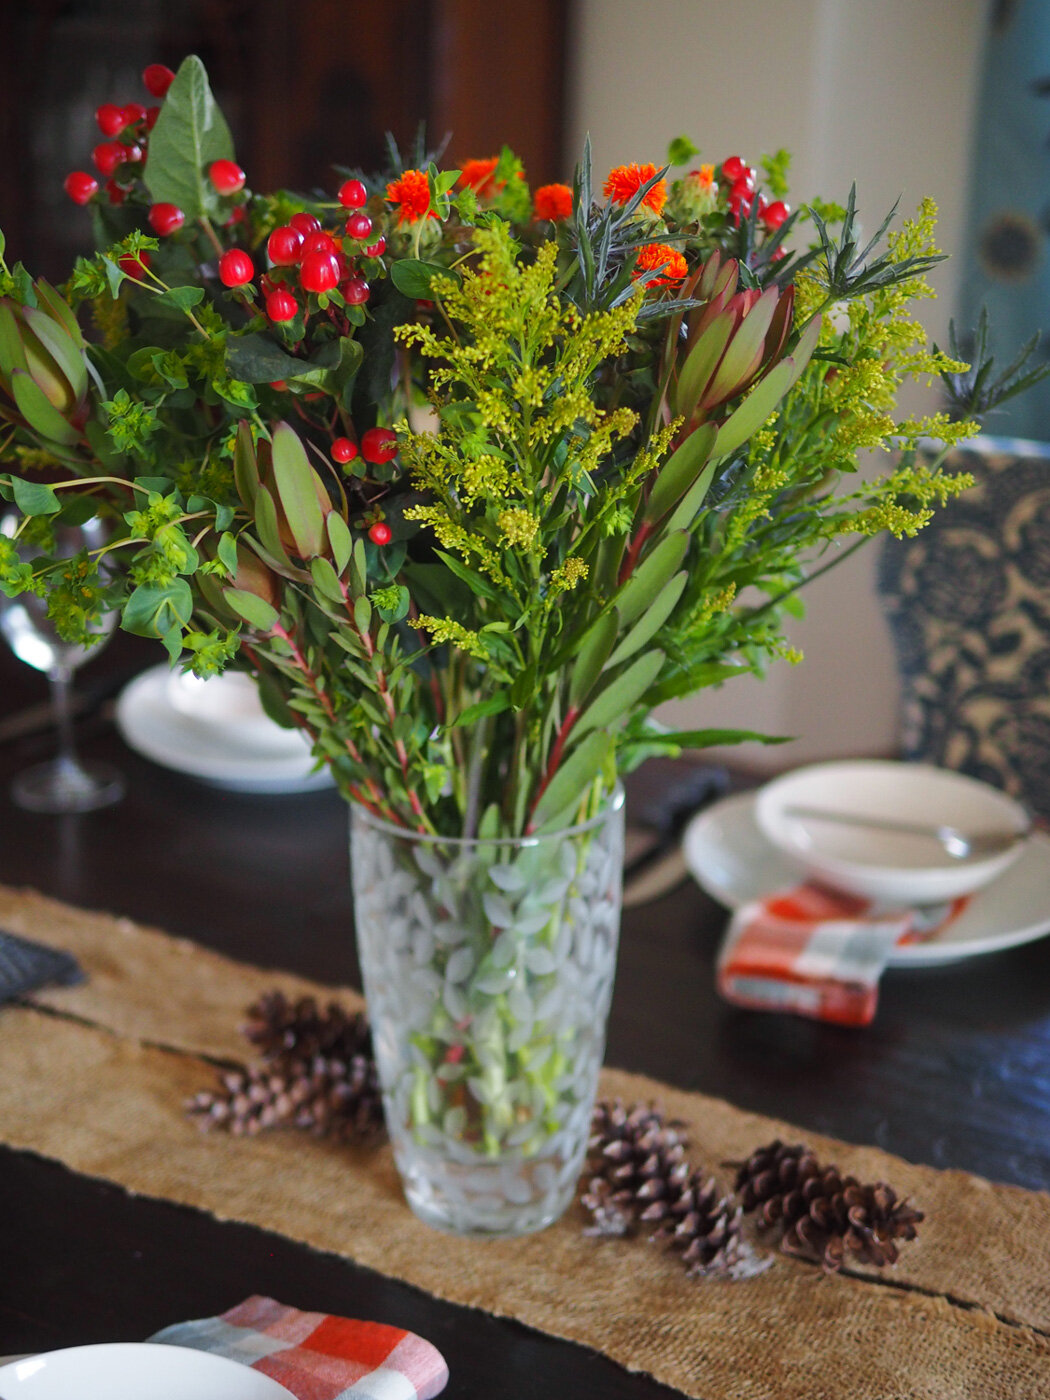
Option #1 - Florals featuring Orange Tones
Since the table settings are more understated, the centerpiece can make a color statement. A variety of green and orange floral fillers can be arranged differently depending on the vases you have or the look you want to achieve. The larger arrangement was actually the most “expensive” of all the options. It used 5 filler florals each costing $2.99 for a total of $15. Impressive.
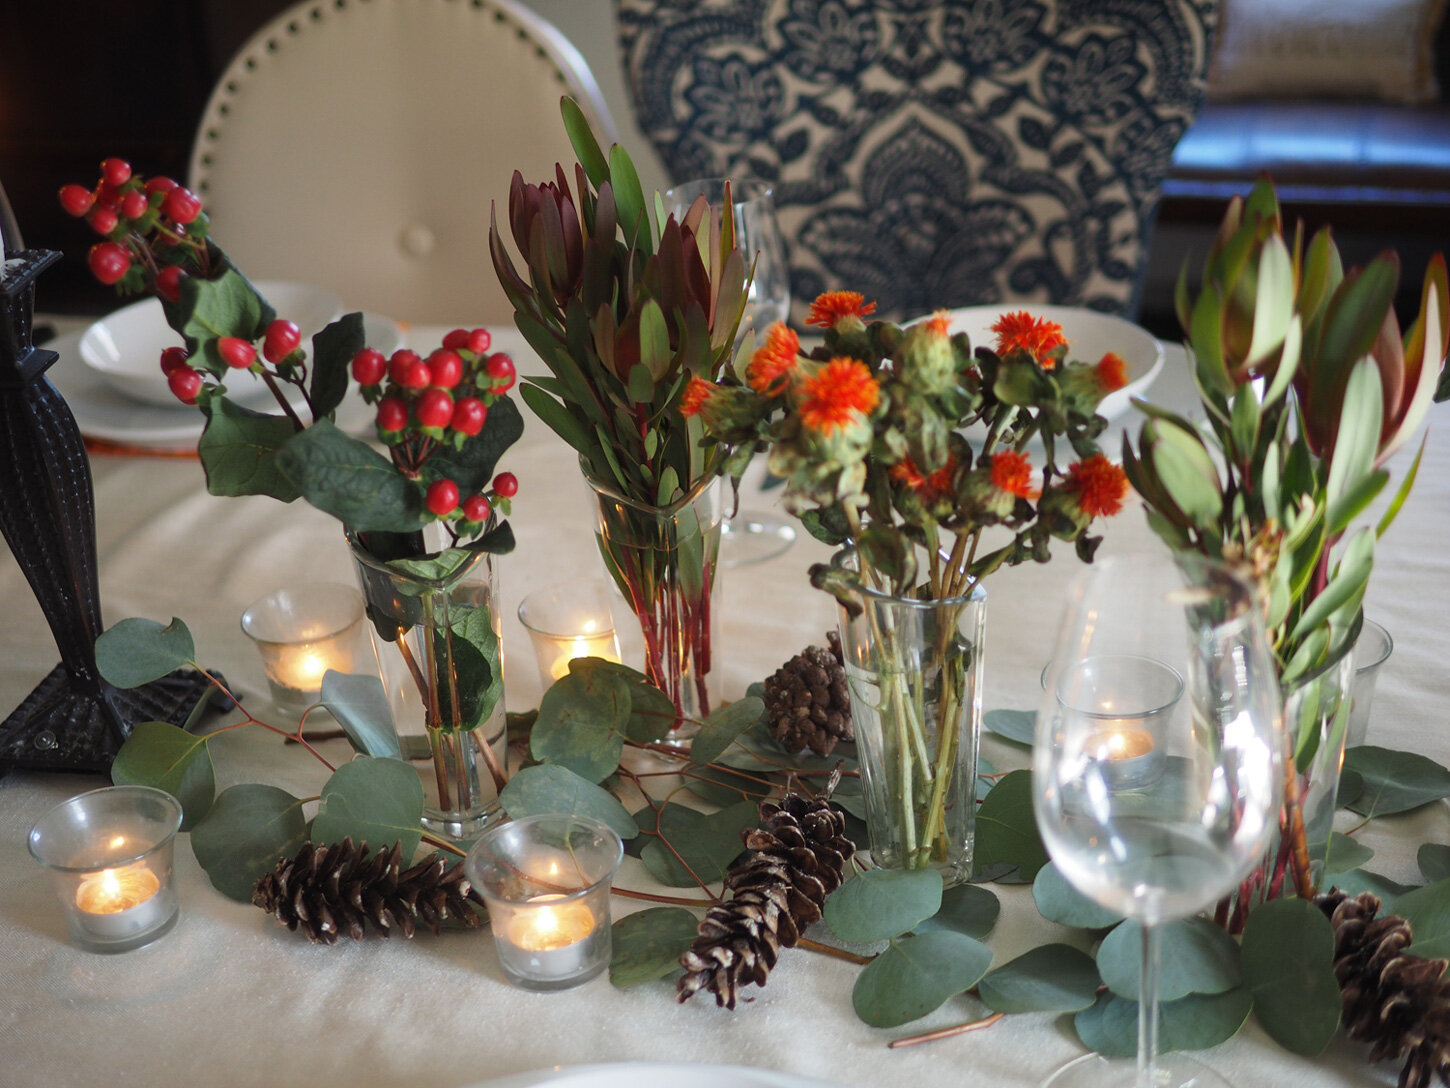
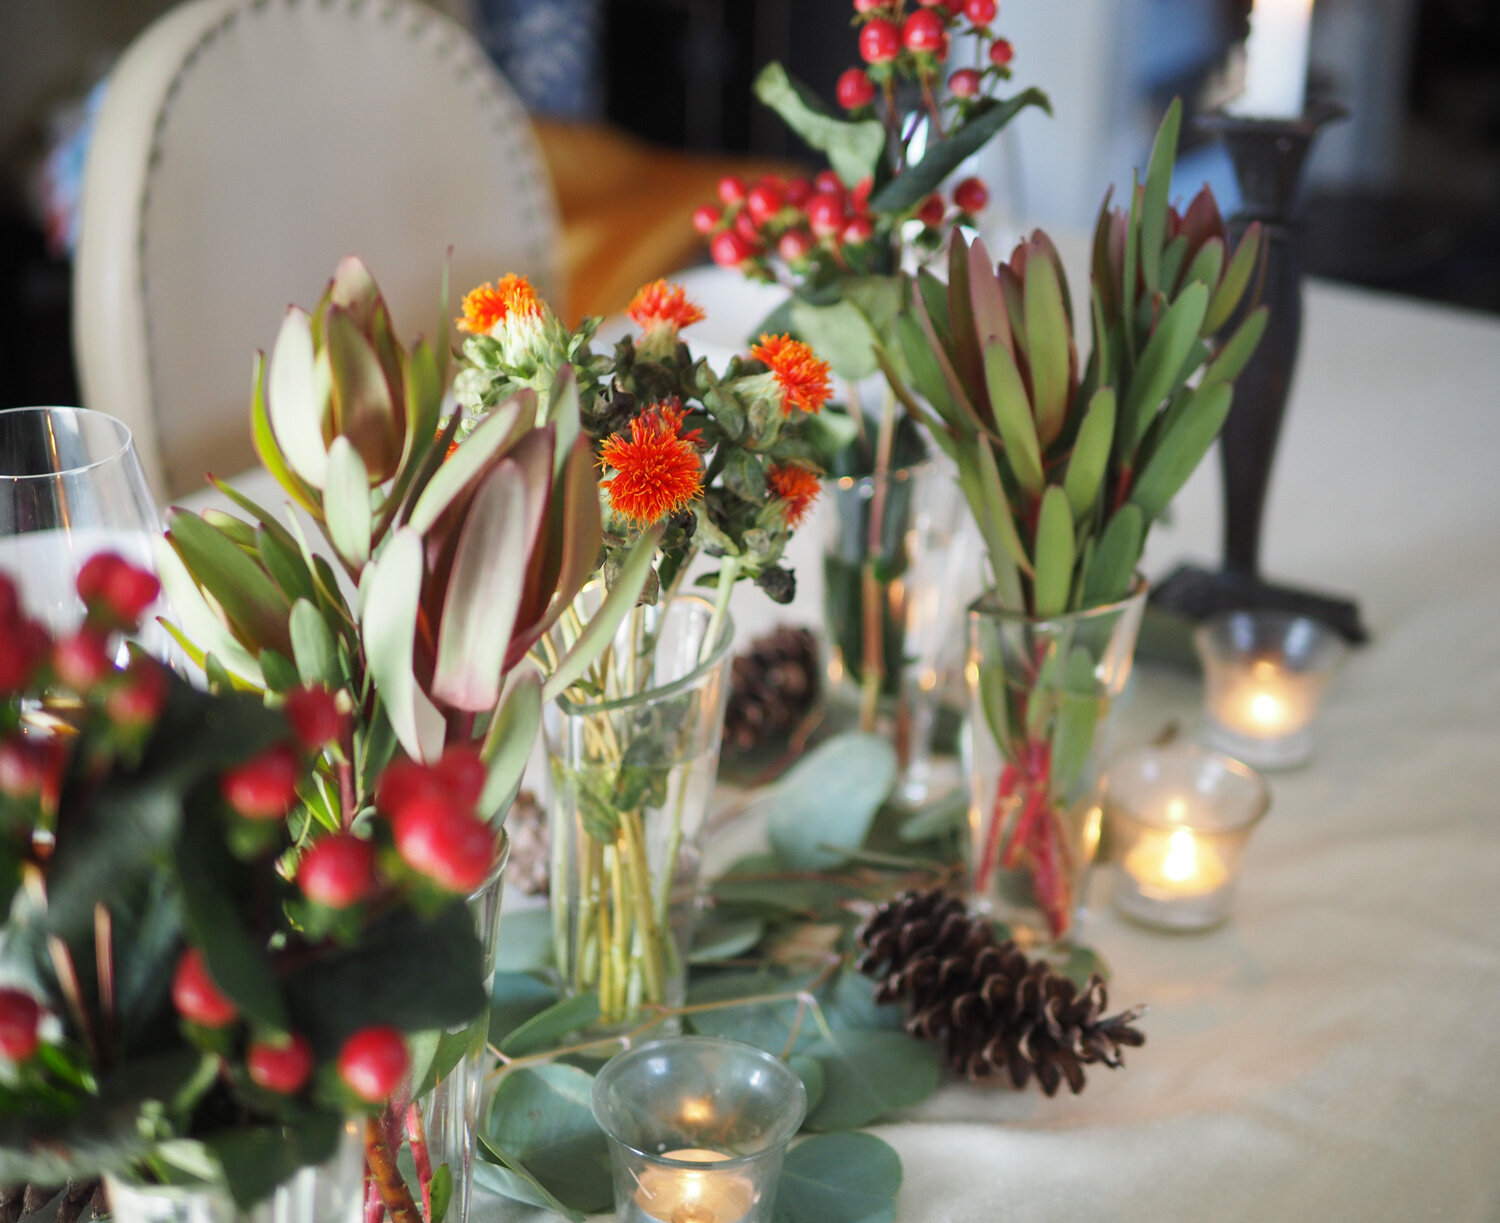
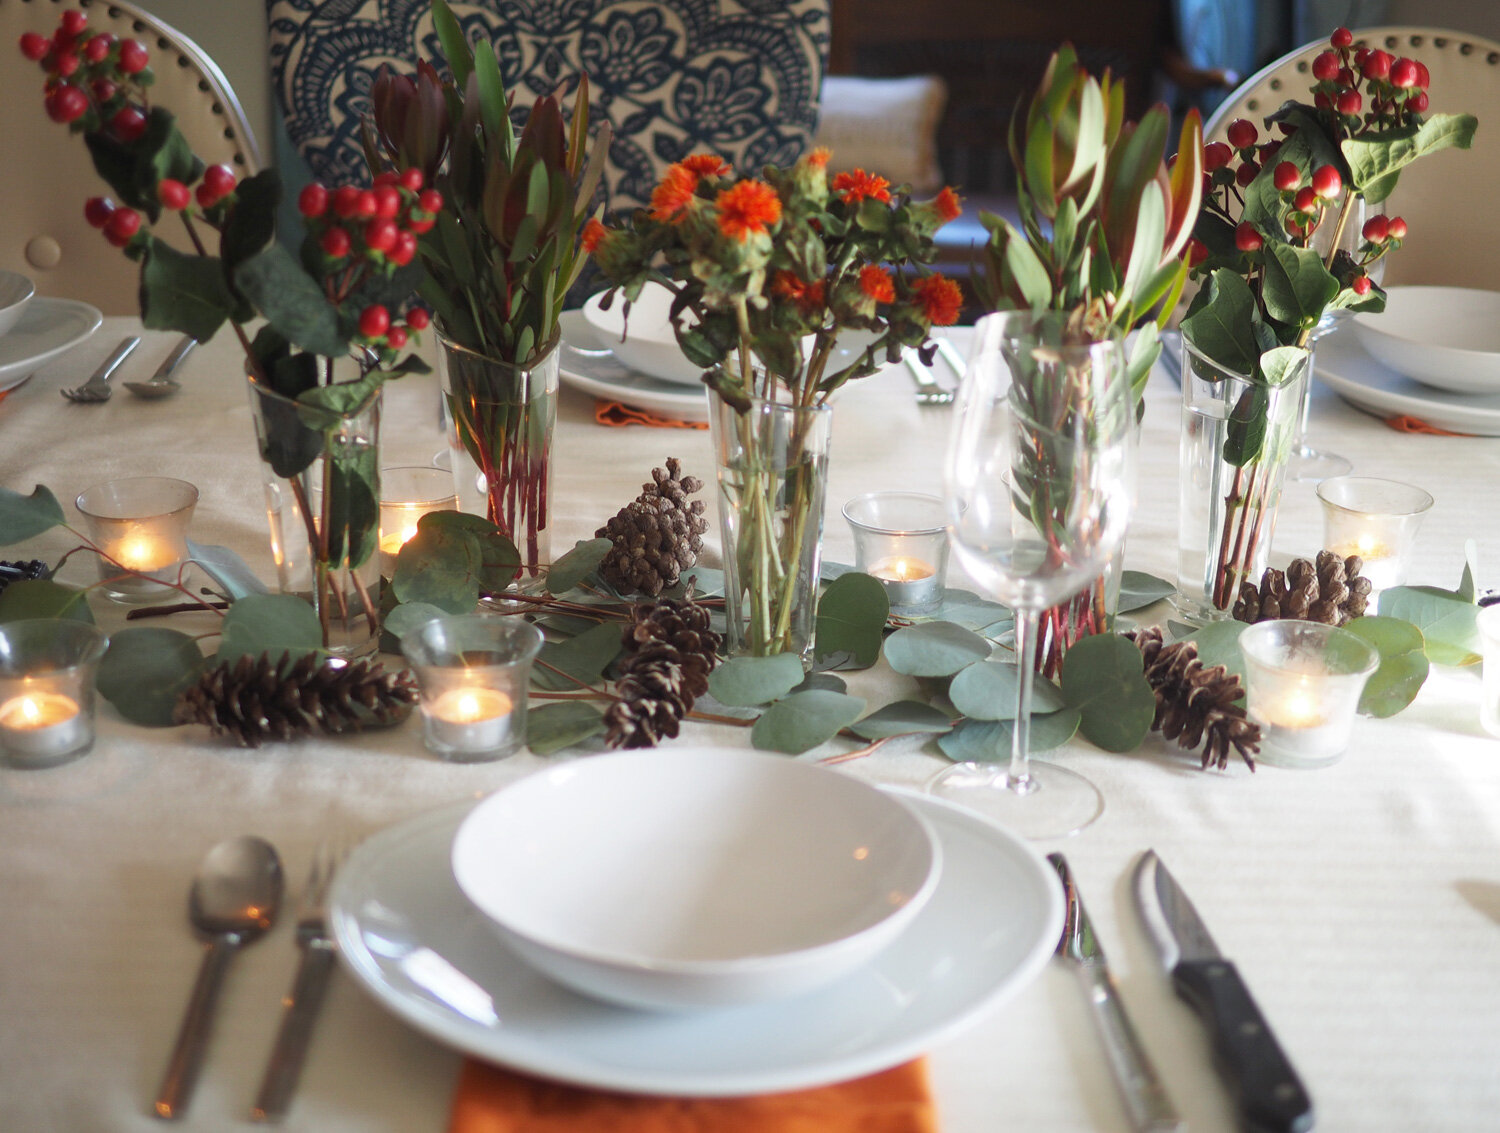
If you prefer a more low profile approach, choose smaller individual vases and spread them out in the middle of the table. Note the difference in style simply by switching out the vases but still using the same florals. As well the change of feeling from using the burlap runner vs. the eucalyptus leaves. The addition of pine cones also adds a nod to autumn.


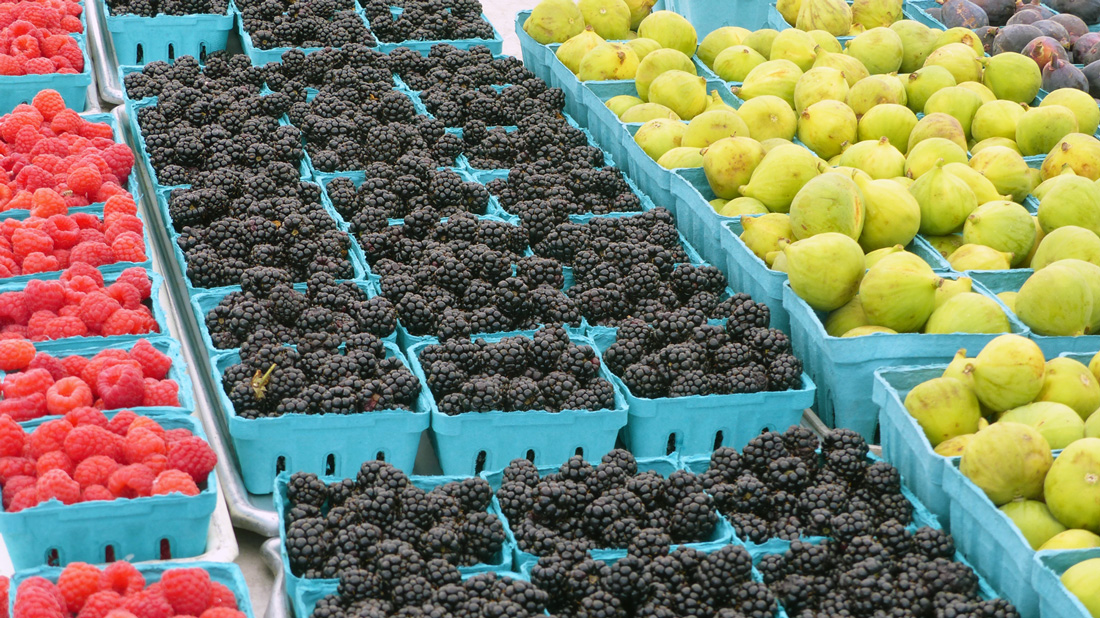
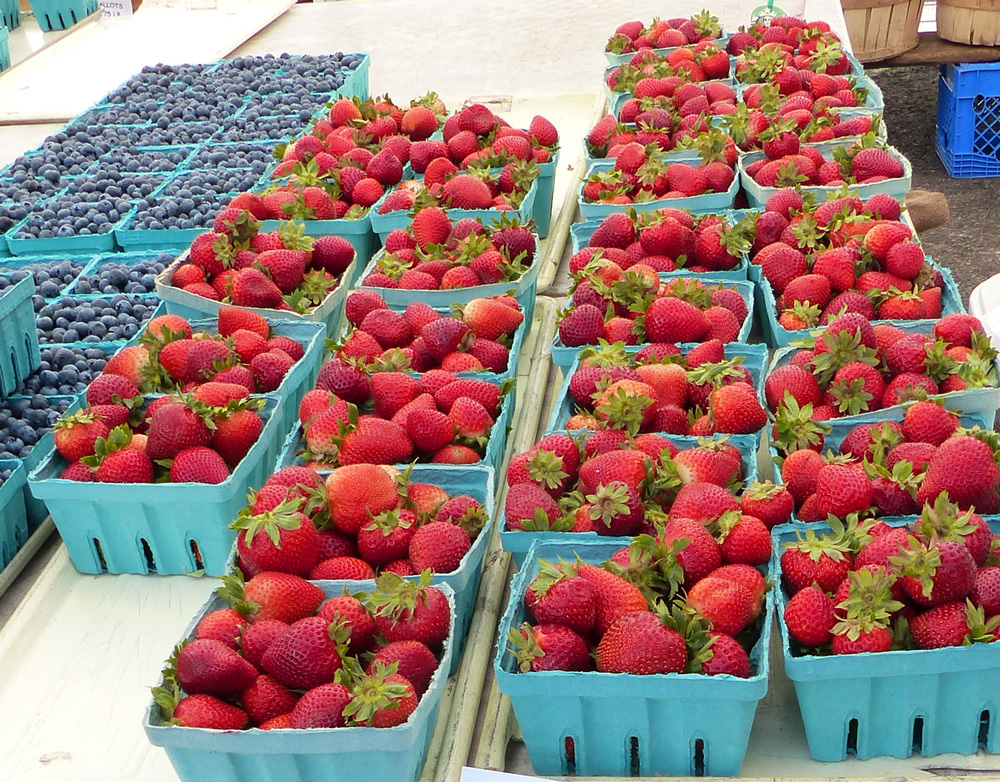
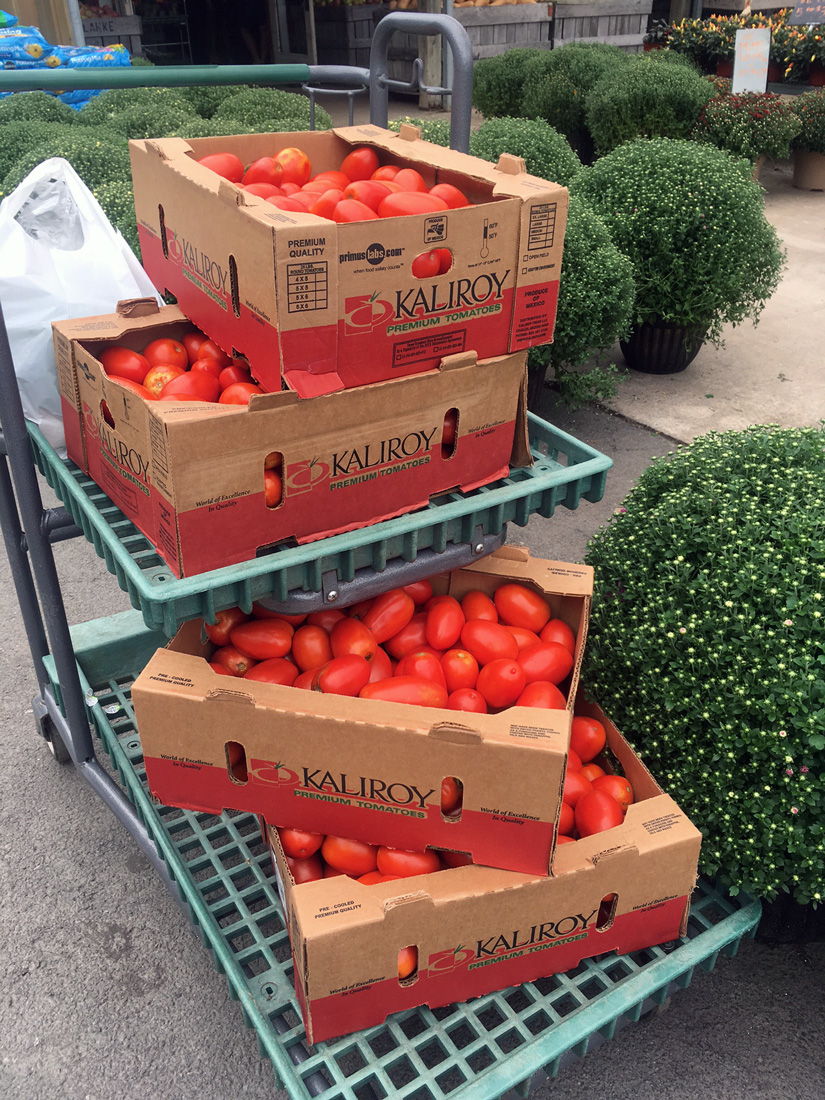
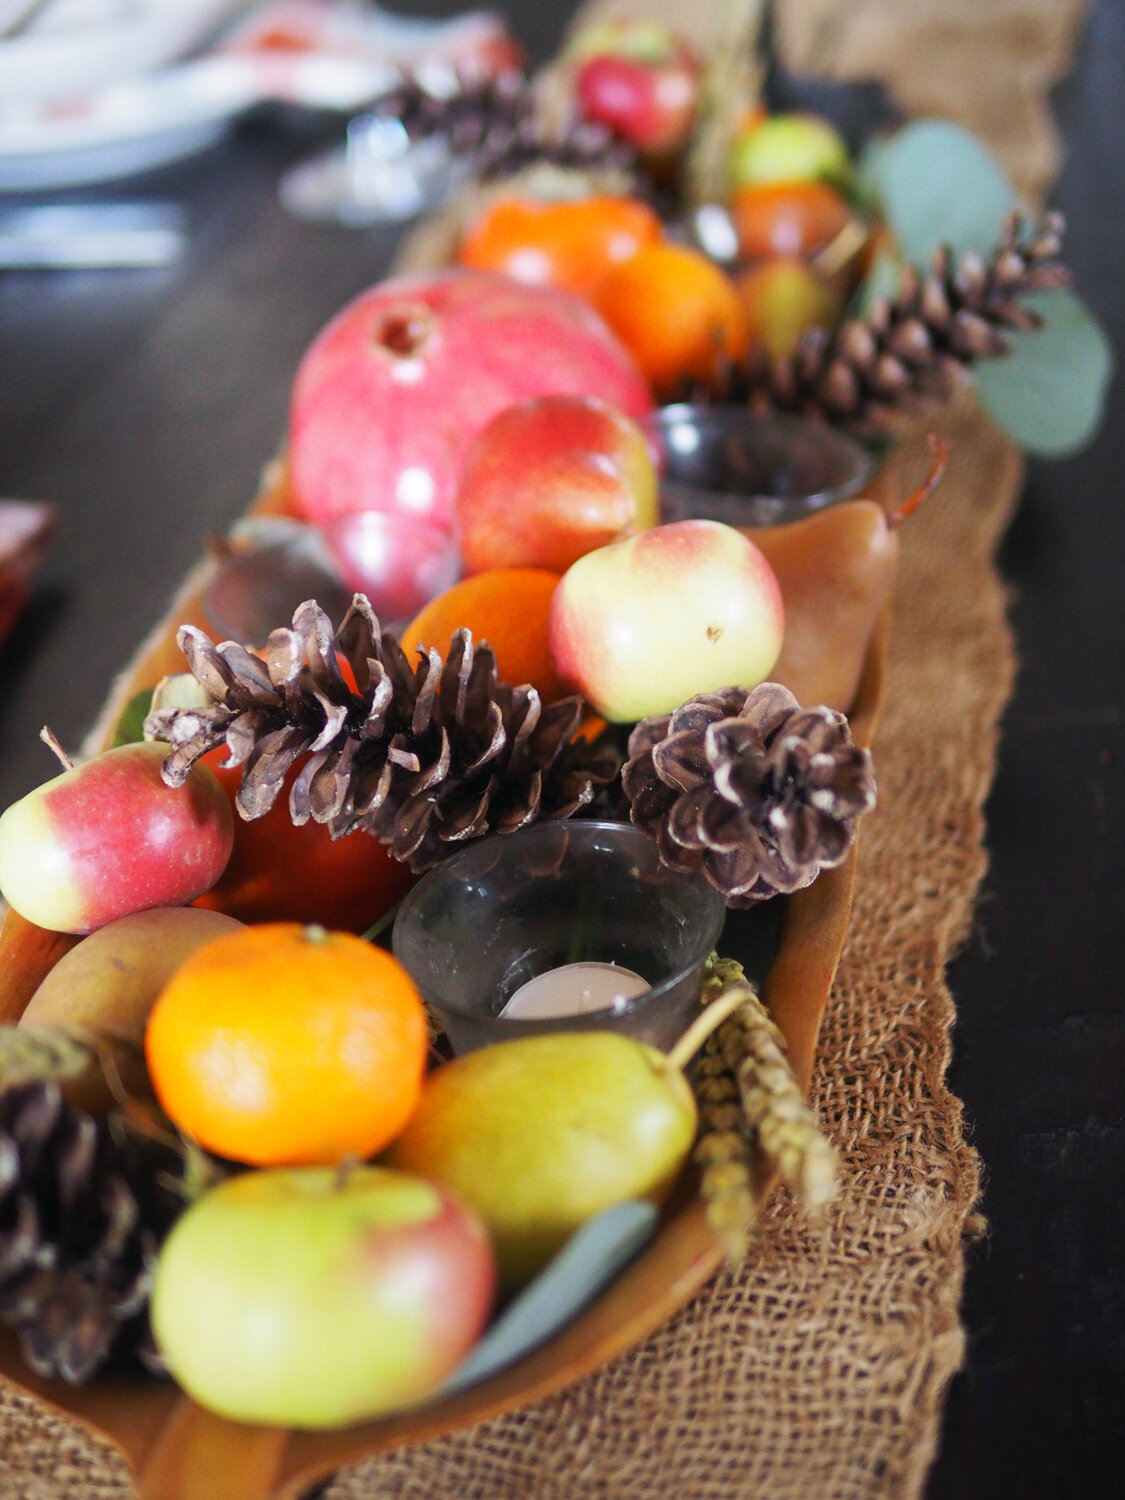
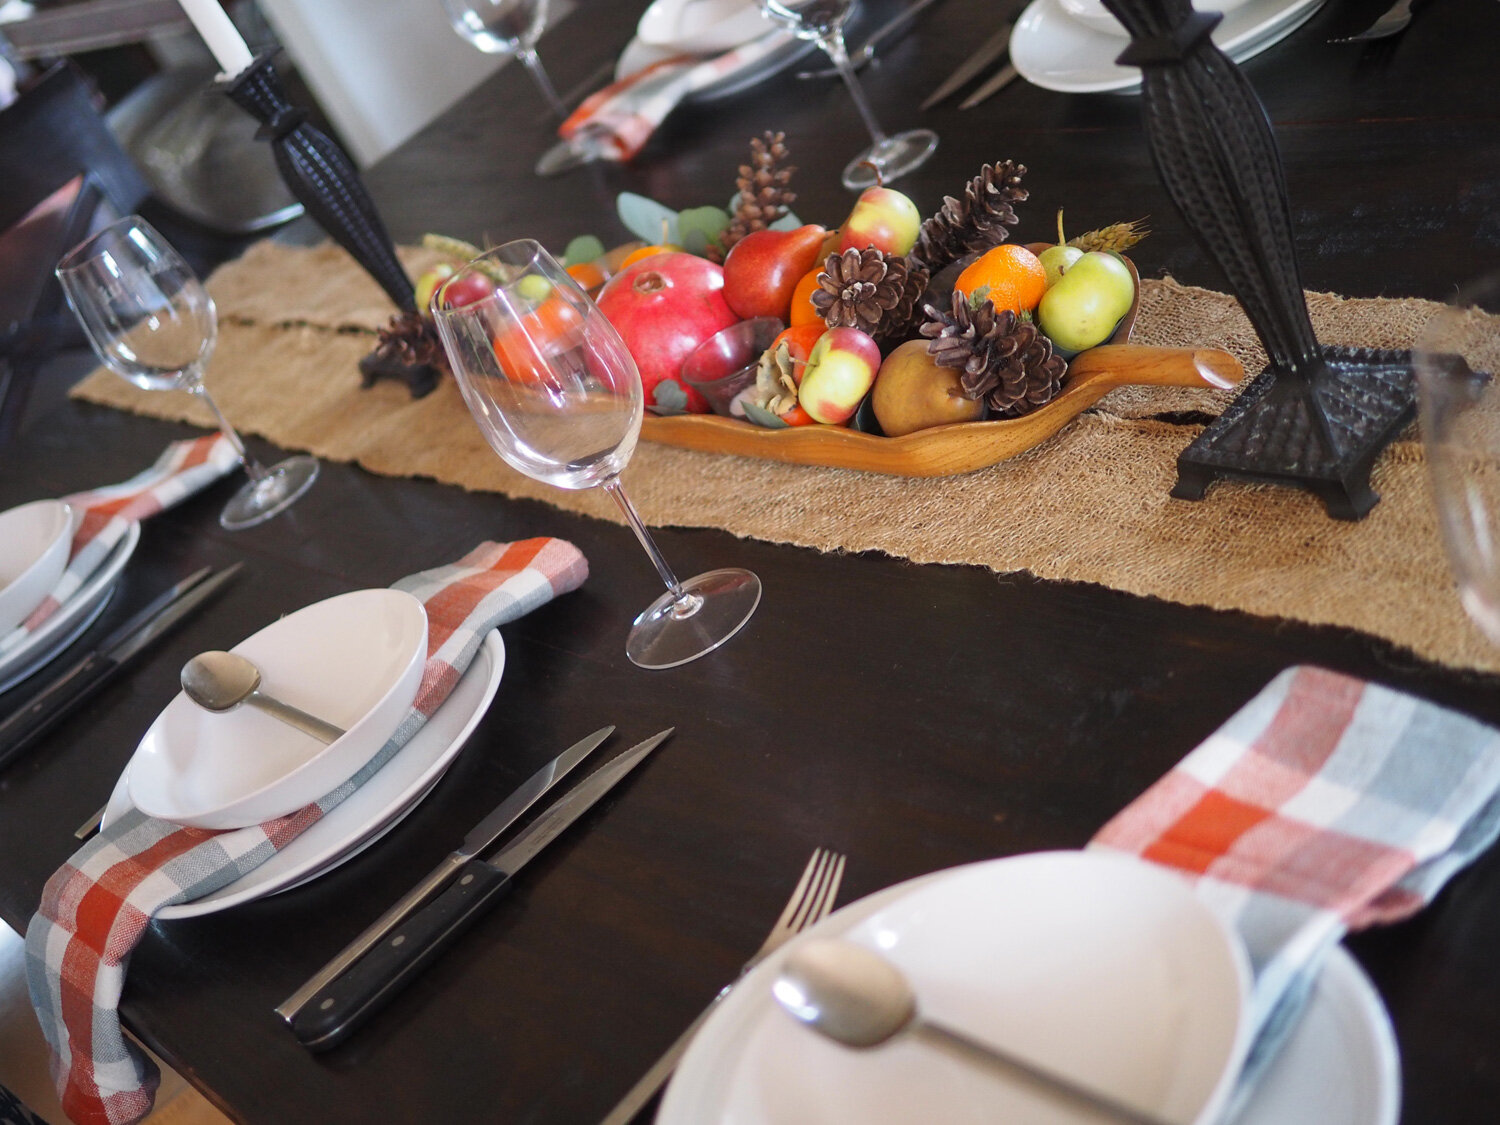
Option #2 - Fruit Centerpiece
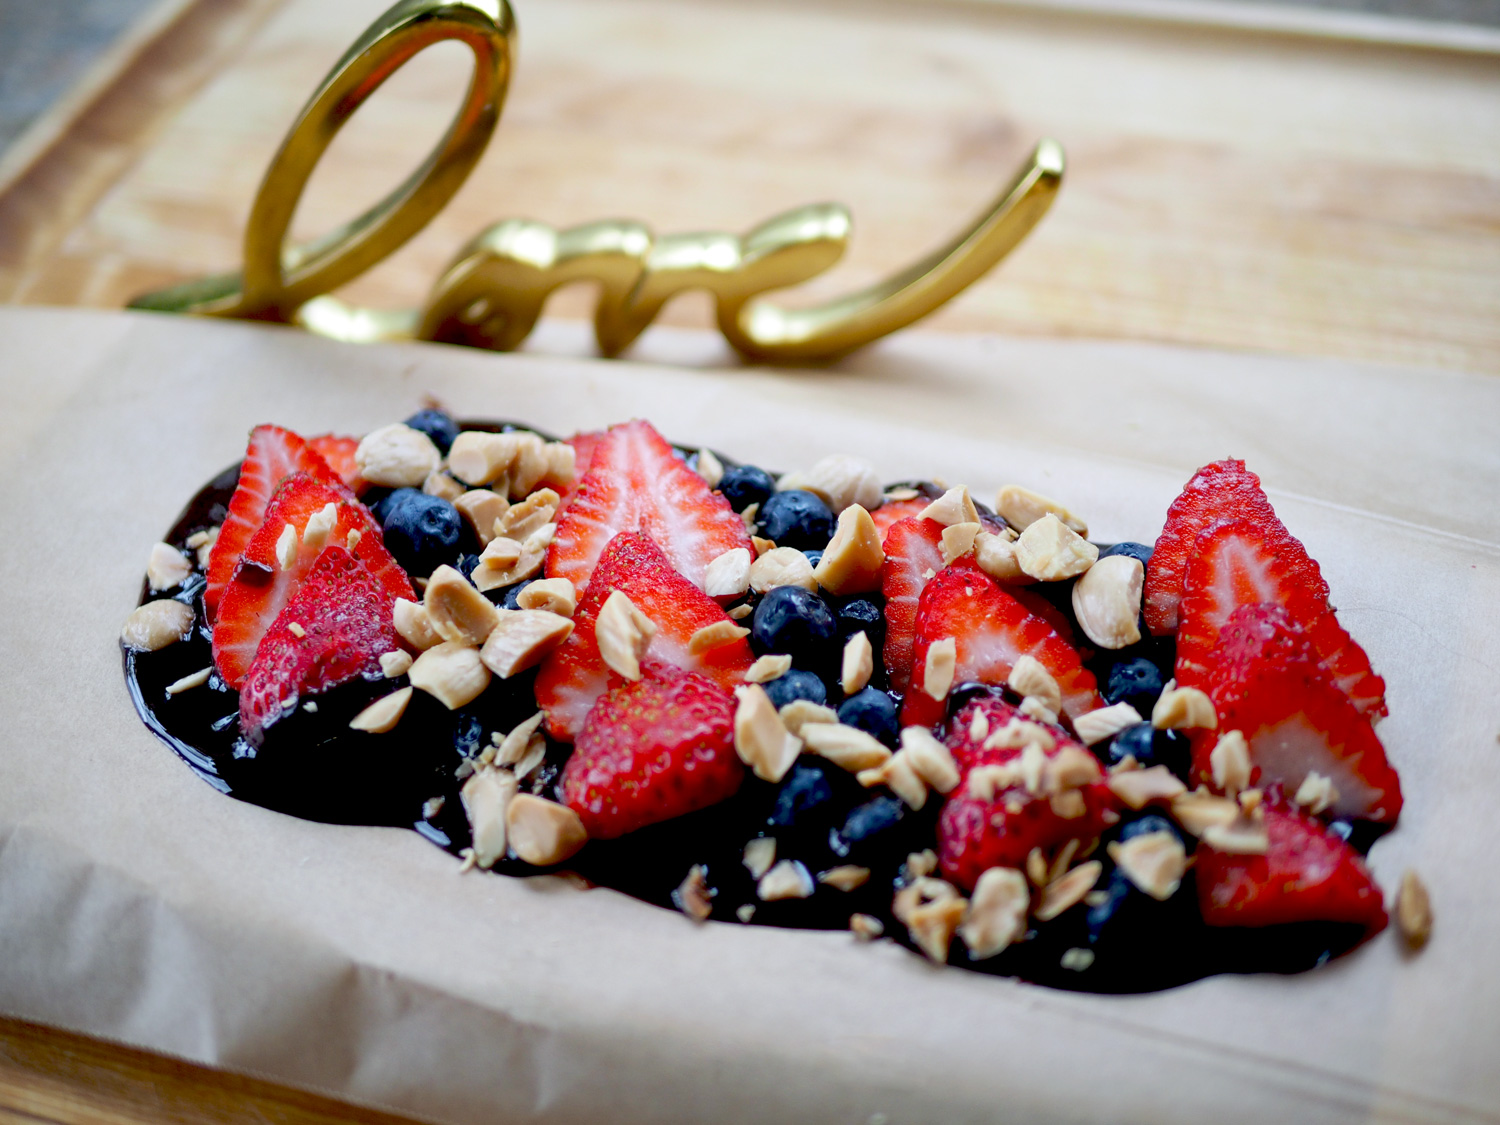
Don’t want to fuss with flowers, use seasonal fruit to create a colorful centerpiece. By arranging the fruit on a tray, basket or round platter it makes for easy removal if you need the table space. If you don’t have anything or simply don’t need to move it, you can also just arrange it right on the table. Add pine cones, nuts and votive candles to finish off the look. Choose fruits that would like to serve, then this becomes the dessert platter. Now that is cost savings; Pretty, functional AND edible! Here are a few options for fruit.
Wood Tray Base

My parents brought this back from their Mexican honeymoon 58 years ago. It’s my pride and joy.

Use eucalyptus leaves and stalks to line the bottom.

Gold Charger & Glass Cake Plate
If you don’t have long tray or you don’t have a long table, choose a smaller platter. I chose a gold charger, but you can really use any platter as long as it is sturdy to hold all the fruit. Place the eucalyptus leaves down (trim if necessary) then arrange and pile up the fruit. Add pine cones and grass stalks. You can even add nuts in their shells. For additional height, place the entire platter on a cake plate. Then you can tuck your candles slightly underneath. The lift creates a more dramatic feel.
Directly on the Table
If you don’t have a platter because they are all being used to serve the mountains of food you are preparing, go ahead and create the centerpiece directly on the table, placing candles in and around. Please note that this version means leaving it there the entire time until you are ready to eat the fruit for desset.

Don’t have a long tray. Use a round charger plate.

Want to give it height, place it on a cake plate.


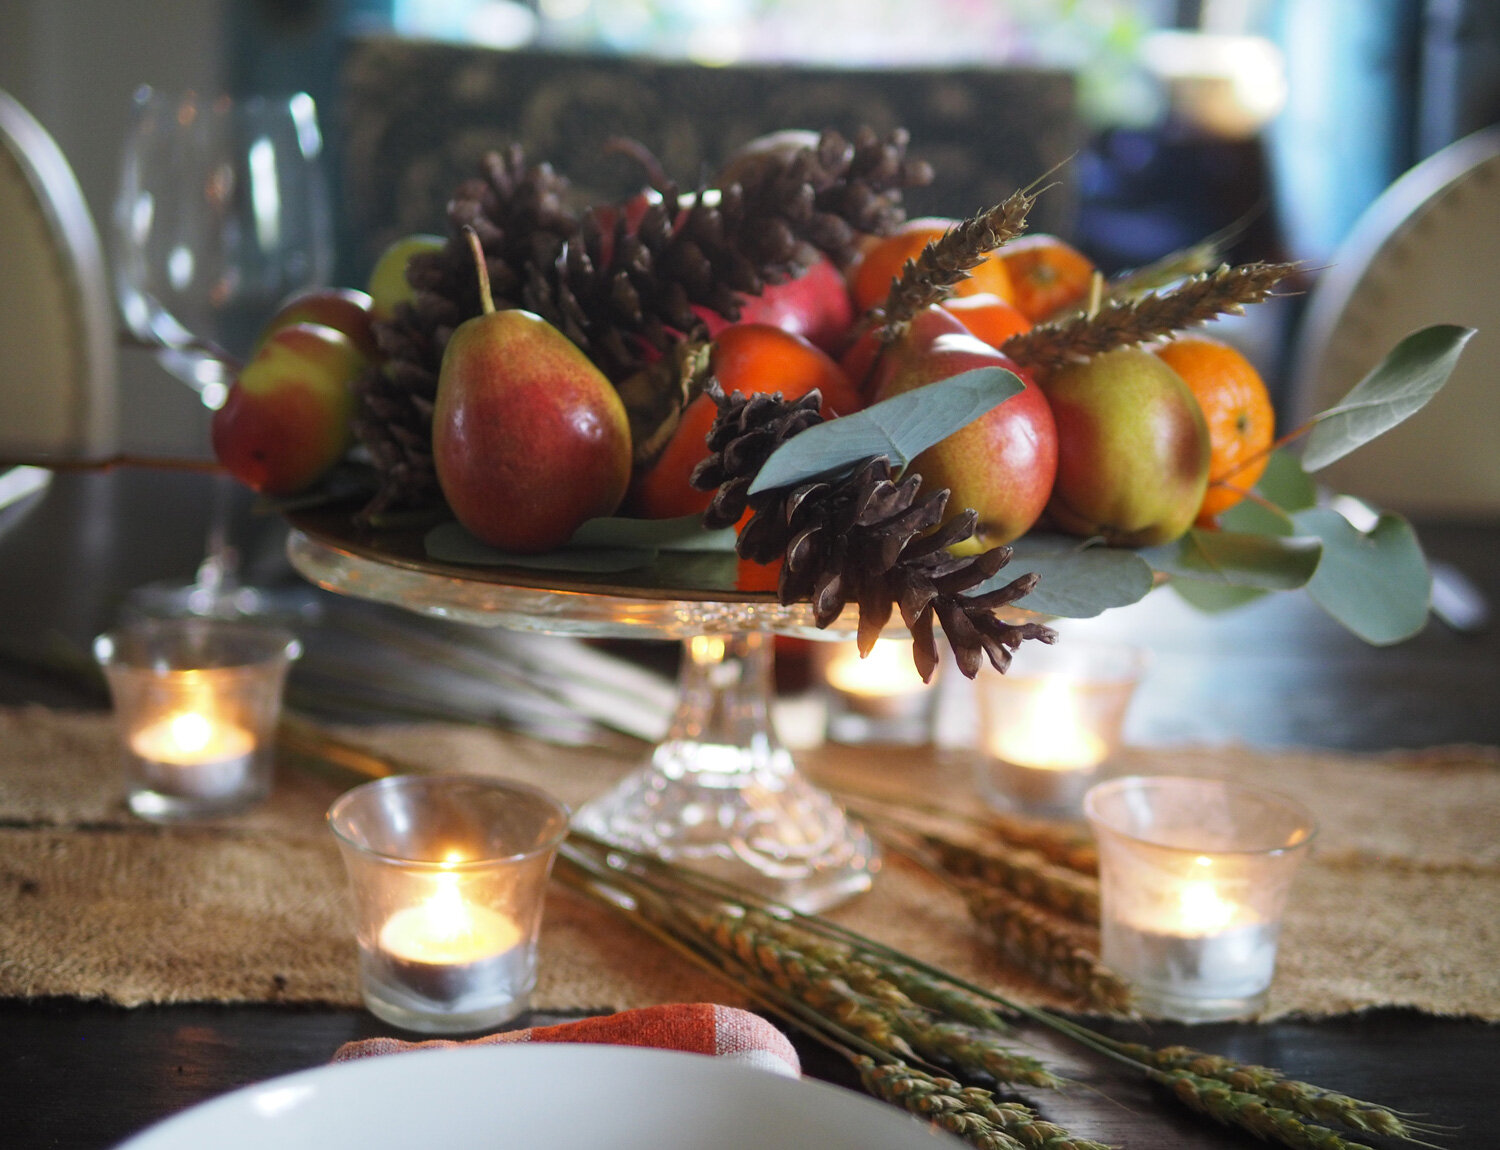
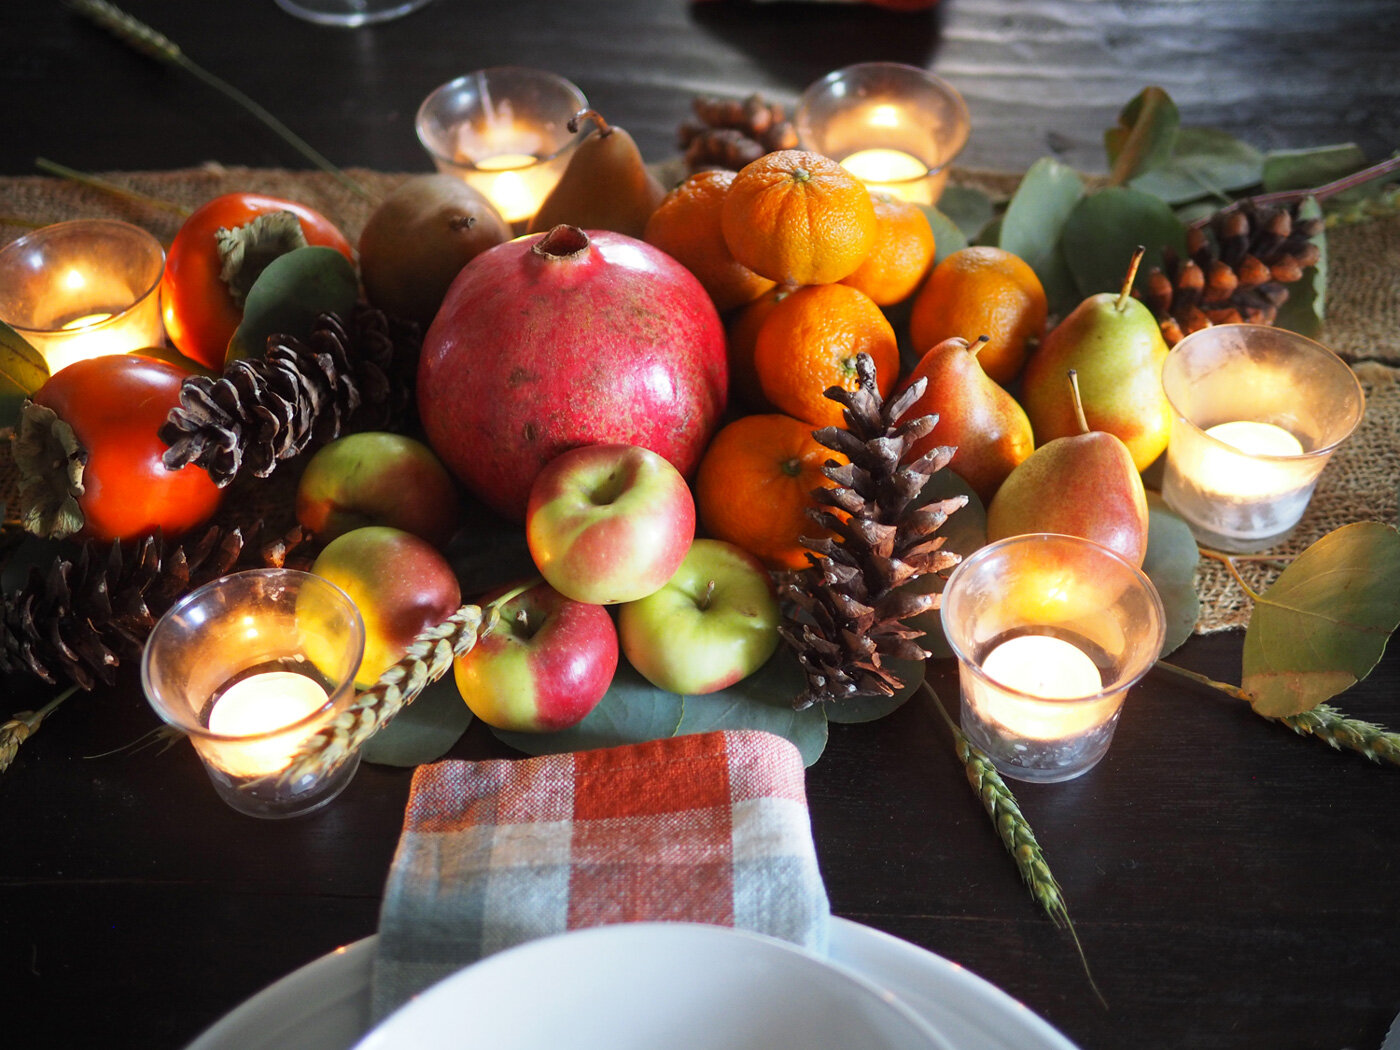

Table of Simple Elegance
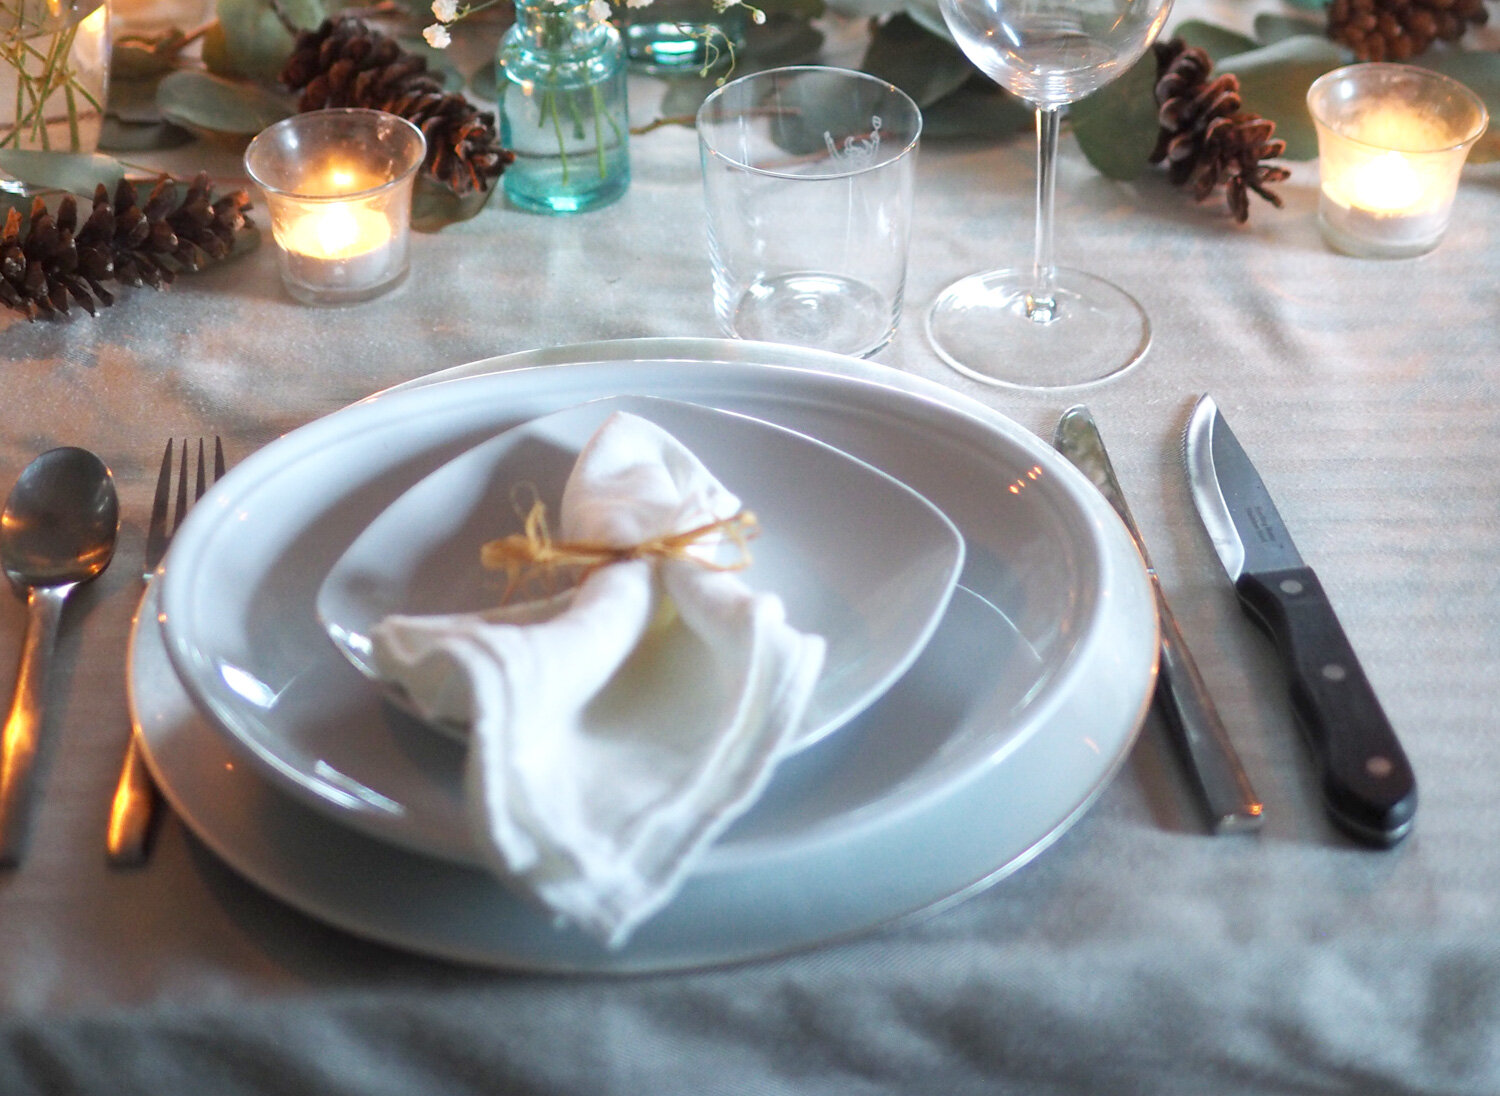
Option #1: White Tablecloth | Silver Chargers | White Napkins
Again, using some of the basic elements from the casual setting and adding touches of elegance. Start with the white or cream tablecloth. Still using white plates, but changing out the soup bowl for a salad plate and turning diamond shaped adds the whimsy. Grounding the place setting with a silver charger takes this to a more refined level as does adding a water glass. The silver keeps it bright but still not full on formal, as do the simple white napkins tied with raffia.
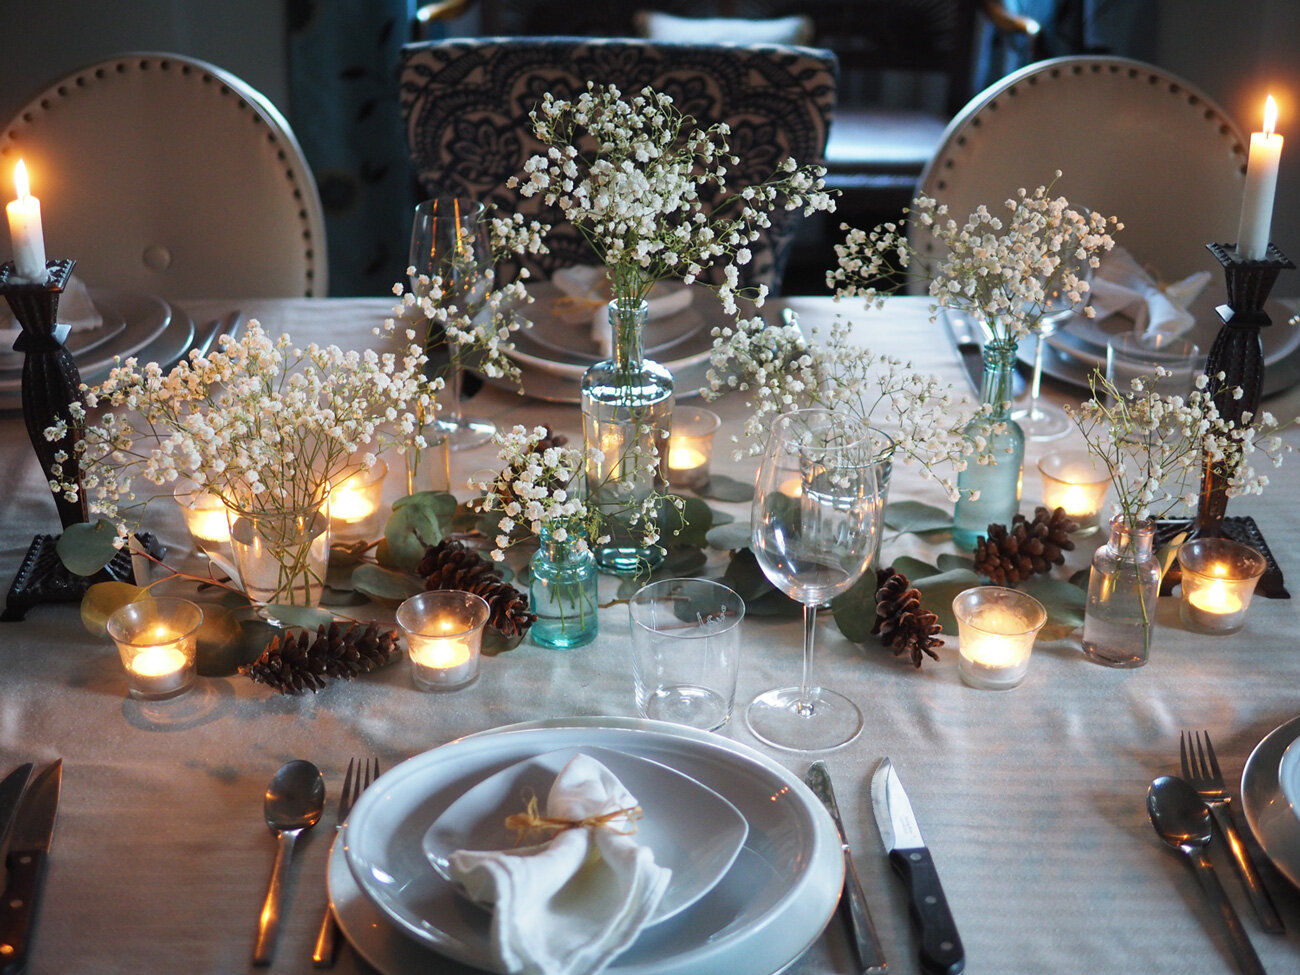
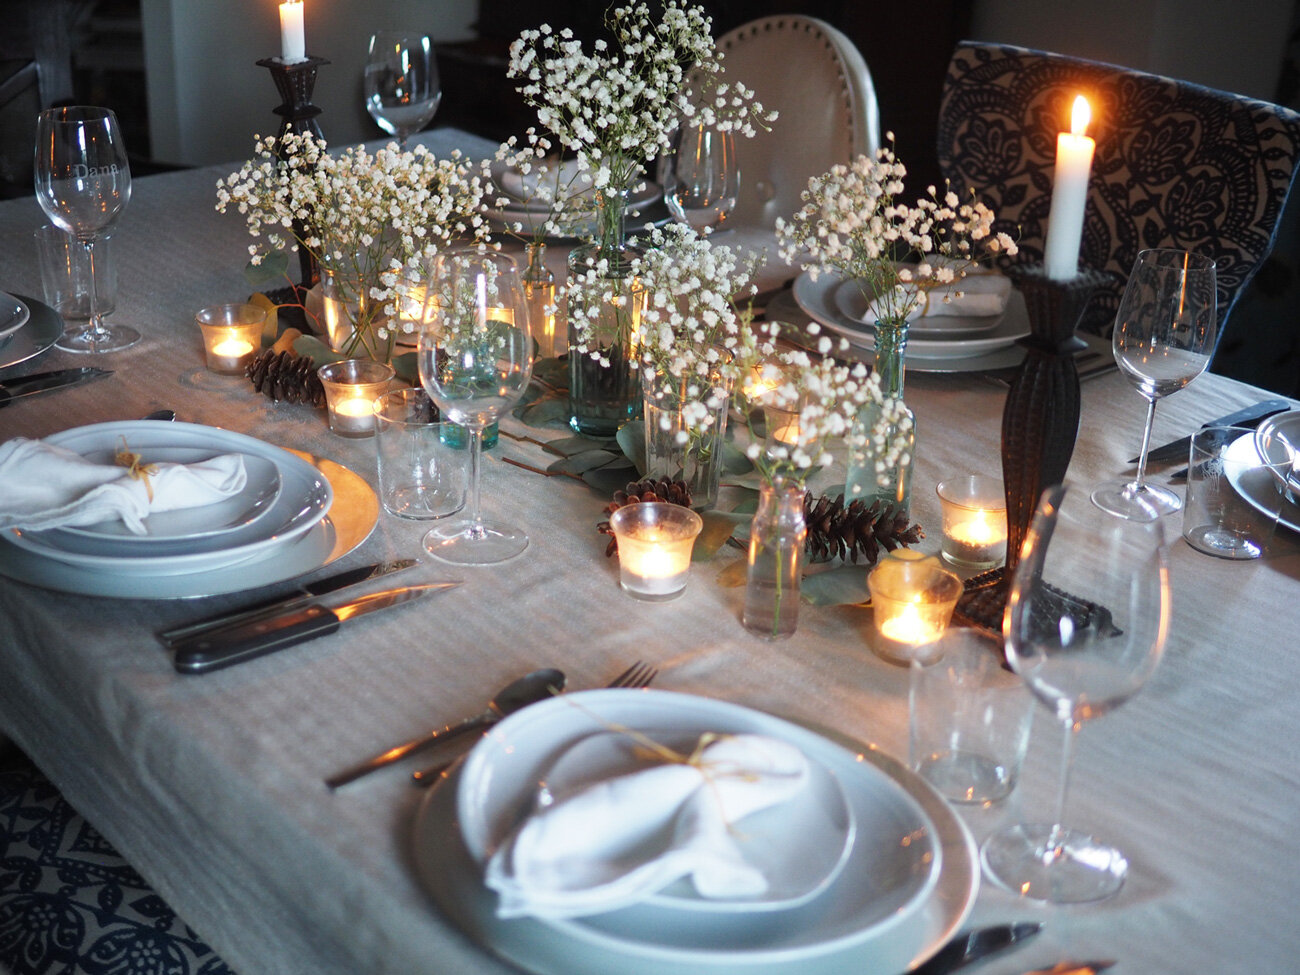
In keeping with the white theme, the scattered placement of various vases filled with white baby’s breathe creates a simple elegance of singular focus, with the eucalyptus leaves centering it all.

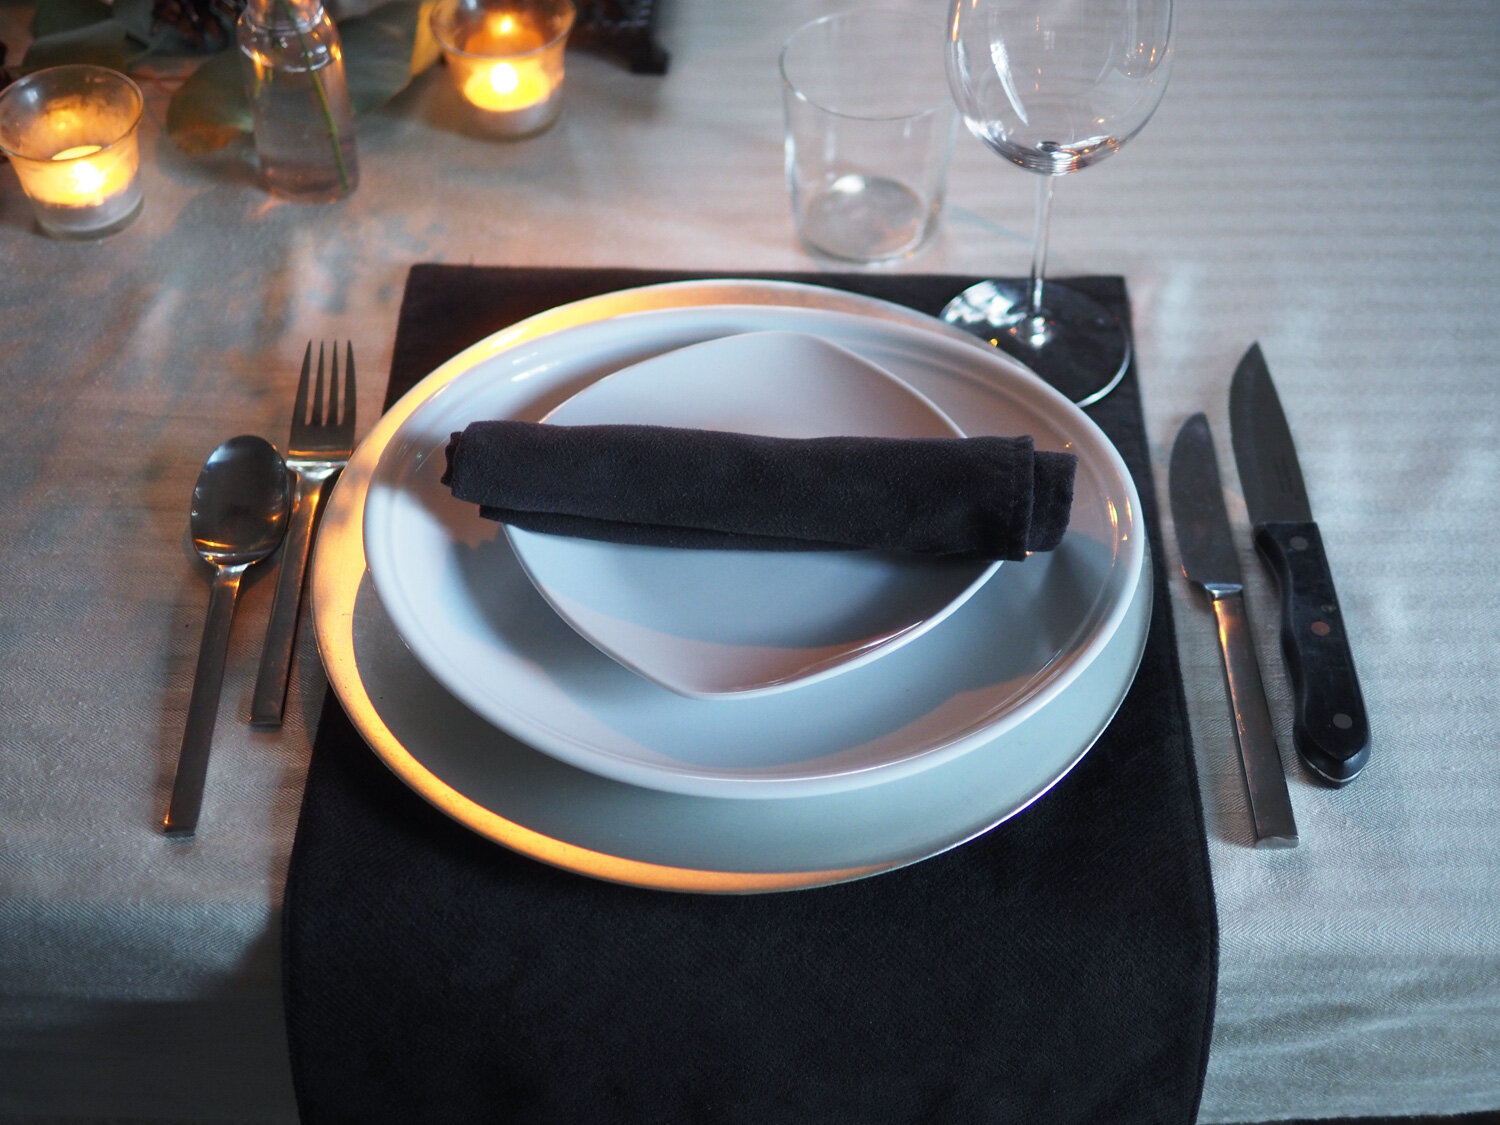
Option #2: White Tablecloth | Silver Charger | Black Placemats & Napkins
Want a little edge? Add sharp contrast with black placemats and napkins. This version is the same as above with those two small changes. Turning the placemat vertically instead of horizontally lends more of a modern touch. A simple roll of the napkin also plays into the contemporary, sleek feel. The white baby’s breathe with candlelight takes it to a romantic elegant space.


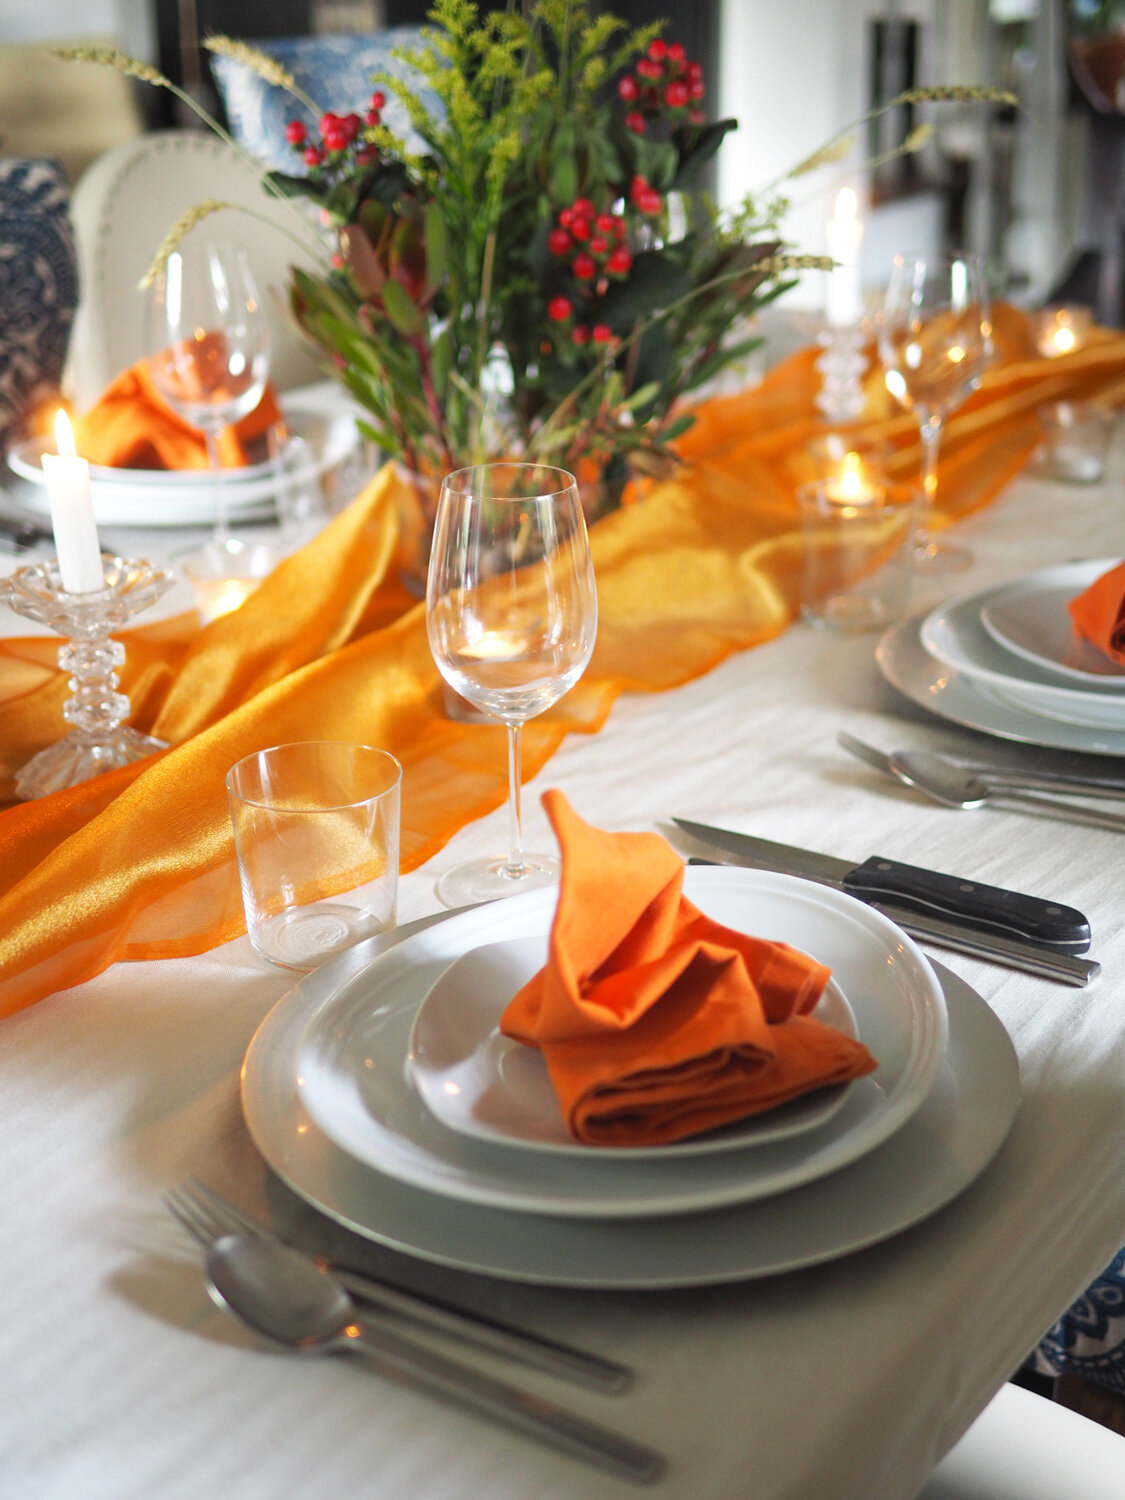
Option #3: White Tablecloth | Silver Charger | Orange Pops of Color
If those white and black options seem to stark and not enough holiday bling, then bring back the orange accents. Toss down the runner and add the orange napkins back in but this time bunch them up and place them on the plate. Continue the festive feel with the orange and green florals, this time arranged in a wider, lower glass vase, and now you have a touch of elegance with a splash of color. And don’t forget candles. Bang!
Option #4: No Charger Plates - No Problem
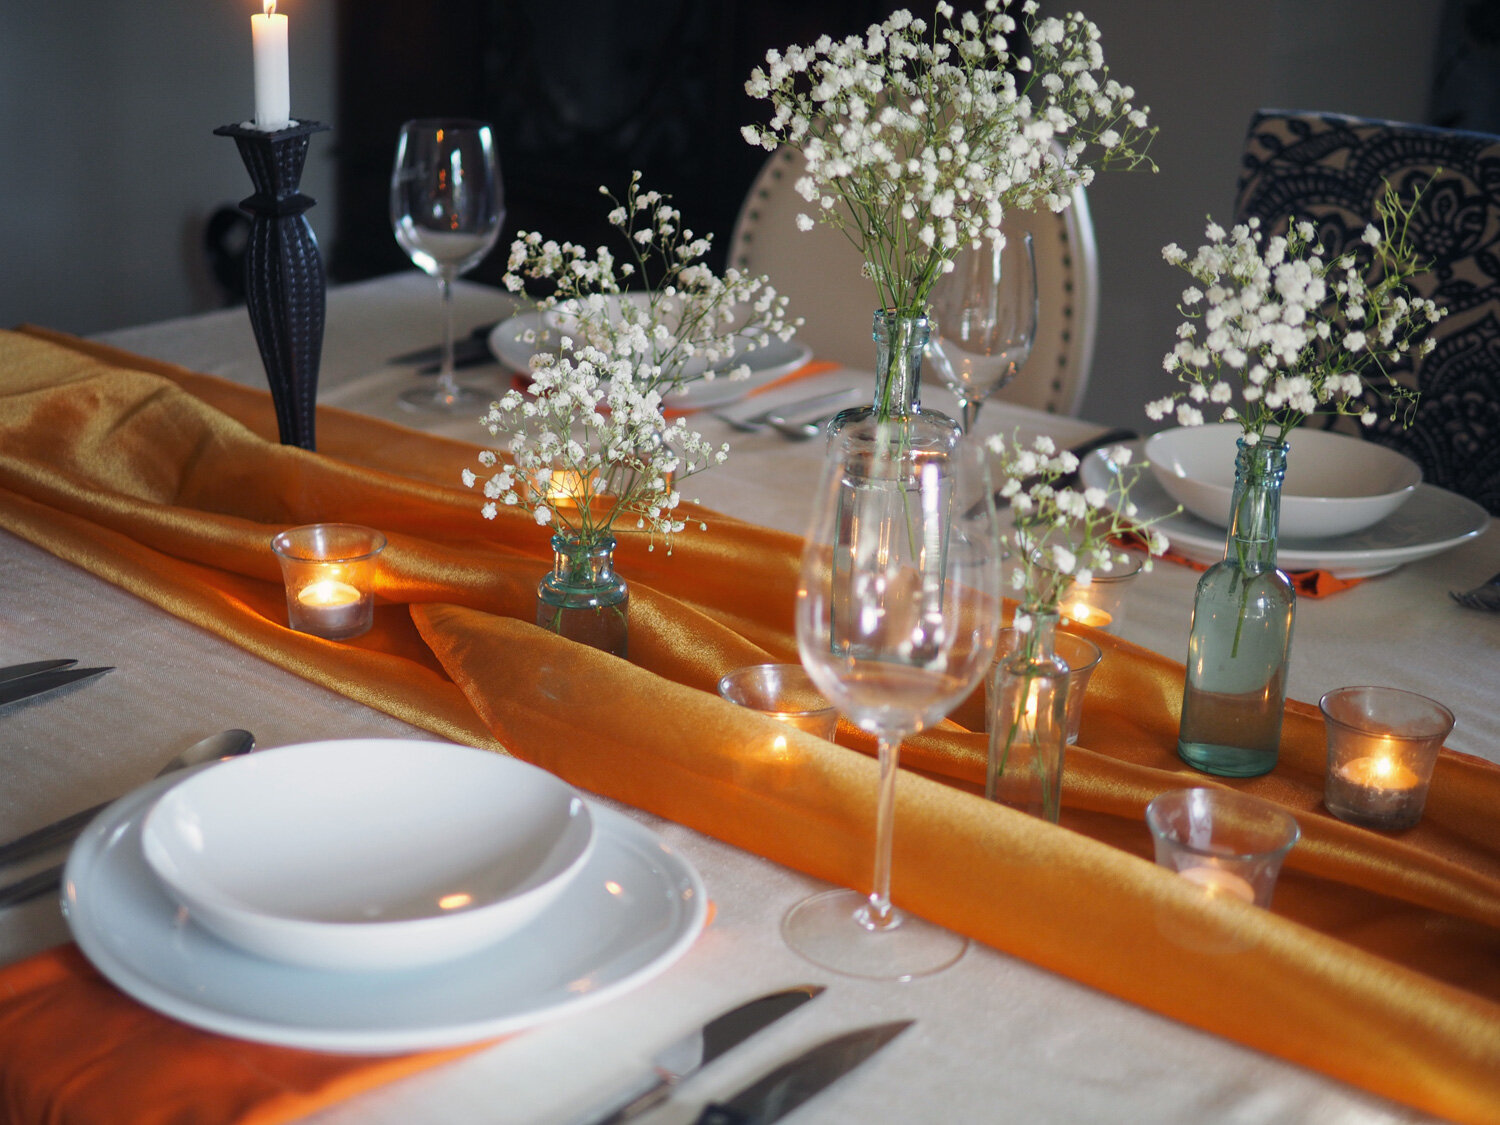
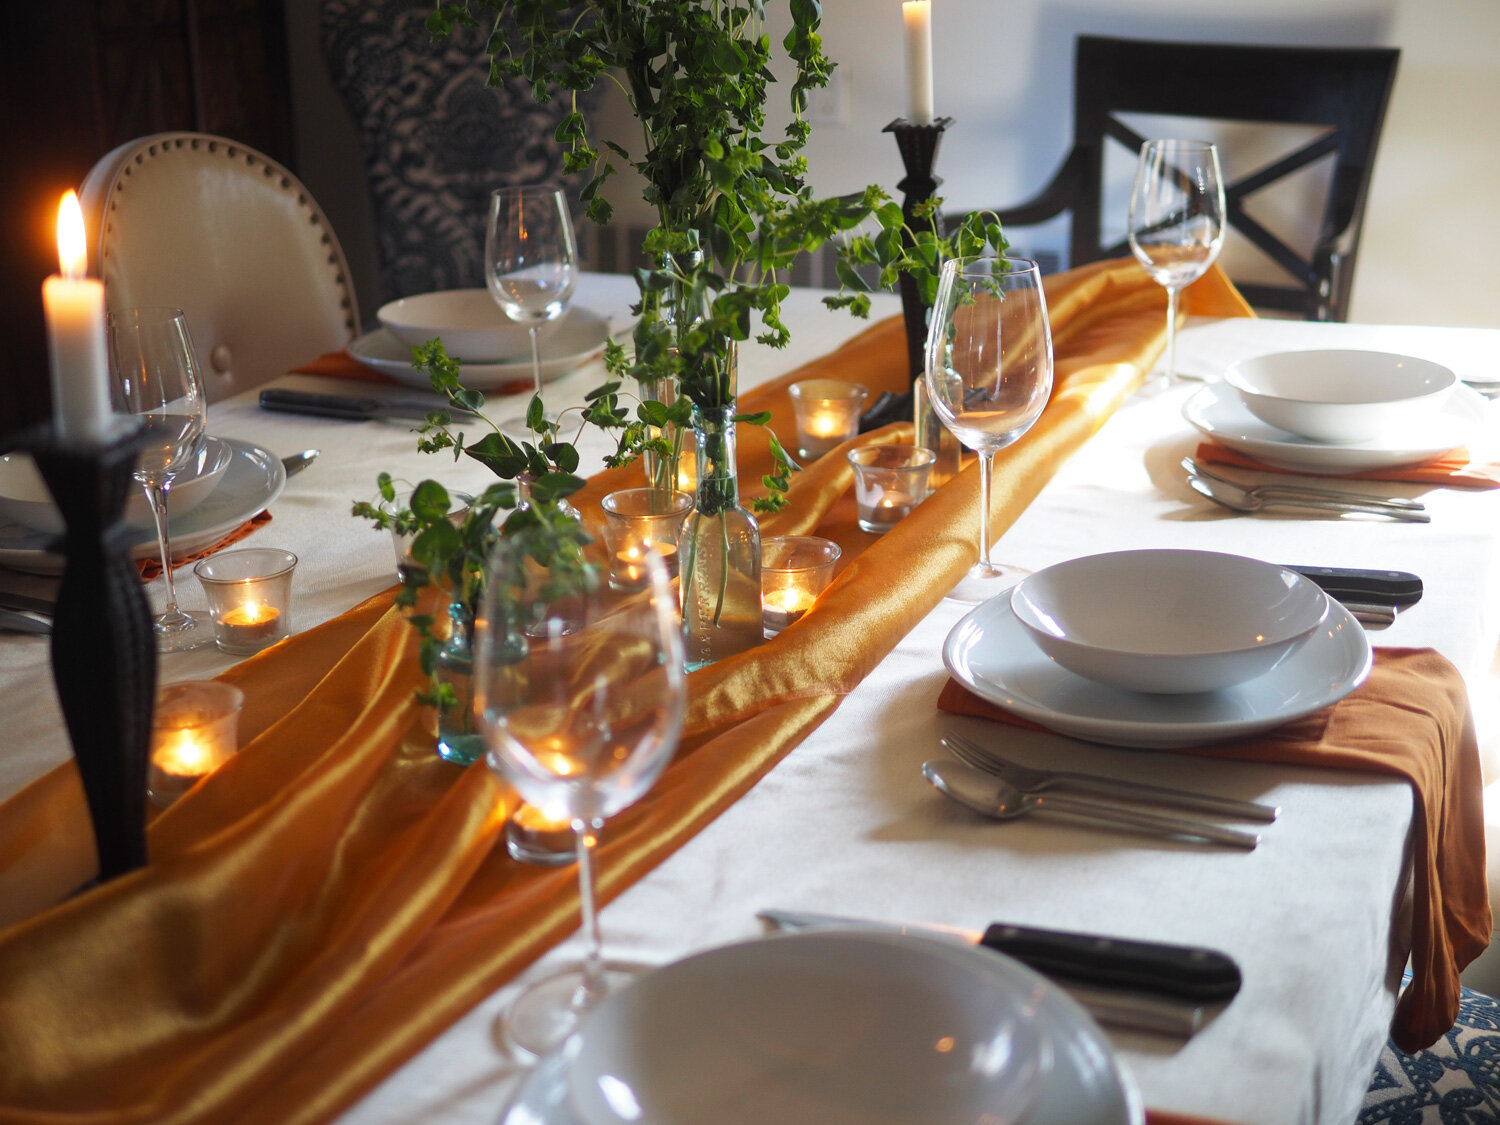
Using the casual orange napkin place setting, add a bright orange runner to the center of the table and watch how that simple addition ratchets up the elegance factor.
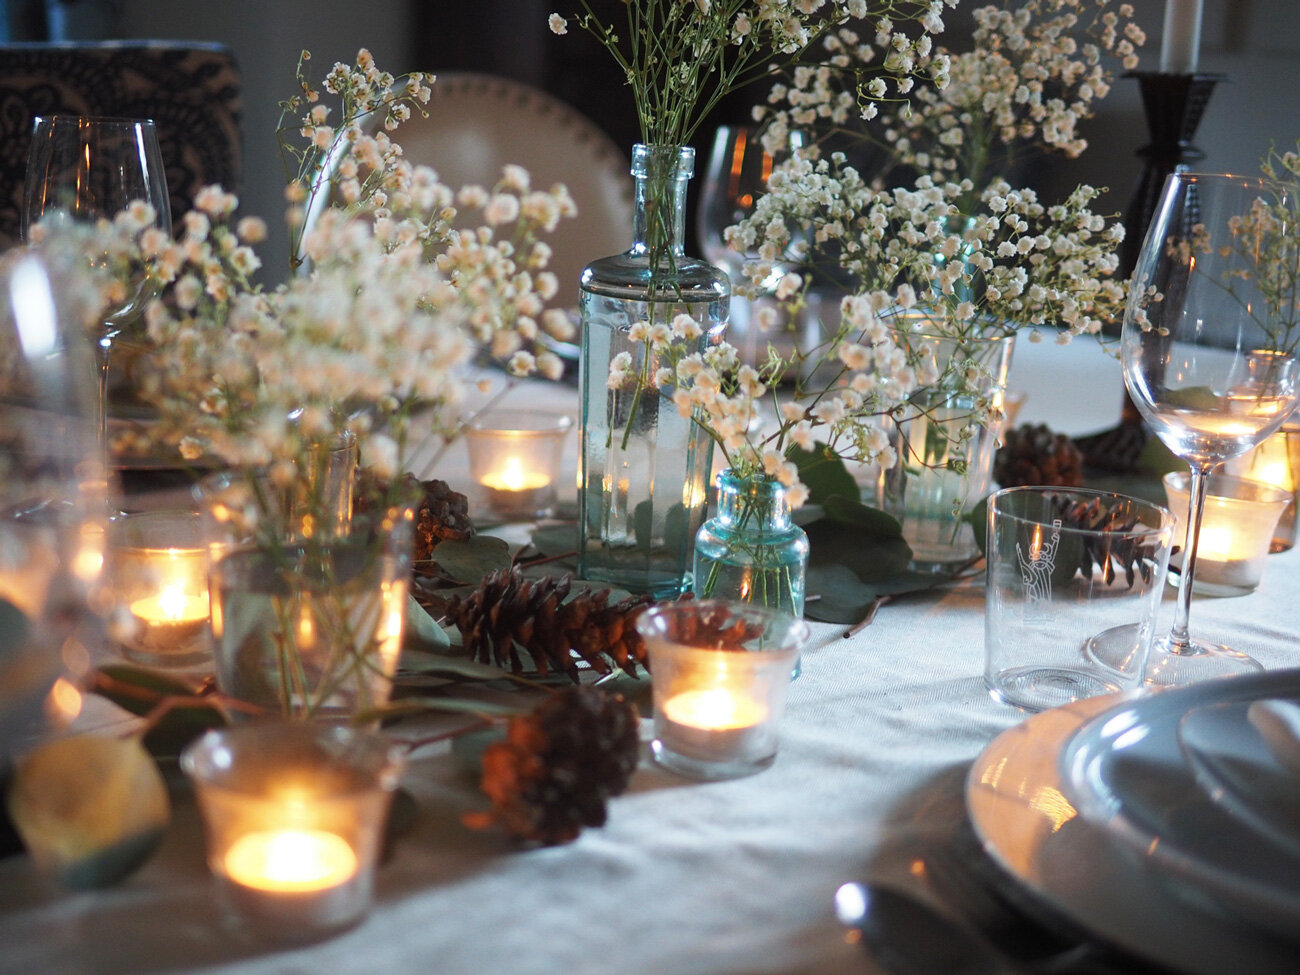
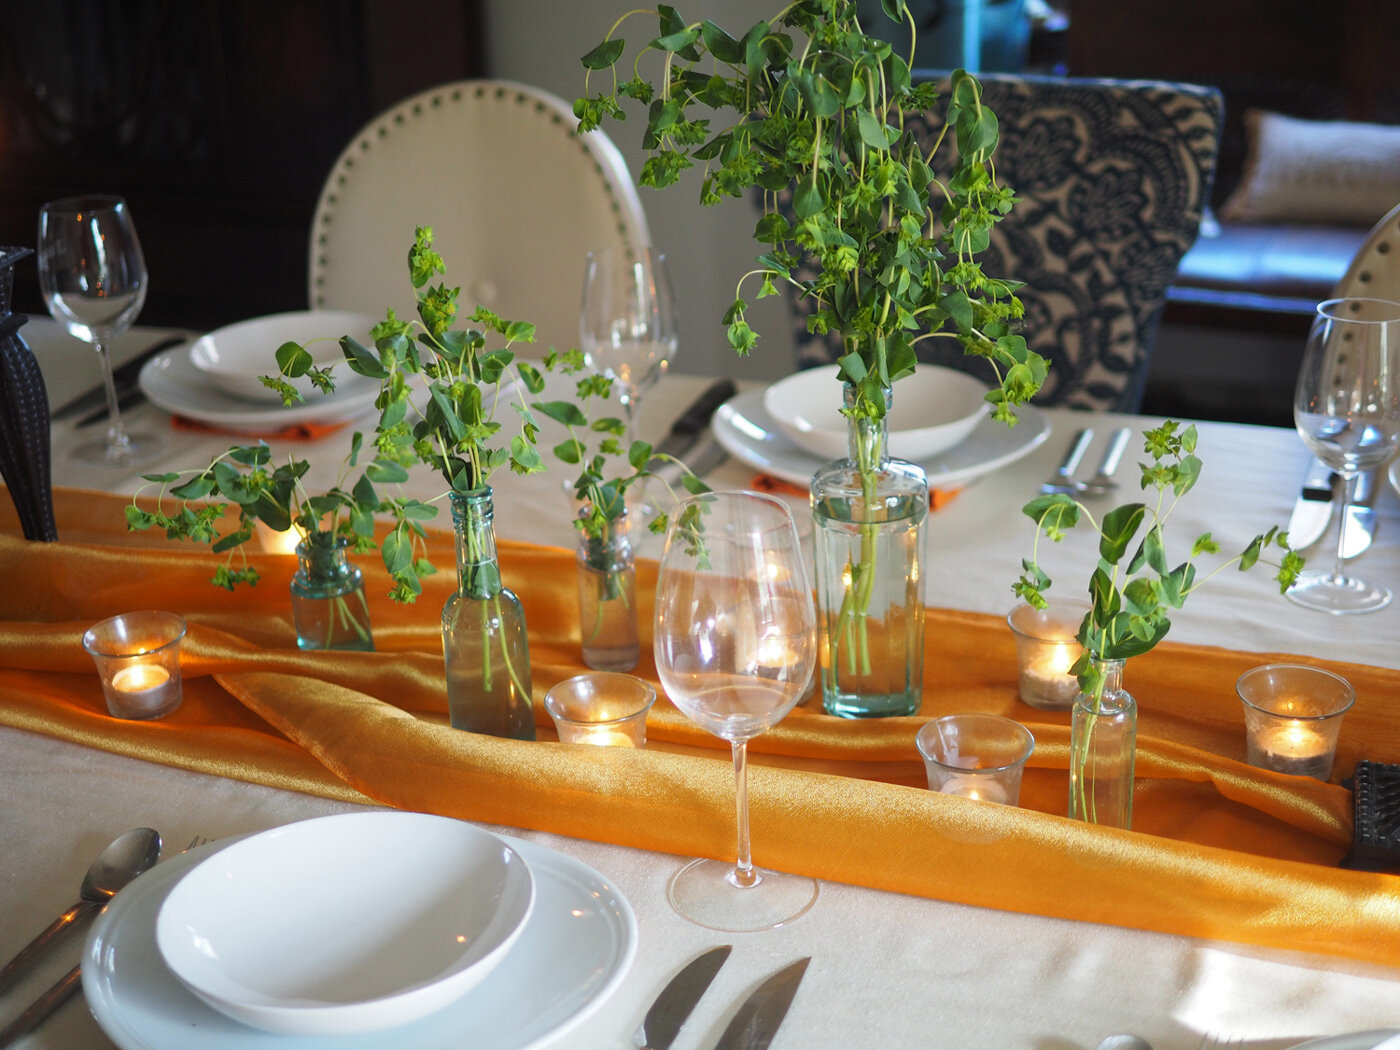
The varying height vintage vases filled with baby’s breathe pop off the bright, high contrast runner. But if are not a fan of baby’s breathe and want something a bit more organic, Go Green. The austere use of only filler greens feels like nature itself and a different kind of breathe: one of fresh air.
True Elegance
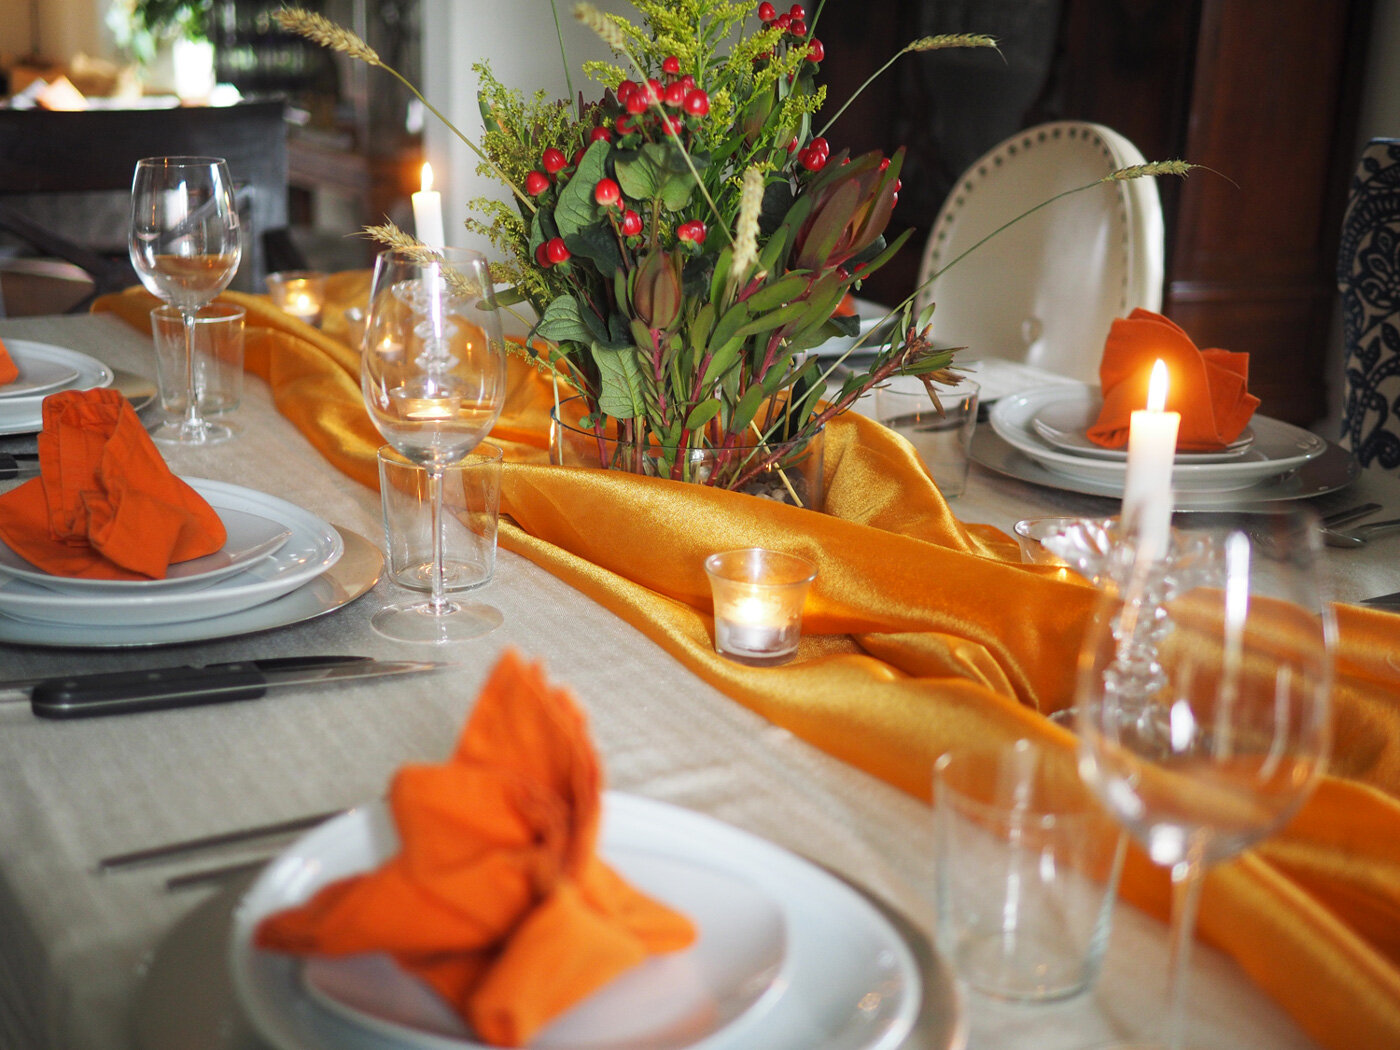
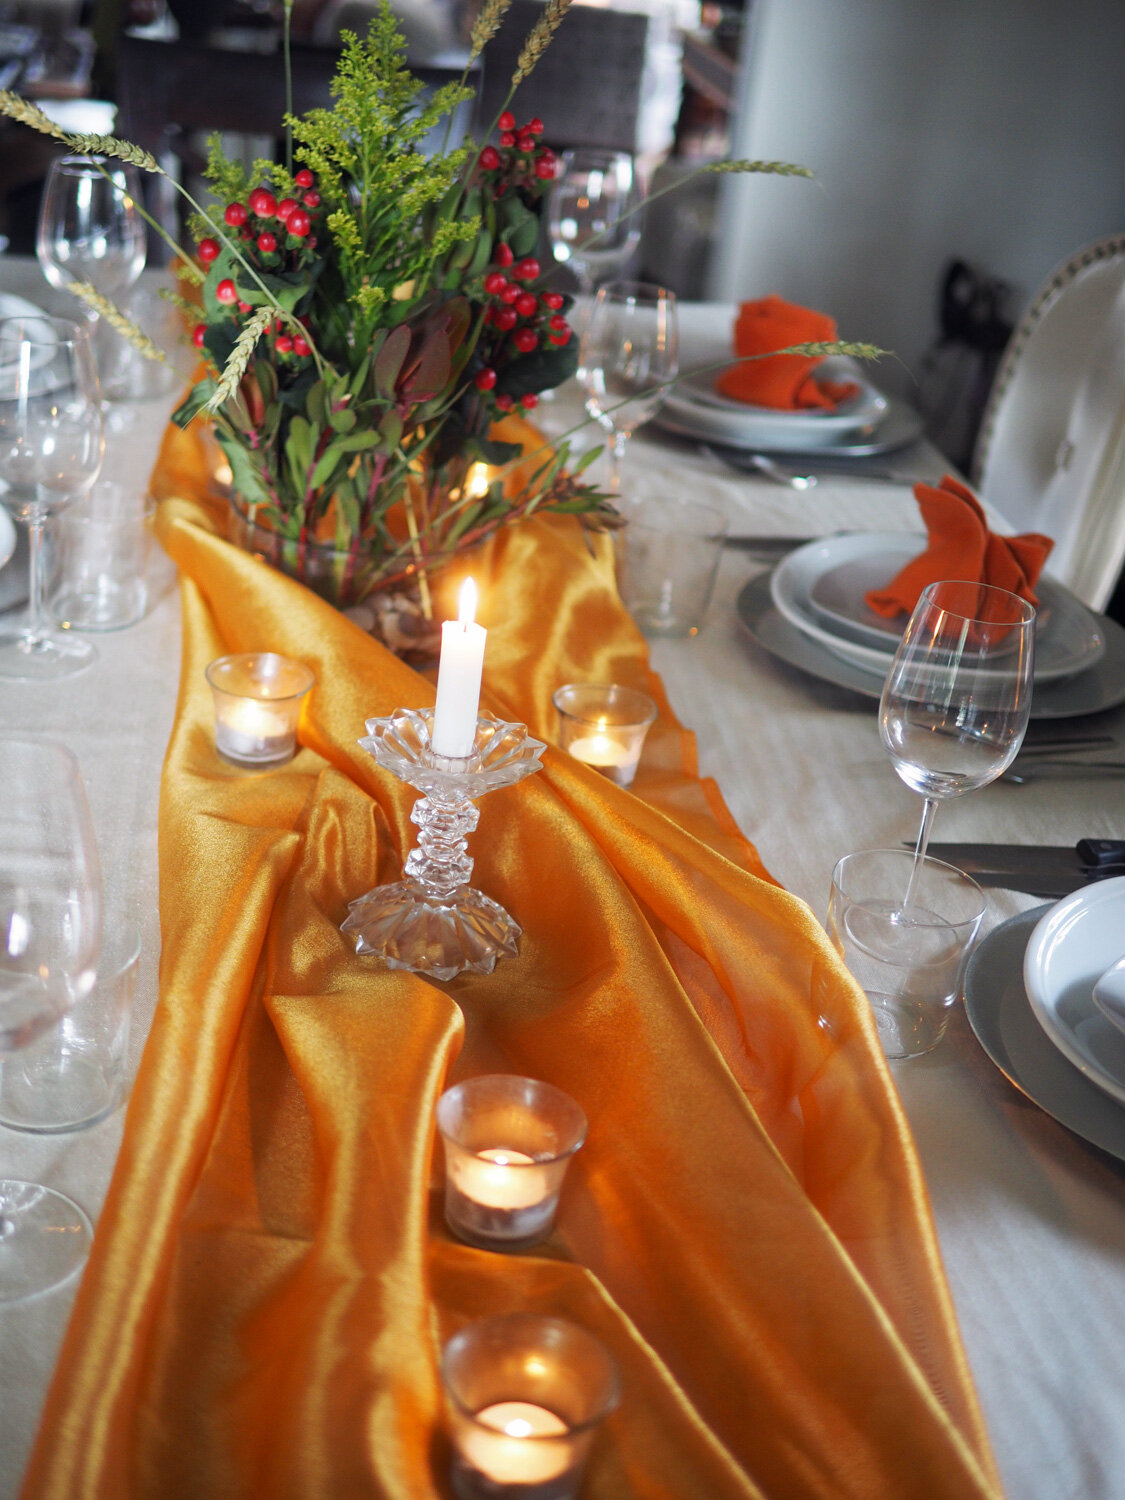
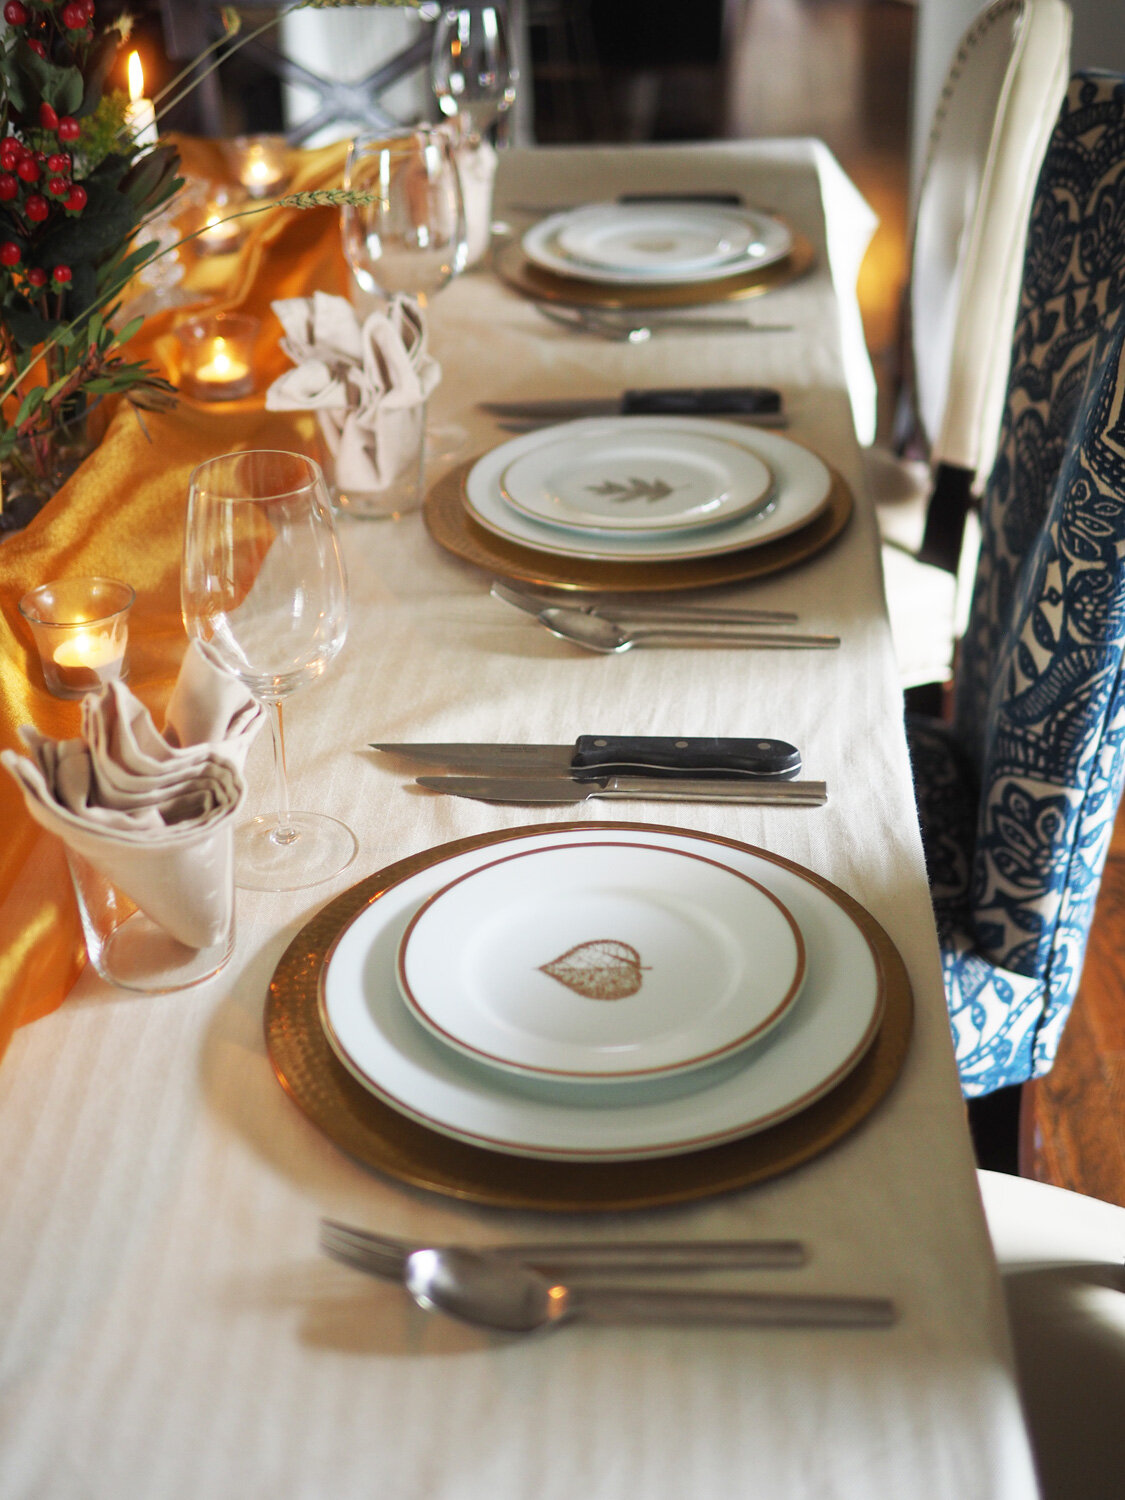
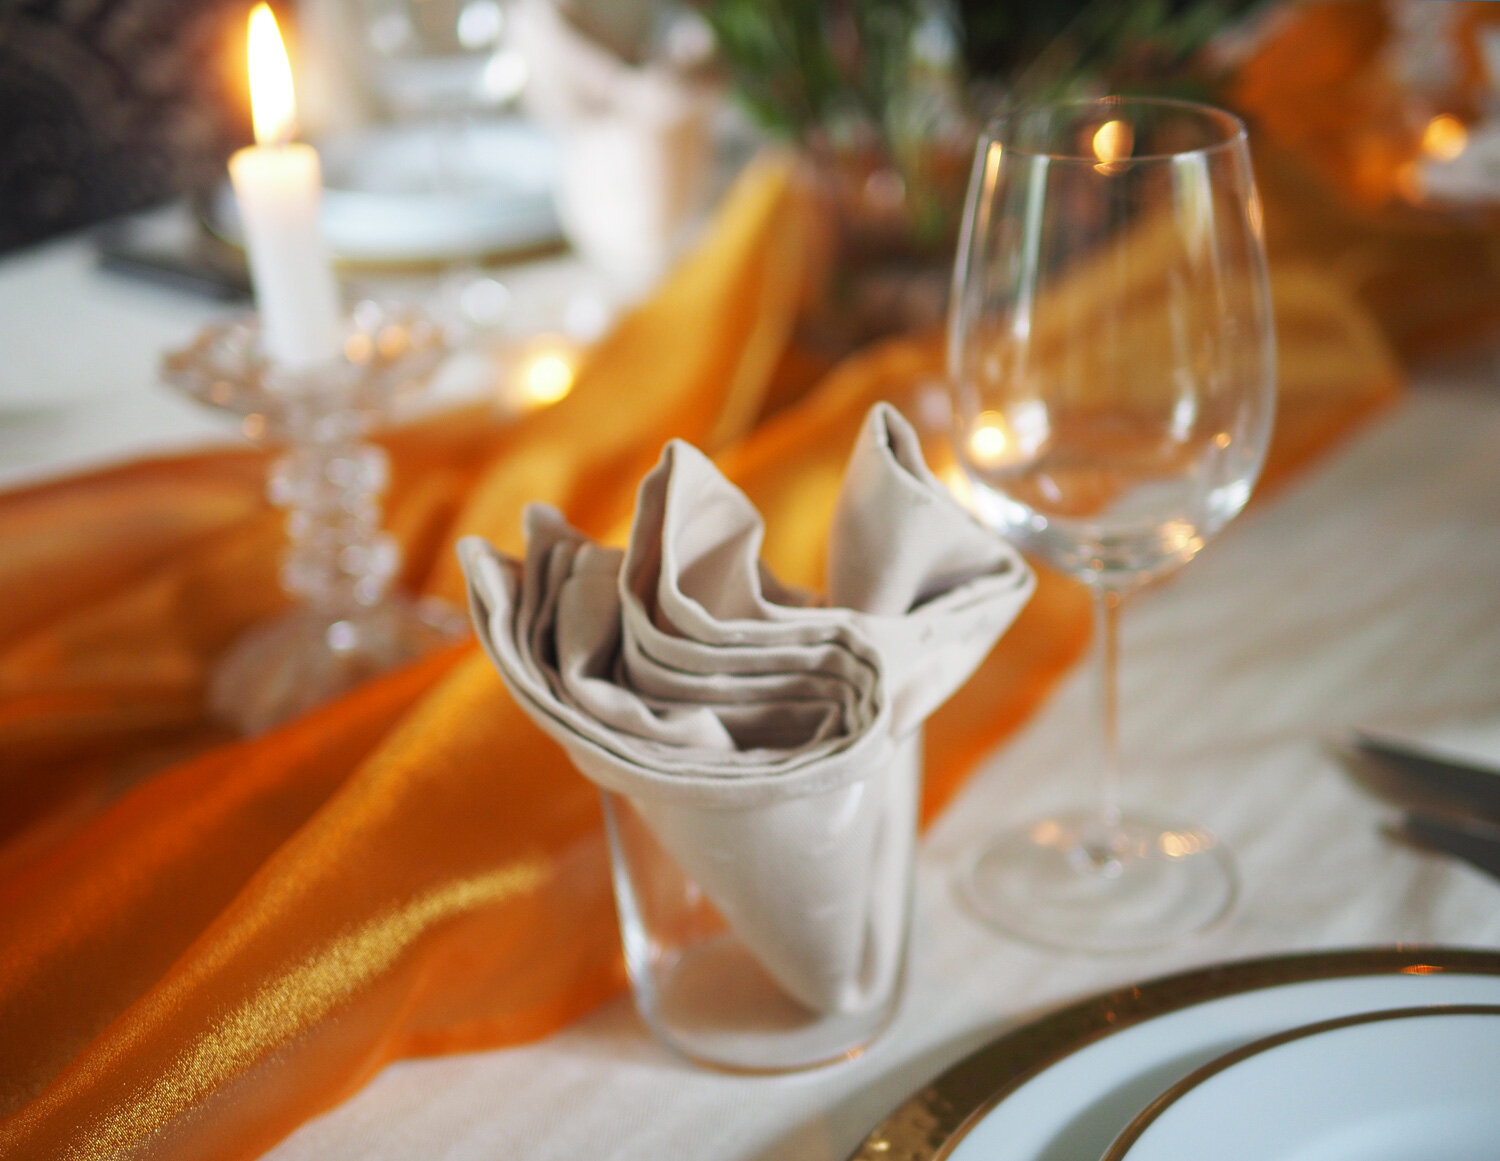
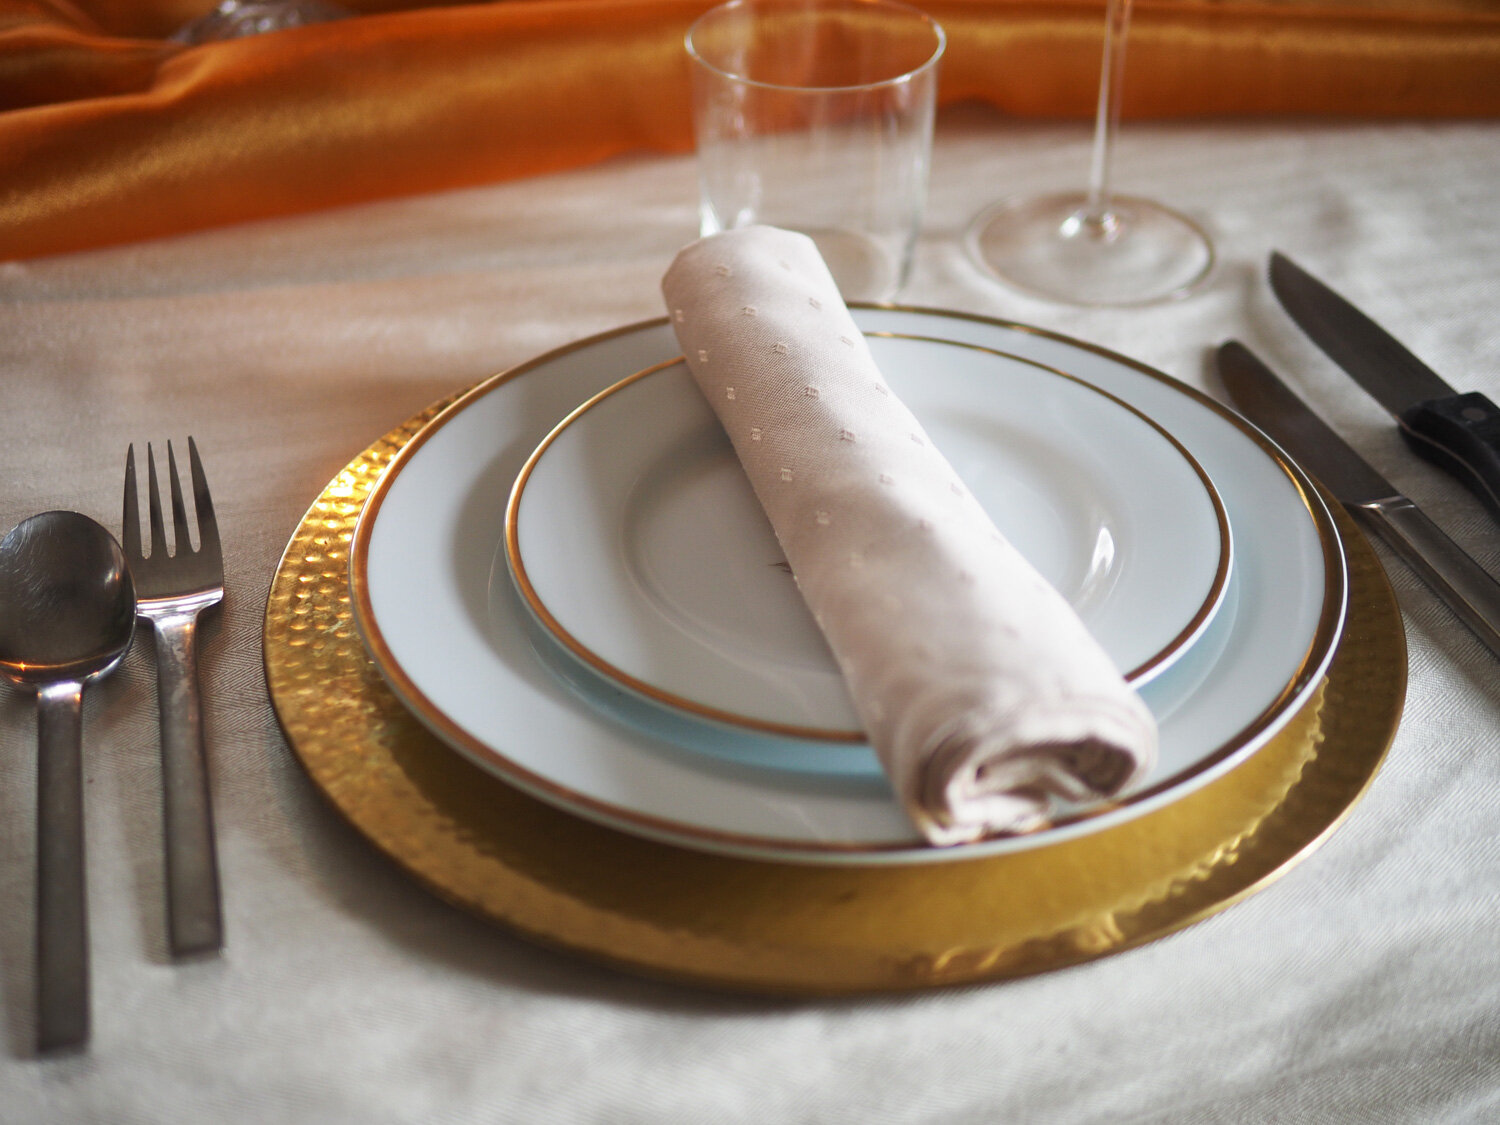
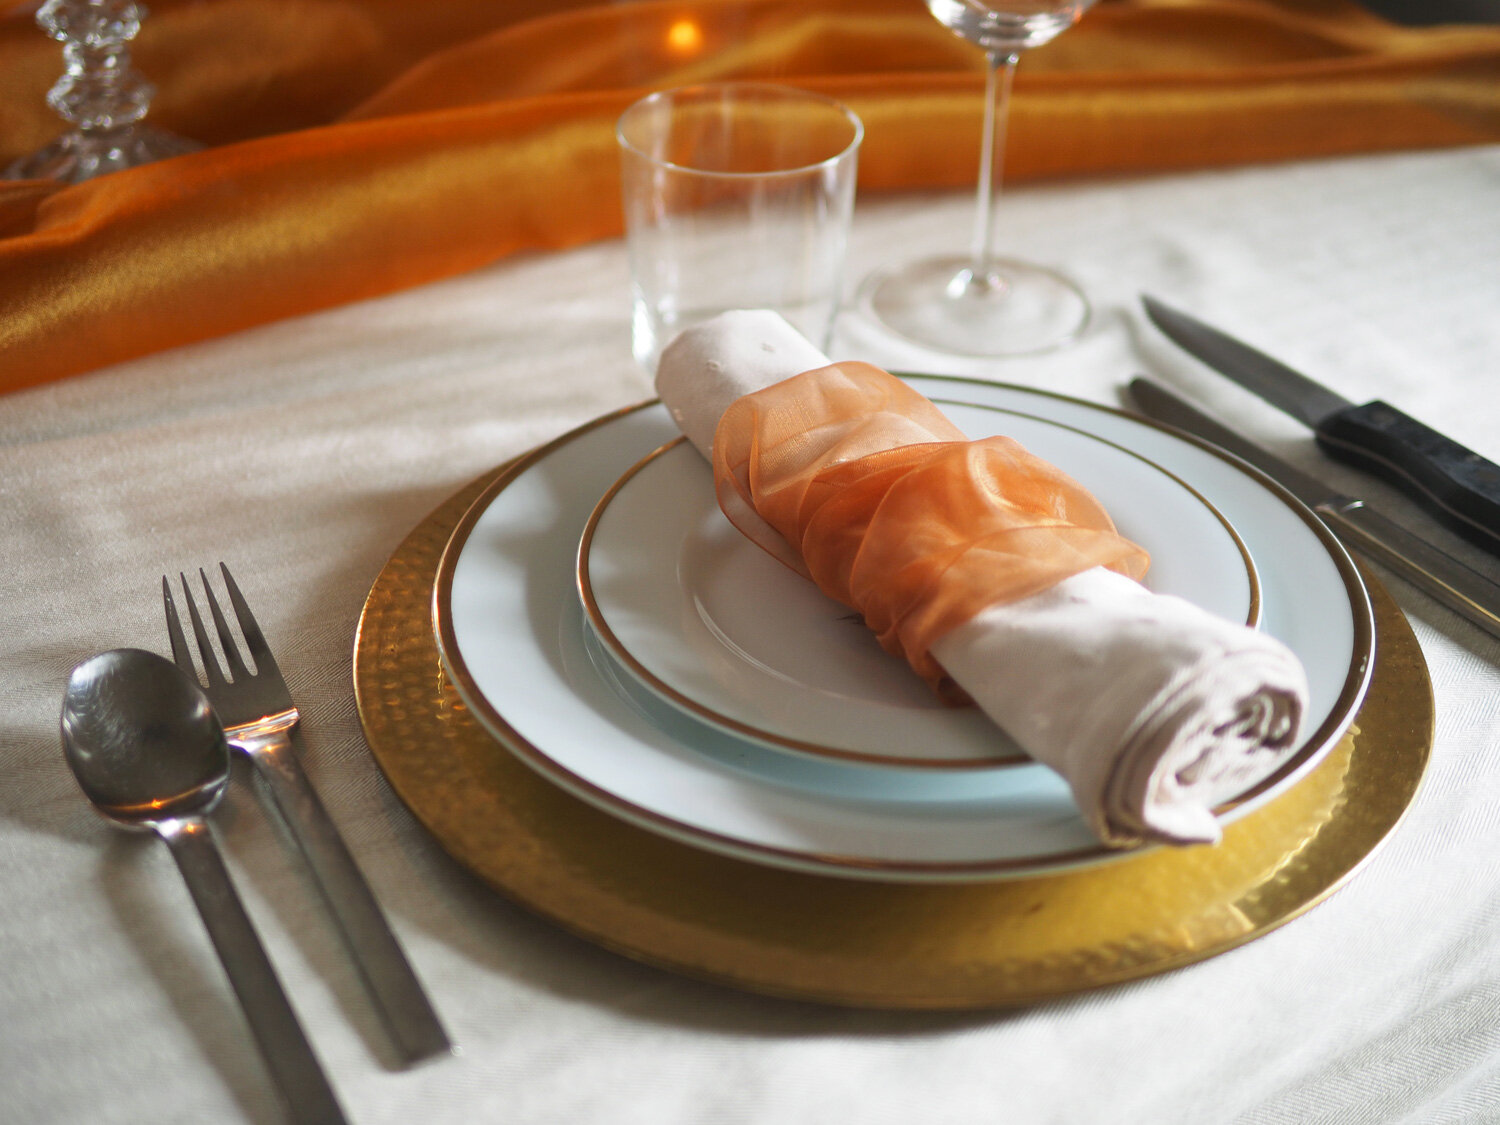
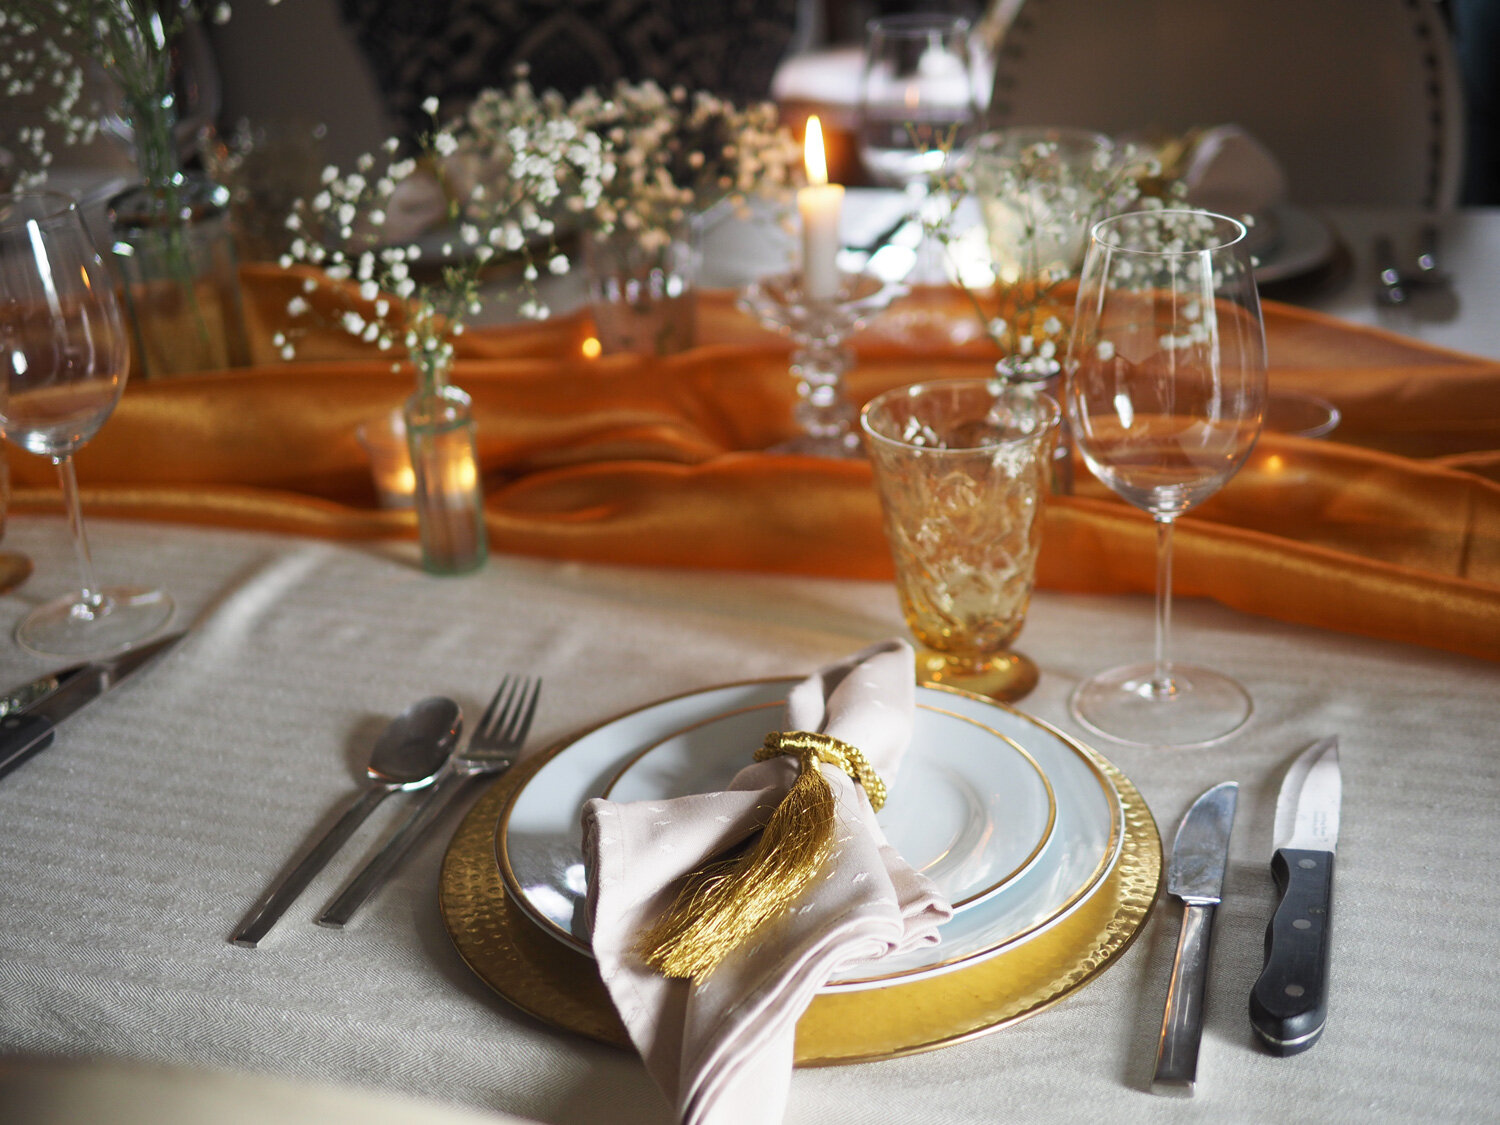
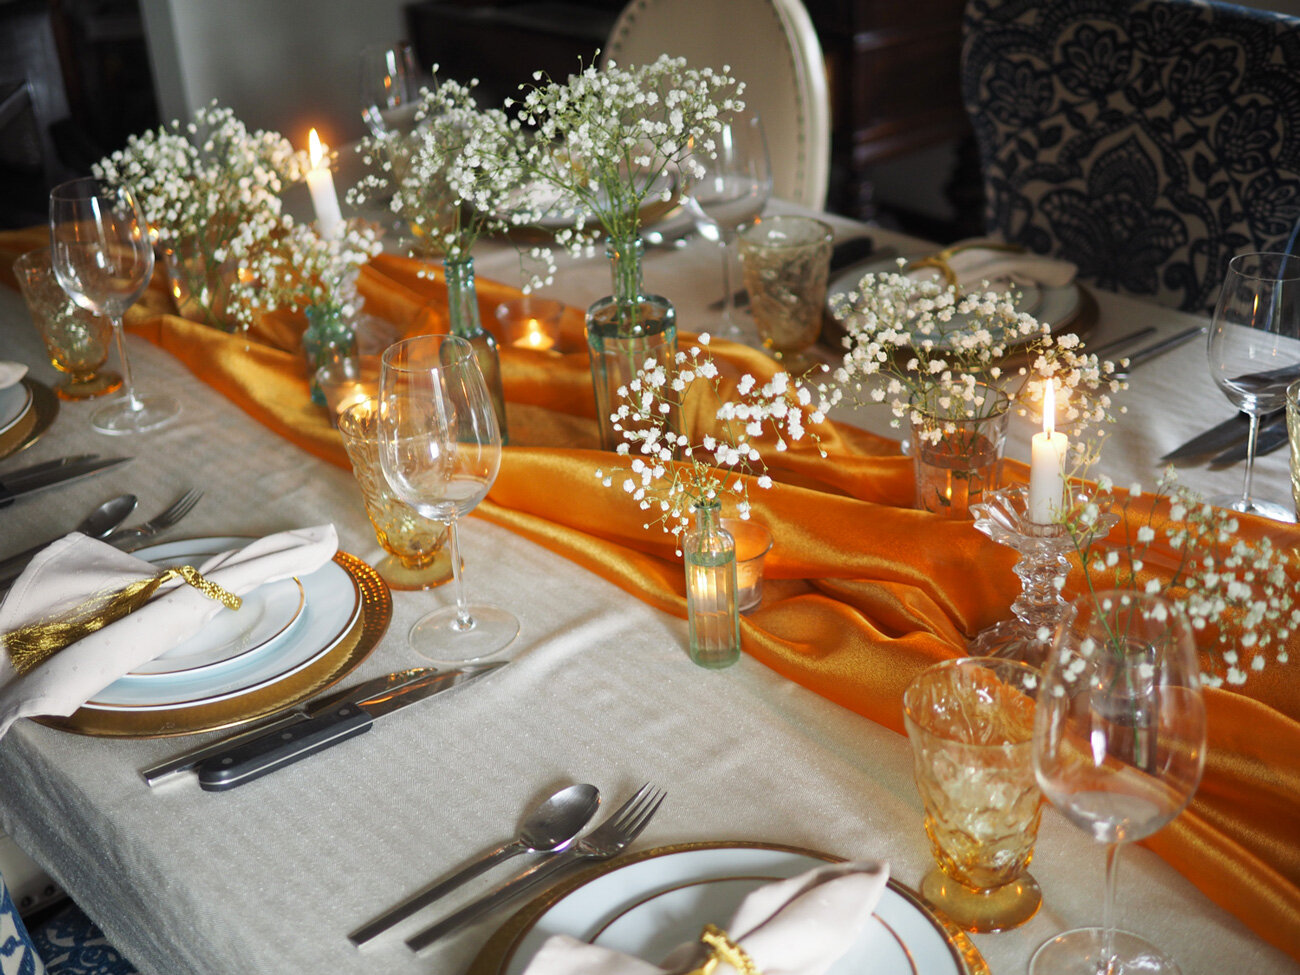
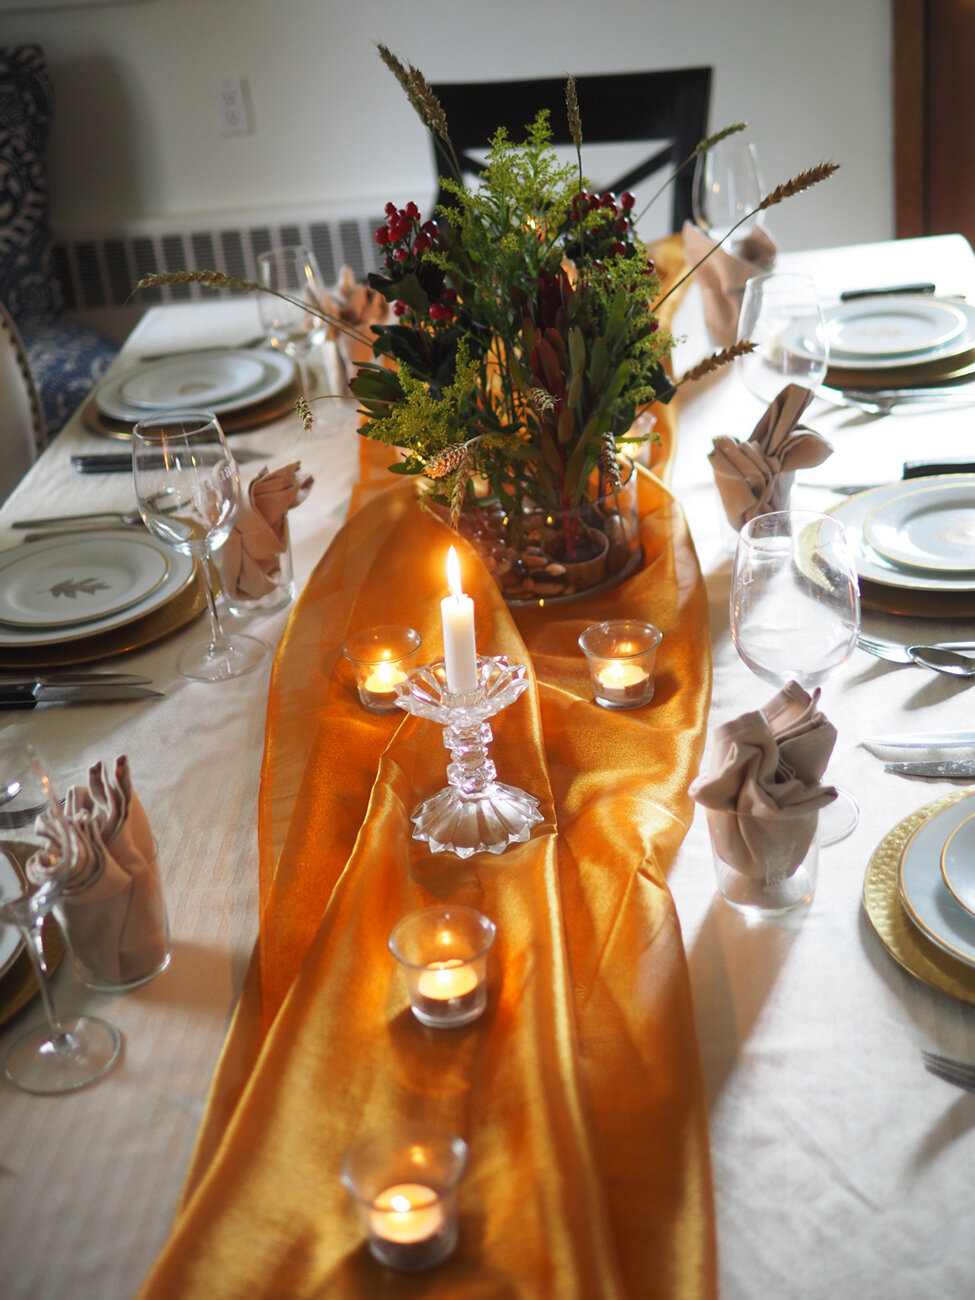
Option #1: White & Gold | Orange Runner | Cream Napkin
Bringing in gold adds an elegance all its own. Gold equals regal, so simply adding the gold charger takes the same cream colored tablecloth setting to another level. Since the orange runner makes the color statement, keeping the napkins soft and neutral brings true elegance. The simple roll or tuck into the glass makes the napkin not too fussy. You can also simply wrap the rolled napkin with organza, ribbon or twine. For other napkin option, go back and check my post Napkin Folding - 5 Basic Folds - Countless Options.
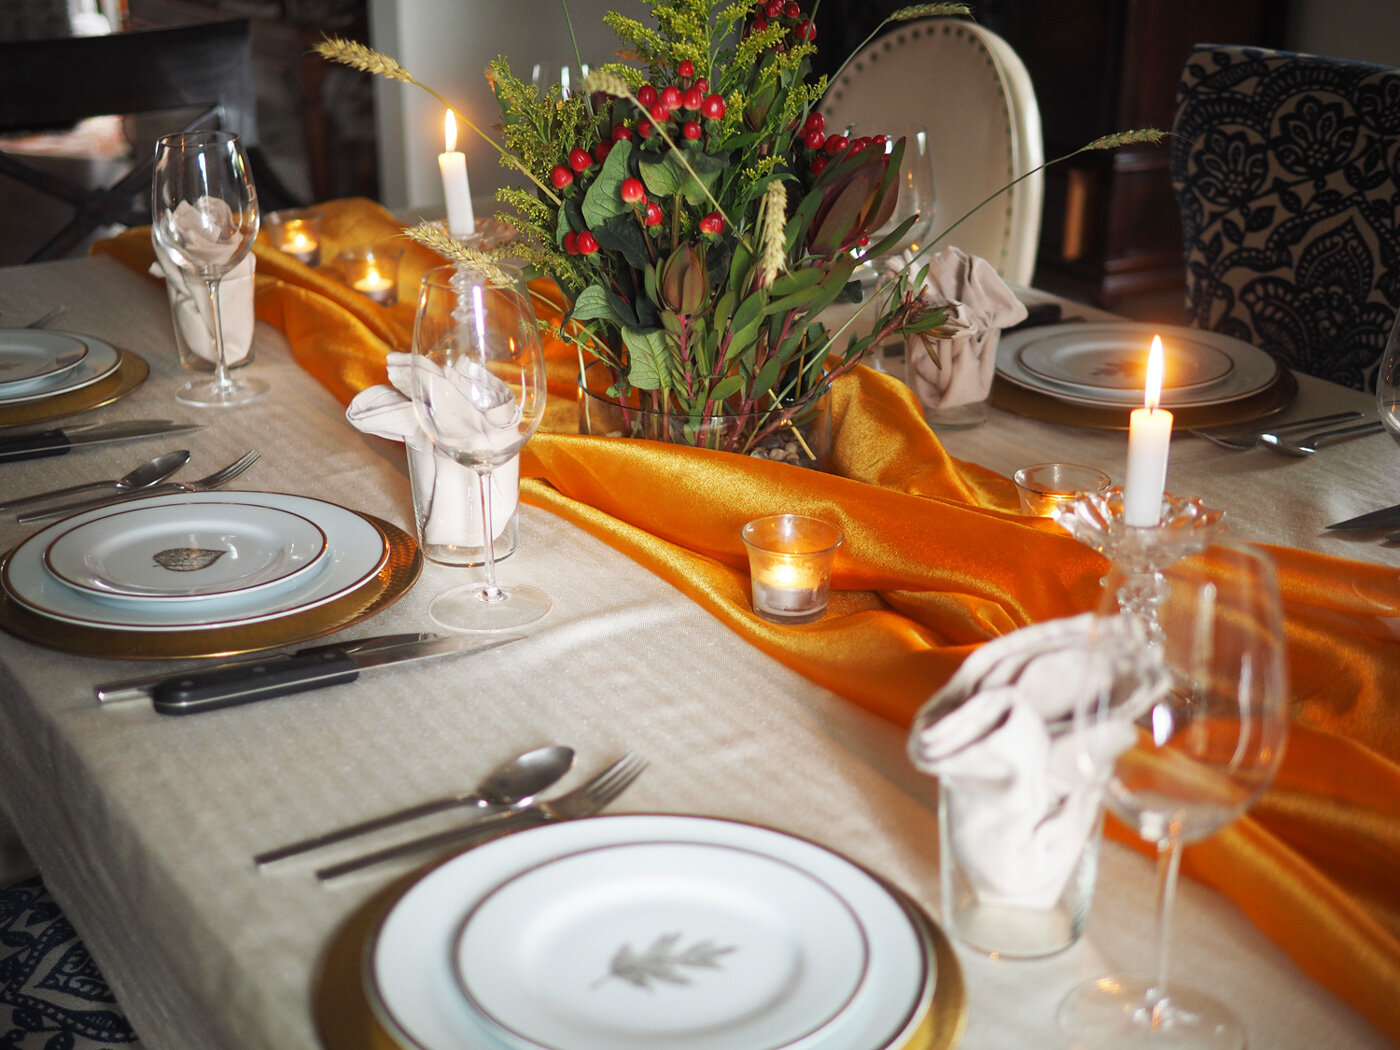

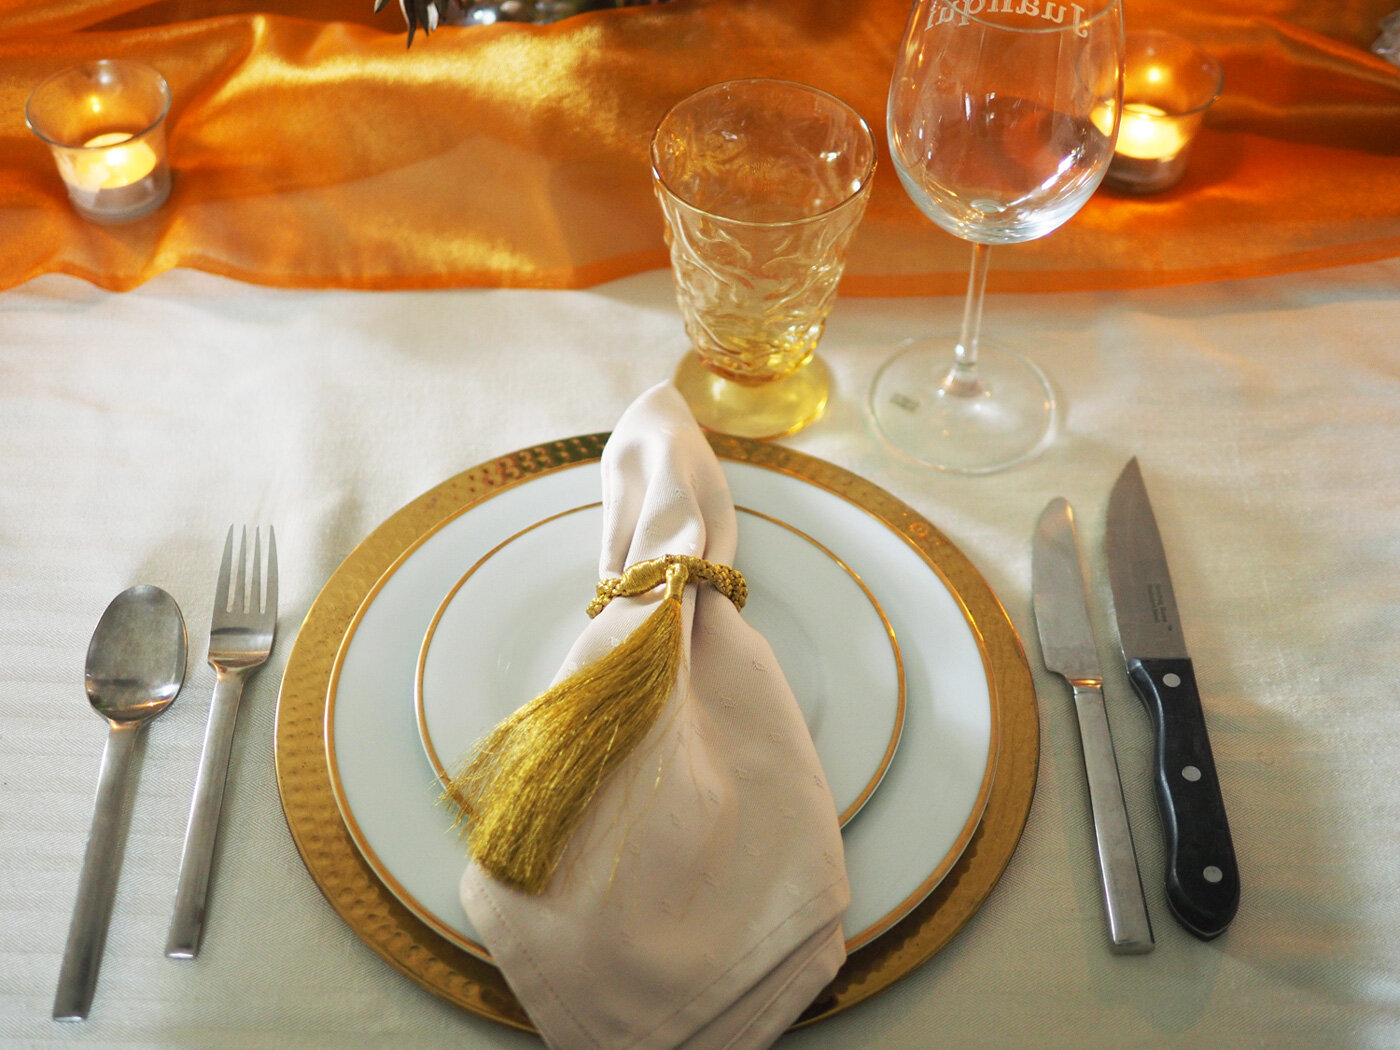
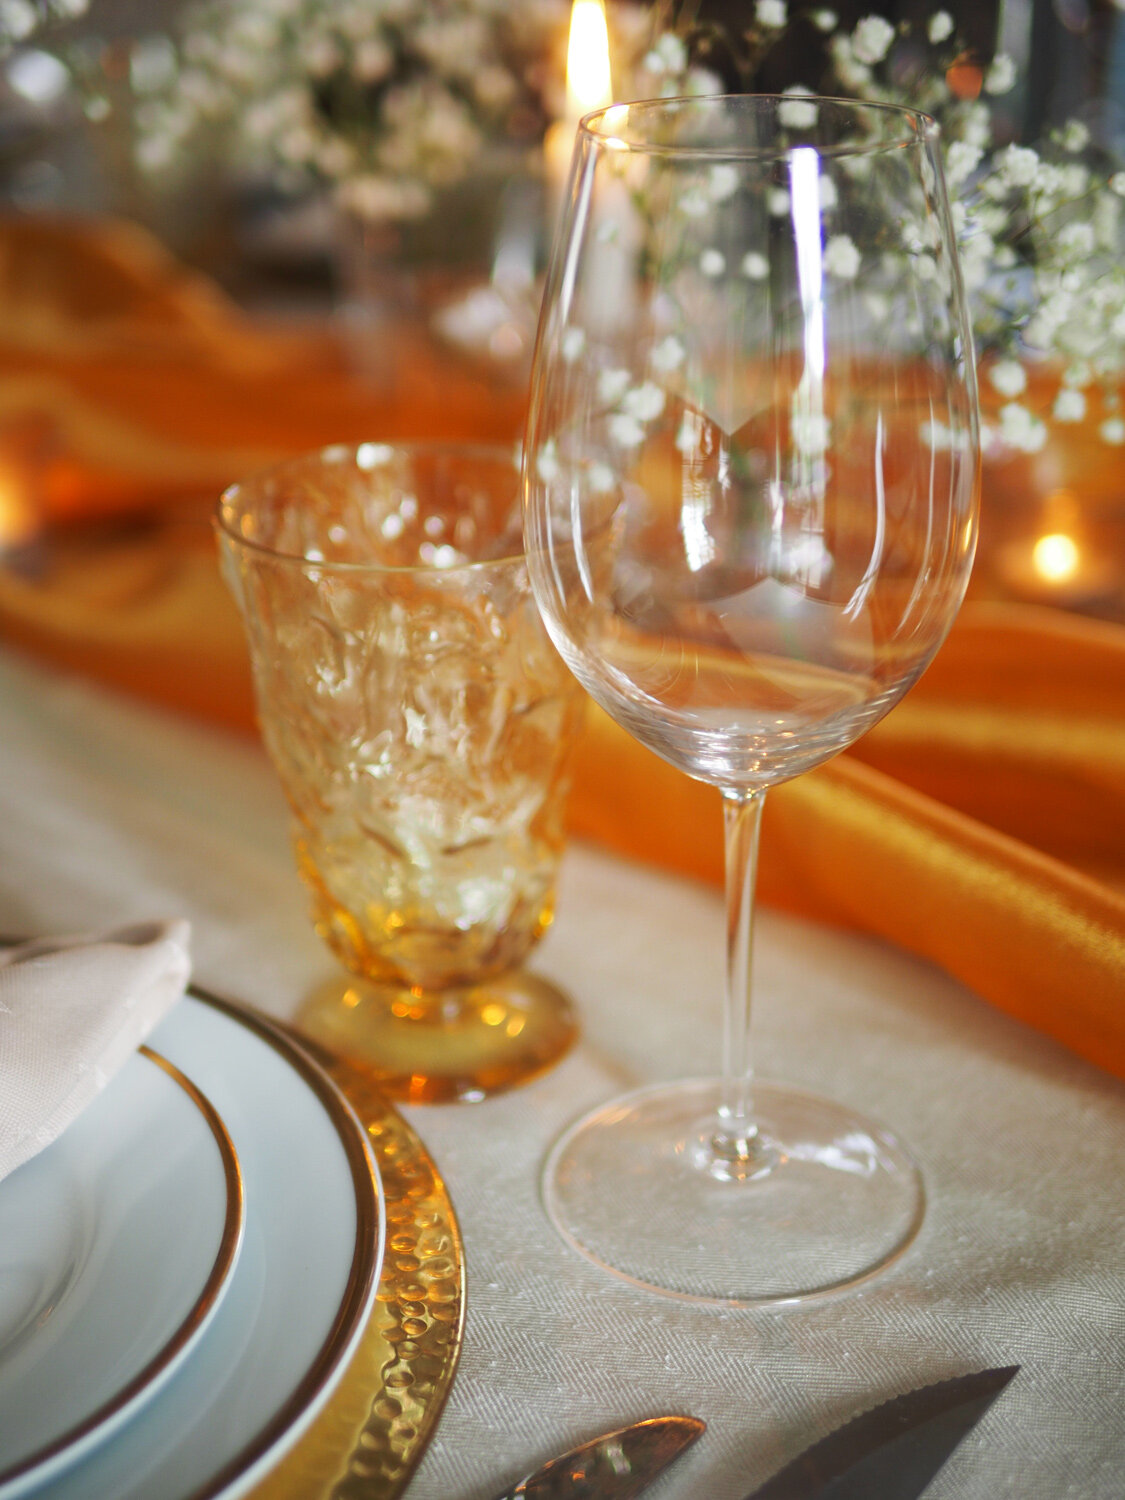
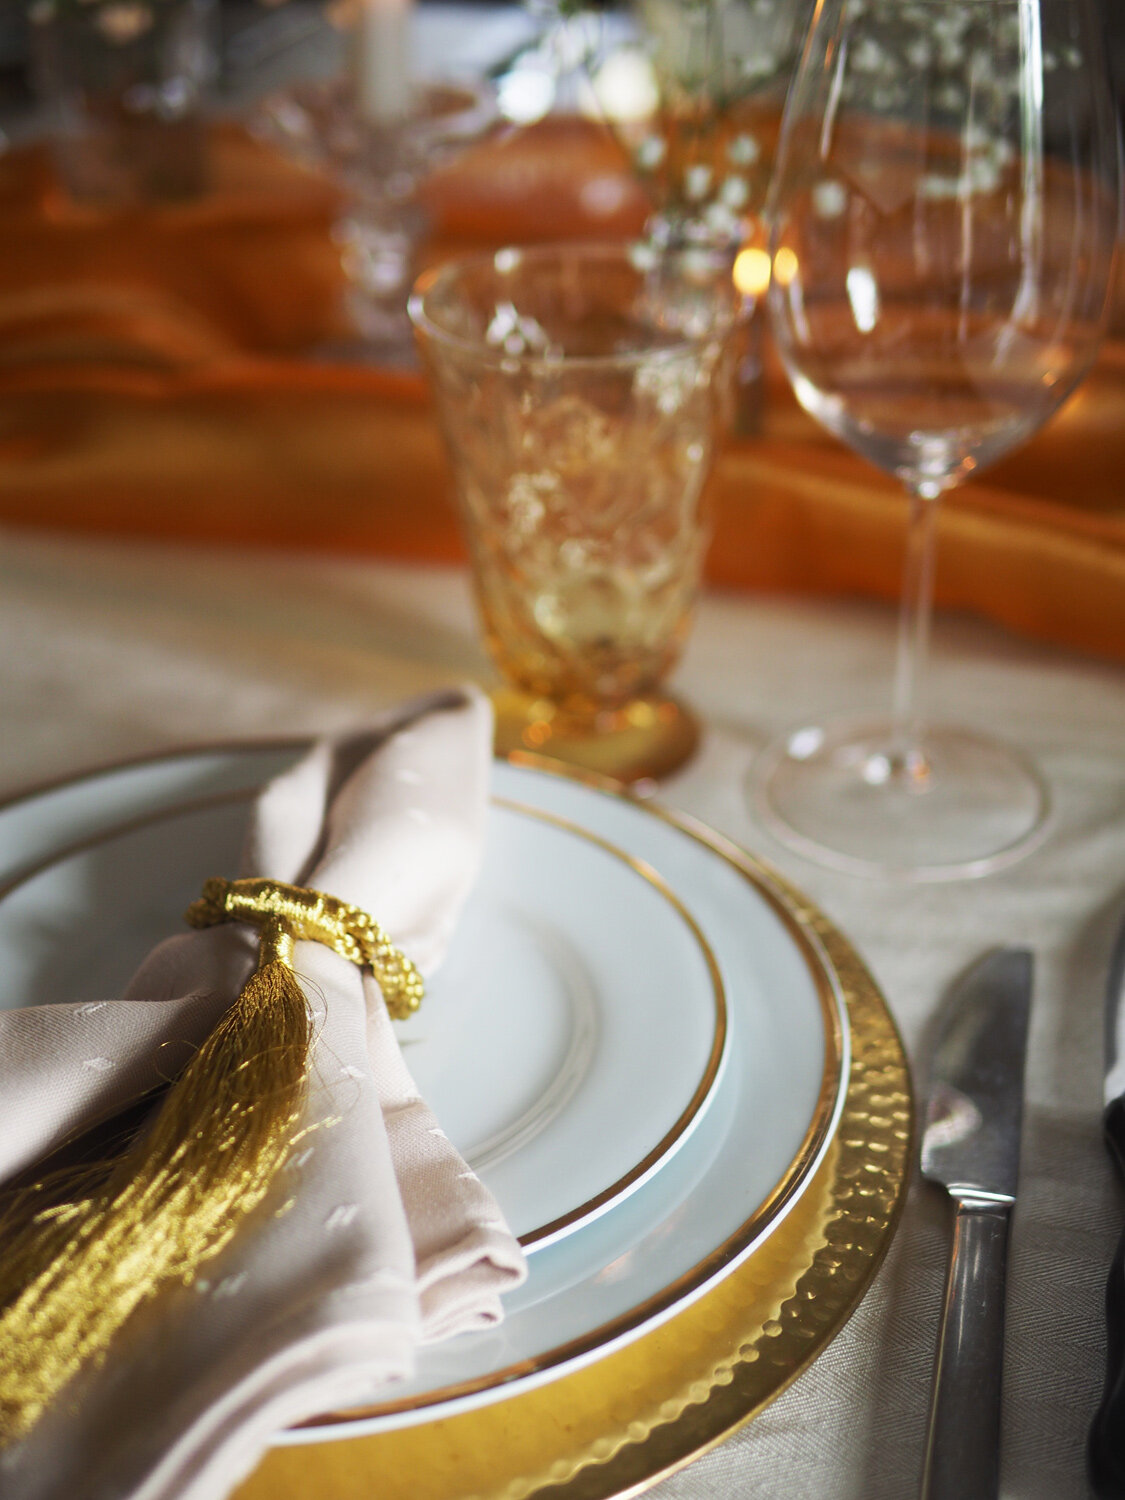
Option #2: White & Gold | Orange Runner | Gold Glassware & Napkin Rings
If gold adds elegance, then why not add more gold elements. This version piles on the golden accents with the addition of vintage yellow gold glassware and golden silk napkin rings. Swapping the dark metal candlesticks for vintage glass ones brings in sparkle. (Don’t worry if you don’t have vintage, try outlet type stores for bargains, like Marshall’s.
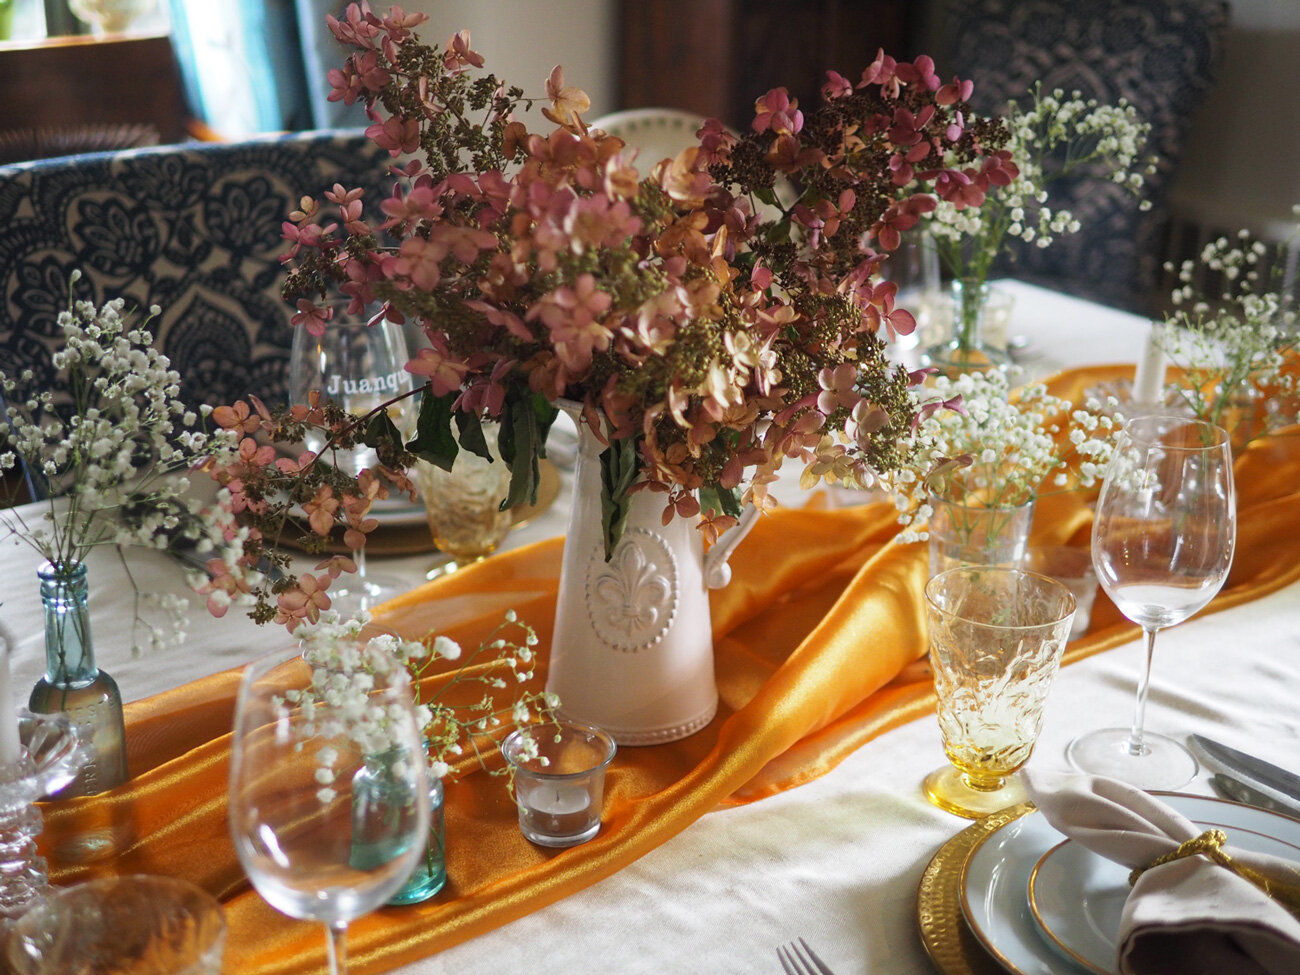
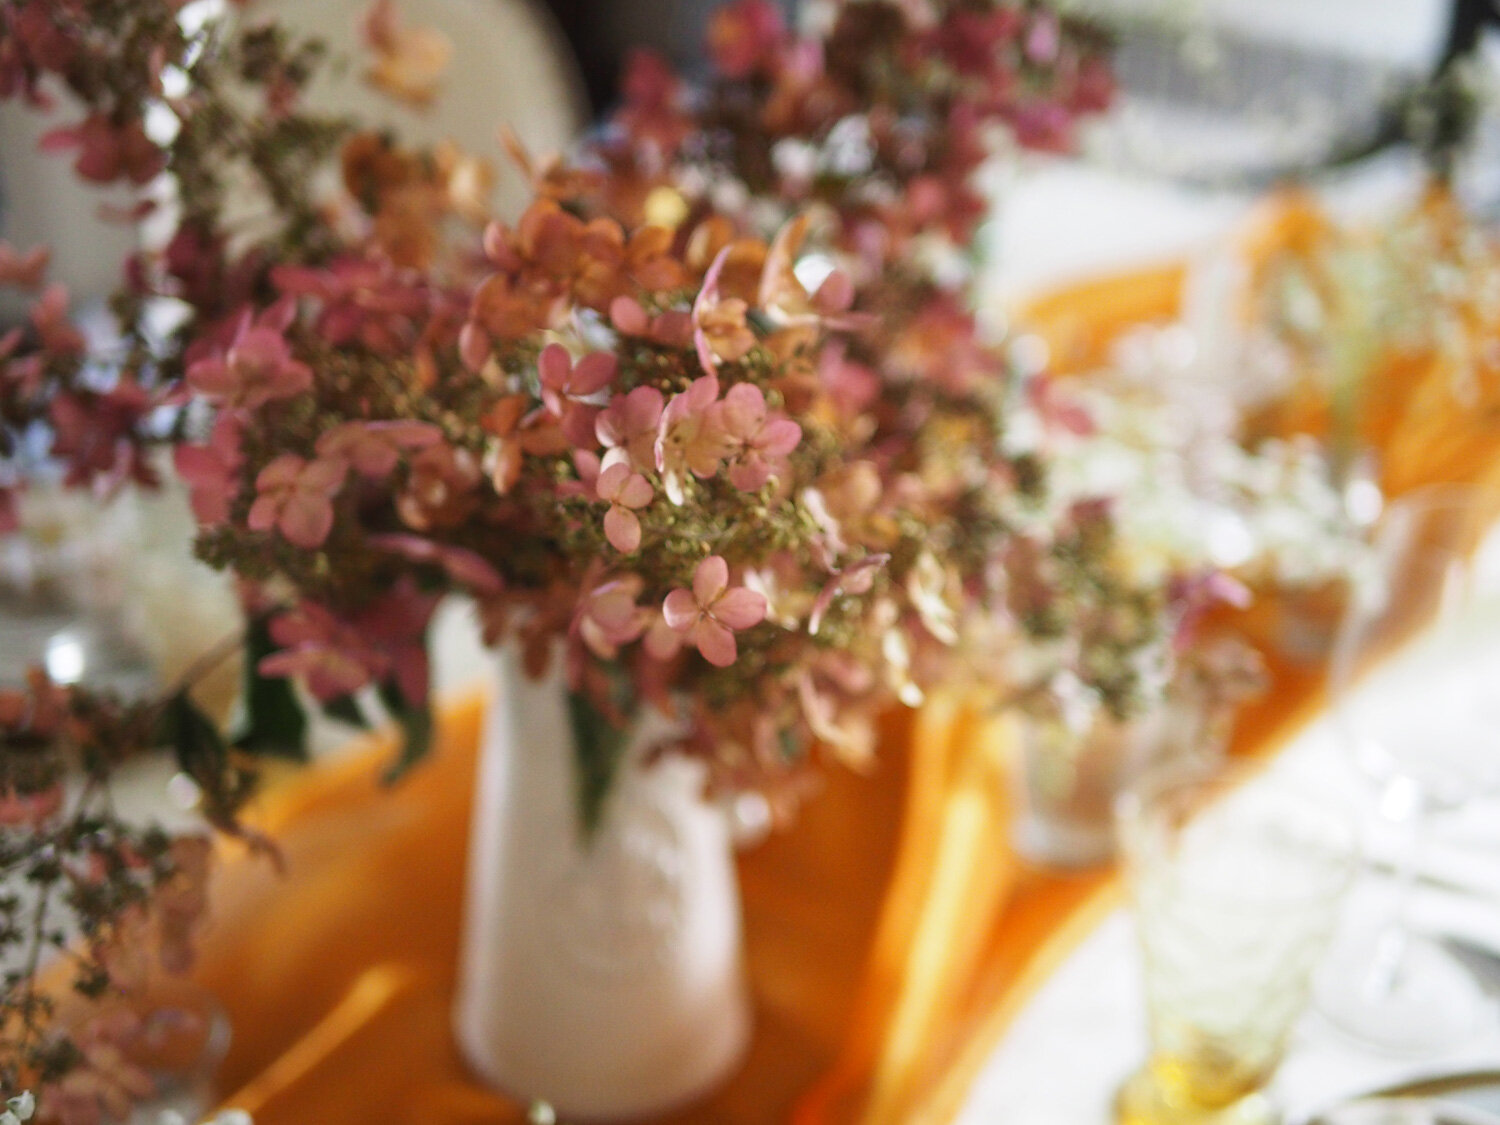
Depending on how much of a statement you want your centerpiece to make, below are three options. Note: I snuck in hydrangeas which were no cost at all since these were cut from our garden as they turned from white to their lovely autumn hues.

I know, I know this was a ton to process. Believe me when I say I know since I had dozens upon dozens of photos from which to choose to demonstrate the many possibilities of using the same basic elements. Sure each one could have been a single blog post, and maybe easier to digest. But this way you can visually see how small changes can dramatically alter the look and feel of your table. My suggestion is to first decide the style you want, Casual or Elegant. Then go back directly to those options and re-review that section. Or if you are like me and absolutely love all the variety, have at it and keep looking and scrolling and tapping to your hearts content. Nothing would make me happier.
I do hope that I have helped and given you inspiration.
Happy table dressing. May your guests appreciate all the efforts you put forth.