Pro Tips & Time Saving Ideas Part 2

IMG_2574.JPG

The last Pro Tip post seemed to be popular among readers, so in effort to be a people pleaser, I present you Pro Tips and Time Savings Ideas Part 2.

Like most ideas I have, they stem from wanting to be more efficient. Whether it’s cooking, baking, or organizing, my brain is always figuring out how I can achieve the goal quicker, more effectively and with the best results.

Perfect example is the history of me making my ‘Acorn’ Shortbread cookies. I put acorn in quotation marks because originally the cookie was shaped like an acorn with the bottom portion dipped in chocolate. If you’ve ever worked with shortbread you know how dry and crumbly it is. To hand shape each cookie into an acorn used to take me hours. Until I figured out that the cookie tastes the same no matter what form it takes. Naturally, it still needs to look appetizing, but since we’re not squirrels, most any other shape would suffice, and without all the extra hand shaping work. The first couple of years I was still hand shaping but not so intricately. Then I realized that I could ratchet up my efficiency level up a few notches. I packed all the dough into a baking sheet and rolled it out evenly. Then I cut squares or rectangle shapes, and using a spatula, lifted them onto another baking sheet. Voilà, the process now takes minutes instead of hours. And instead of dipping each cookie, I use a piping bag and drizzle the chocolate across dozens of cookies at the same time. In my opinion, I like the look so much better.

I thought I would share that anecdote to illustrate how thinking things through can lead to working smarter rather than harder. I’m all about that x10! I hope these next set of tips do the same for you.

Pro Tips #1 - Roasting or grilling onion slices evenly: Onion Lollipops

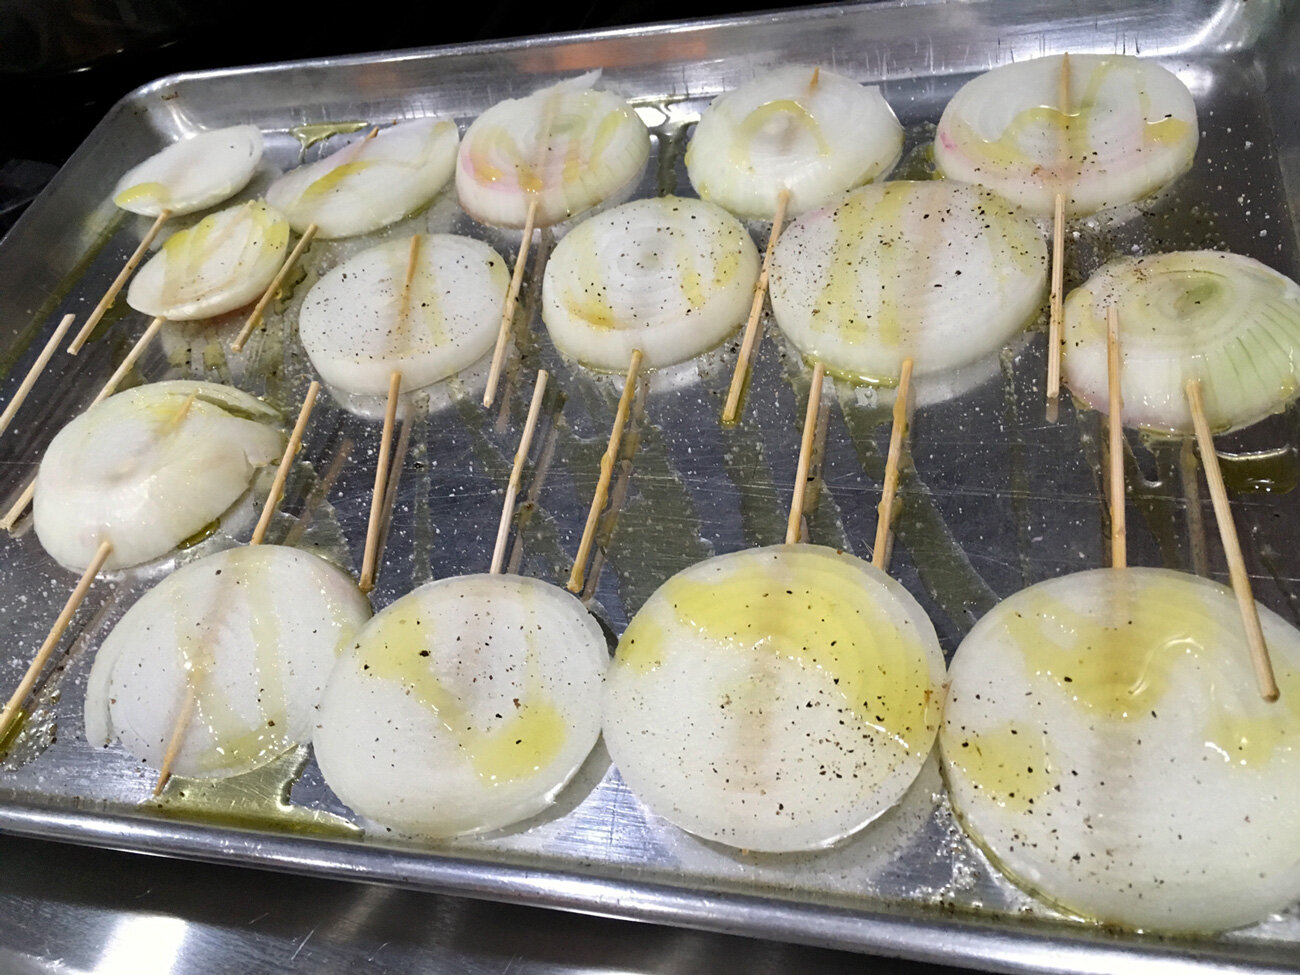
I love onions. I make them in tons of ways including using them as a side vegetable. So, when I had a private chef gig out in the Hamptons last summer, I included onions as part of the menu. I wanted the onion slices to look composed and kept together, and of course, evenly cooked. By using this trick, you achieve just that.

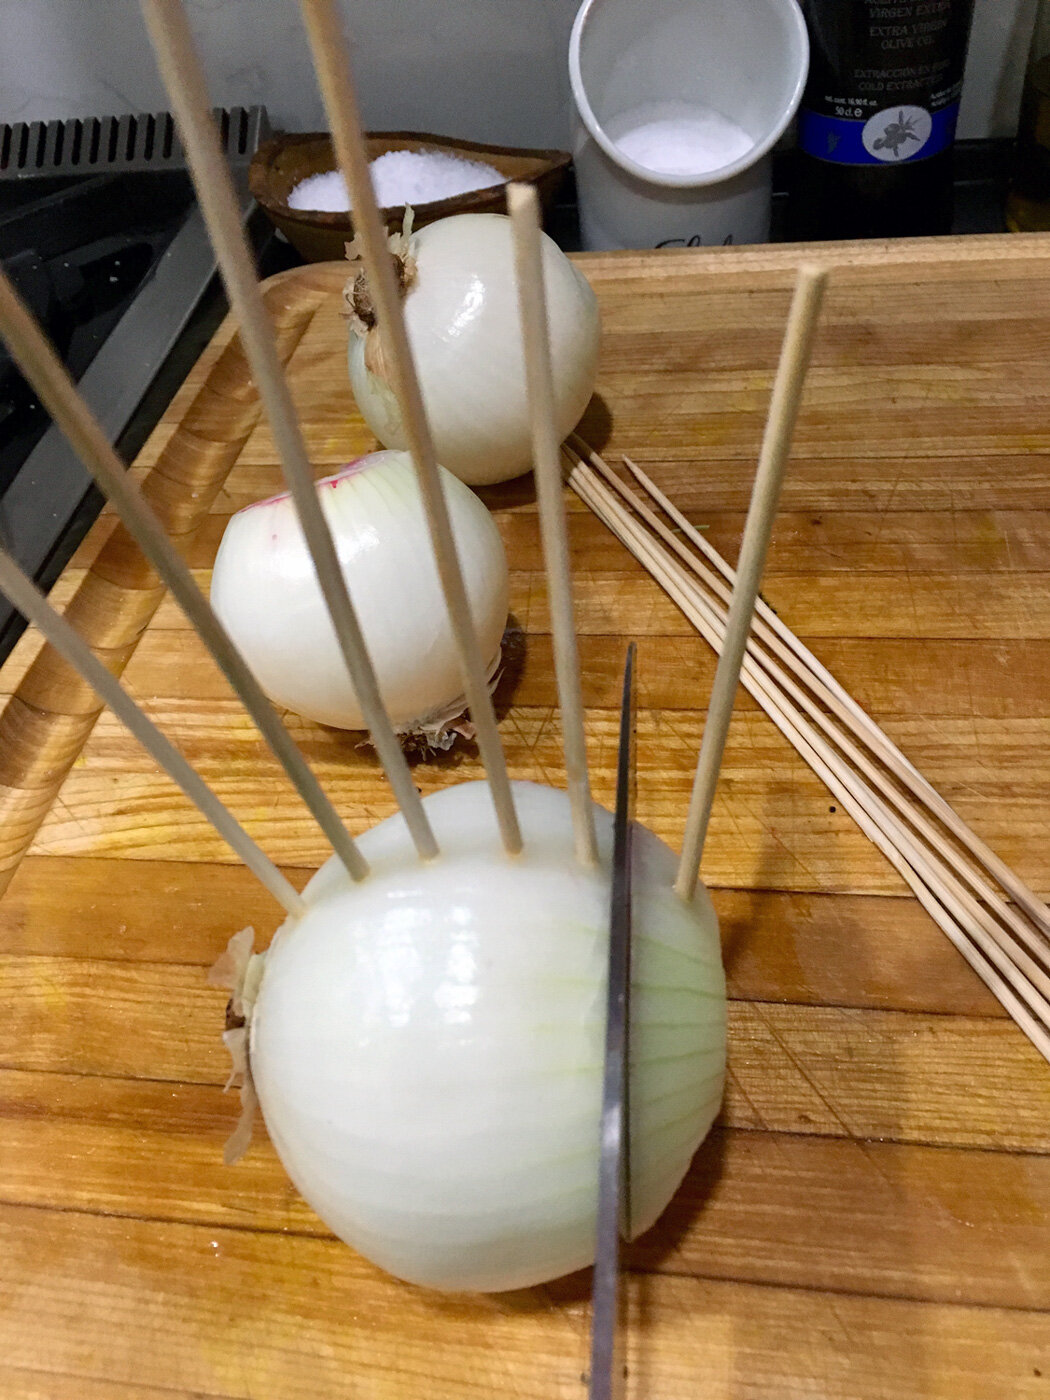
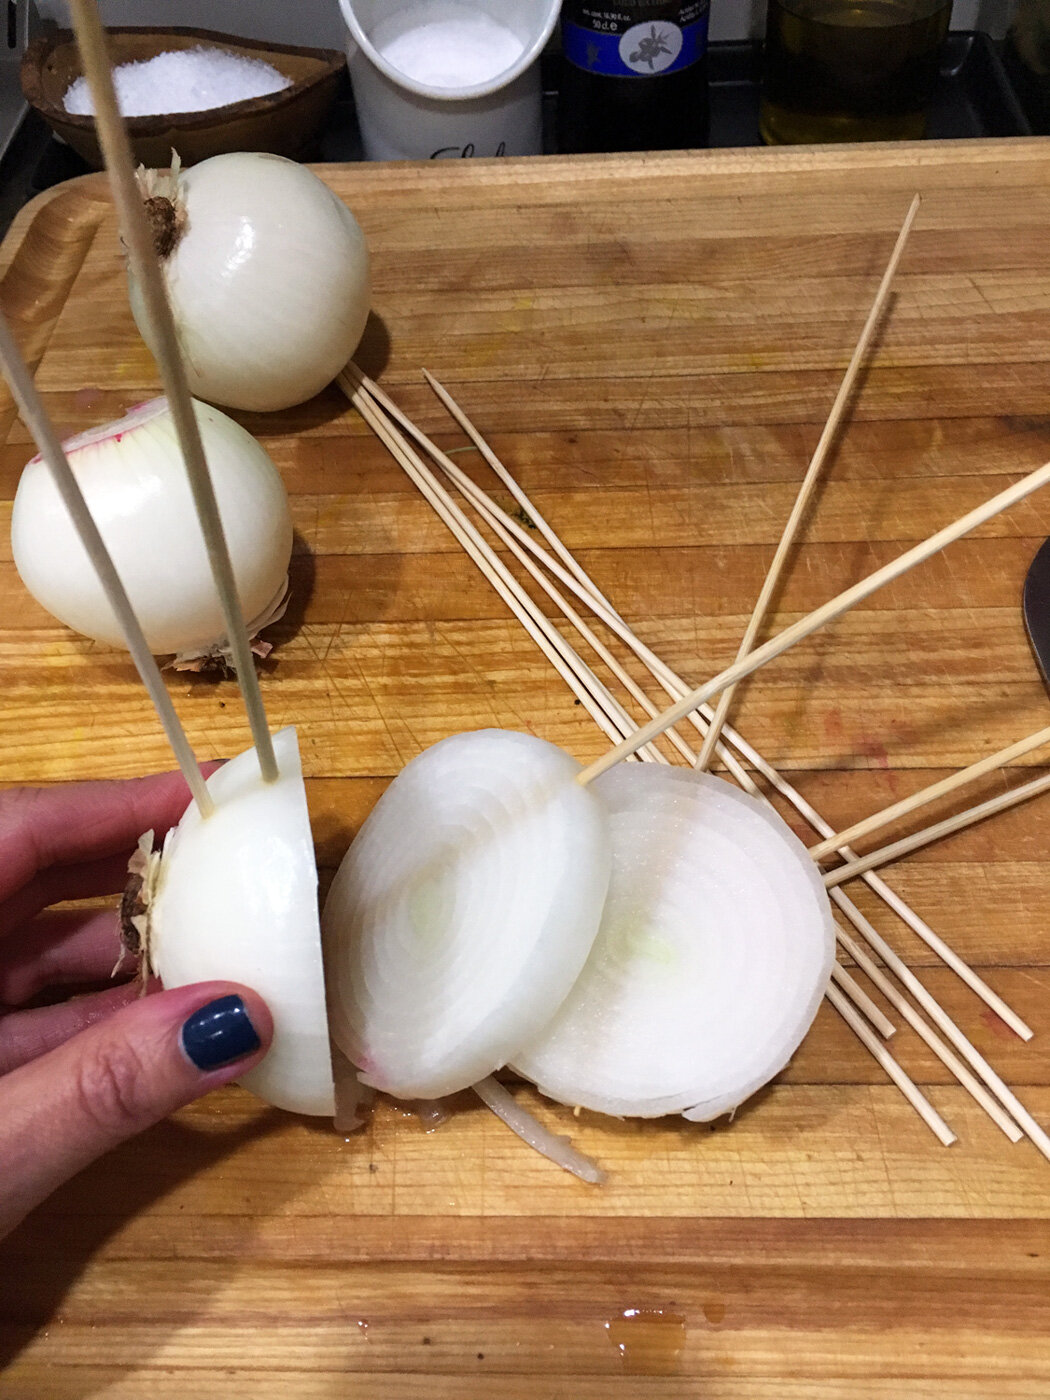
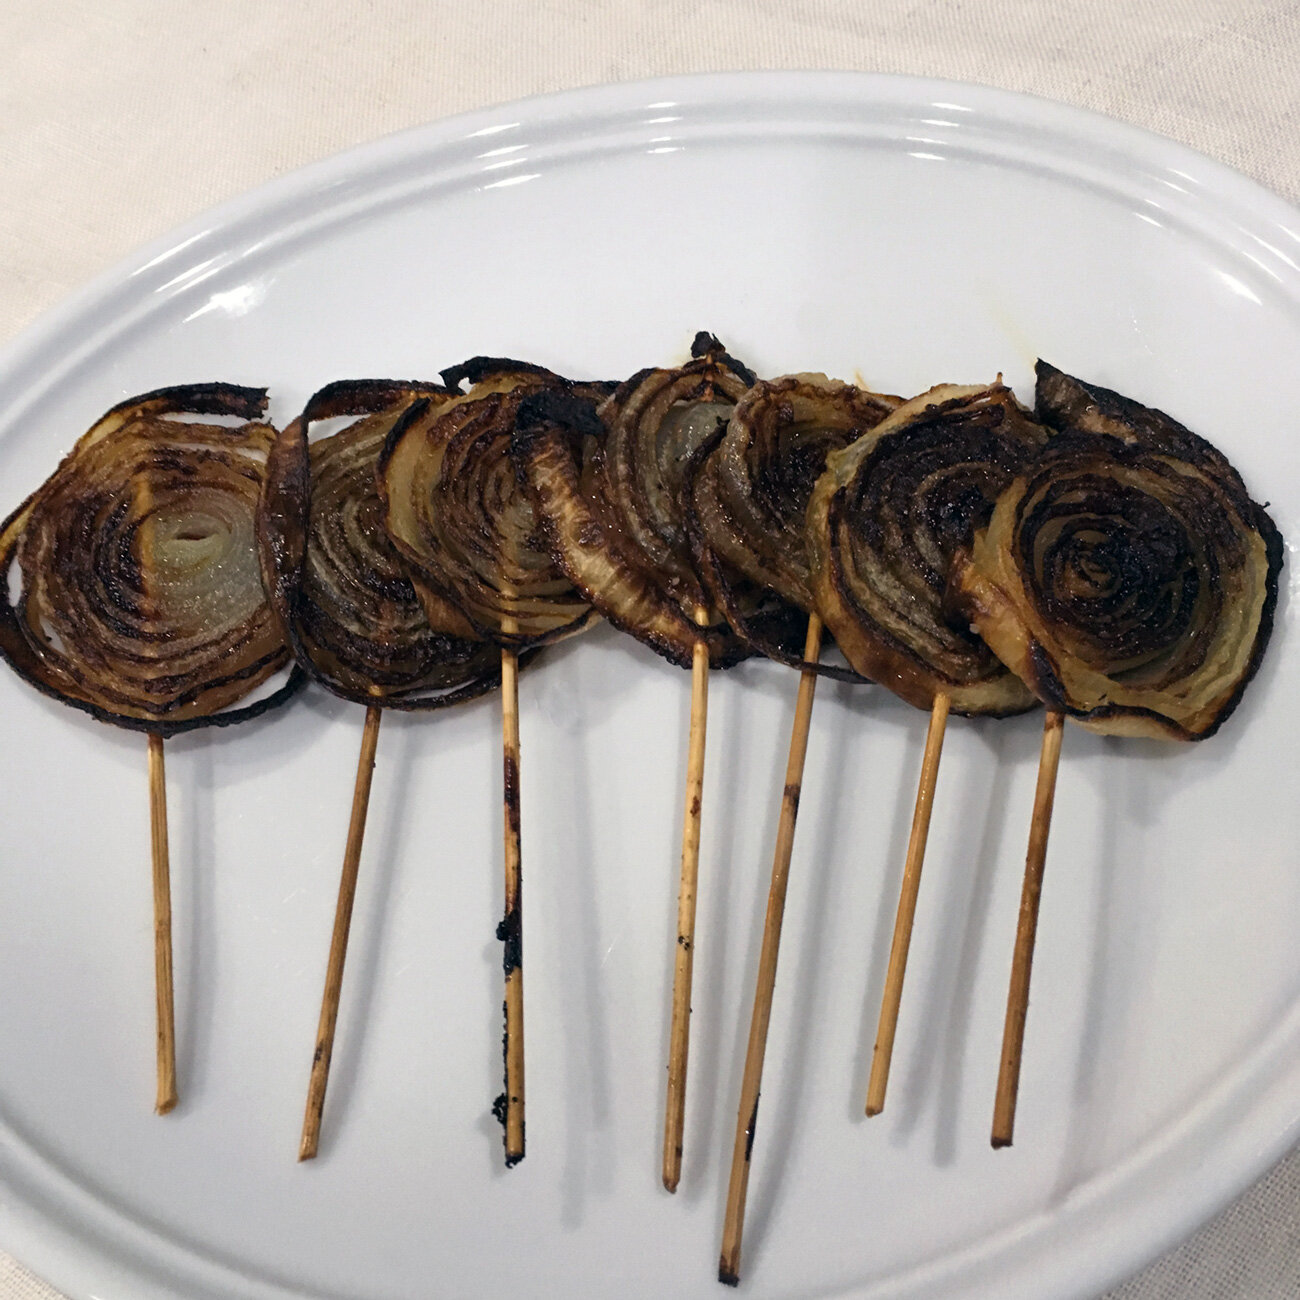
First, peel the onion. Then place skewers into the onion spacing them the thickness you want for each slice. Then using a sharp knife, simply slice between the skewers. You wind up with onion lollipop sticks that can be roasted in the oven or grilled on a cast iron skillet. Drizzle with olive oil, salt and pepper then cook as you wish. Of course, you remove the skewers before serving. Unless, of course, you devise an interesting way to serve them keeping their lollipop look. Up to you. The beauty of this method… Let me count.

  • The onions cook evenly

  • It is easy to turn because all the rings are corralled together

  • They can be used in a sandwich or on a burger without onion flying all over the place

  • They look beautiful

Should I go on.
Pro Tip #2 - Rice is Nice but More is Better.

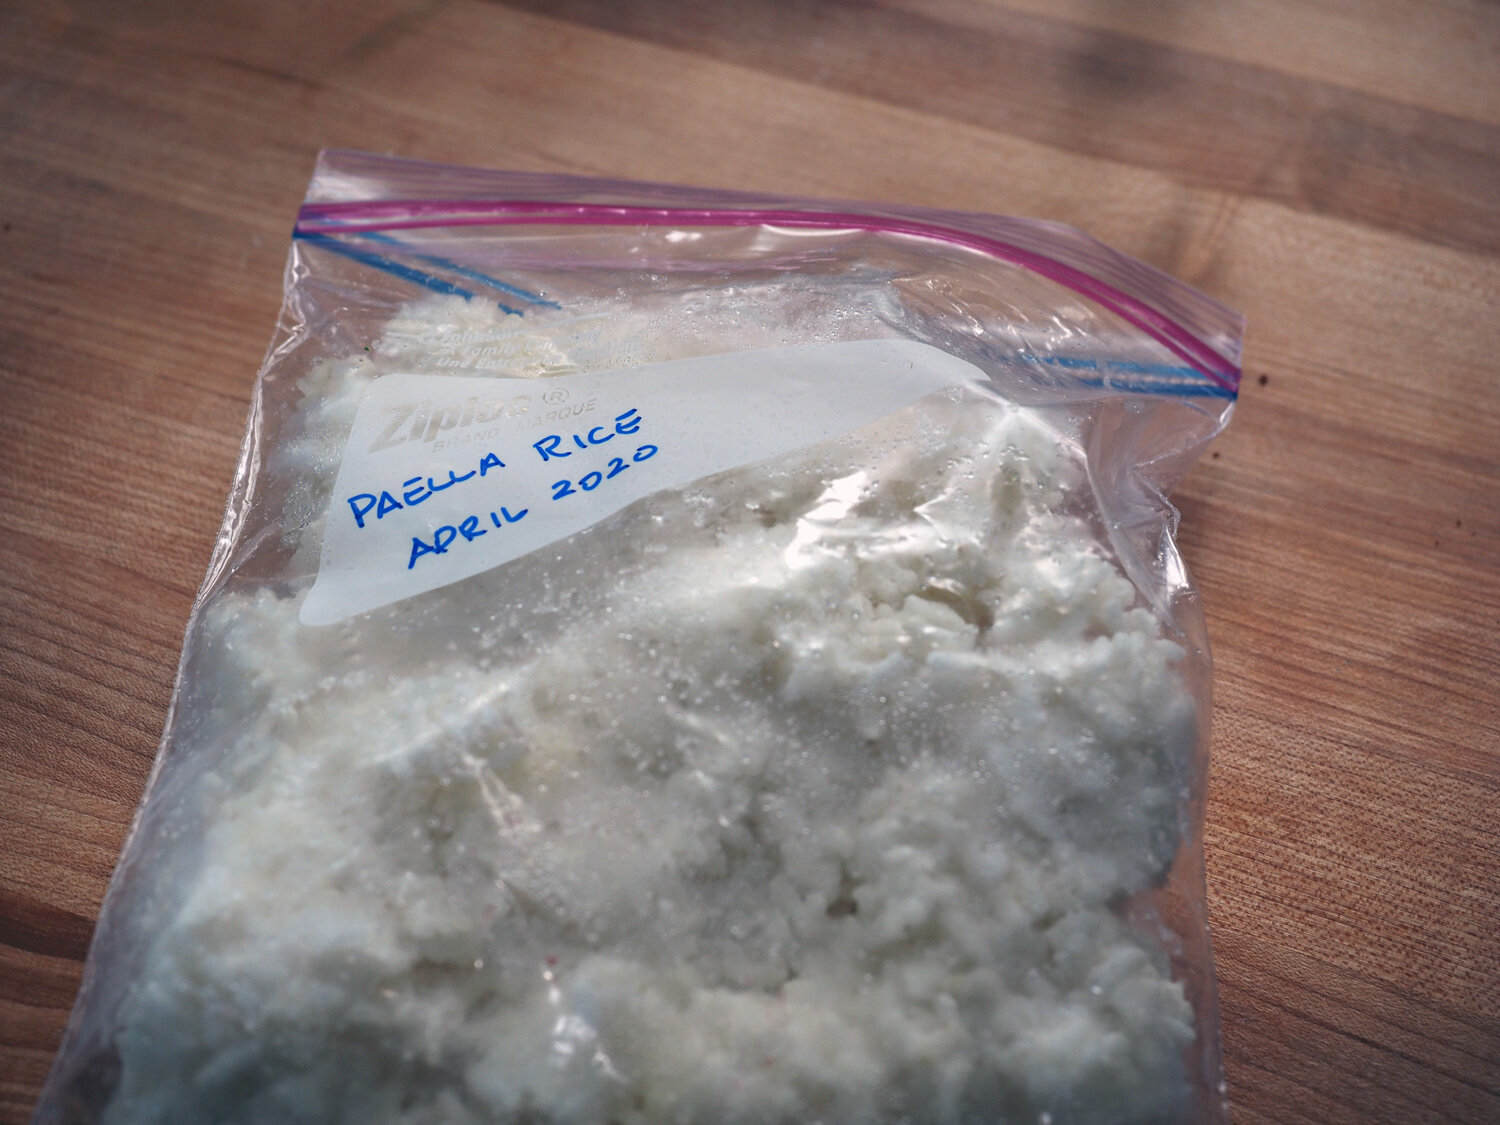
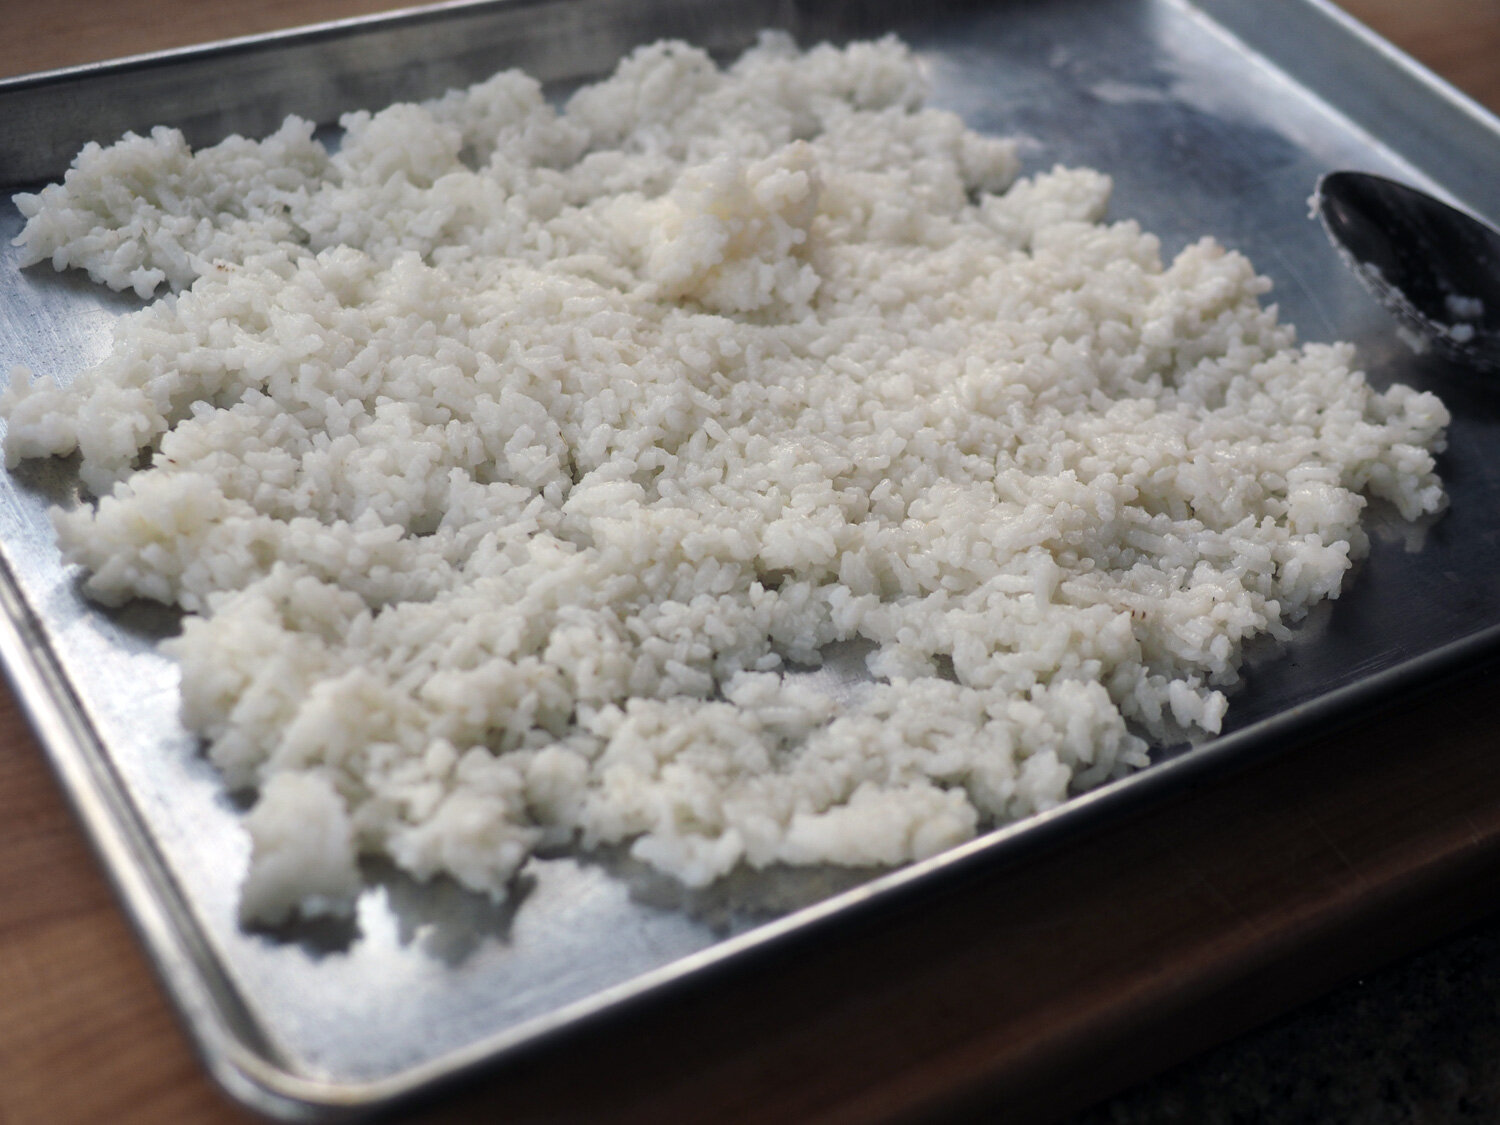
When you make rice, why not make 2 or 3 times what you need. If you are going to do the work once, why not take advantage of the efforts and make it easier at a later date. Cook the rice as you normally would. Set aside the portion you don’t need immediately by spreading it out on a sheet tray to cool for no more than an hour. Once cooled, place the extra portions in labeled plastic freezer bags. The best part about this is that when you need it in the future it doesn’t take 20 minutes to make. Remove the rice from the plastic bag and place it in a covered pan over a low flame and gently let it steam. If you have a microwave, which I do not, then you can warm in a microwave safe container. If using for fried rice, just throw in in the wok or pan directly. No need to steam since you want the rice to be cold. That’s the best way to make fried rice.

Various Uses:

  • Use for Stir Fry dishes like chicken and broccoli or shrimp and mushrooms

  • Add to soups

  • Use for Fried Rice

  • Rice cakes

* Storing and reheating rice needs special attention. Please refer to this link for important information to ensure that you safely store and reuse rice.
Pro Tip #3 - Buy in Season & Enjoy All Year Long.
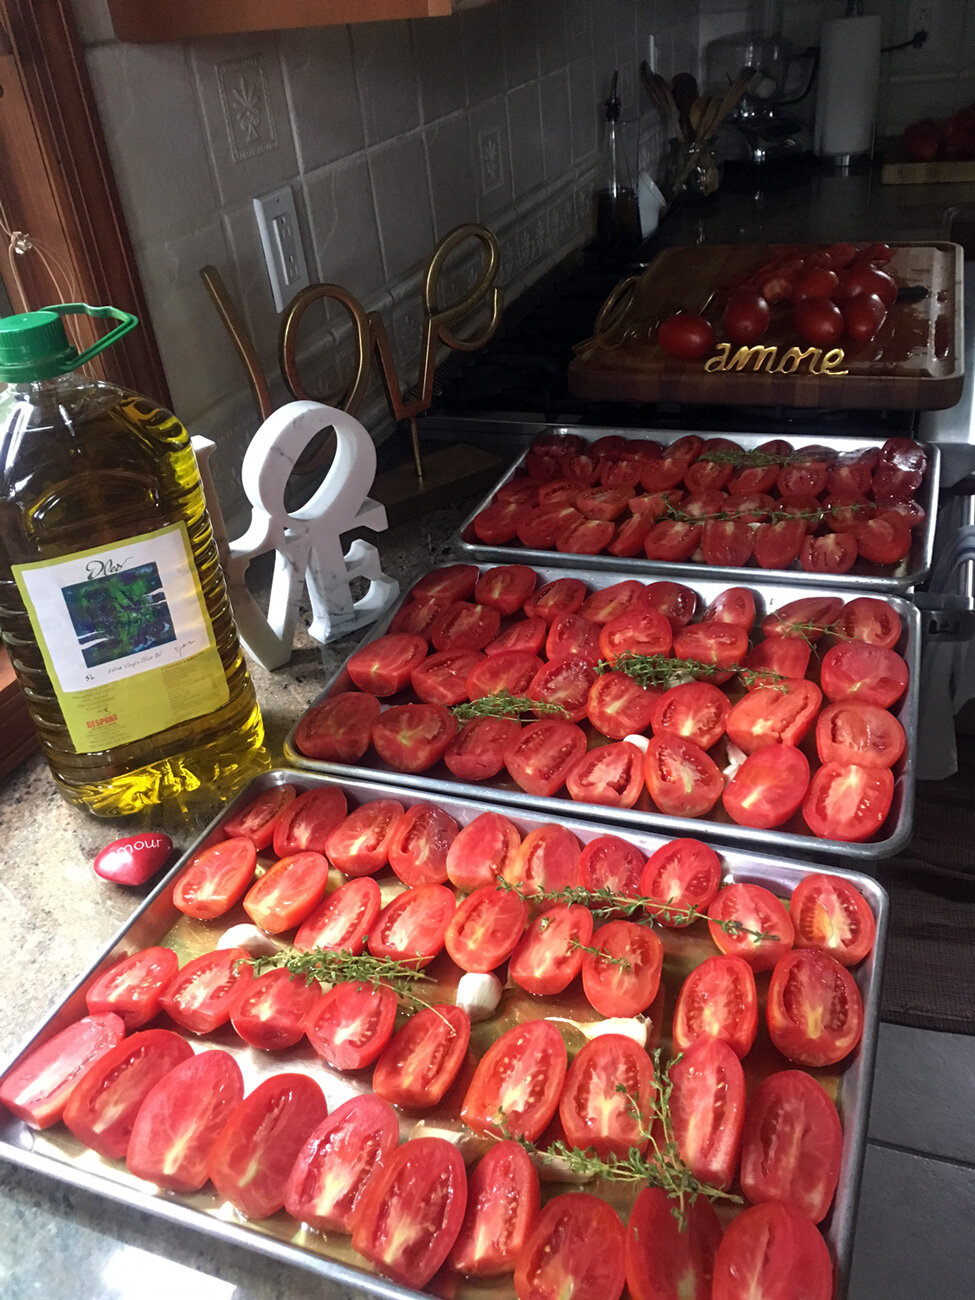
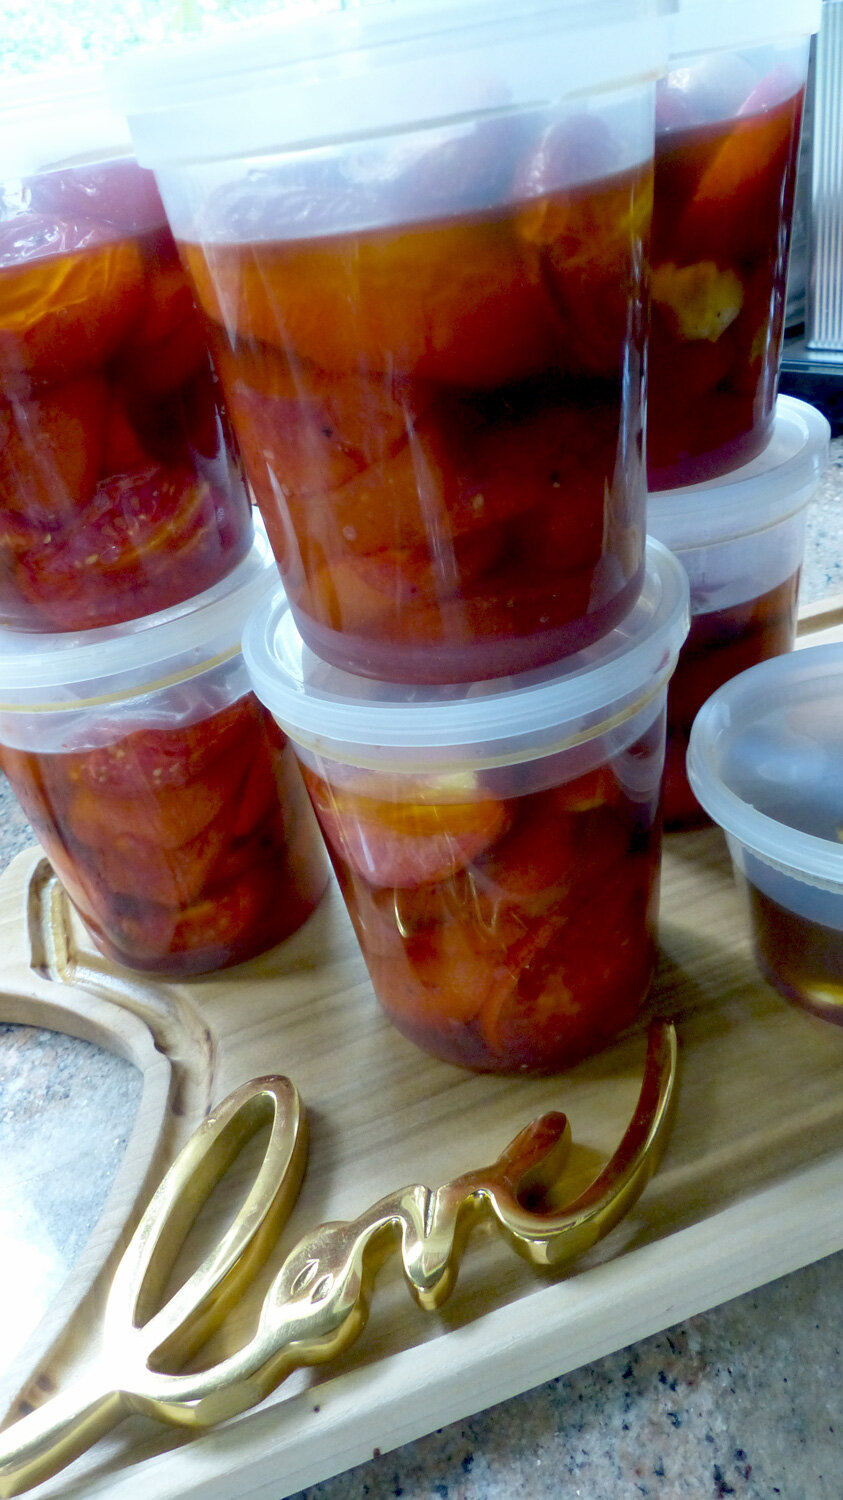
Oven Roasting Tomatoes & Freezing

Some of you may recall the summer I bought 100 lbs. of tomatoes at the end of the season. Granted that is an inordinate amount, but I continue to reap the benefits of roasting these ruby red jewels. And that, my friends, is exactly what I’m talking about. Make the effort once and continue to feel the love.
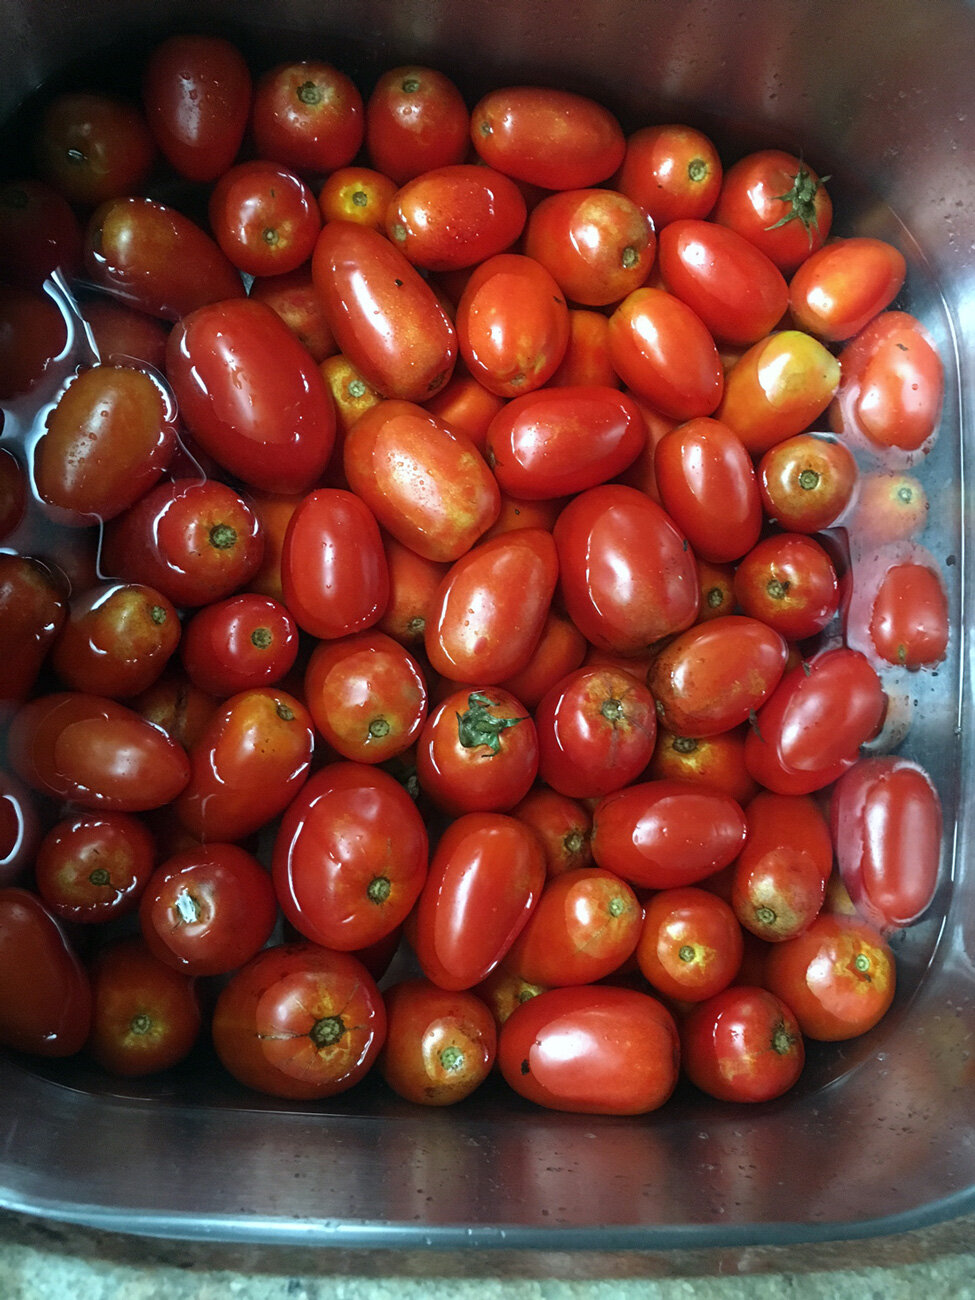
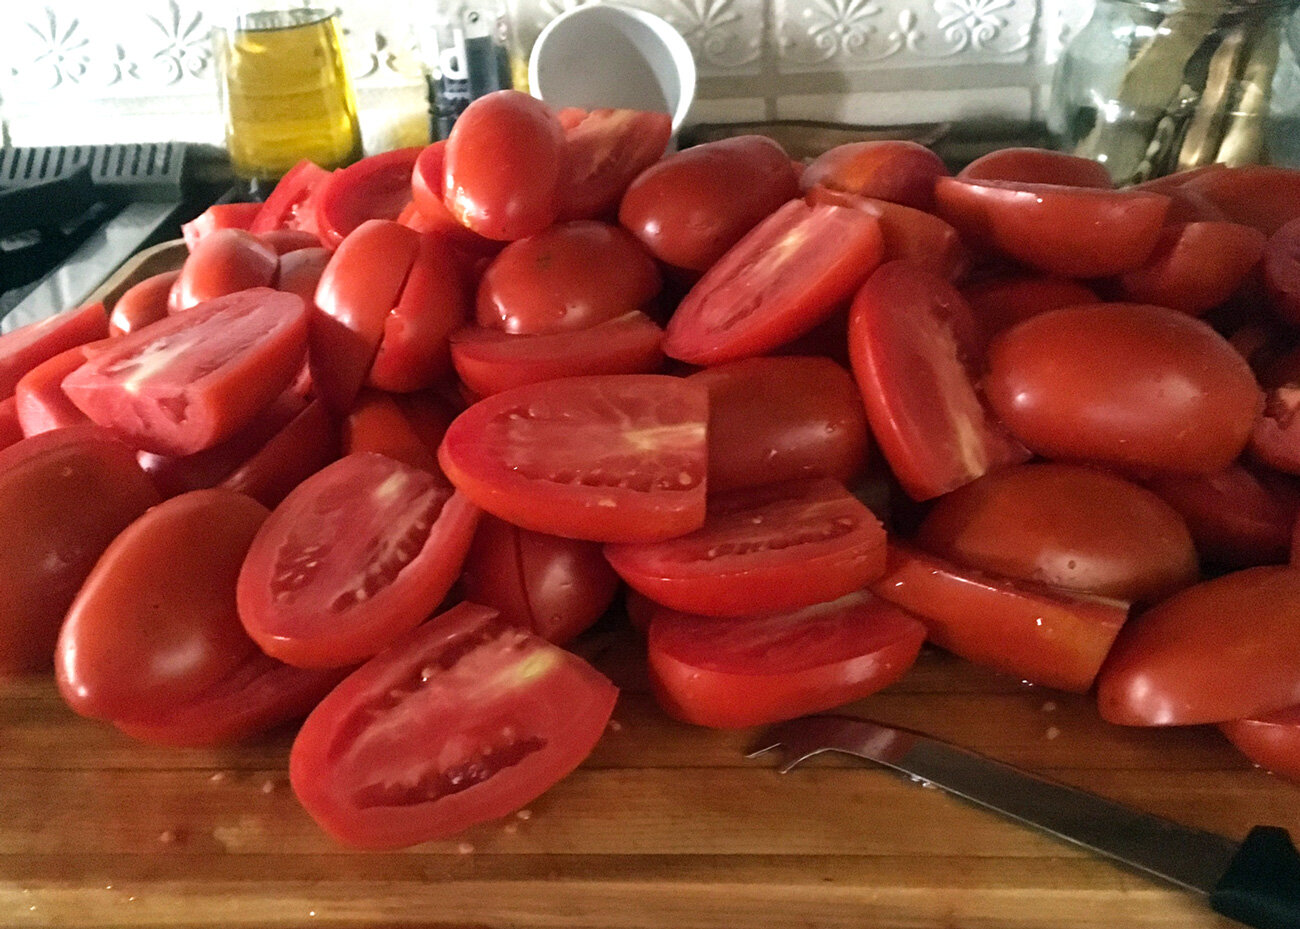
For more on the various ways to oven roast or dry roast tomatoes, check out the links below.

The Great Tomato Caper

Tomatoes Galore

I hope that these few more tips and tricks will aid you in the kitchen, and make cooking easier and bring loads of benefits. For more ideas, check out:
Pro Tips & Time Saving Ideas Part 1

 
DP-stirredwlove-ID1.jpg

Pro Tips & Time Saving Ideas

pesto.small.containers.jpg

First and foremost, I hope that everyone is safe, and healthy. These are extraordinary times, which require patience, perseverance, faith and a deep sense of knowing that we will heal and return to a new way of living armed with more knowledge and information, and certainly with more compassion.

Since we are still in a lock down situation, keeping our distance and doing what we can to remain safe, we are finding different ways in which to manage our daily routines. That includes trying to make the most out of the food we are able to buy. I thought I would share some tips and time savings ideas that might help.

In our area, we have not been able to purchase some items, while others we can get in large quantities. And because of that, I’ve come up with ways to make sure I don’t waste anything. Below are a few that I’ve implemented.

Also, because things have been a bit wonky, I haven’t been taking photos with my professional camera. Sure, there is a list of reasons why, but I definitely won’t bore you with those details. Instead I’ve been using my phone, and clearly there is a big difference in quality. So, disclaimer right up front, the images may not be the best but I think the ideas are valuable and worth including the images. As we all know - a picture is worth a thousand words. (And yet I still use words, and lots of them.)

Let’s get started:

Pro Tip #1 - Buy citrus in larger quantities and freeze

How many times have you wished you had just a little squeeze of lemon, or lime? I have often found myself in that exact situation, which is why I started buying huge bags of limes and lemons. With this helpful trick, you will never be caught without. But this tip is not only useful if you buy in large quantities. It is also great to fold into your routine when the citrus you do have will go bad before you have a chance to use it. This method will save you from having to toss and waste it.

First things first, wash them. That’s right. Why wash the outside of citrus when you are using the juice from the inside?

Two reasons:

  1. Even if you are only using the juice, the outside has been touched by many hands and exposed. When you squeeze some of the juice might run down the outside rind, plus your hands are touching the outside rind. I’ve practiced this tip before the coronavirus, but it is especially important now.

  2. If you are going to zest the rind, washing is ESSENTIAL because you are going to consume the rind. It goes without saying that anything you will eat needs to be washed.

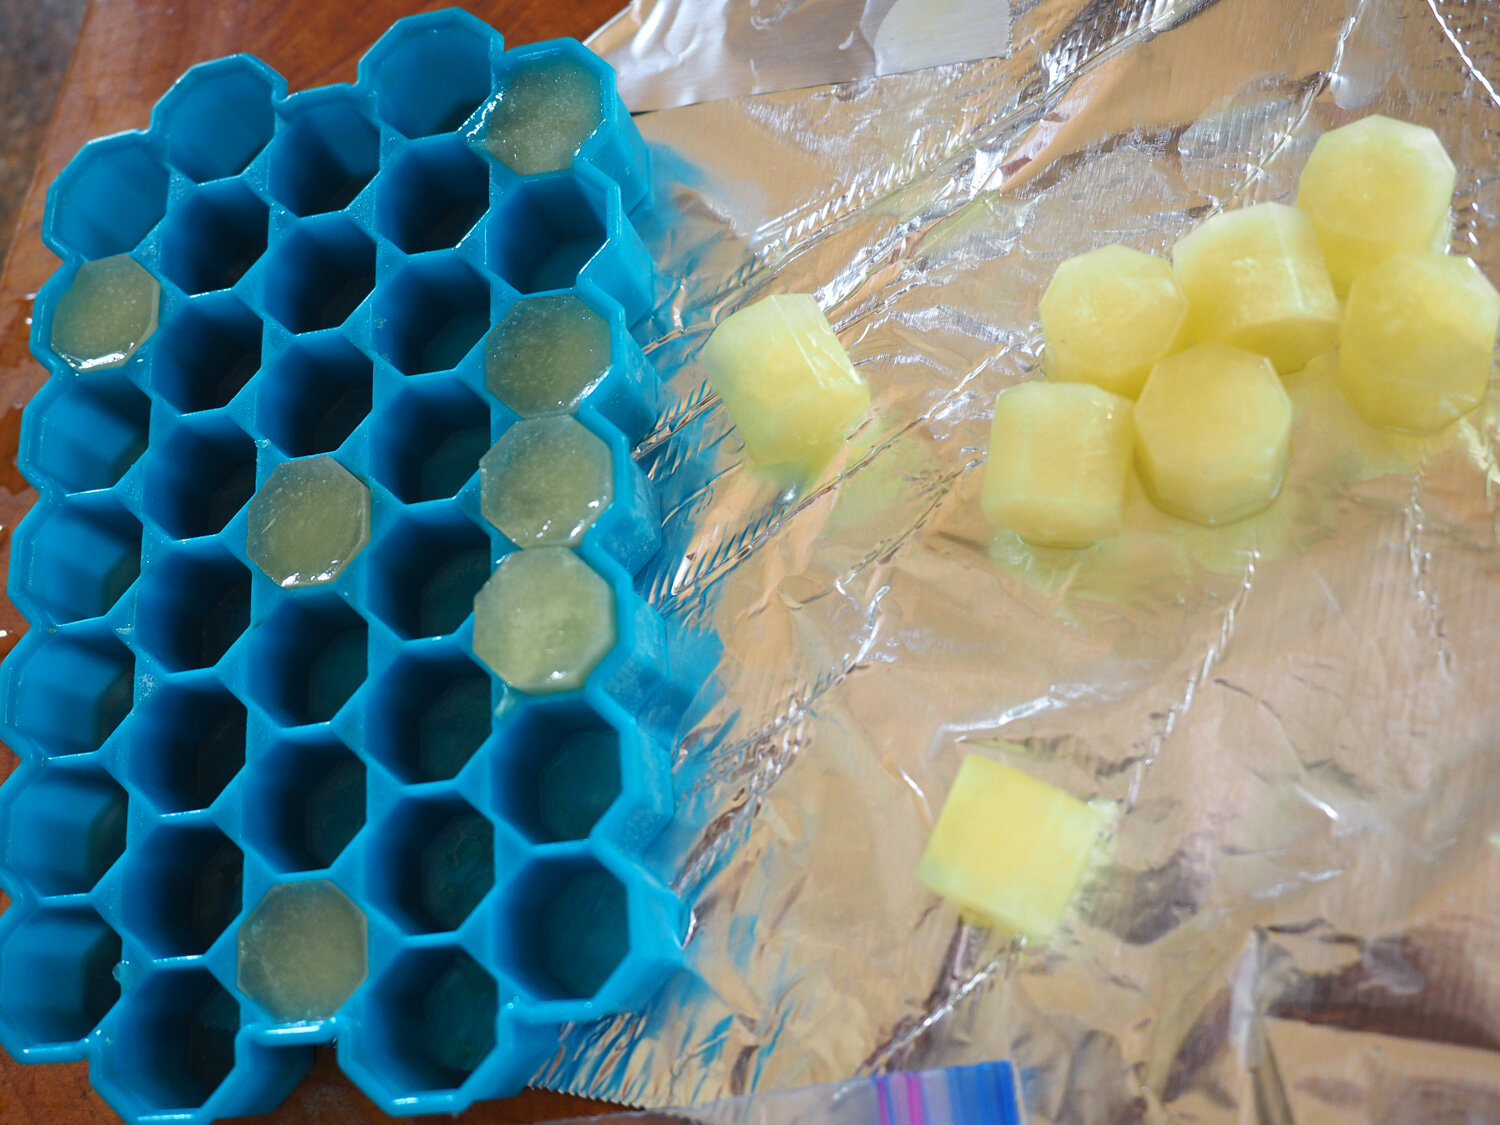
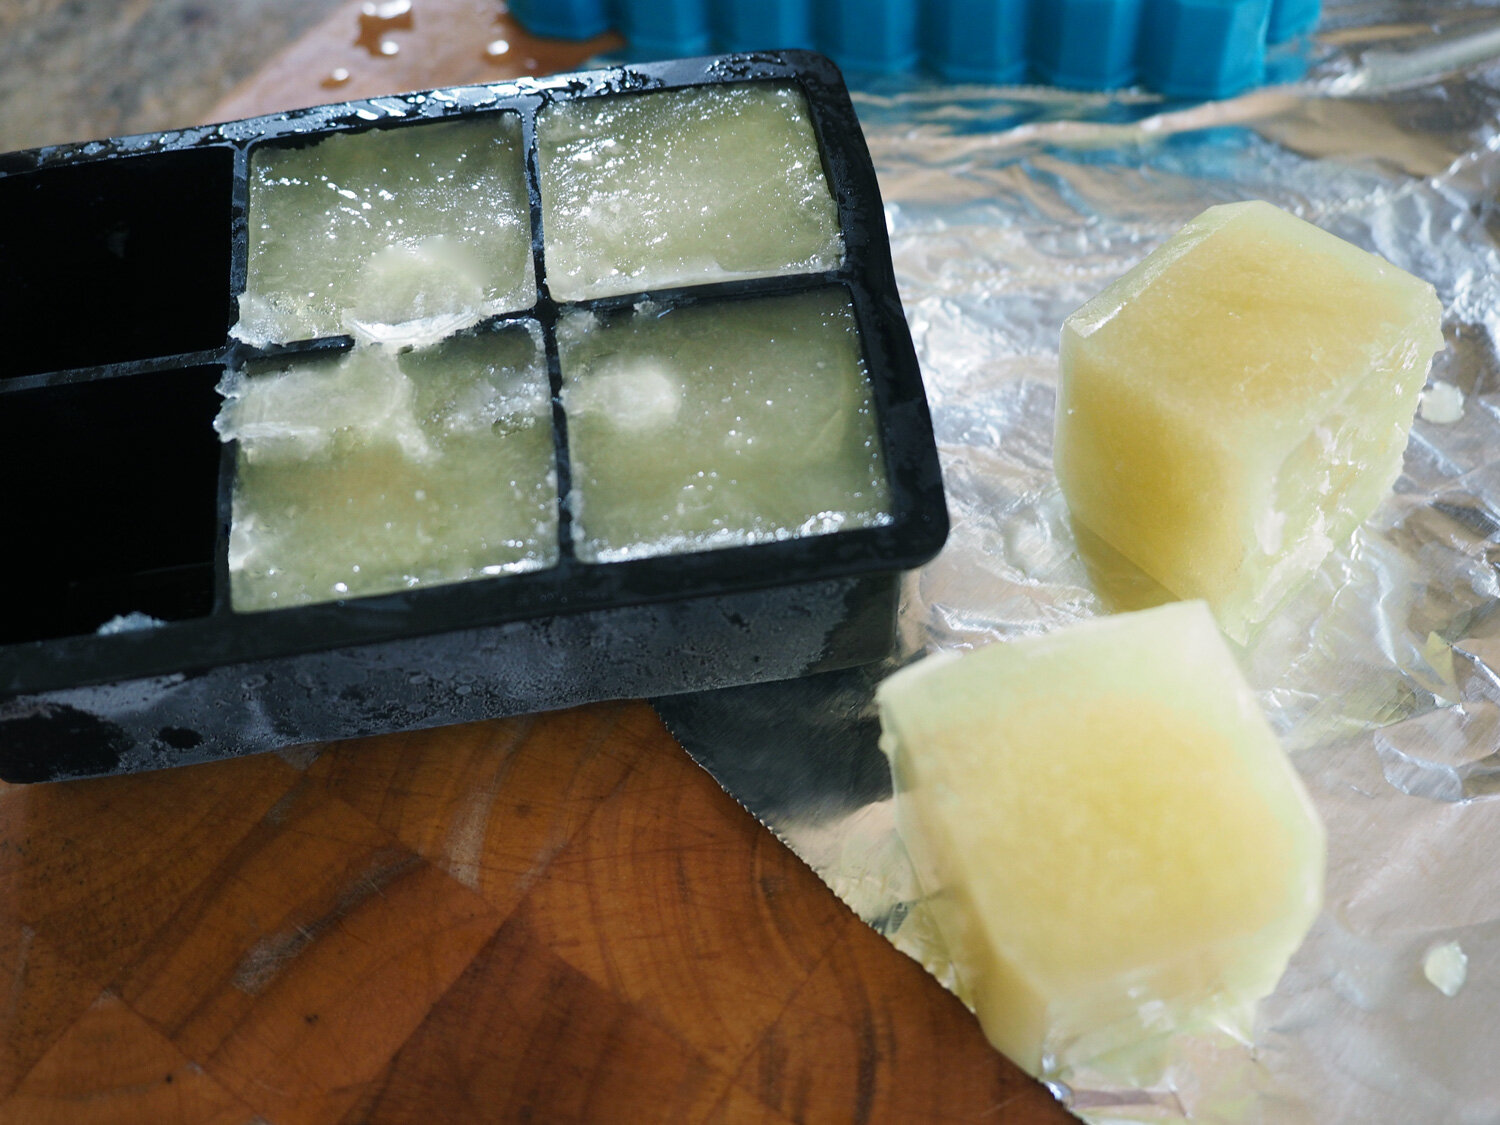
Next, I select several to keep on hand for daily use, placing them in a basket in a cool, dry drawer. The rest I squeeze into a large measuring cup and then pour the juice into silicone molds to freeze. (If you don’t have silicone molds then ice cube trays do the trick. I do find that the silicone makes it easier to pop the cubes out.) You can choose whatever size you want. I use both tiny molds and large oversized ice cube molds so that I have choices.

Once they are frozen, pop them out and place them into labeled freezer bags for future consumption in a variety of ways, such as:

  • Add to your tea

  • Use for cocktails

  • Add to sauces

  • Use for salad dressing

Note: I have also zested the rind and included that in some of the juice cubes, for that extra added tang.

Pro Tip #2 - Herbs Now, Herbs Later

For whatever reason, I haven’t been able to get any other herb except basil, and it comes in 1 lb. size. I love basil, but that’s a whole lot of basil. I decided to take full advantage of having this tasty herb on hand. I used it fresh in several dishes, (which will be featured in my next post), but there was just so much I could use before it was going to go south on me. That’s where this next tip comes in handy.

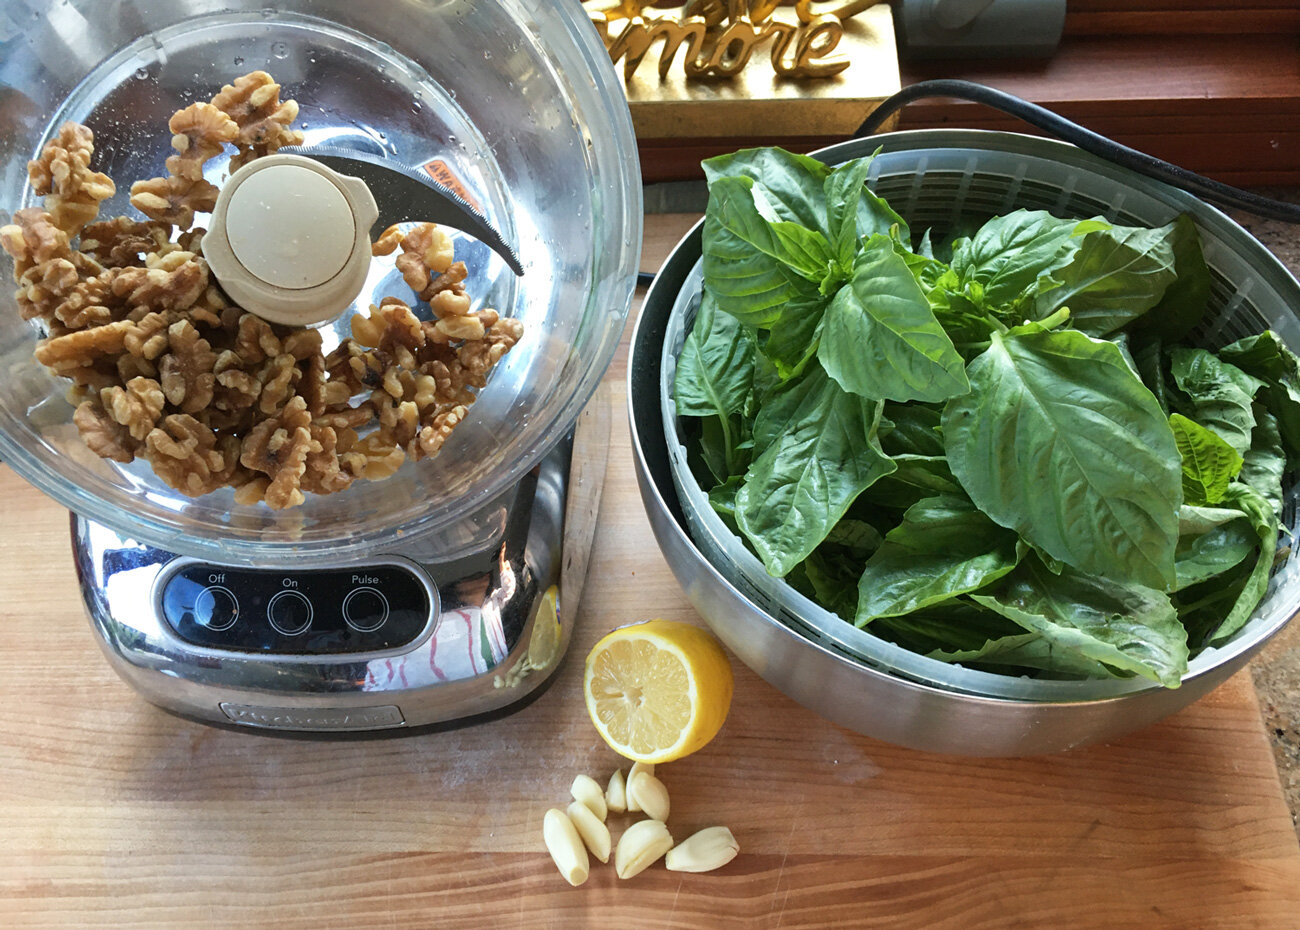
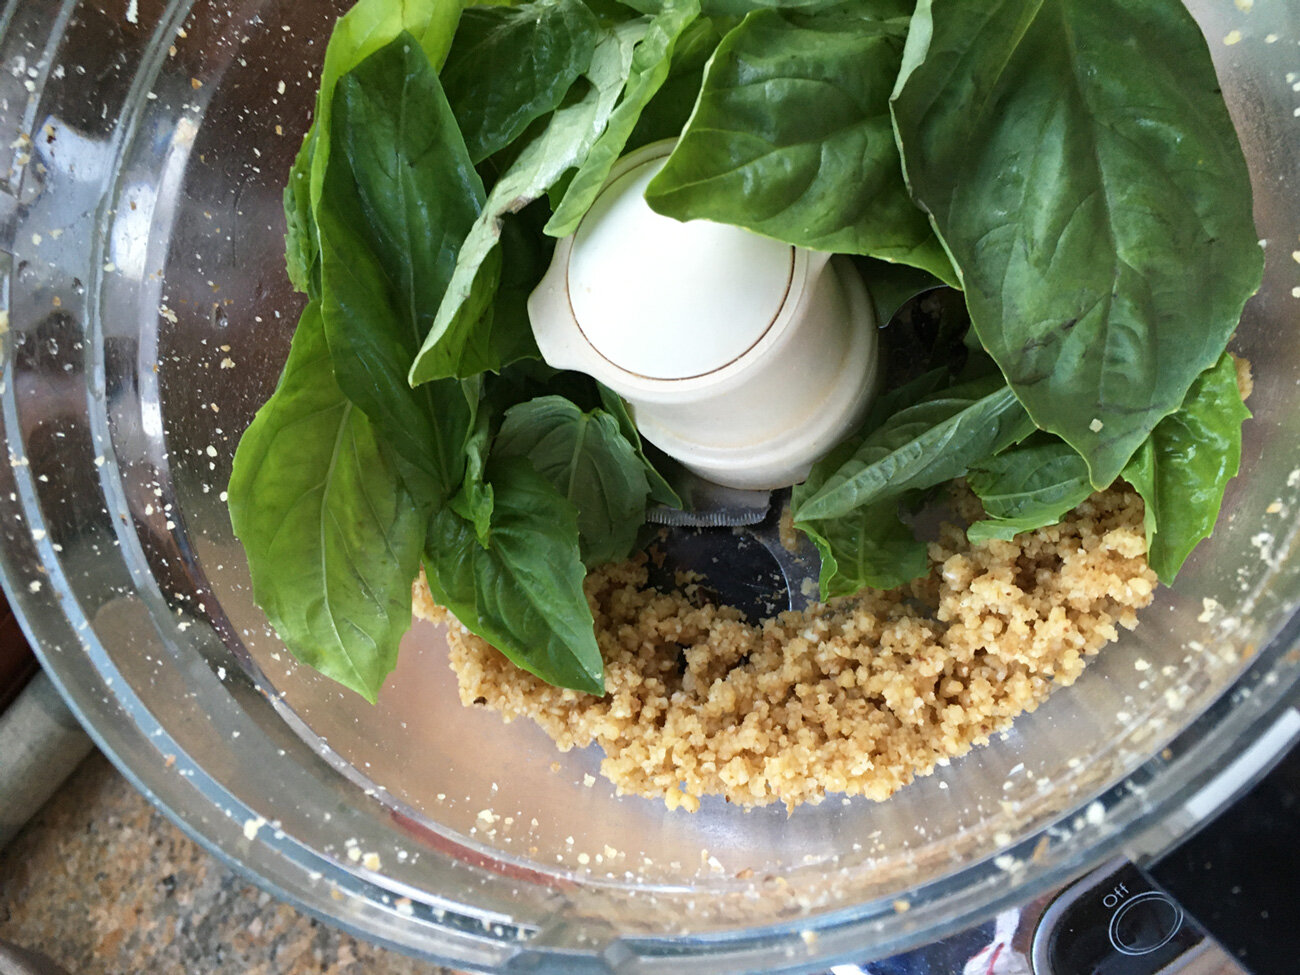
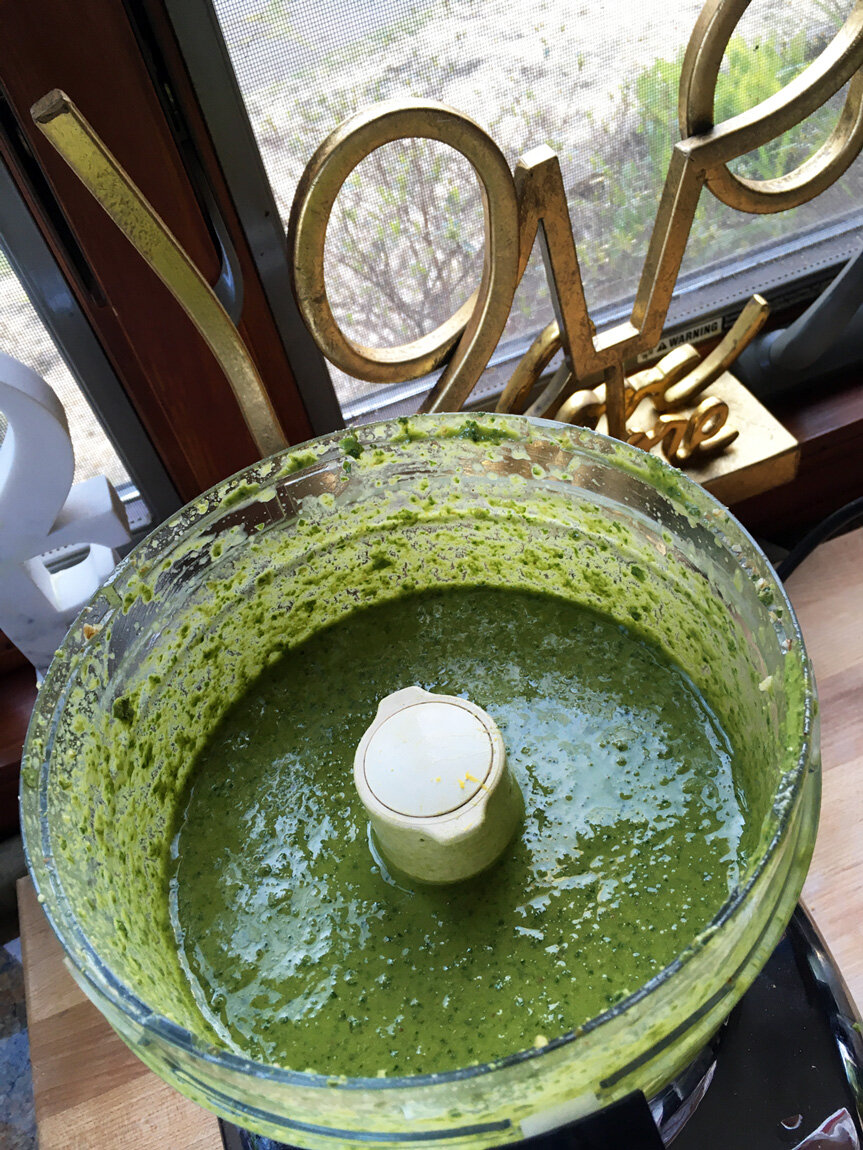
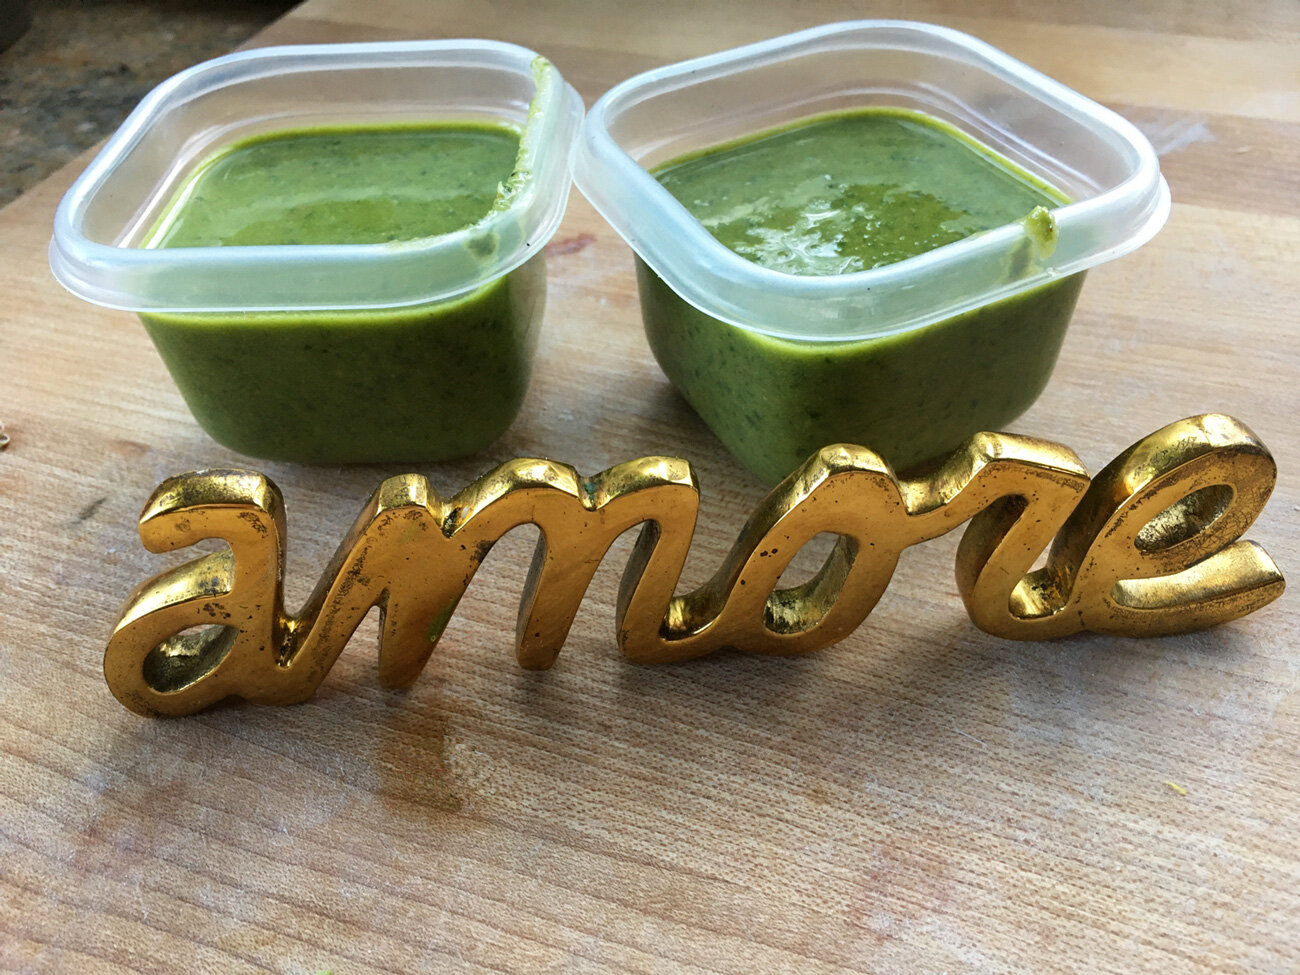
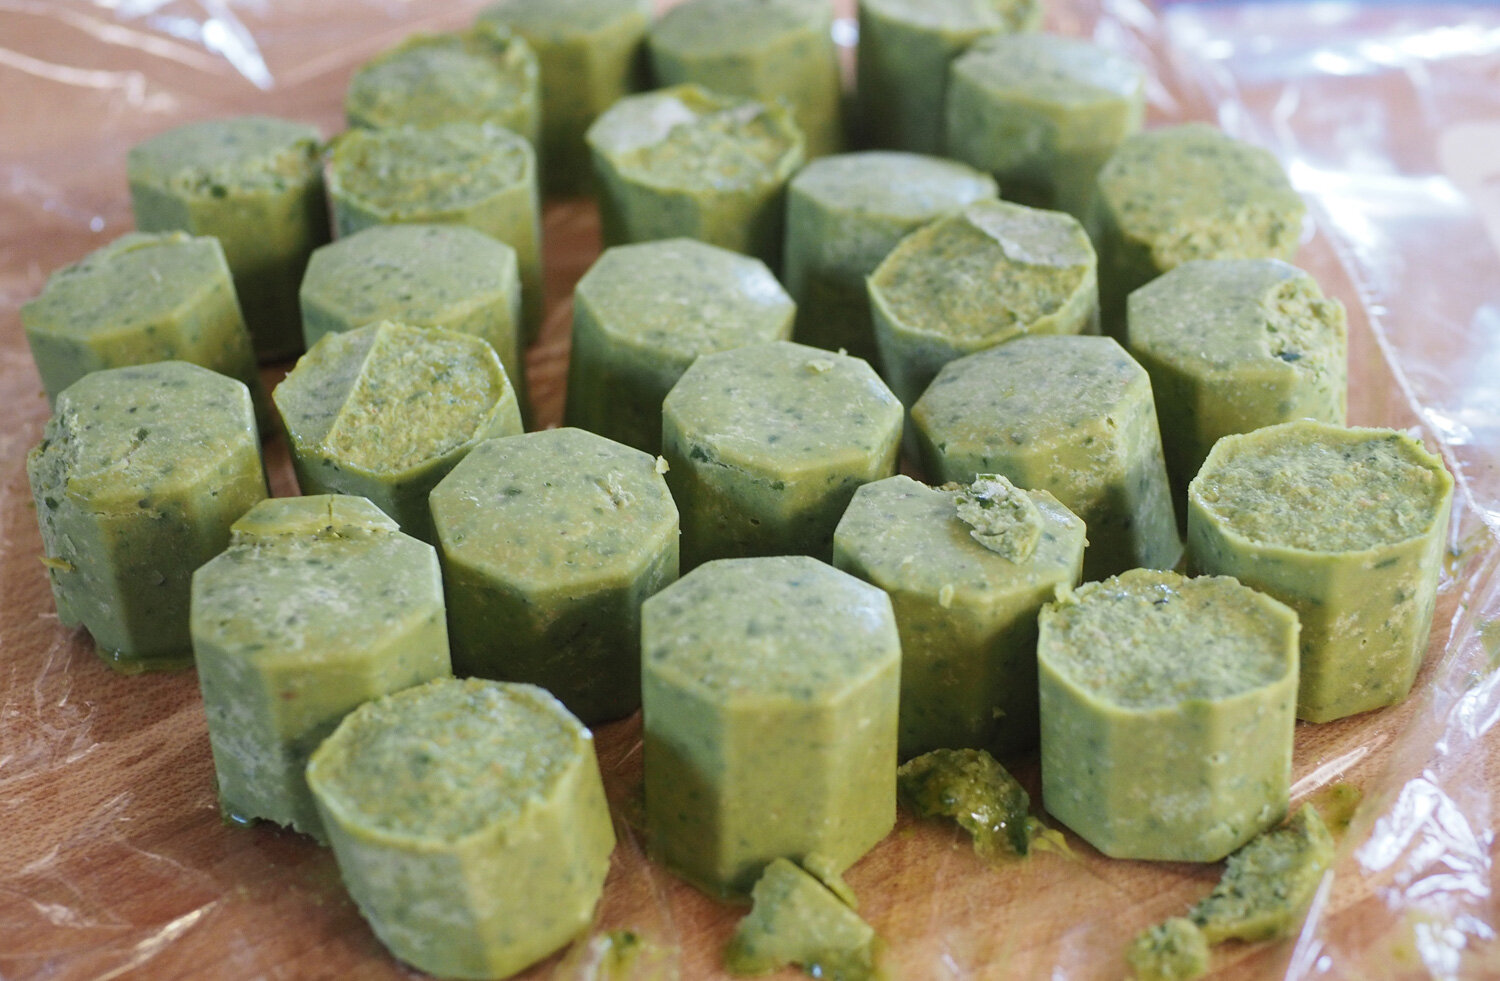
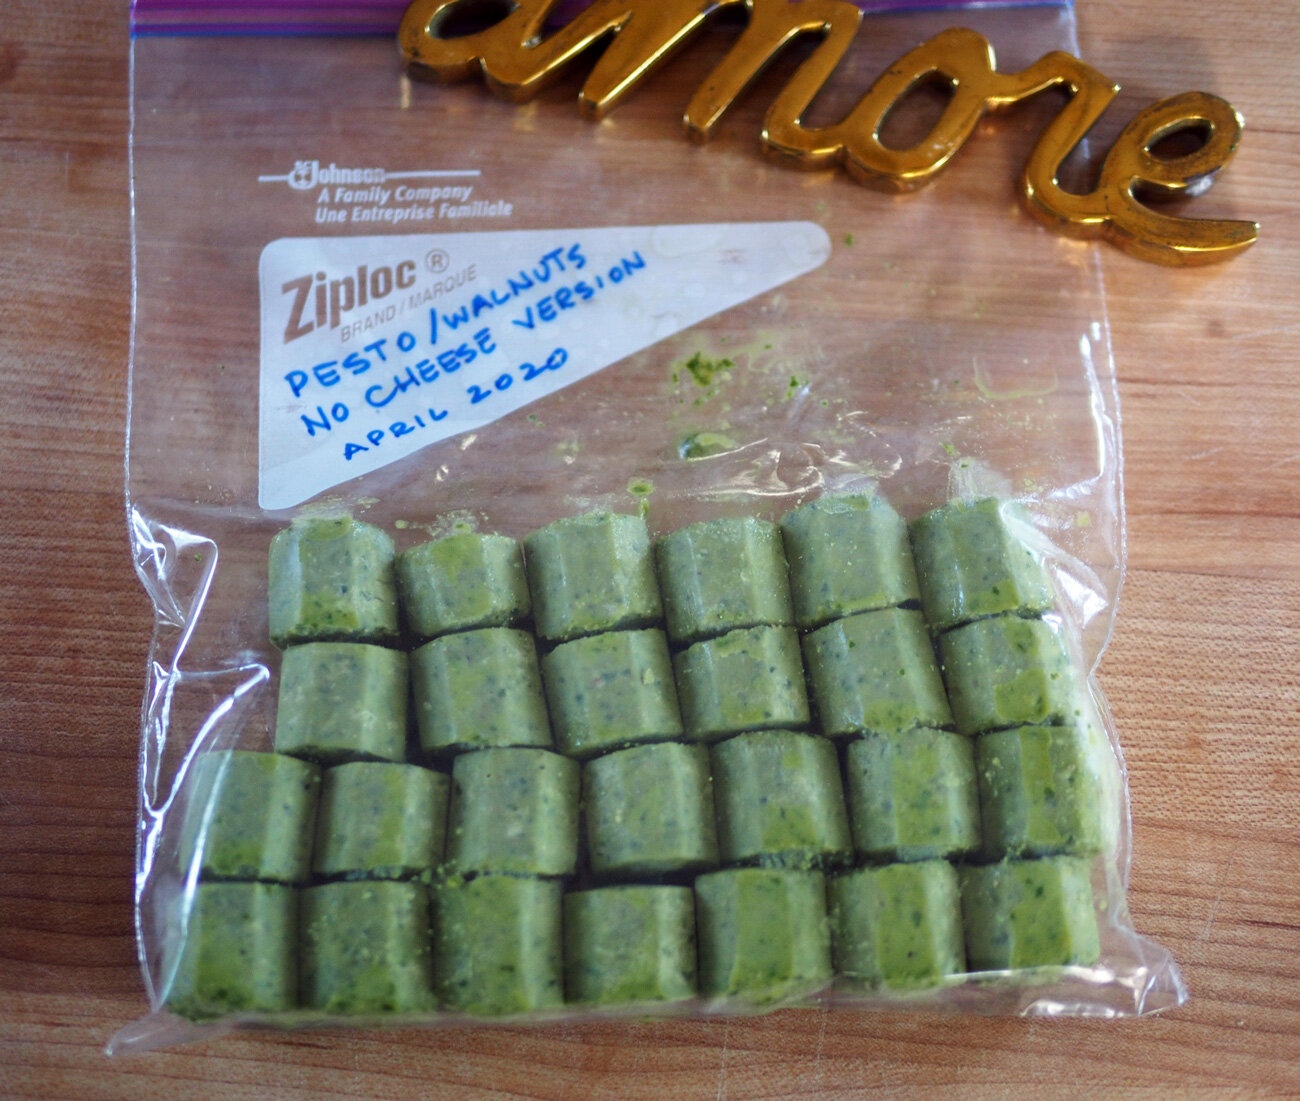
For the remaining abundant leaves, I decided to make a big batch of pesto, using walnuts, garlic, salt, pepper, lemon juice and oil. I then split that amount in thirds, adding Parmesan cheese to only one portion, and leaving the other two without. I will explain why, keep reading. Again, we will be using the same method as with the lime and lemon juice. This time placing the batch with cheese into a larger container with an appropriate amount to be used in the future for pasta. The other ‘without cheese’ portions I poured into the smaller silicone molds, and small plastic containers. You can employ this method using cilantro or parsley as well. For those herbs, you can keep it simple and just blend the herb with garlic, oil, salt and pepper.

Once the cubes in the molds are frozen, simply pop them out and place in labeled freezer bags. (Note: labeling is key. You may think that you will remember what’s in a container but if it’s been in the freezer for a while you can’t rely on memory. Plus, you do want to put the date so you know how long it’s been in the freezer.)

The reason for not adding cheese to the entire batch is that basil, garlic, walnuts and oil combo is way more versatile than with cheese. This yummy green goodness of a mixture can be used in a litany of other ways, such as:

  • Add basil flavor (when you don’t have fresh on hand) to sauce

  • Baste a roasted chicken

  • Use it to finish a soup for a hint of herbal flavor

  • Place it in any fish en papilotte

Pro Tip #3 - Avoid a Mess: Use of a Container & Multiple Stacked Baggies
Mango Madness

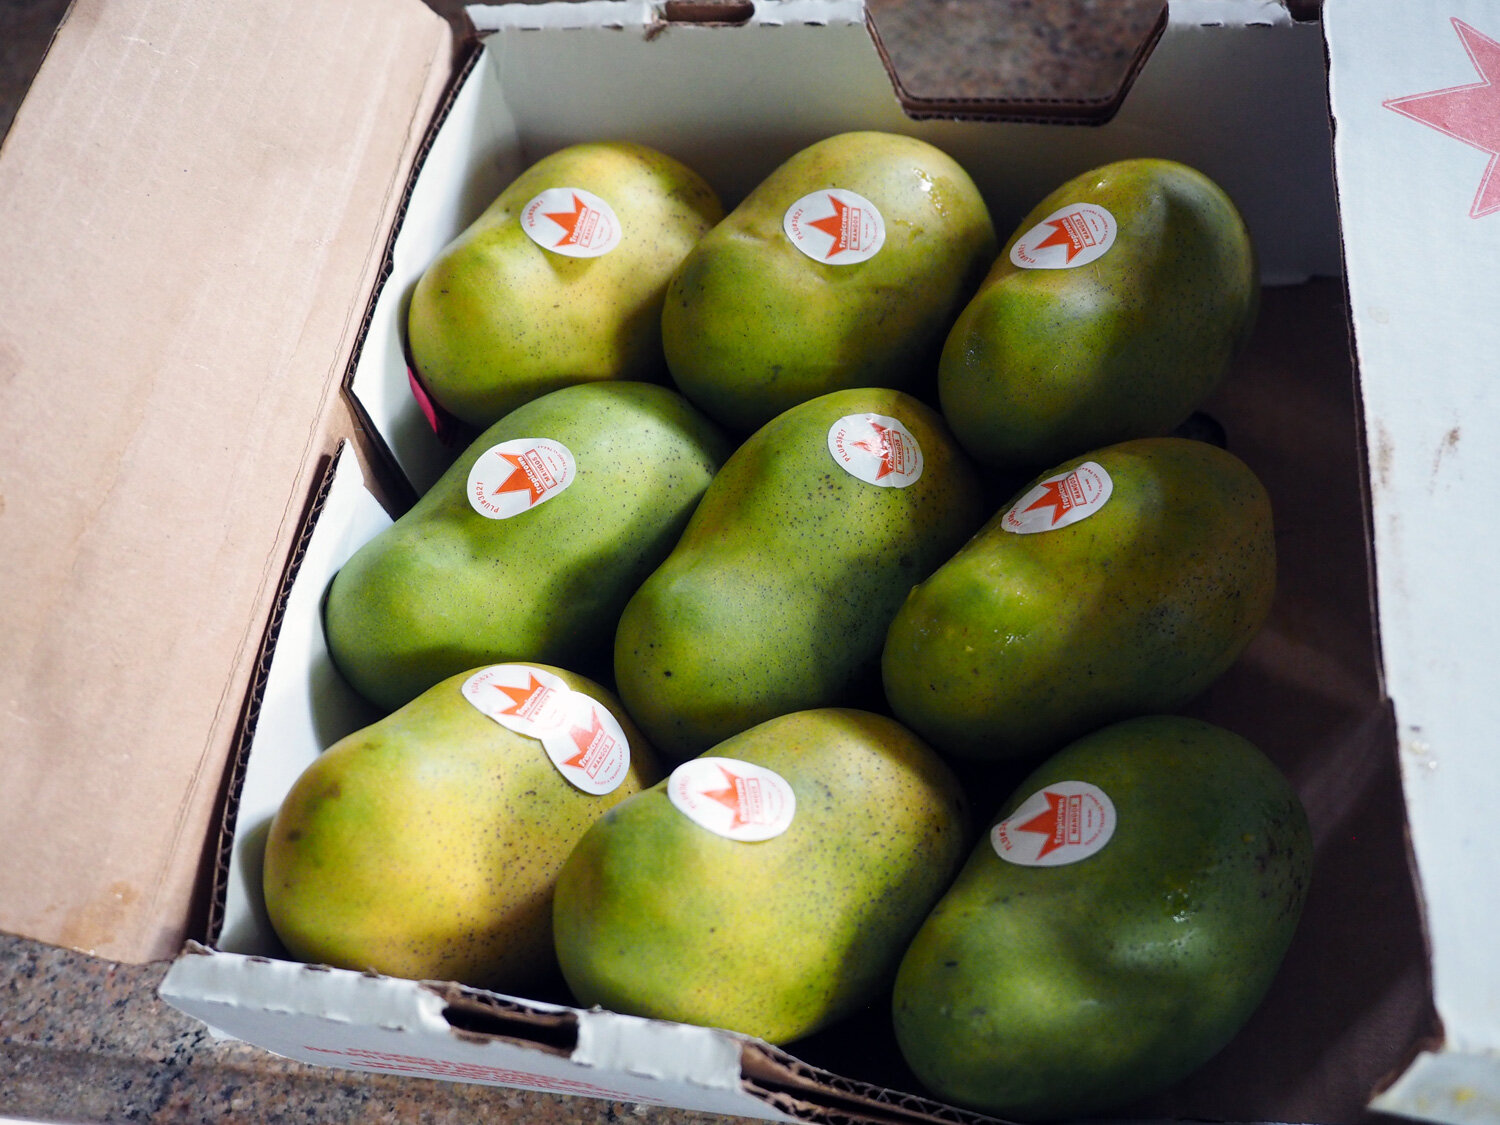
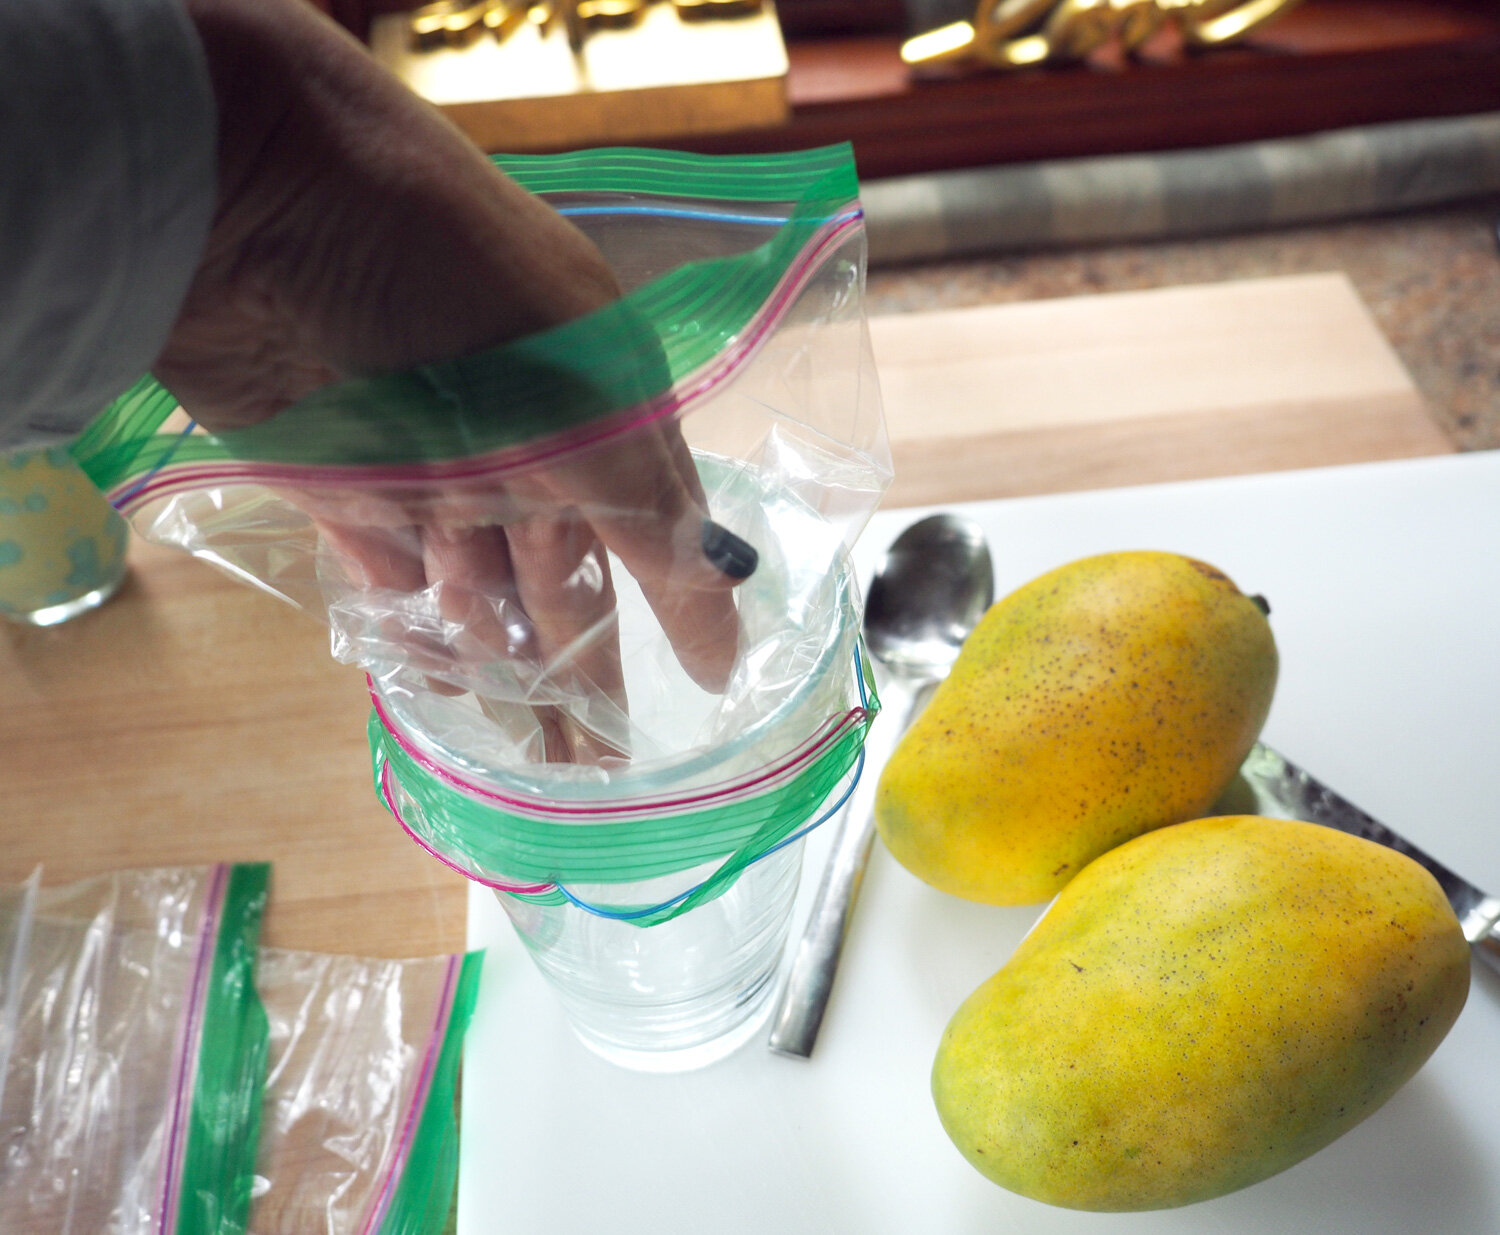
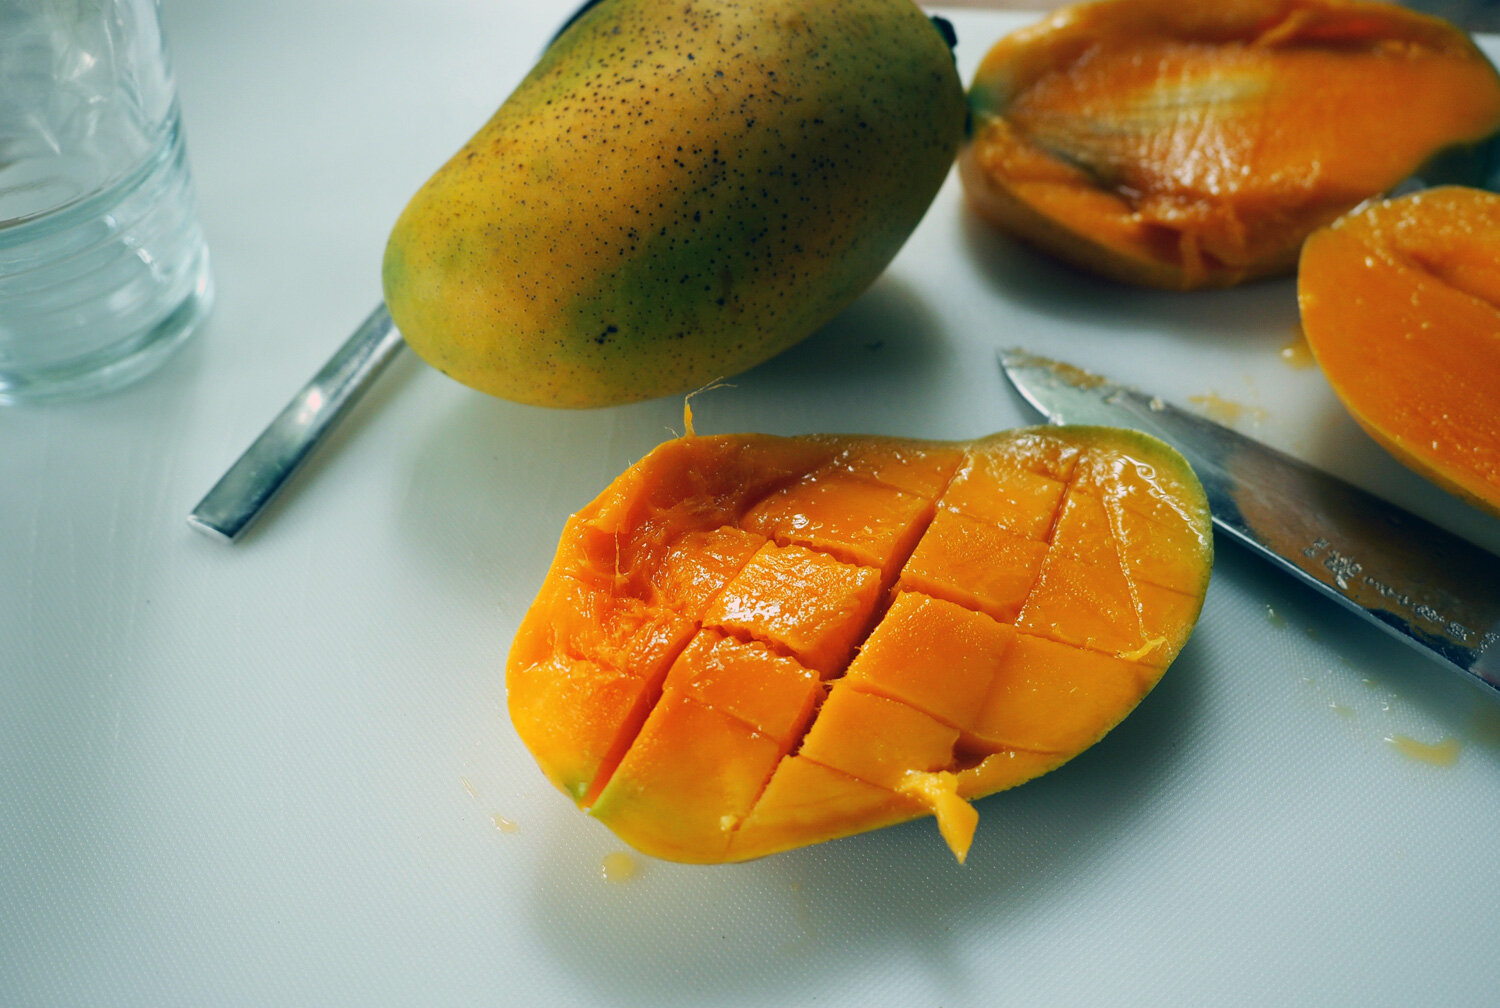
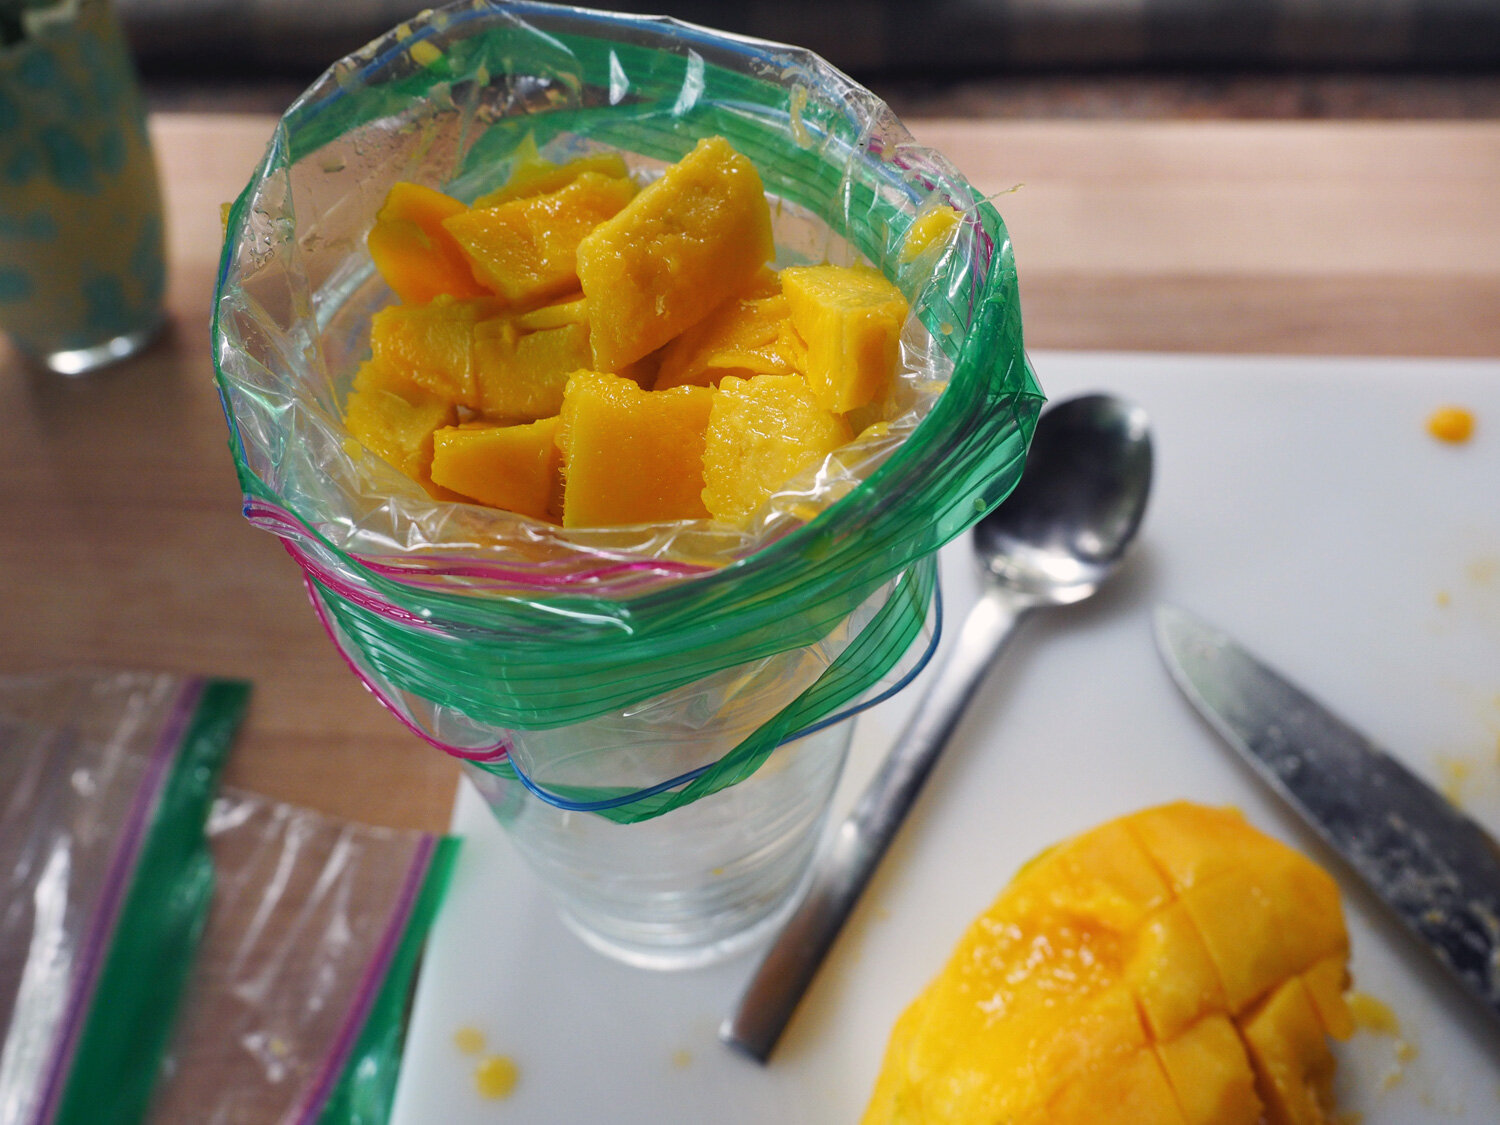
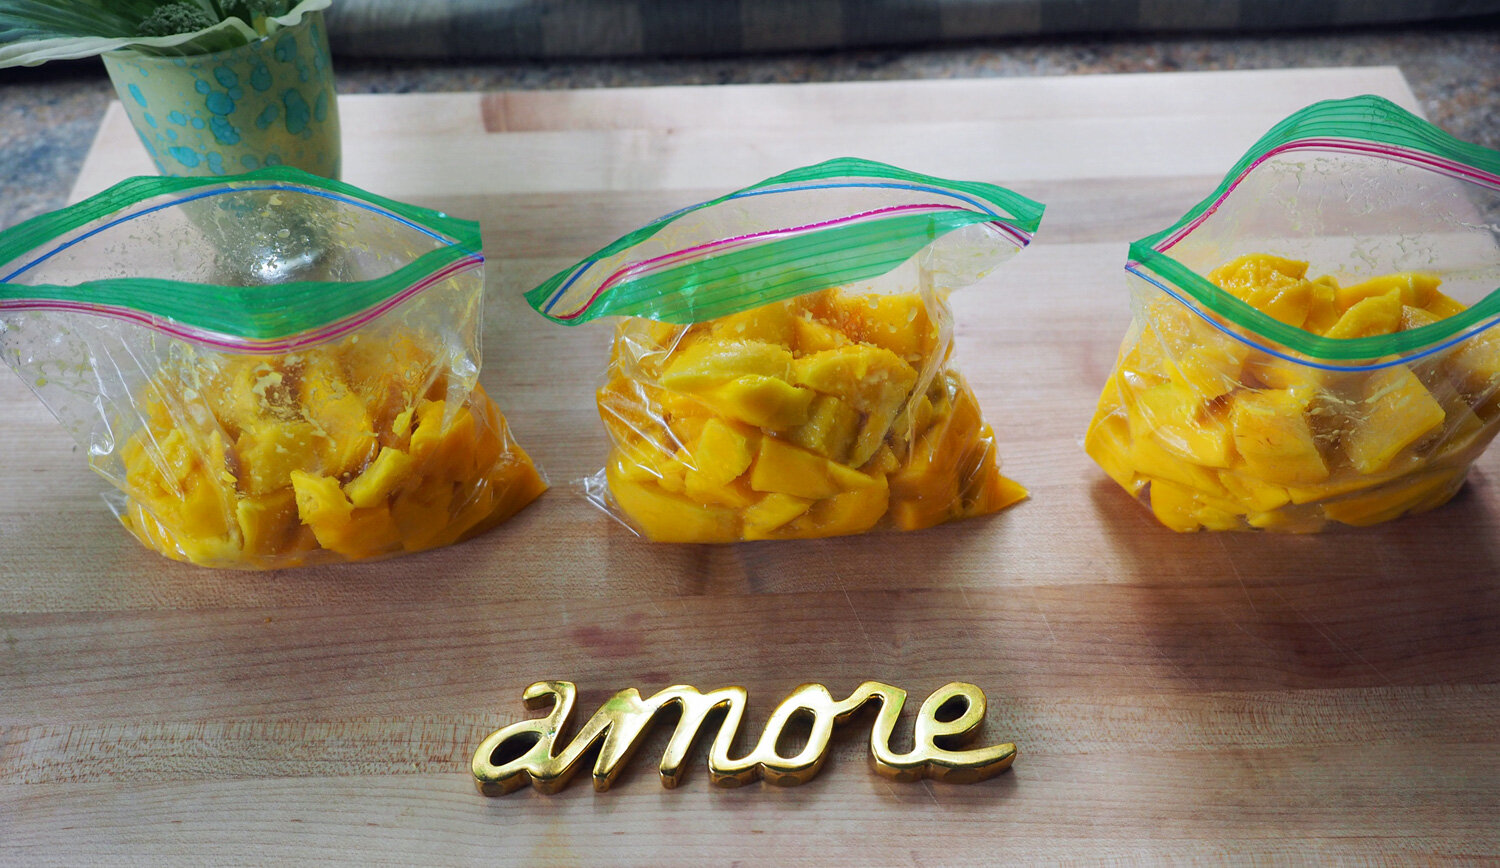
When mango are in season, I buy plenty. Then I cut them up into cubes and freeze. Since cutting and placing them into baggies can get messy, I employ the trick of using a wide mouth glass and pre stacking the bags into the glass one on top of each other. This way once I place the cut mango into the bag, the next bag is there ready to be filled. Not only is this time savings but it really keeps the whole process streamlined, clean and without getting a sticky mess all over. This method can be utilized for any number of foods that you are making multiple packages.

Of course, there are all the obvious uses for frozen mango chunks, but I’ve a given you few more.

  • Sorbet

  • Ice Cream

  • Smoothies

  • Salsa

  • In a salad with nuts & seeds

  • Cocktails

I hope these tips prove helpful, or have even given birth to some of your own brainchild methods.. All of these ideas and tips are really about saving time. It’s about doing the work once and enjoying the fruits of your labors both now and in the future.

Effort Once = Rewards Multiplied

DP-stirredwlove-ID1.jpg