Yes, these vibrant and delicious wonders make the perfect appetizer. They are red pockets of yum. But fair warning, these are not entirely my recipe. The Spanish are famous for stuffing piquillo peppers, and goat cheese is one of the most popular fillings. I made some alterations to the stuffing to create my own version plus added a little dressing to coat them.

Courtesy of Specialtyproduce.com
What is a Piquillo you ask? And that would be a good question because it looks just like a regular red pepper, and it is. But these are a variety of chili peppers in the capsicum annuum family. Although, this chili pepper is sweet and doesn't harbor any heat, much akin to a traditional red bell pepper. They are grown in Northern Spain near the town of Lodosa, and have a real reason for being called piquillo. Simple answer. In Spanish it means "little beak" which is exactly what these look like due to their small size, making them ideal for stuffing. If you used a traditional red bell pepper and stuffed it with goat cheese it would be quite the grotesque amount of filling. Unless you are a cheese monster in which case you would be in goat heaven.
(I use the Dantza brand whole piquillo peppers from Despaña. The round can shown below was specifically designed by request of Despaña. All of the peppers are selected for their size and packed by hand to ensure all peppers remain whole, as that is the key for a stuffing pepper. Some piquillos come in strips for other uses. )
Speaking of stuffing, because of their sweet and supple flavor they are compatible with so many stuffing options. You can create a stuffing out of anything you like really, but I like cheese. Whenever I have had a goat cheese stuffed piquillo in a restaurant I have found the straight up goat cheese to be a bit dense and just one flavor note. That is why I decided to create my own version combining goat cheese with whipped cream cheese, parsley and some lemon zest. I also went another step and added a little dressing to pour over top. I think it adds to the overall freshness of the dish as the acidity combines well with the peppers. Plus, it doesn't hurt to have some dressing to soak up with the piece of bread you serve alongside these. Your guests can also place an entire pepper on the bread which aids in delivering this tasty bite directly into the mouth. Which I highly recommend.
These aren't hard to make, just a few ingredients. They can be made in advance and stored in the refrigerator until ready to dress and serve. The only slightly slippery part of assembling these is filling them.

Goat cheese, whipped cream cheese, parsley, lemon, shallot, and of course, the star, piquillo peppers. I buy mine from Despaña.
ingredients
yields approx. 25 peppers
16.6 oz can whole piquillo peppers
10.5 oz goat cheese log
8 oz. whipped cream cheese
1 heaping tbsp chopped fresh parsley
1/2 tsp fresh lemon zest
1/2 tsp salt
dash of pepper
Dressing
1/3 c Oil
1/4 c red wine vinegar
2 full tbsp shallots, minced
splash of lemon juice
salt & pepper to taste
Basil to garnish, optional
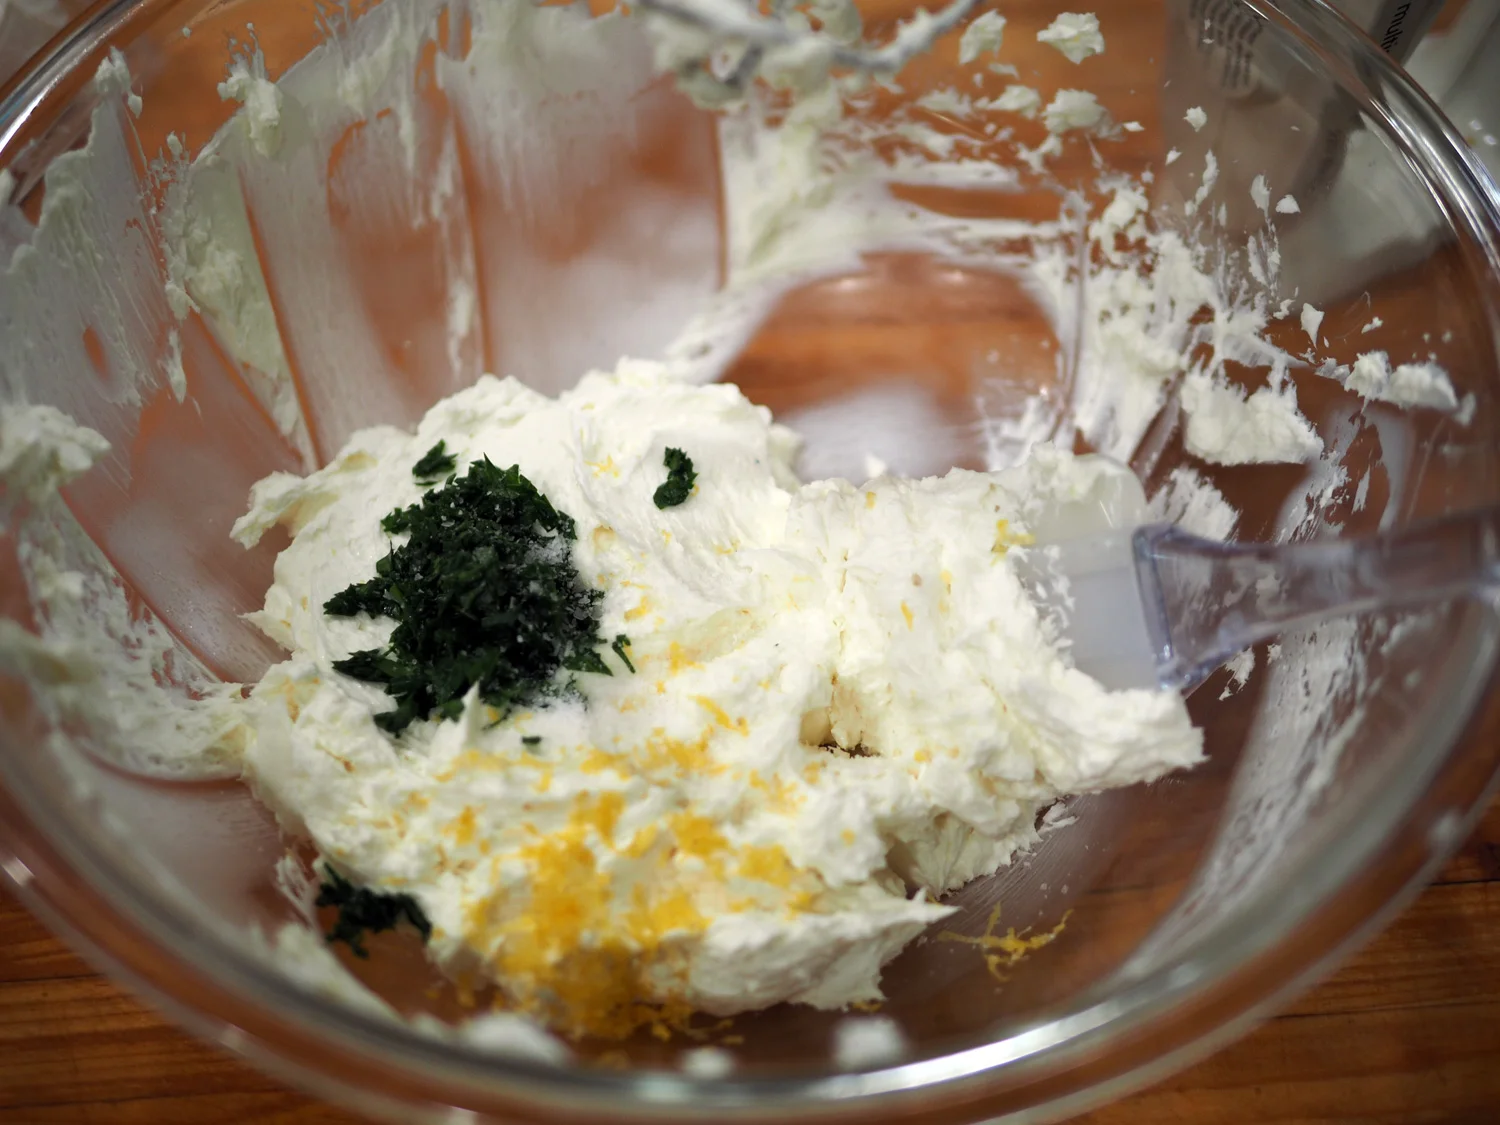
The mixture: goat cheese, whipped cream cheese, chopped parsley and lemon zest, salt.
To aid in the filling, I use a piping bag. I use piping bags for a lot of things. It just makes it easier, especially for this recipe since the filling is too dense to spoon in. Plus if you use a decorative tip, you can create a lovely little flourish at the top of the pepper. Isn't that special. Sometimes it's the little things that mark the difference, and it doesn't take any more effort than if you didn't use a decorative tip.

The easiest way to stuffing anything... a piping bag!!
instructions
- When using these or any roasted peppers often times there are seeds. Try to remove as many as possible being as careful as possible since the peppers are delicate.
- Using a hand mixer, whip the goat cheese, cream cheese together, then add the parsley and lemon zest. You can also add shallots to this mixture, as I have done in the past.
- Fill the piping with the cheese mixture and using a wide tip, begin filling each pepper.
- Place them on a decorative serving platter. If serving immediately, then drizzle the dressing over top. If you are making them ahead of time, cover well with plastic wrap and refrigerate. Then dress them before serving. These should be served at room temperature so remove them from the fridge 1/2 hour prior.
You can also stuff these with cod, or a mixture of tuna and piquillo blended together to create a mousse. Those are a few traditional ones to get you going. I leave it up to you and your imagination to create some more. Whatever you choose, cheese, cod, tuna, spinach, etc these make the most vibrant and tasty appetizer platter that works all year long. There are a thousand ways to use these peppers, many of which don't require stuffing them at all. I will have more recipes in the future with these delicious tiny red babies, so keep on the look out.
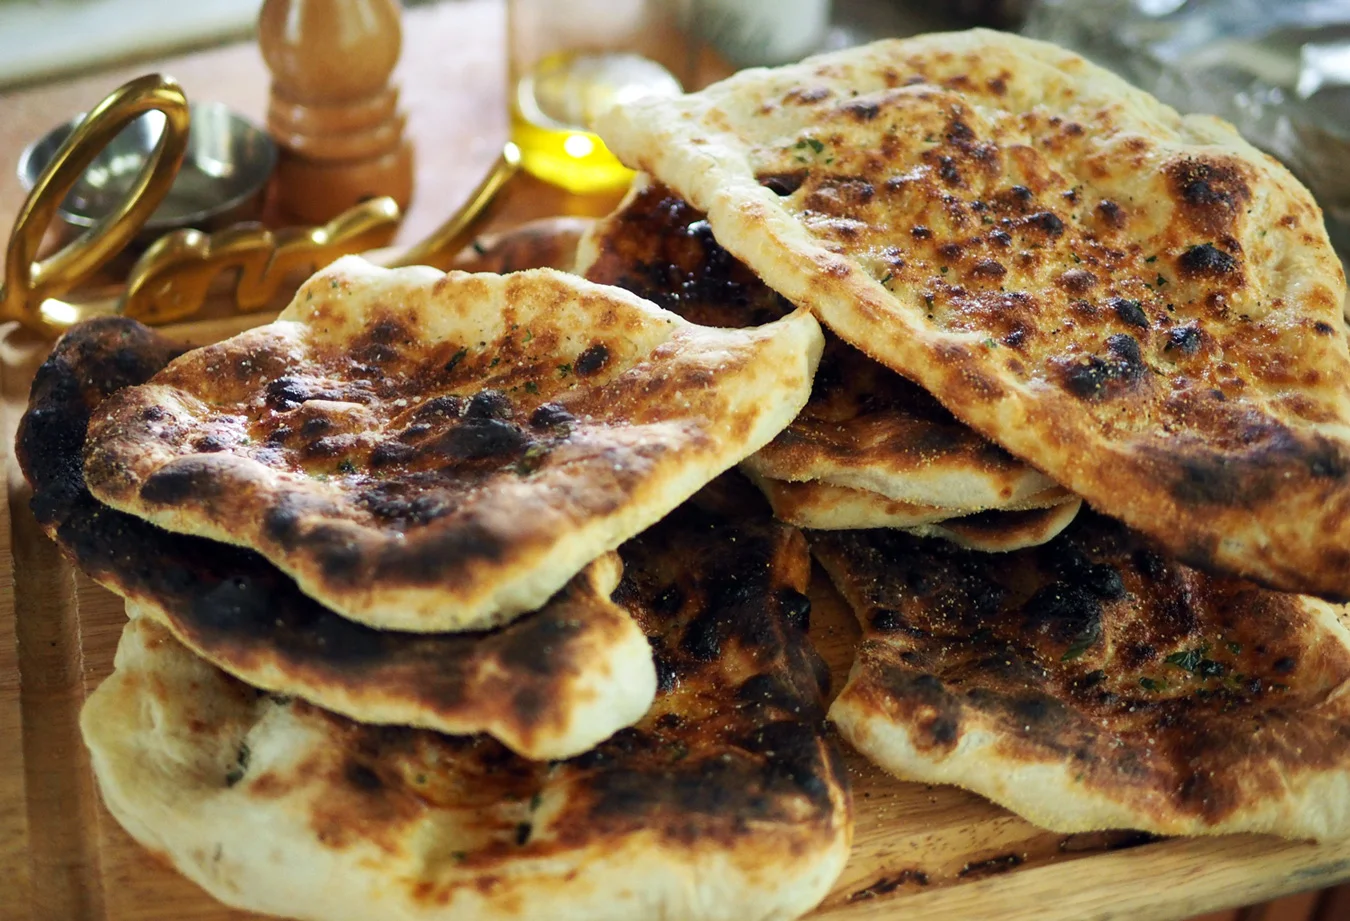
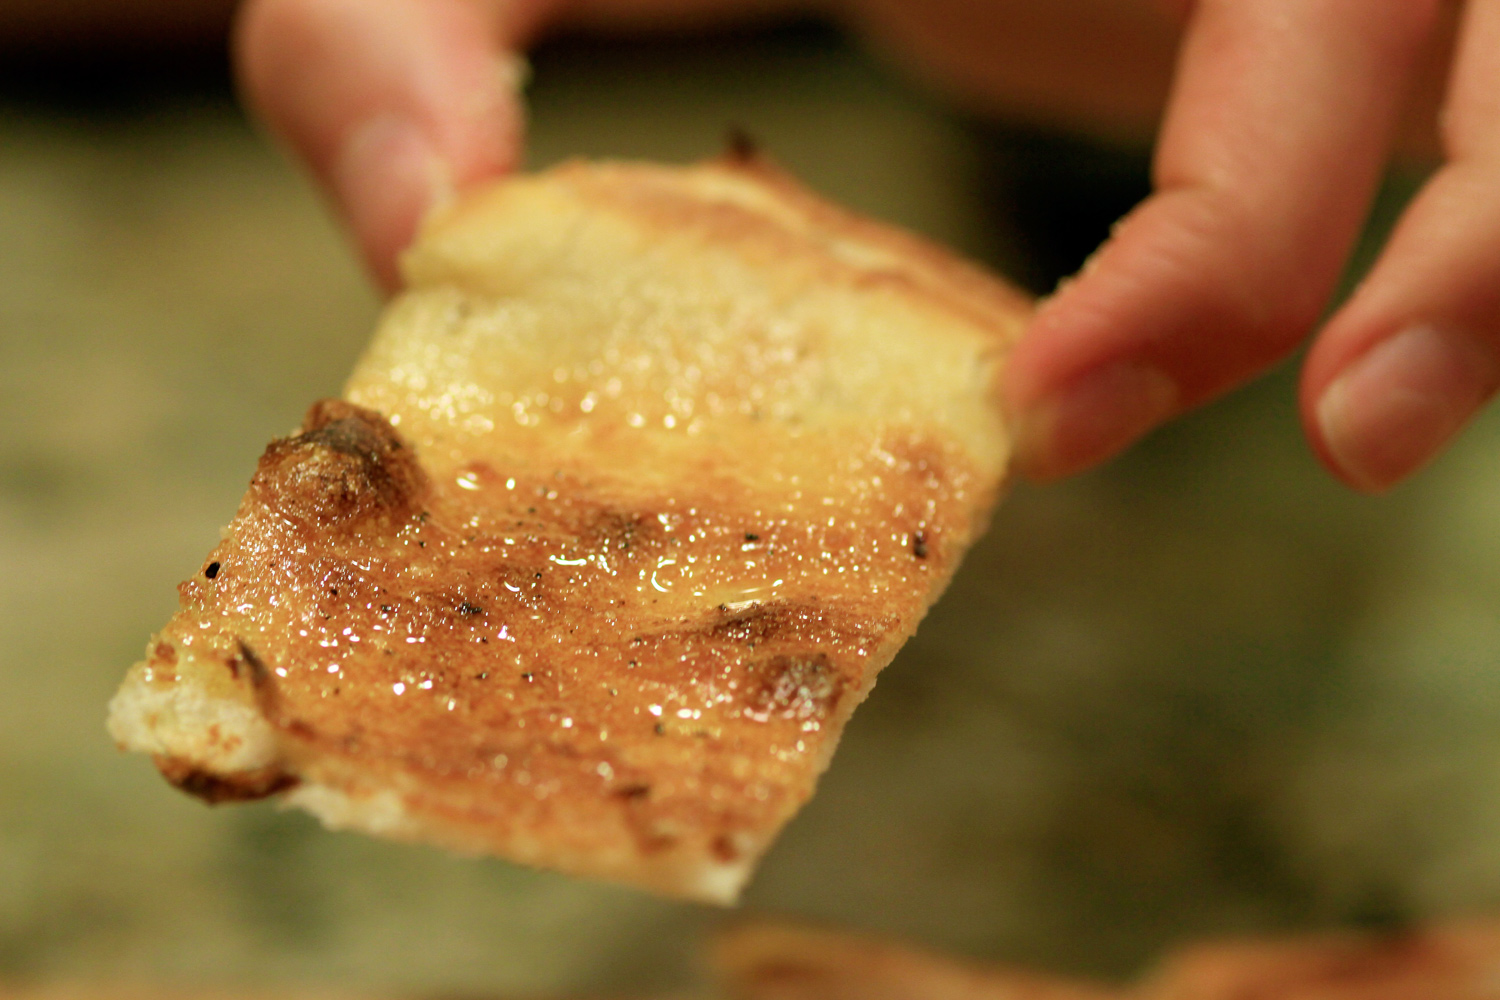
I recently served a bountiful platter alongside my homemade flatbreads at an outdoor dinner party. In the end, not a one was left.. of either.

Post note: In the set up picture you may notice that I included endive. That is because you can also use fill the endive leaves with the goat cheese mixture and then lay a piquillo pepper on top. In the coming weeks, I will be posting Endless Endive, which showcases several ways to serve them.