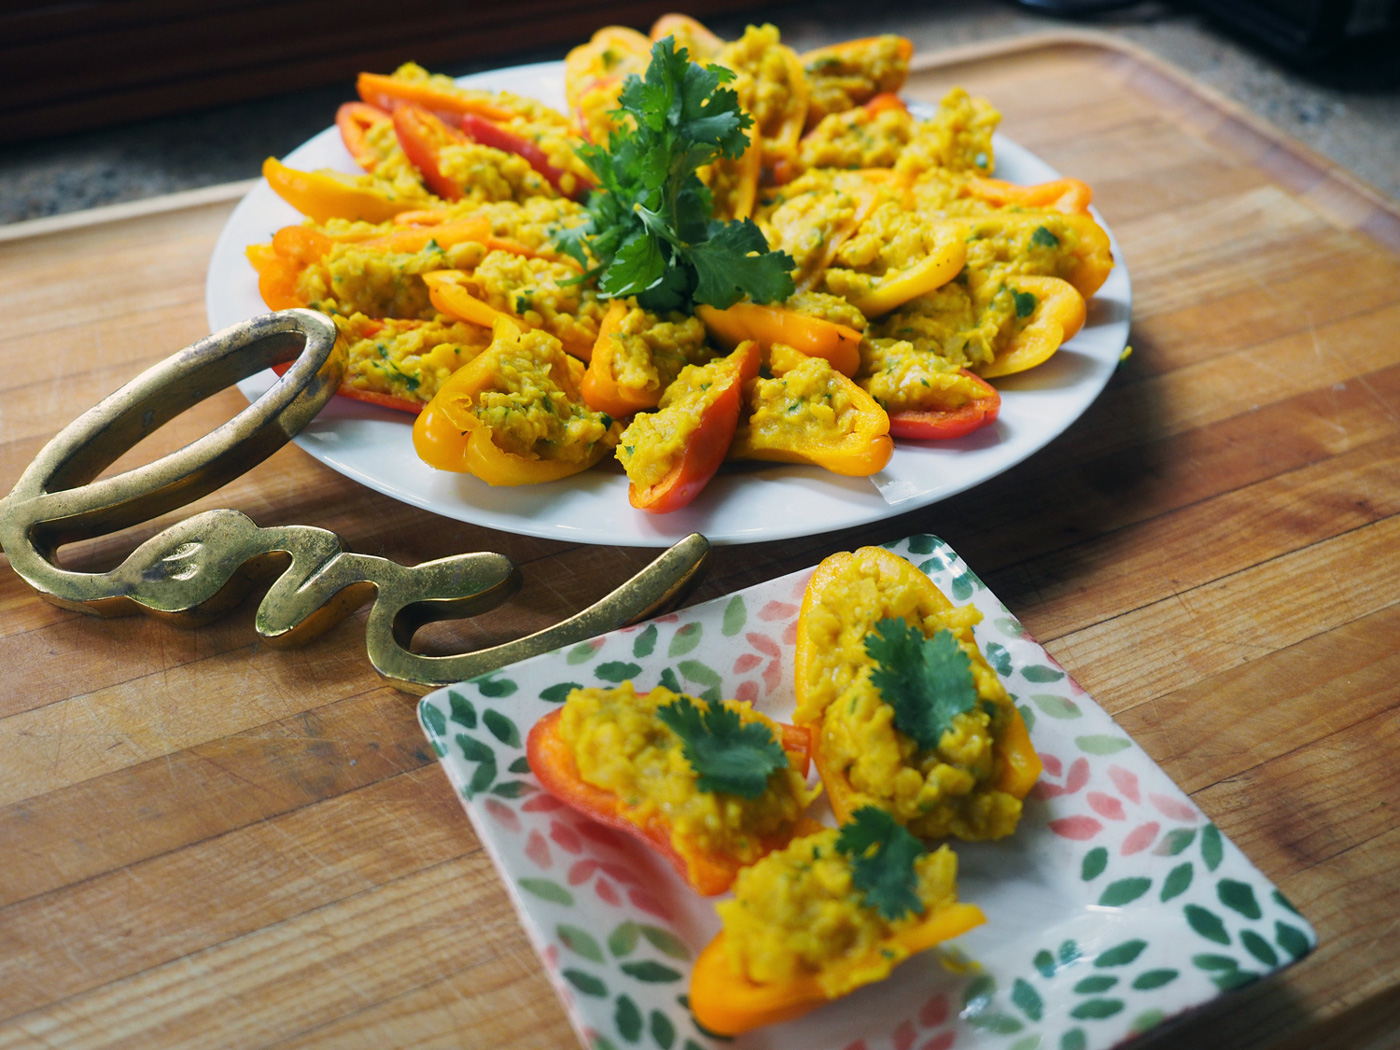
What do you do when you are mandated to follow a food regimen that limits the ingredients you can consume? First, take a sedative. A big sedative. Next, check the food list and start getting creative.
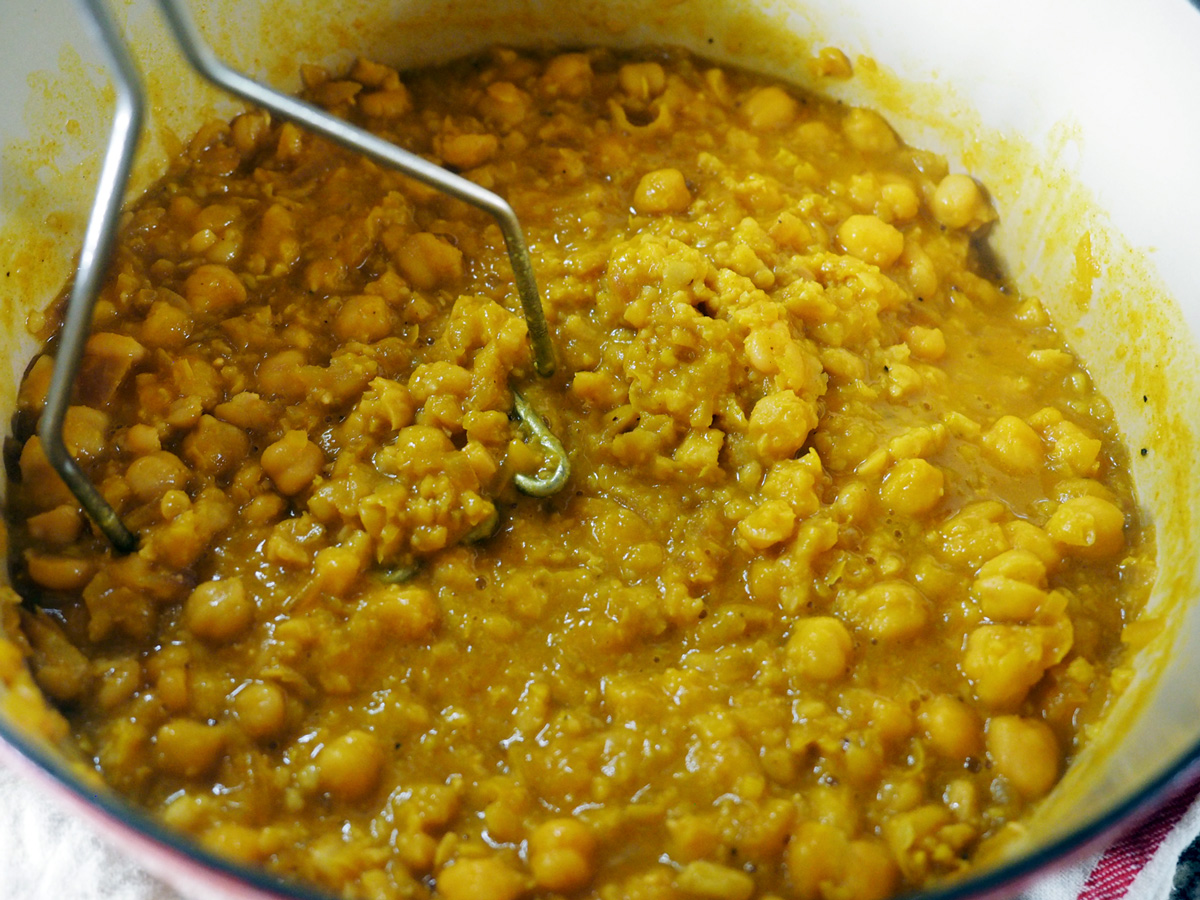
As I mentioned a couple of months back, I started seeing a new naturopath. Among one of my main goals is to try to cure my 3 year sinus issue. Yes, 3 whole years. As we all know, the shin bone’s connected to the thigh bone, the thigh bone’s connected to the hip bone. The hip bone’s connected the backbone. And so on and so on. You get the point. Everything in our bodies is connected and related to one another. Which is why gut health is key. So among one of the paths to curing my sinuses is getting my gut better. To recap, I’ve been following the GAPS* regimen which cuts out all carbs, grains and starchy vegetables. I had been following this diet for weeks, so when I say sedative, there wassn’t enough sedation to calm my aching pasta brain. But I was a trooper, and wanted to get better so I stuck with it and came up with yummy things to eat.
* Links for more info on GAPS at the end of the post.
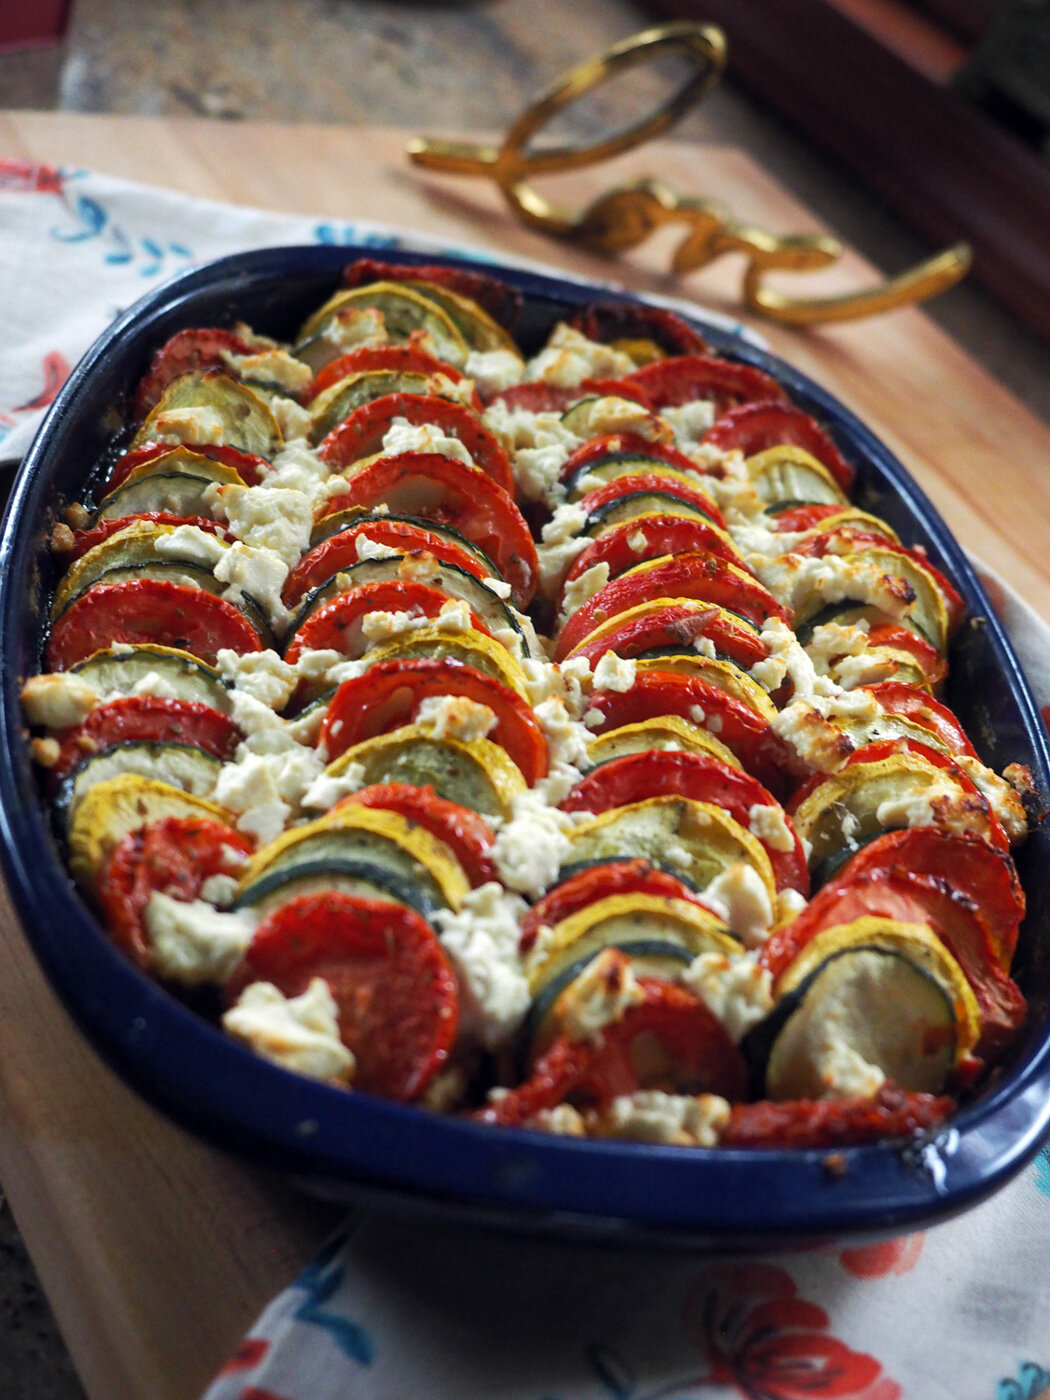
I decided to visit my happy place, AKA the farmer’s market, where I picked up as many of the things I could eat. Zucchini, Yellow Squash, Onions, Peppers, Tomatoes, Herbs. These immediately reminded me of those baked dishes with swirls of zucchini. So, I thought I would give it a spin.

The vegetable line up. Zucchini, yellow squash, red and yellow peppers and onions.
Now you know I couldn’t just leave it at that. On this ‘diet’, I can actually have goat and sheep cheeses. Thank goodness, or a crime might have been committed without this one saving grace! With curds in hand, this veggie swirl was going to be topped with cheese glorious cheese.
Ingredients
2 medium zucchini, sliced
2 yellow squash, sliced
2 medium onions, sliced
2 red peppers, sliced
2 yellow peppers, sliced
4-5 plum tomatoes, sliced
3 T dry oregano
Salt, pepper, olive oil
3/4 - 1 cup feta cheese & goat
(The first time I made this dish I used a combo of both. Next time I only had feta,
so used 3/4 c)
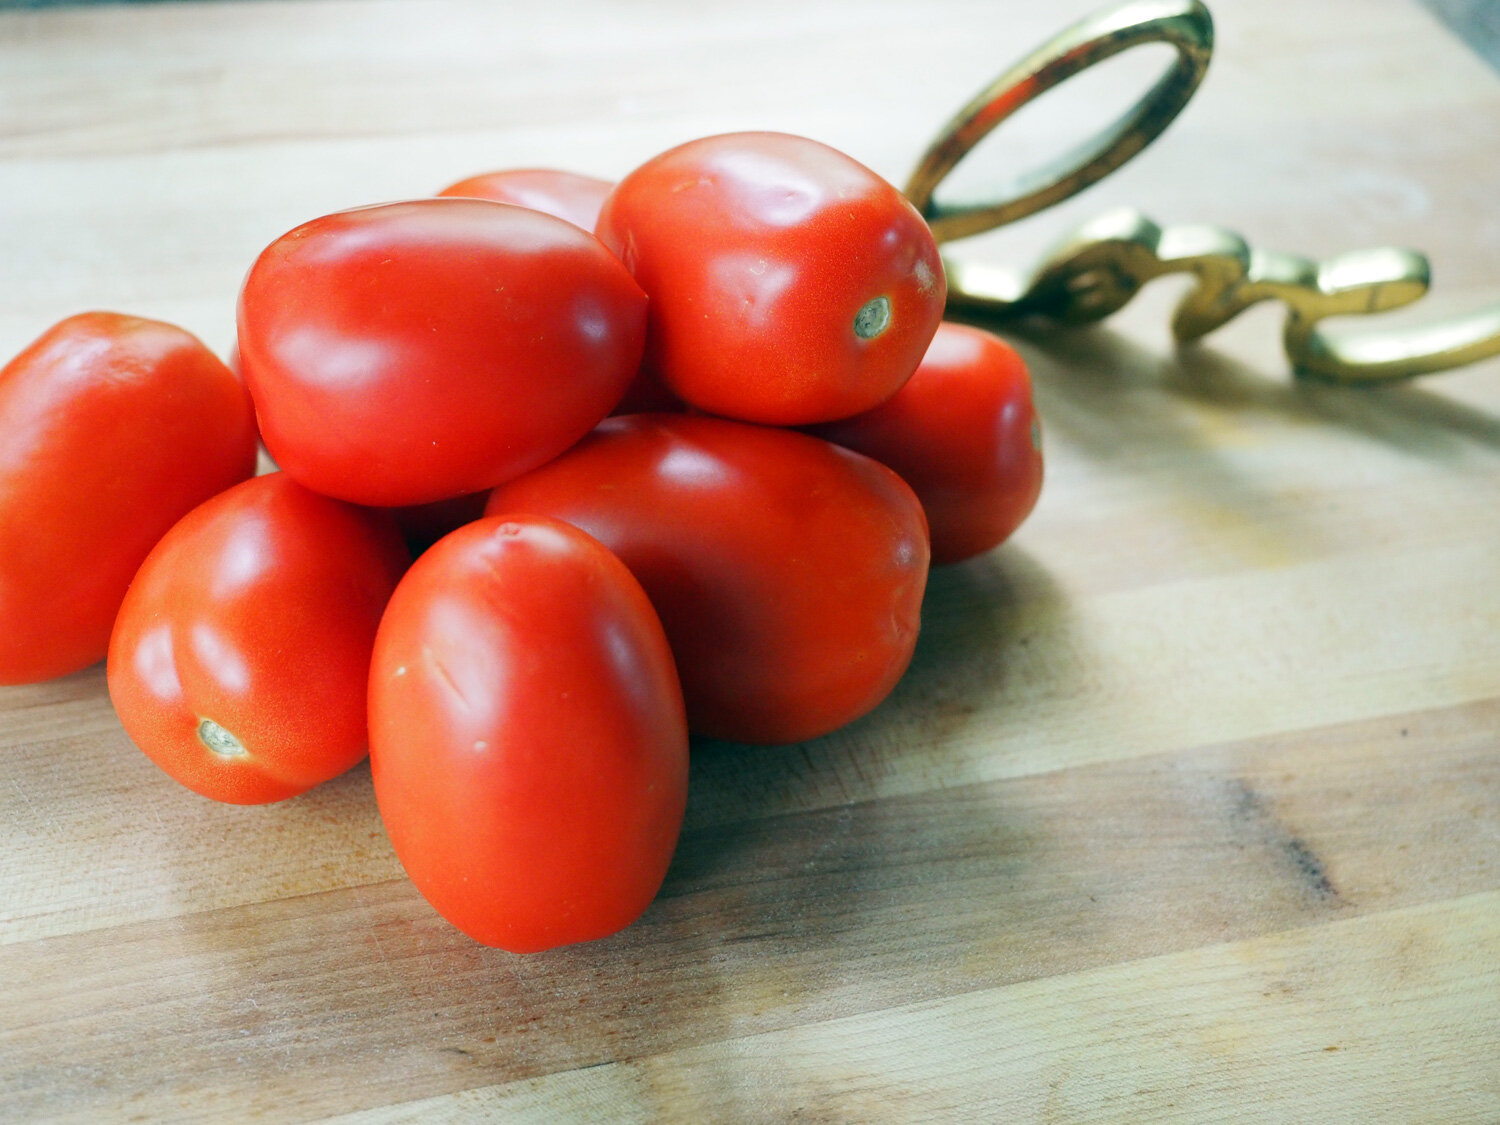
I like using plum tomatoes for this dish.
You’ve all heard to talk about the mise en place. And I’m a true believer, but there is a delicate balance between having everything ready, and multi-tasking. Using your time wisely to prep some items while others cook is the perfect harmony of mise en place and smart prep.

Use your time wisely. While one thing is cooking, prep the next.
Instructions
1. Thinly slice onions and peppers. Sauté peppers first in a pan with olive oil. Once they start to soften add the onions, salt, pepper and 1 teaspoon of oregano. Let cook slowly over medium low heat until they are completely softened and nicely caramelized. Approximately 45 minutes.

Cook the peppers down first a bit. They take a bit longer than the onions.
2. Meanwhile, cut the zucchini, yellow squash, tomatoes in even slices. You can assemble on the board as you go. Or assemble in the baking dish. Whichever you prefer.

Try to make the slices the same width so everything cooks evenly.

Assemble on the board and then just transfer to the baking dish.
3. Once the peppers and onions have cooked down, place them on the bottom of a baking dish (11” x 8”).

Caramelized to sweet goodness. This creates a bottom layer that add both another texture and flavor to the dish.
4. Then begin to assemble your vegetables on top. I like alternating one of each in rows. Or if you only have a round baking dish, you can swirl the design around. Drizzle with olive oil, sprinkle with salt, pepper and 1 tsp of oregano. Bake at 400 for 35 minutes.

Beautiful colors, beautifully arranged and ready for baking.

Only have a round baking dish. No problem, just create a swirl.
5. After 35 minutes, pull of out the oven and crumble the cheese over top. Drizzle a bit more oil and the final oregano. Bake for another 25-30 minutes until its golden brown, the veggies are softened and the liquid is bubbly.

Once the vegetables are partially baked, then you can add the cheese.
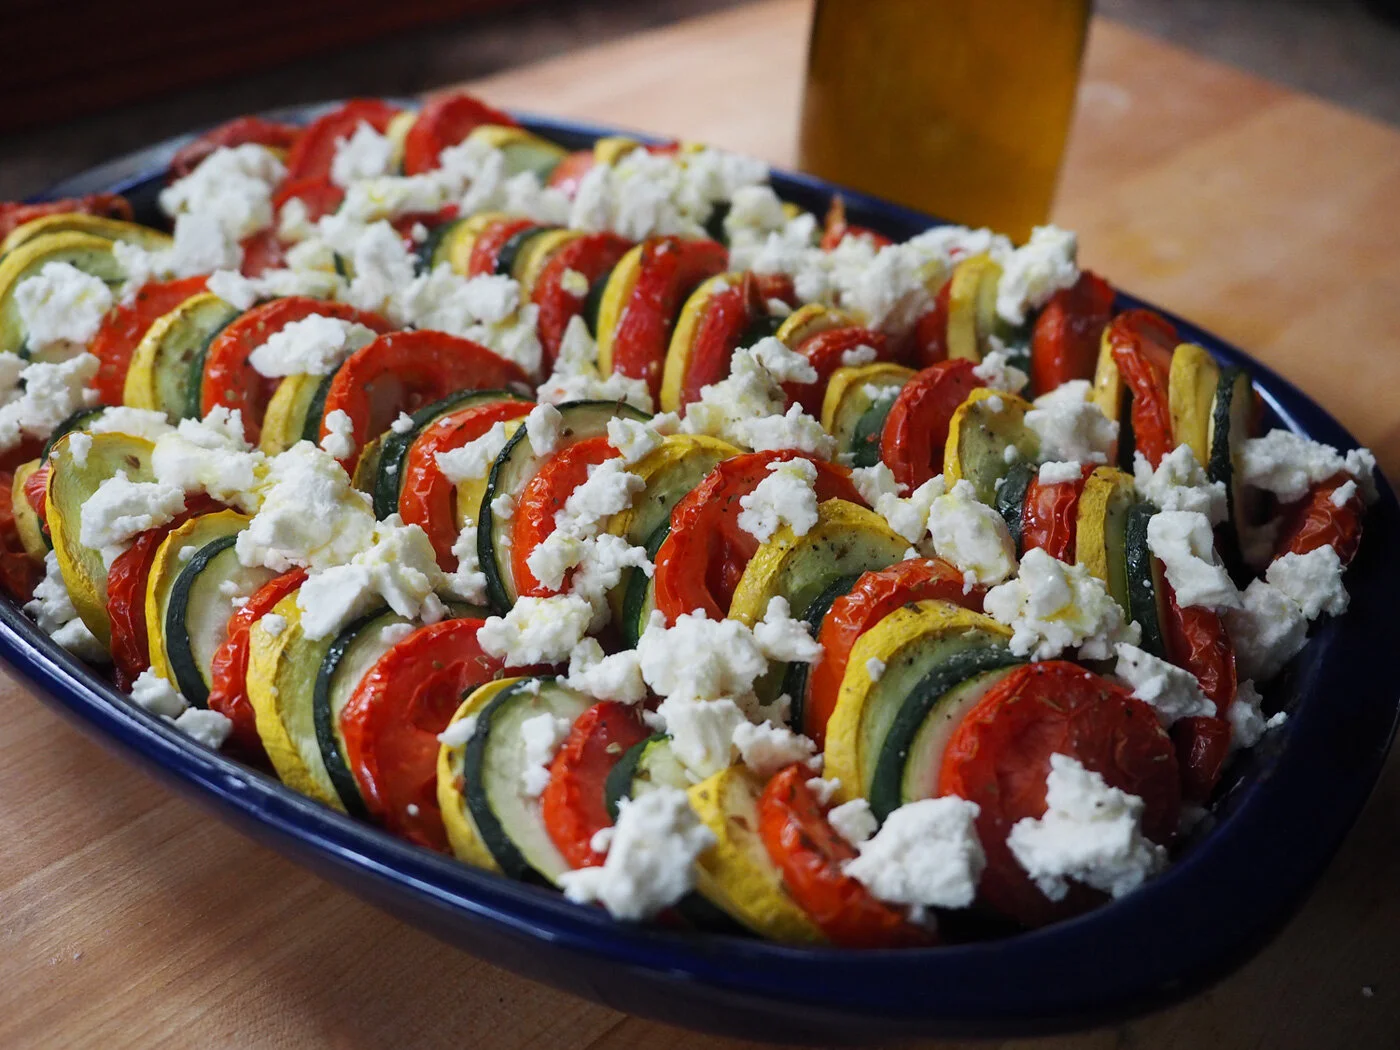
That’s some crumbled yum right there. Back in the oven to get yummier!
The first time I made this I inhaled it... I mean, enjoyed it as the main meal. It was a pretty big dish so naturally there were leftovers which I ate for lunch the next day with a piece of sautéed fish. Which is how I ate it the second time, too. Naturally, this dish begs for something starchy to accompany it. Believe me when I say the irony of that thought slays me. Only I would cook up something that pairs perfectly with shit I couldn’t eat at the moment. This combo of flavors would be great with pasta or rice, but my growling stomach thinks that thick slices of roasted or grilled potatoes would the ideal companion. Plate it up alongside a lovely piece of protein like chicken, fish or meat and a complete meal is a done deal.
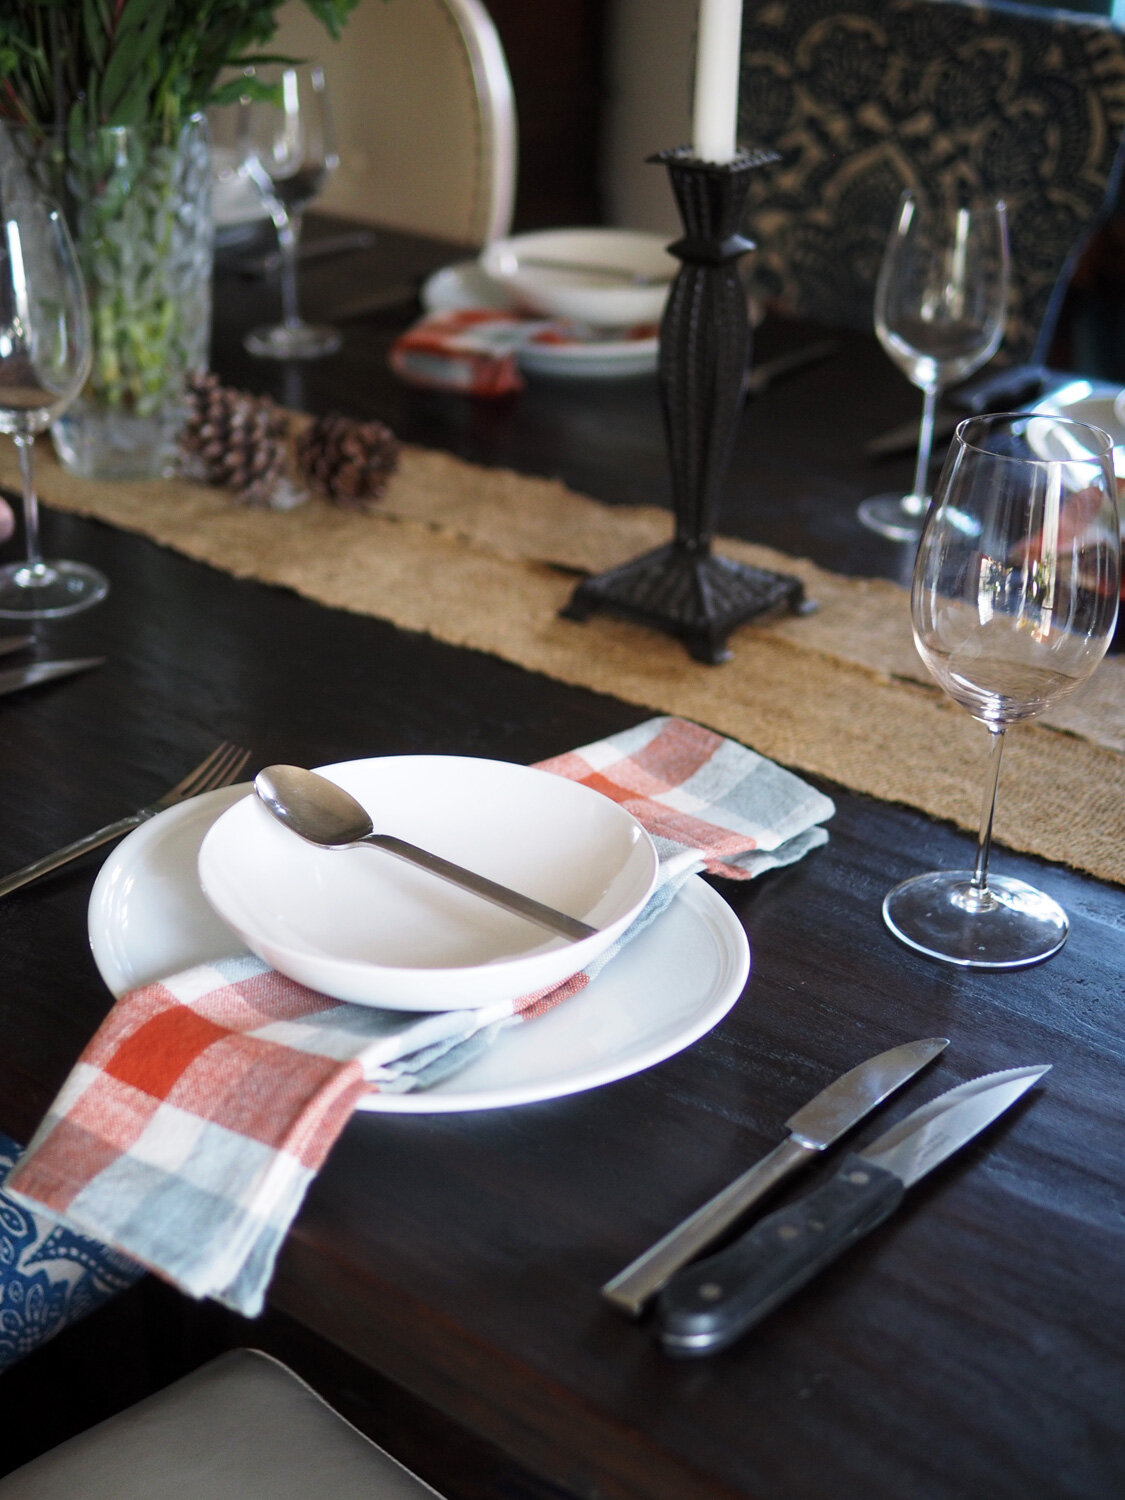
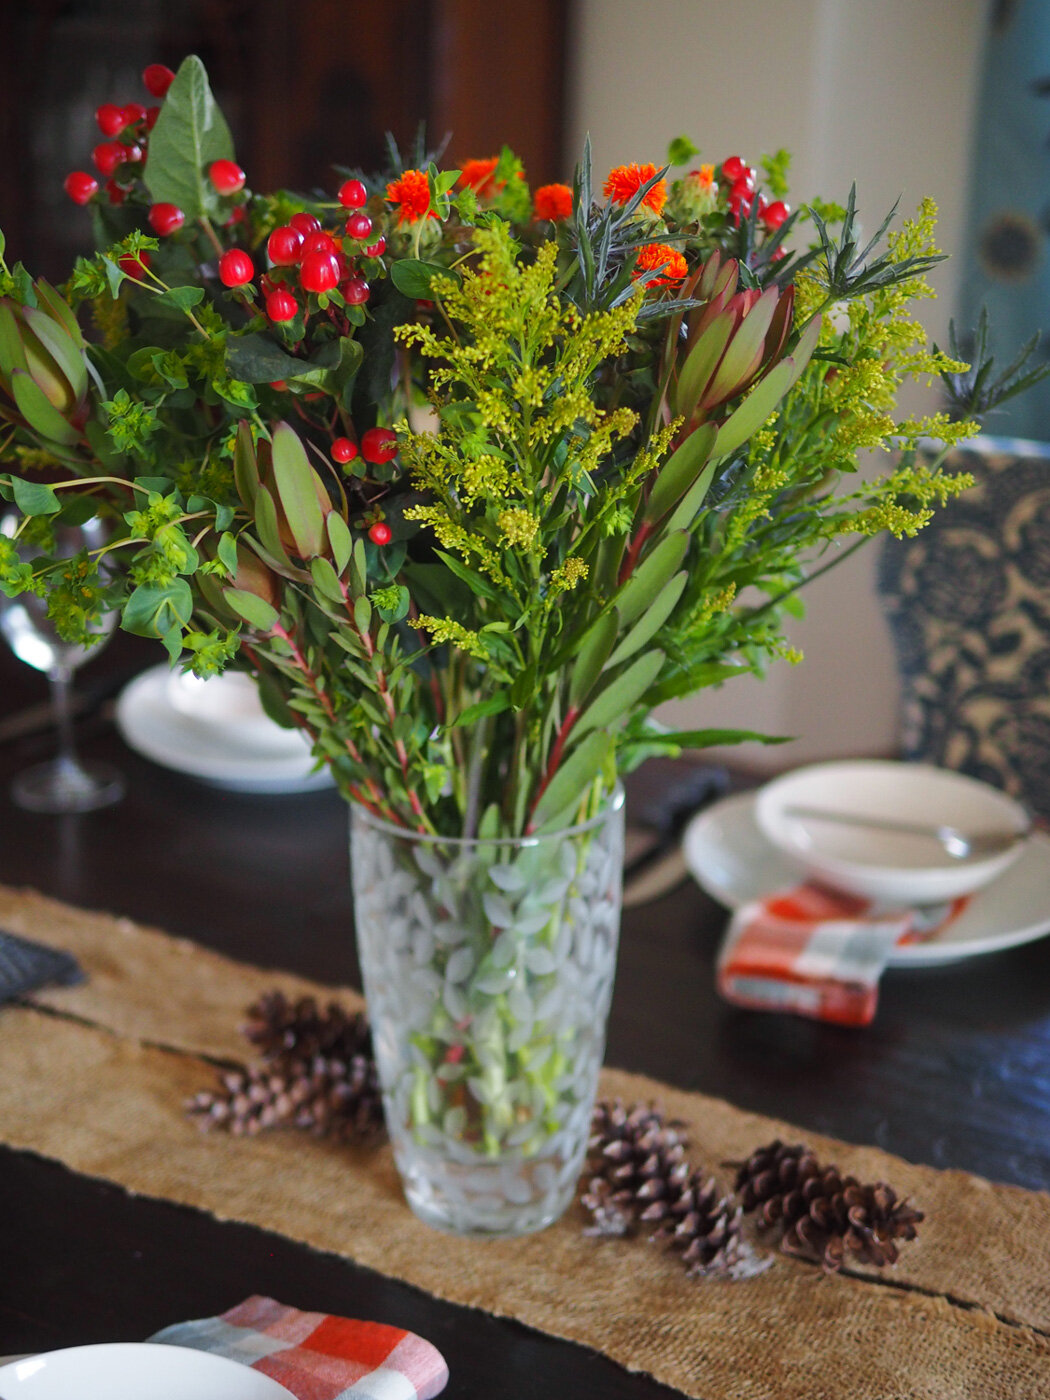
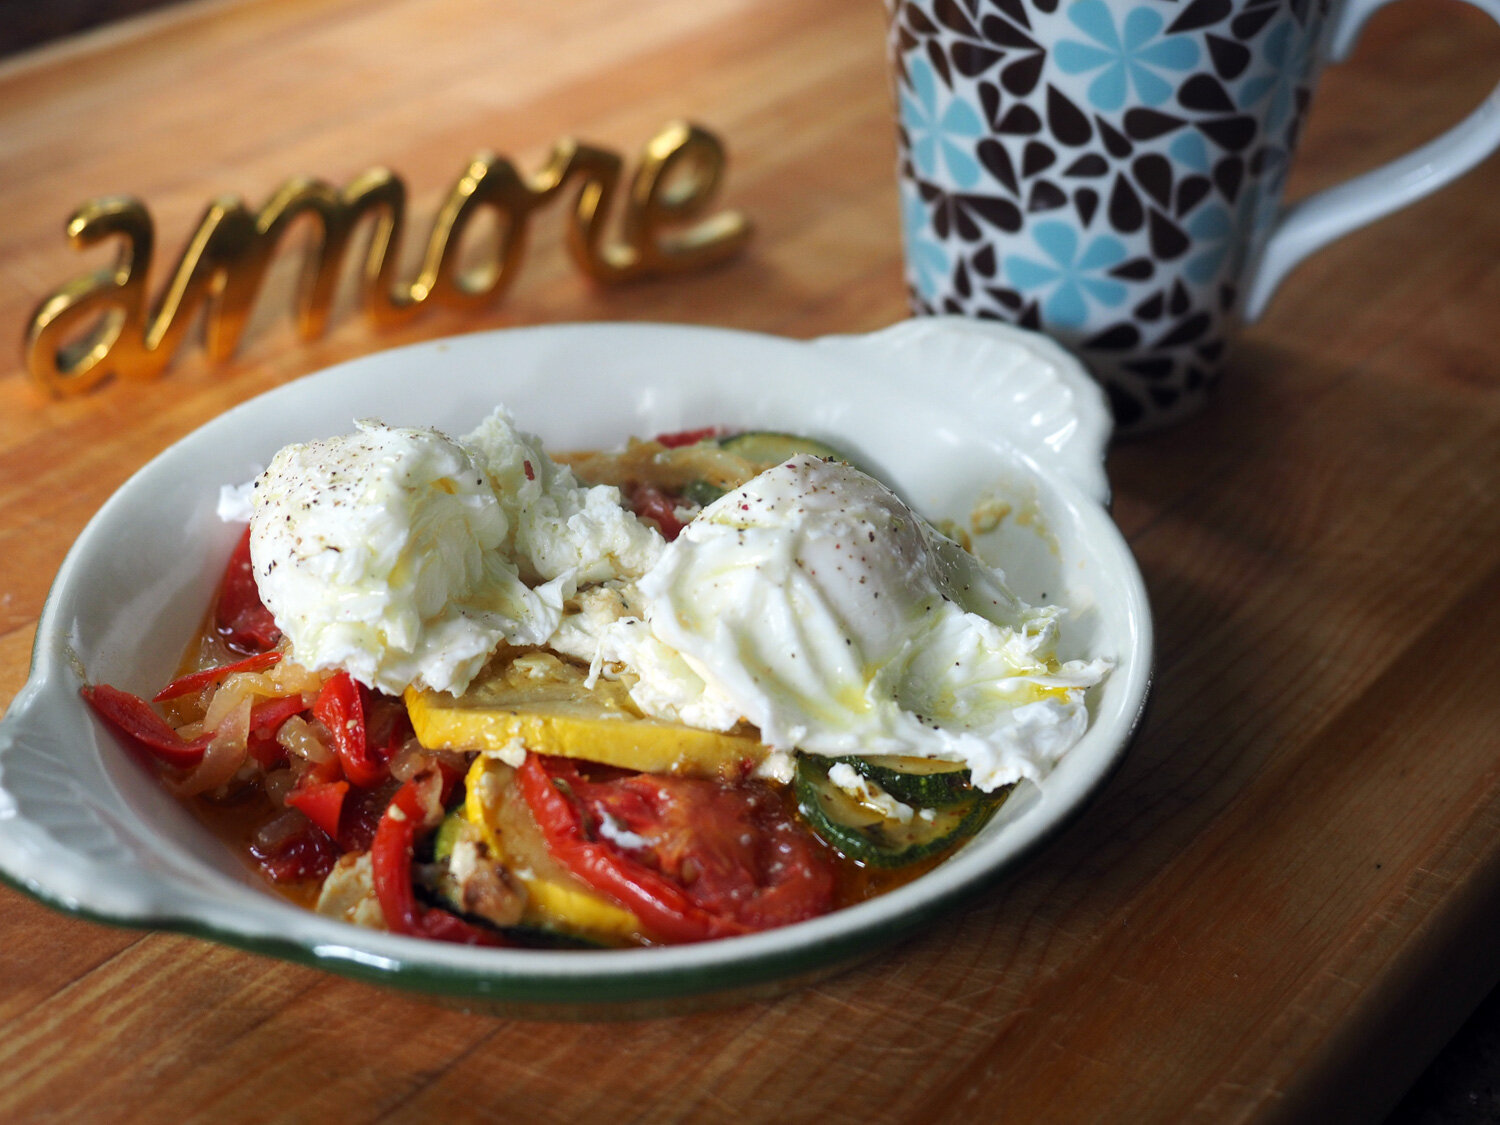
I like this dish for several reasons. And not because one day soon I’ll be eating it with pasta. But because this recipe is equally suitable for an informal dinner party as it is for a weeknight meal with leftovers for the week. It’s delish piping hot, but I’ve enjoyed it at room temperature as well. I even relished it topped with poached eggs. Which is why I’m posting this right before New Year’s Eve. I think this is a fantastic recipe to make for a New Year’s Day Brunch or even on the buffet table on the eve. And those are just a few good reasons to give this a try. I’m sure there are more. So what are you waiting for?
For those interested in learning more about the GAPS diet and anti-inflammatory methods below are a few links. As a foot note, I stayed on this regime for 6 weeks, and I although it was difficult, and I truly craved some warm, soft starch in my tummy, I stuck with it and did find that it helped my gut. It is meant to help heal, and not necessarily meant for a lifetime regime, unless of course you have a more serious gut issue.
GAPS Diet
GAPS Protocol
GAPS Overview
GAPS Outline
What is GAPS Diet