For years I have been making these Lime Zest cookies. It actually all started years ago when my dear friend Donna asked me to make cookies for her wedding as part of the guest gift bag. What an honor. When you think of weddings, you think of white. Well, at least I do. So I naturally wanted the cookies to have a white motif, and from all the ones that I had chosen I needed one more cookie that would deliver on that theme. I found this Lime Meltaway recipe from Martha Stewart which dusts the cookies with confectioner's sugar, thus making them white.
Although the original recipe is not mine, I made it my own but adding a twist. The first few times I baked them I followed the recipe as is, including for the wedding. But when I needed to make a cookie for an event, this single wafer didn't seem like it would be enough. What is better than one cookie? As my darling nephew John stated as a small tot when given one cookie, and asked 'What do you say?' (his mom hoping for Thank you) he shouted out: Two Tookies! Exactly; two are much better than one. And even better when sandwiched together with the perfect tart compliment to lime of raspberry jam. From that moment on I have been making these cookies with my jammy, tart and sweet stamp. From that moment on, these cookies became a hit.
Ingredients
1.5 sticks butter, room temp
1 c confectioner’s sugar (1/3 for dough & 2/3 for dusting)
Zest of 2 limes
2 T lime juice, freshly squeezed
1 T vanilla
1 3/4 c + 2 T flour
2 T cornstarch
1/4 t salt
1 (18oz.) jar of red raspberry preserves (seeds removed)
Instructions
1. Using a mixer with a whisk attachment, mix butter and 1/3 c sugar until pale and fluffy.
2. Add lime zest, juice and vanilla until combined.
3. Whisk together flour, cornstarch, salt in a bowl and add to the butter mixture on low speed until all combined.
4. Divide the dough into 2-3 smaller mounds and roll into 1 1/4" thick logs. Wrap in tin foil and freezer until hardened. Approx. 1/2 hour.
5. Using a sieve, push the jam through to remove all the seeds. Then place jam in a pastry bag or plastic bag with the tip cut off and set aside until ready to fill the cookies. (Cut tip off right before filling.)
6. Remove the logs from the freezer and cut 1/8" thick rounds placing them on a parchment lined baking sheet.
7. In a 350 degree oven, bake for 9-12 minutes until they are barely golden. You may need to rotate the baking sheet half way through. These are thin, delicate cookies and you want them to be tender not overdone.
8. Remove from baking sheet and let cool on a rack. I cut up paper bags and spread them on my dining room table. The clean up is easier after the sugar dusting.
9. I line the cookies in rows of pairs turning one cookie over to reveal the baked side. Then using the piping bag, dollop about 1/2 T of jam onto the turned over cookie. Repeat on half the cookies, then top them with their pairs. I usually push all the cookies close together at this point to ready them for the sugar dusting.
10. Using a same strainer, sprinkle the remaining 2/3 c of confectioner's sugar over all the cookies. Let the sugar set before storing them away.

You won't need this many limes unless you are baking for an army. I make 6x the recipe during the holidays to give to my family and friends. Photo credit: asithappens.format.com

Creaming the butter with the confectioner's sugar makes it light and fluffy. Remember, this photo shows me making many batches.

When you add the lime juice and zest the butter seems to break, but do not worry. It all comes together with the dry ingredients. Photo credit: asithappens.format.com

A moment of zen. Photo credit: asithappens.format.com
There are several key pointers that I want to share about making these cookies.
Roll the dough into logs ensuring that there are no air pockets in the middle. (The first time I made and cut these I noticed that the lime juice creates air pockets and each cookie had a tiny hole in the middle. To avoid that, just roll and push the dough together and roll again into the log.
Roll the logs evenly and equal size.
Freeze the dough log so you get a clean cut without squashing the log. Use a sharp knife.
Remove the cookies carefully from the baking sheet. They are very delicate when they first come out.
Try to match up your cookies so each sandwich consists of two equally sizes cookies. (I know this may sound like the words of a crazy, controlling person but if you don't want jam oozing out because one cookie is bigger than the other, then hear me out. I have a method that ensures the cookies are good matches. When I place them on the sheet to be baked I place them in exact order that I cut them so each slice is next to the one before it. Then when I remove them, I do the same. This way similarly sized cookies will be together making it easier to match up when you sandwich. I know this sounds nuts and might not be an issue for you, but when you are selling your cookies or presenting them at an event perfection is expected. Heck, when you are serving them to guests they should look pretty, too.)

Freezing the dough makes cutting so much easier. I eye ball the width trying to ensure each cookie is the same size, about 1/8".
Photo credit: asithappens.format.com

Use parchment paper and give them a little space between. They don't grow that much. I usually get 5 across on a half sheet pan.
Photo credit: asithappens.format.com
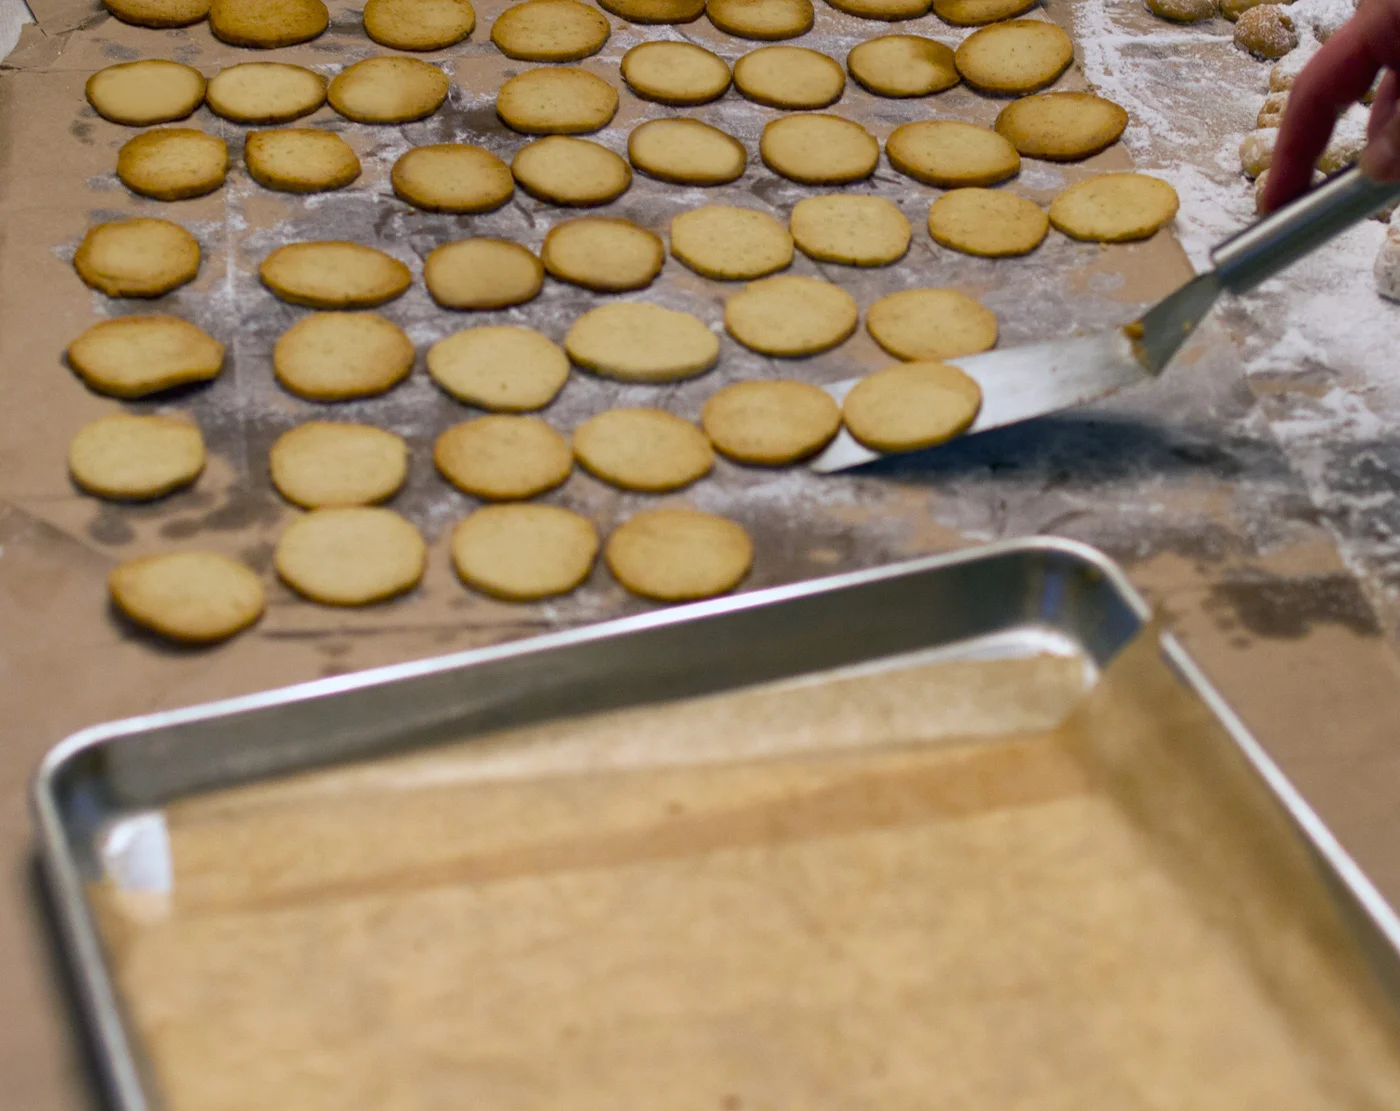
These are delicate cookies when they come out of the oven. When removing them from the pan, be gentle when placing them to cool. Photo credit: asithappens.format.com

I always try to find the most efficient way to accomplish a task. Putting the jam in a piping bag or a plastic bag makes it easier to dollop onto each cookie.
Photo credit: asithappens.format.com

After they are lined up, turn one row over so you are filling the baked side with jam. Then the outside of the cookie looks nice when sandwiched together.
Photo credit: asithappens.format.com


Jam it up and sandwich it up. Photo credit: asithappens.format.com
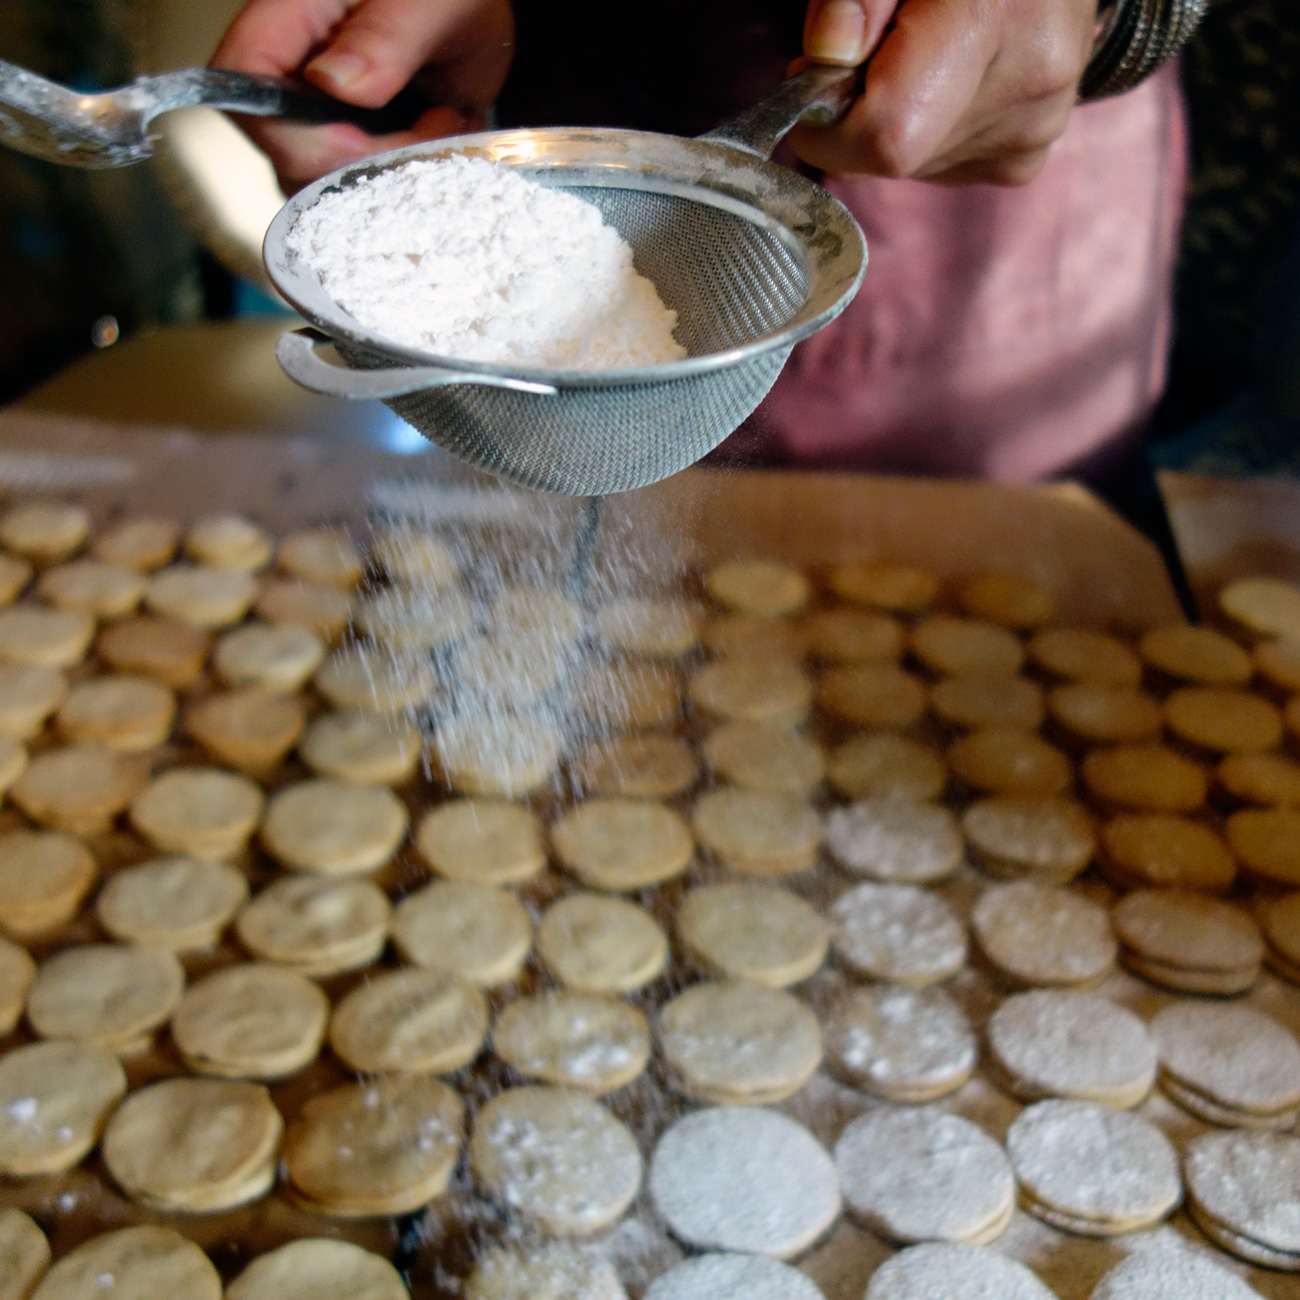
Like snow, let the sweetness fall and cover with a good dusting. Photo credit: asithappens.format.com

Photo credit: asithappens.format.com
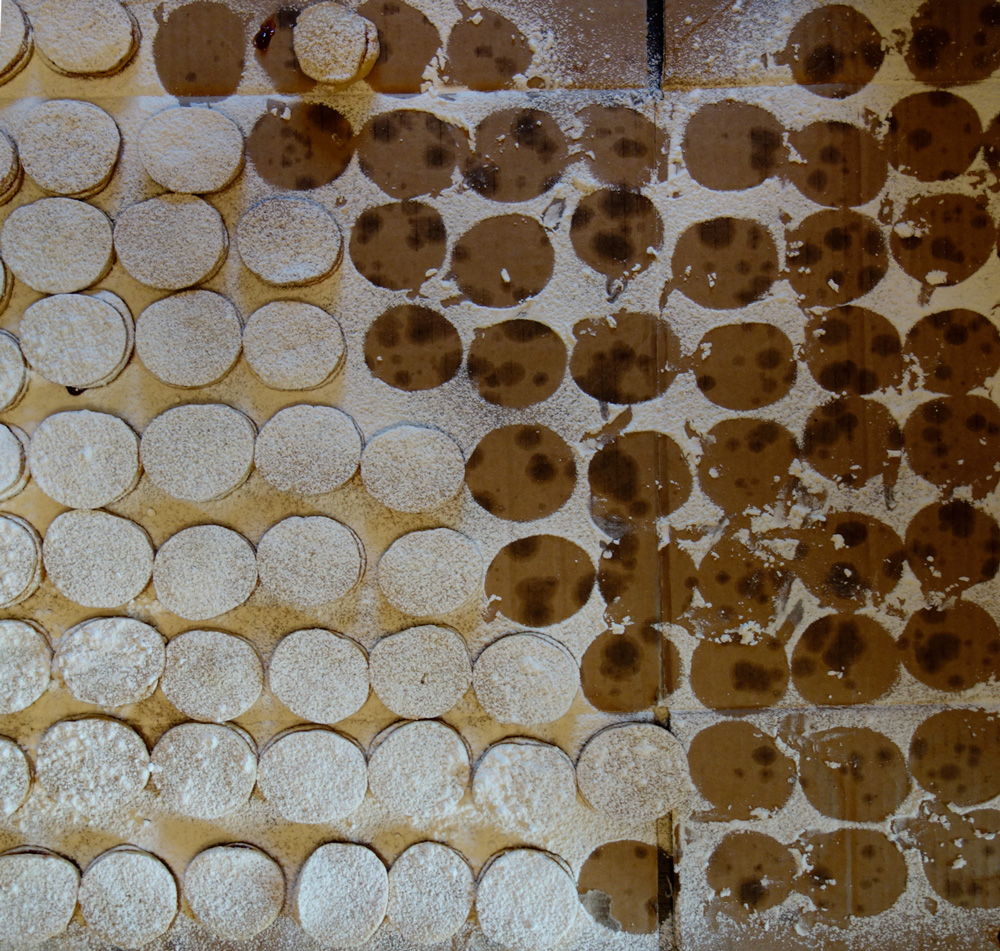
And just like that they begin to disappear. Photo credit: asithappens.format.com
I always get a thrill out of watching the faces of people when they try these cookies for the first time. They can't quite make out that the zingy flavor is lime, because who would expect that in a cookie. Then they smile with tartness of the raspberry jam finished with the sweetness from the powdered sugar dusting. It's a perfect combo.
As you can see these cookies have that snowflake feeling. White and delicate, they were perfect for Donna and Jeff's wedding. Thank you Donna for asking me to be a part of your joyous celebration, and thus finding another cookie tradition that everyone loves.

Me, Donna & JC at her wedding. Doesn't she look happy & beautiful! And not because of the cookies.
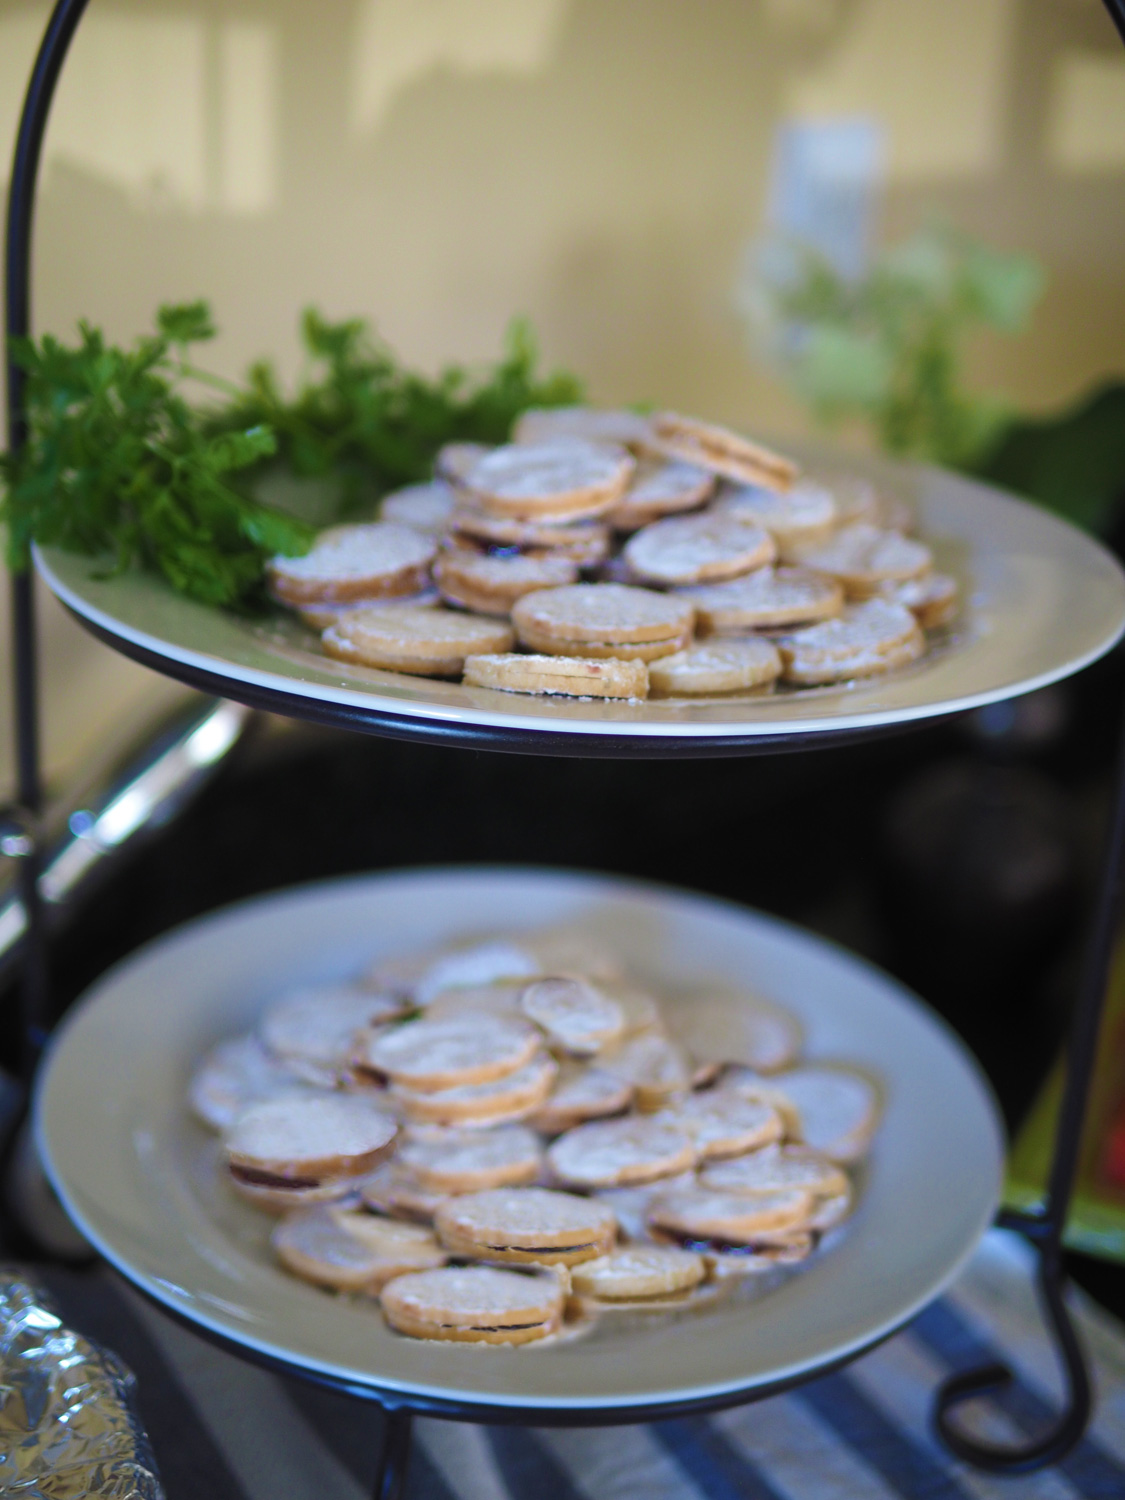
I usually make them as part of my Christmas cookie offering but recently these have been requested for two different catering events. They were, and are universally loved. I hope you give them a try whether it be for your own sweet tooth need with tea, or to share with your guests.

My Christmas cookie box.

As part of a catering event's mid afternoon dessert offering in the Hamptons.
At a luncheon for my Mother's Ladies Group