Shrimp & Fennel Lunch with a Friend - Casual Style Take 2

shrimp.meal.final.jpg

When I first starting writing this post, it was pre COVID-19 pandemic, and clearly my, and everyone else’s work life was significantly different. Also, our socializing style was absolutely different. That said, the premise behind what I originally wrote still remains the same; enjoying lunch with a friend. And so, let me continue on the thought and pleasure of sharing time with people you love - Take 2. And here’s to dreaming about the time when there will be a Take 3, 4 and beyond.

When you have your own company, and consult, it often times means you can create your own schedule. Work when others play, and play when others work. It creates an environment where you can be available for whatever opportunity lands on your doorstep. Work-Play balance is so important. I have never taken this for granted, and now more than ever I truly appreciate its freedom. I fully realize that many people do not readily have the ability to take a leisurely lunch with a friend mid week. But my work life affords me some awesome flexibility. So when my friend Donna, who is an ESL teacher, was going to be in my neighborhood, it was only natural that we lunch, as we have in the past. Now with the current pandemic situation, all of our work lives have been altered, and maybe it affords you a more flexible schedule and freedom as well. If it is, I highly recommend taking fully advantage. It is such a luxurious way to spend an afternoon; sharing a meal, a glass of wine and catching up time with a friend I adore.

Sure, one glass of wine at lunch can’t hurt.  Especially when you start with a hearty bowl of Cauliflower Soup.

Sure, one glass of wine at lunch can’t hurt. Especially when you start with a hearty bowl of Cauliflower Soup.

For this meal, I wanted to try out a recipe idea I had seen from Ina Garten. Her food and entertaining style are very similar to mine. (PS I didn’t copy her style. I discovered her long after my entertaining and cooking style was embedded in my heart.) I absolutely adore her!

JC and I love sautéing shrimp and getting a good sear on them, and so our go to method is usually cooking them in a cast iron pan to get a nice texture. But she cooked the shrimp in fennel which made them a bit softer in texture. I love fennel and I love shrimp. And so does Donna. That added up to - let’s give it a try. Since I was making this on the fly, and wasn’t actually thinking of sharing this on the blog, I didn’t measure anything (as is my typical style). However, Donna loved it so much and wanted to recreate it for her guests the following weekend, I had to come up with approximate measurements from my mind’s eye. I know you probably think that is an odd thing to say, but I can see and guestimate how much I’ve cut of an ingredient. And that is what I did went I sent Donna my approximations. I changed Ina’s recipe a bit to make it more my own.

Our Lunch Menu

A plate full of love.  Polenta topped with the shrimp, tomato & fennel plus roasted root veggies topped with Marinated Feta.

A plate full of love. Polenta topped with the shrimp, tomato & fennel plus roasted root veggies topped with Marinated Feta.

Faux Creamy Cauliflower Soup
Green Salad
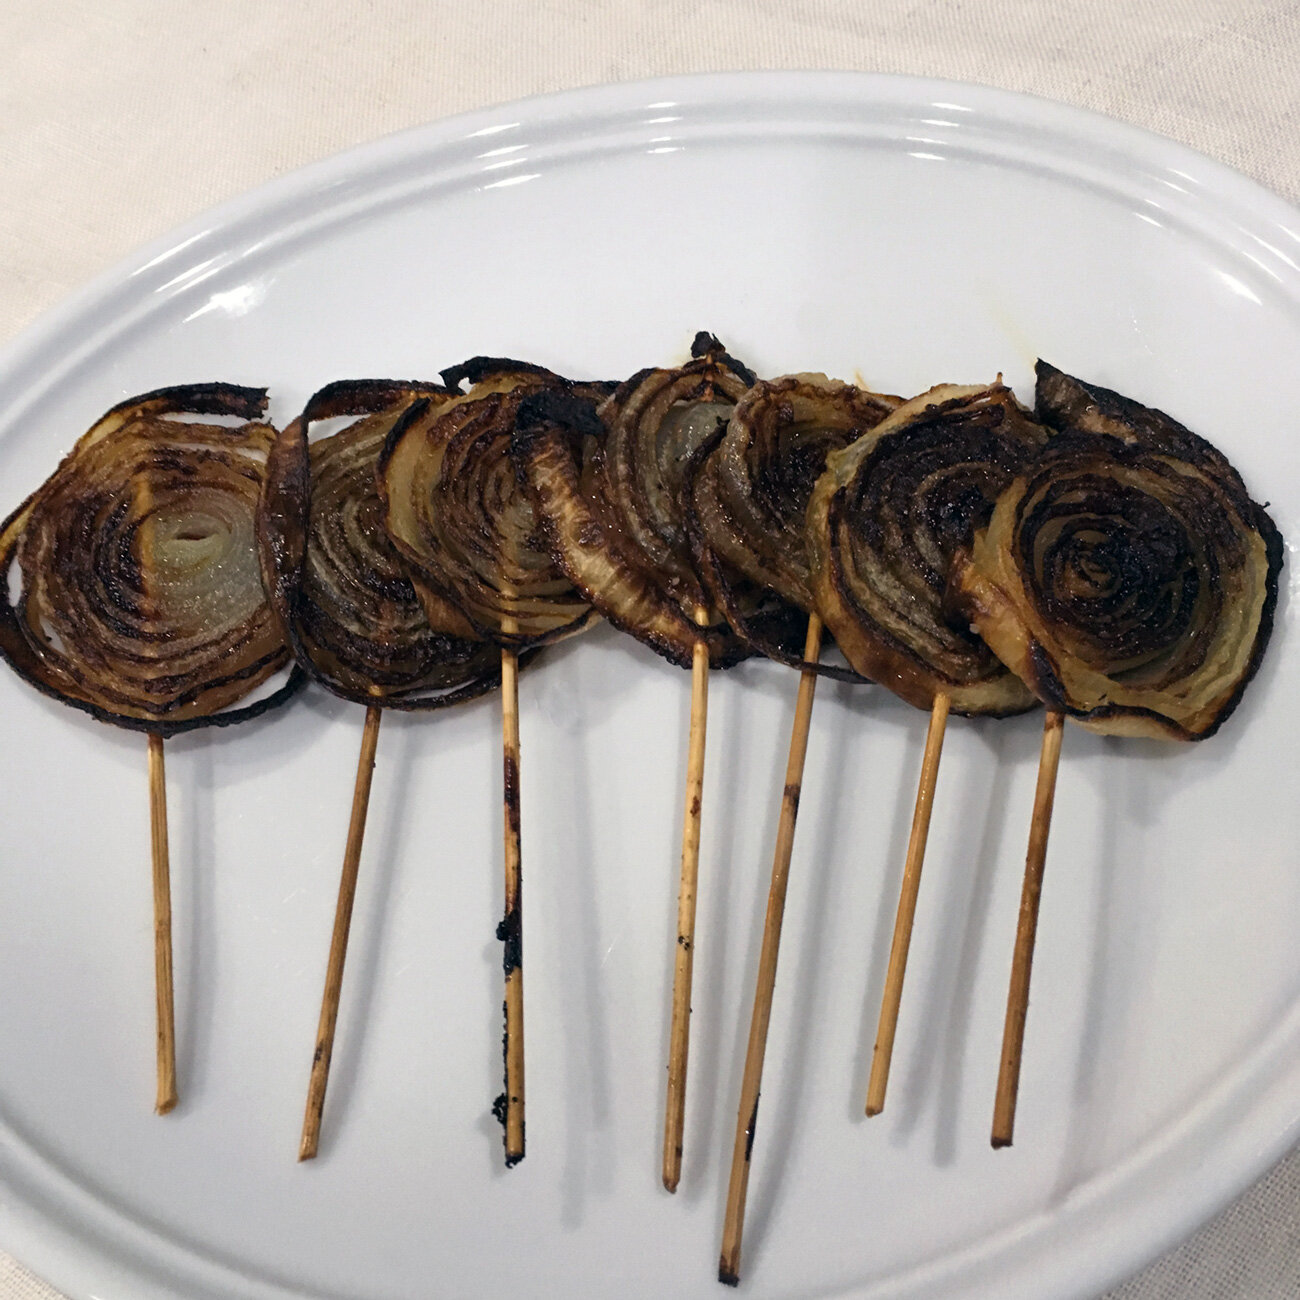
Roasted Carrots, Onions & Parsnips with Marinated Feta
Creamy Polenta
Shrimp with Fennel & Tomatoes, see below
Homemade Coffee Ice Cream

Creamy Polenta

Creamy Polenta

Big Green Salad and Marinated Feta

Big Green Salad and Marinated Feta

Ingredients

1.5 lb shrimp
1 fennel bulb, cut in small pieces
4 large cloves of garlic, crushed
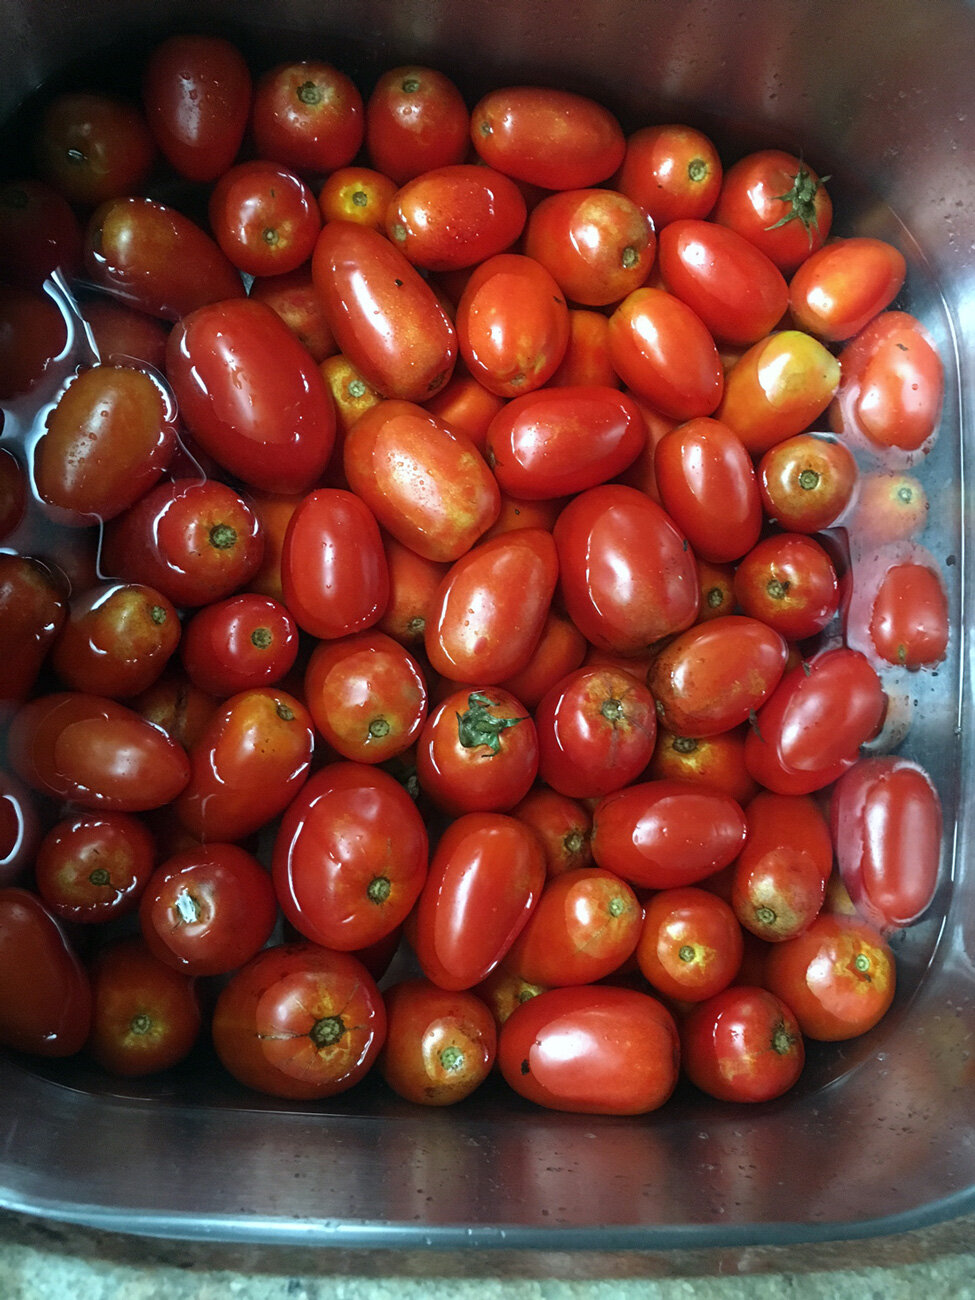
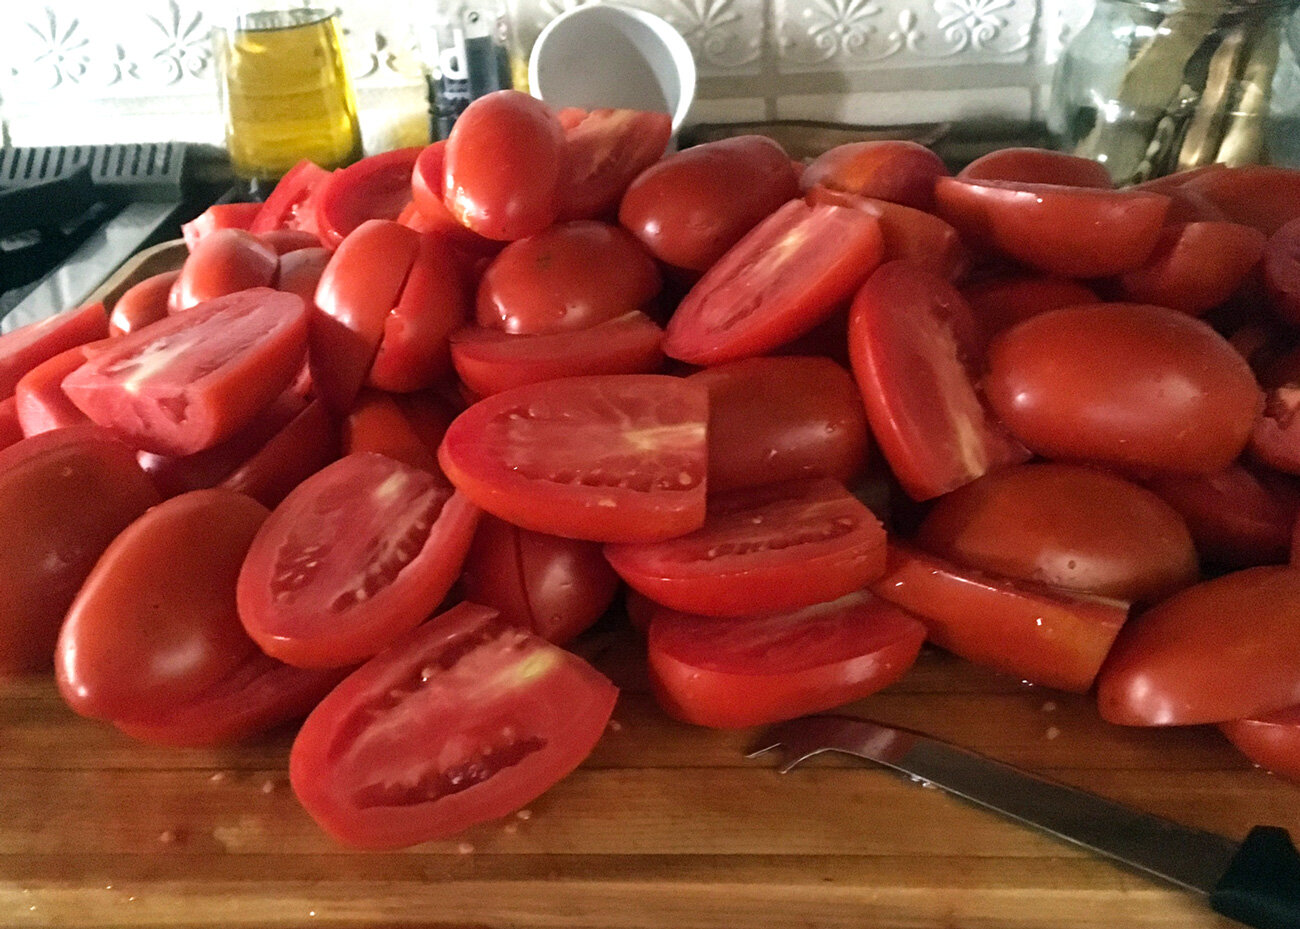
1.5 -2 c grape & heirloom cherry tomatoes
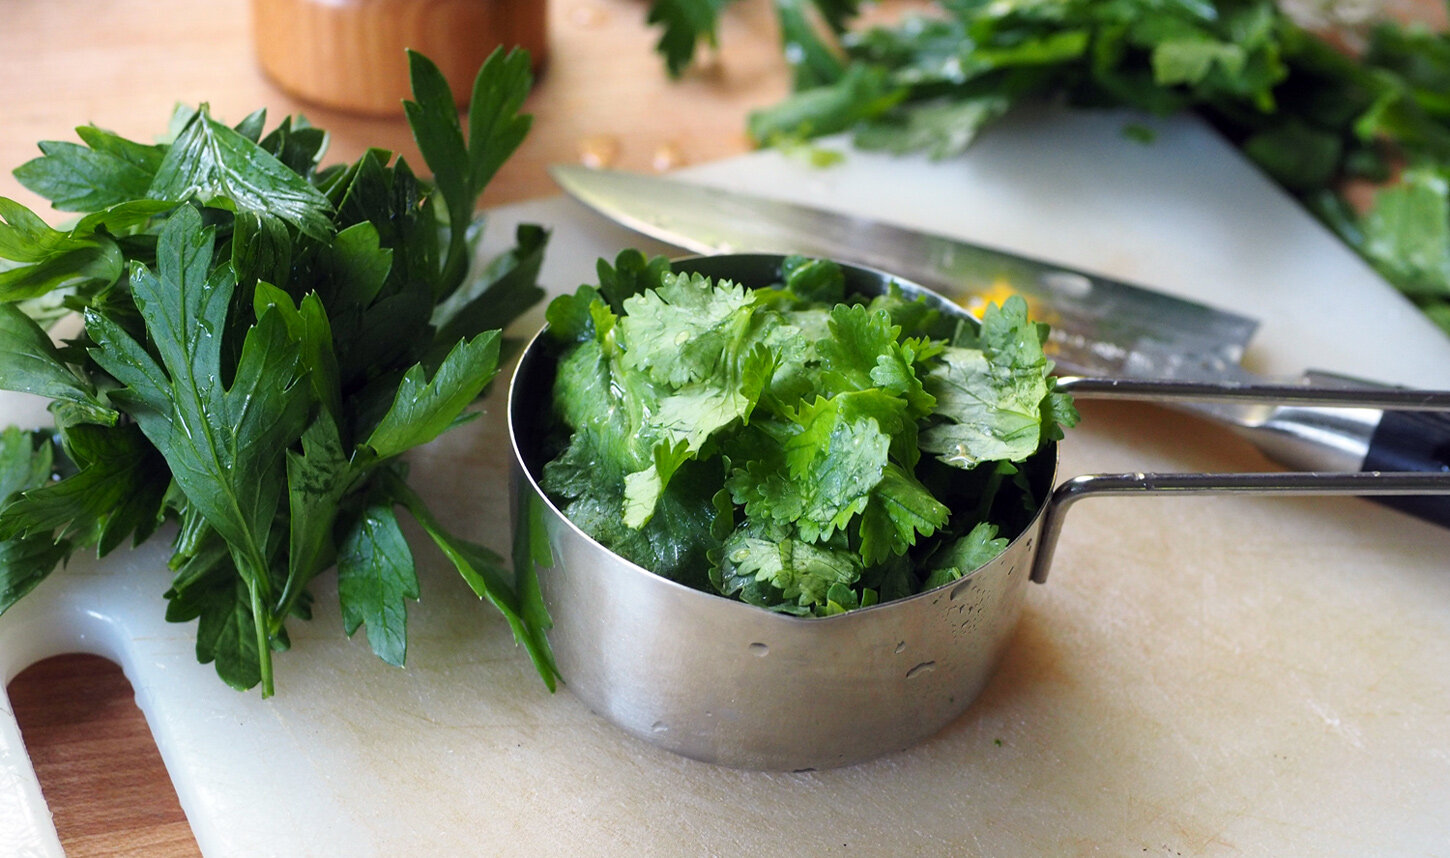
1/4 c parsley, chopped
1/8 c fennel fronds, chopped
pinch of red pepper flakes
1/3 c white wine
Magic 3 (salt, pepper, olive oil)

 
tomatoes.fennel.cookingCU2.jpg


Instructions

  1. Using about 1/4 c olive oil, sauté fennel until slightly softened.

  2. Add the tomatoes, salt and black pepper and let cook down.

  3. Then add the garlic and red pepper flakes and let cook for 5-7 minutes over medium low heat so not to burn the garlic.

  4. Salt and pepper the shrimp, then add them into the pan cooking for about 2-3 minutes.

  5. Add the wine and turn the shrimp over and cook until done.

  6. Add the parsley and fennel fronds.

Cook the fennel and tomatoes down until the are softened. Then add the garlic and red pepper flakes.

Cook the fennel and tomatoes down until the are softened. Then add the garlic and red pepper flakes.

Add the shrimp and wine and let cook for 3-4 minutes.

Add the shrimp and wine and let cook for 3-4 minutes.

It is such a lovely combo of flavors.

It is such a lovely combo of flavors.

I served this with polenta, but it plays just as nicely with rice or pasta.

A great way to start the lunch; warm soup and crisp white wine.

A great way to start the lunch; warm soup and crisp white wine.

Since my creamy cauliflower soup is so easy to make, I whipped up a batch and we started with that.

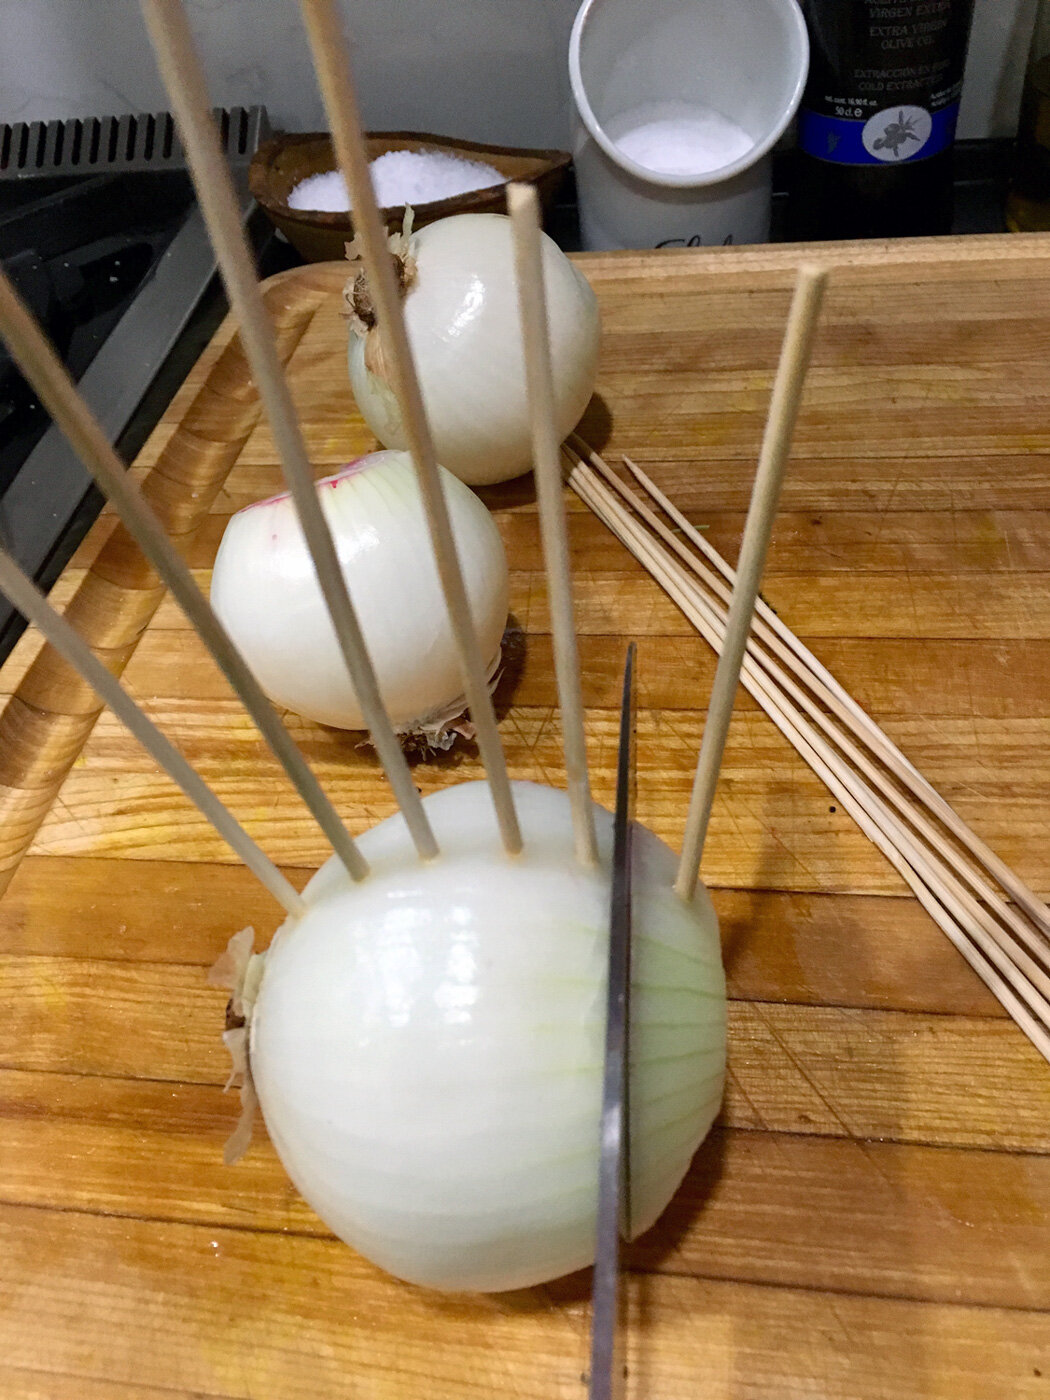
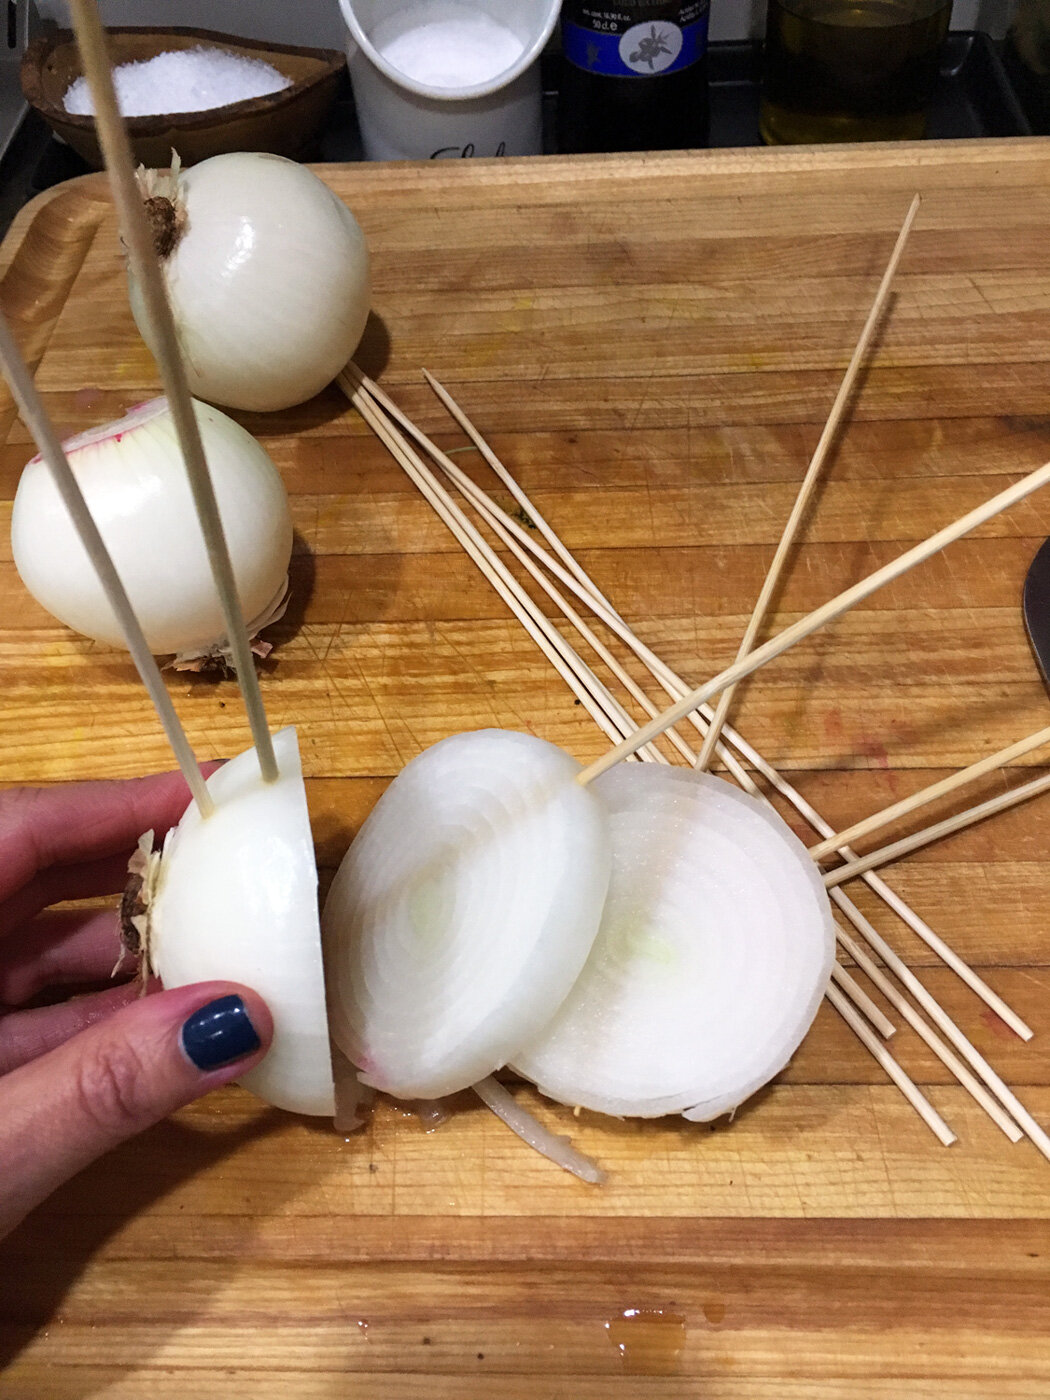
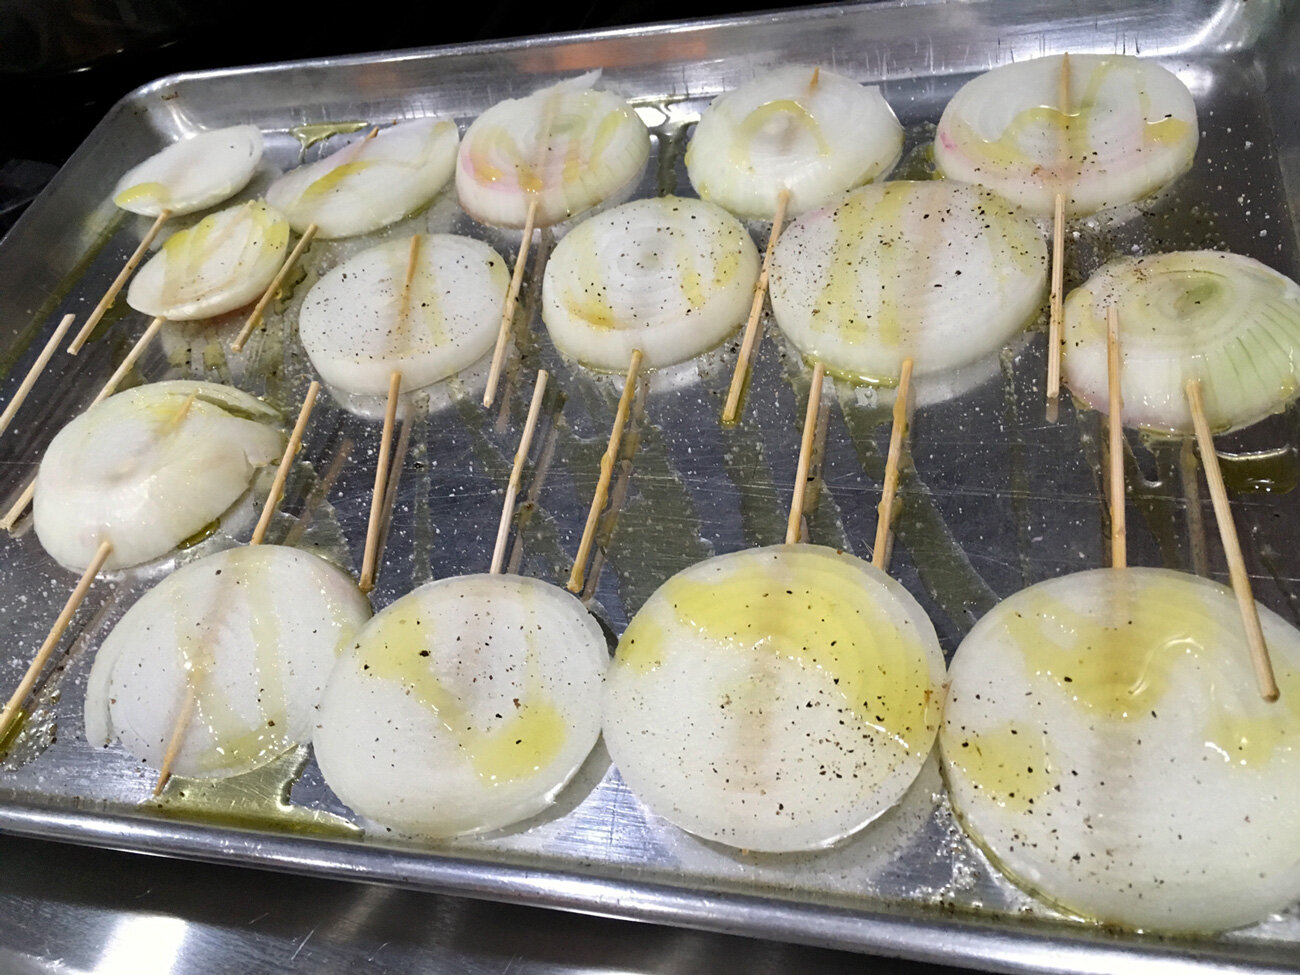
For the vegetables, I just roasted heirloom carrots, parsnips and onions at 425 degrees until nicely caramelized.

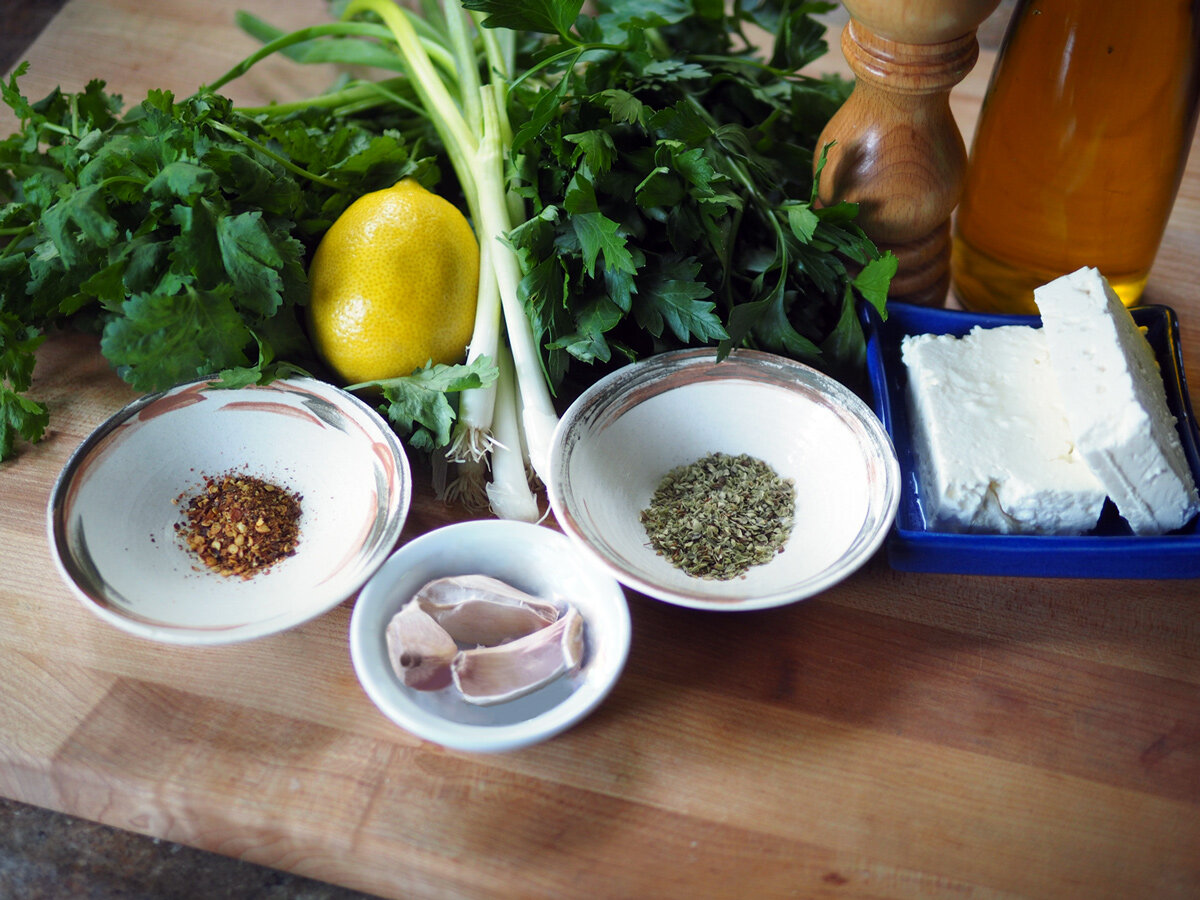
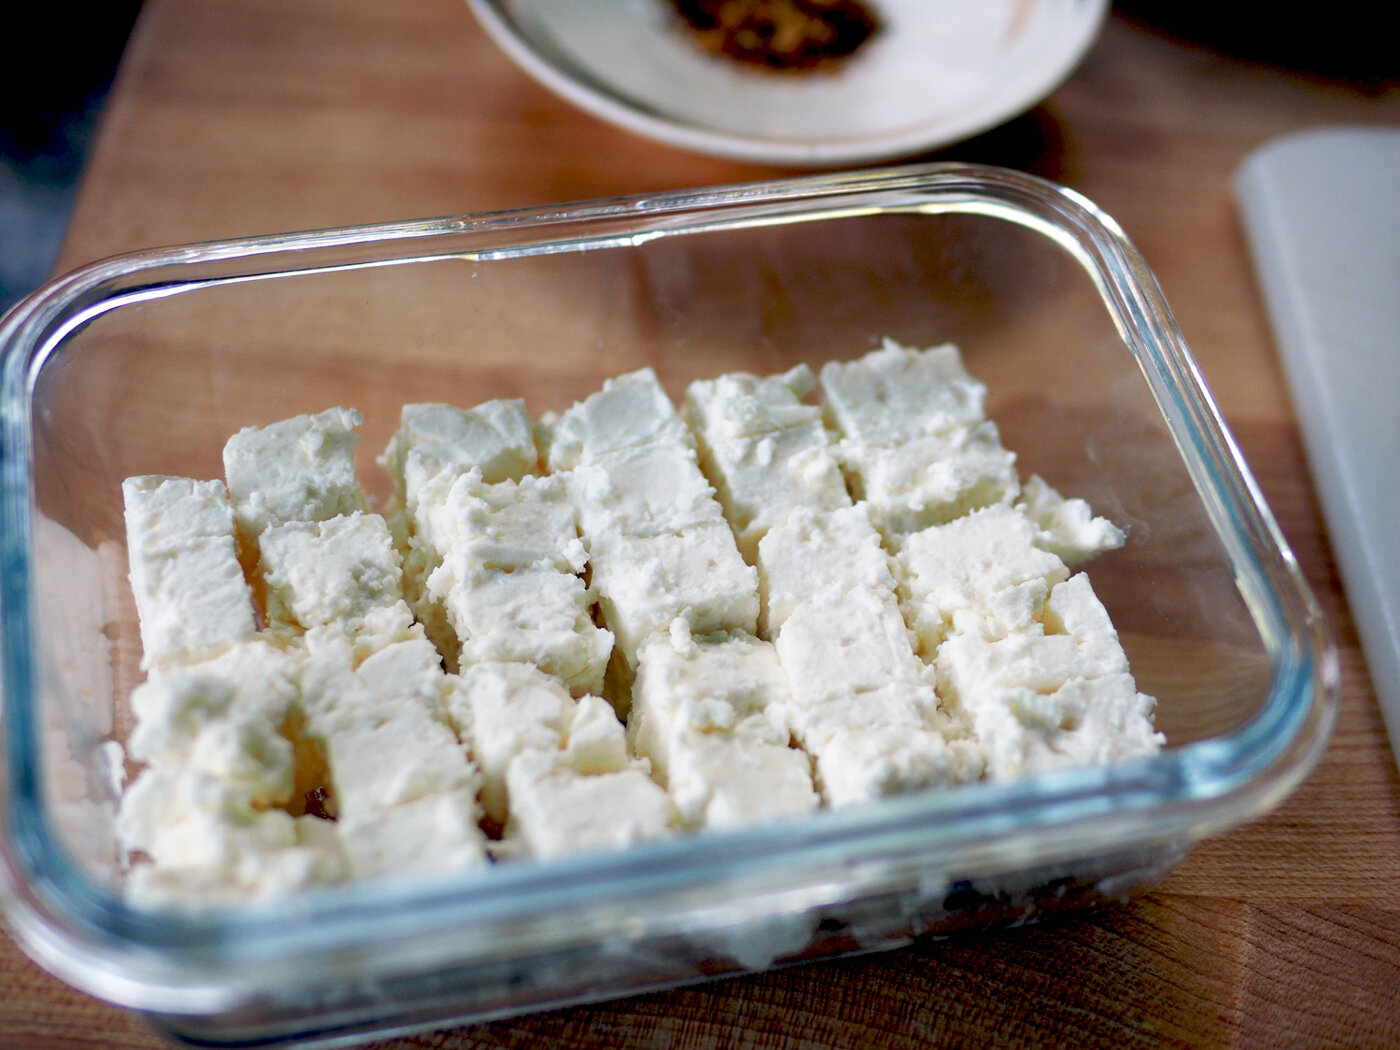
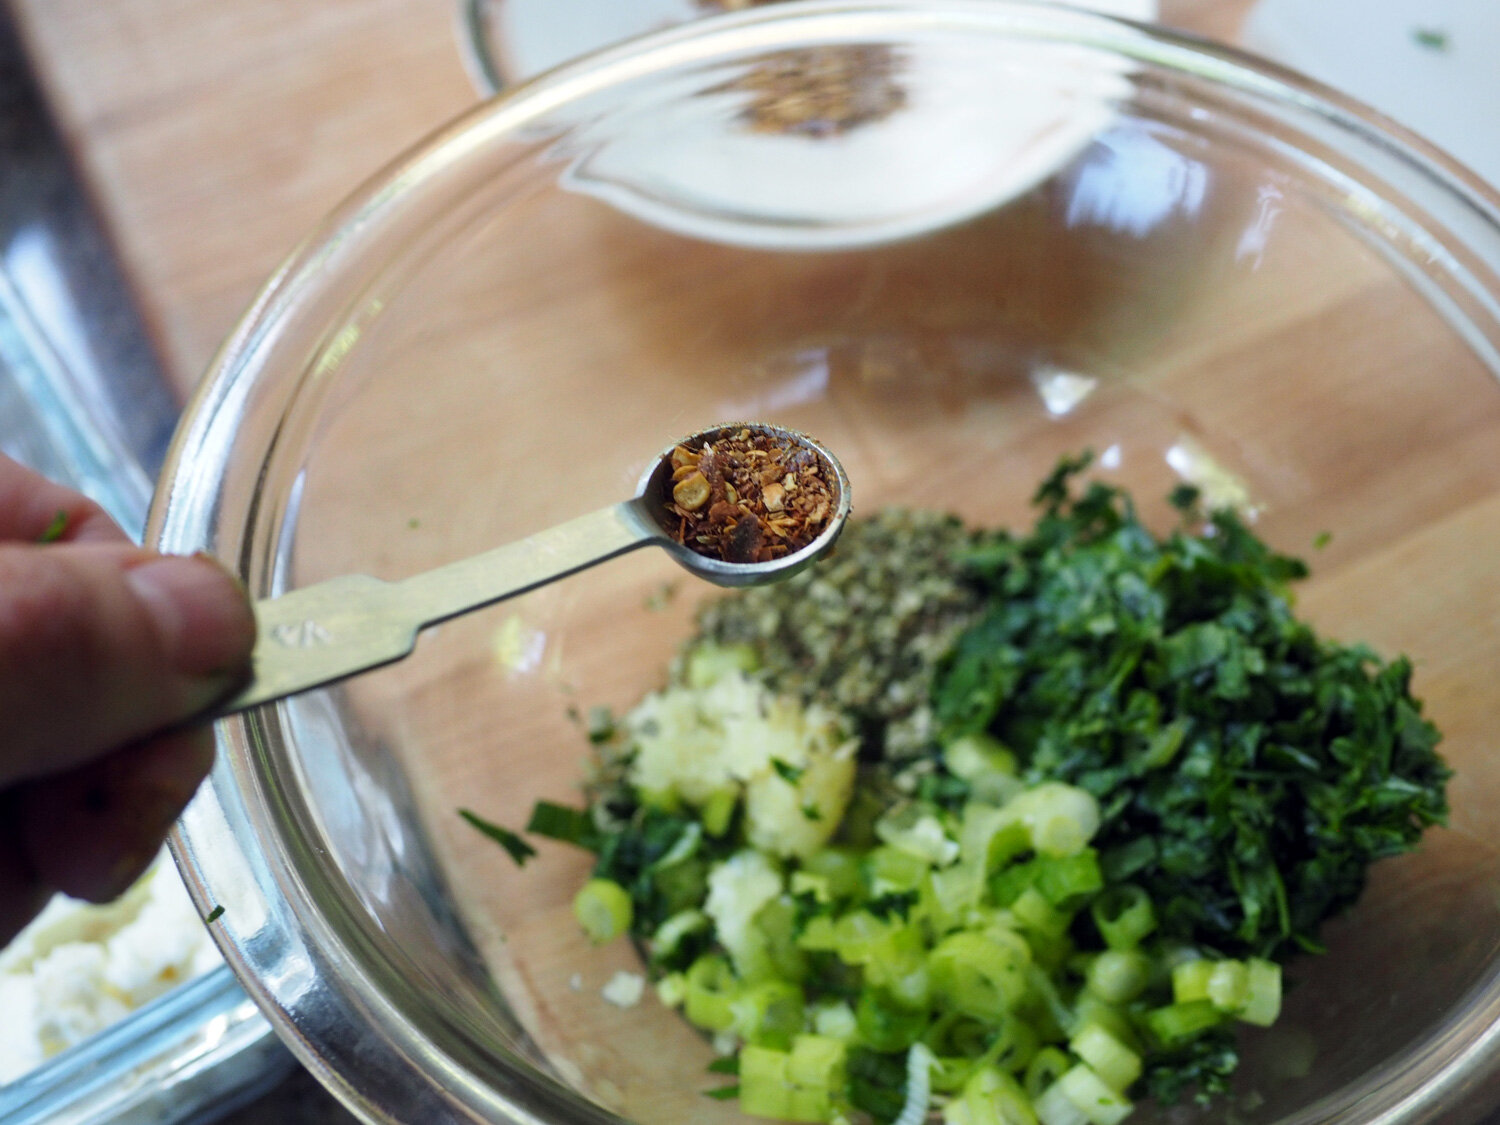
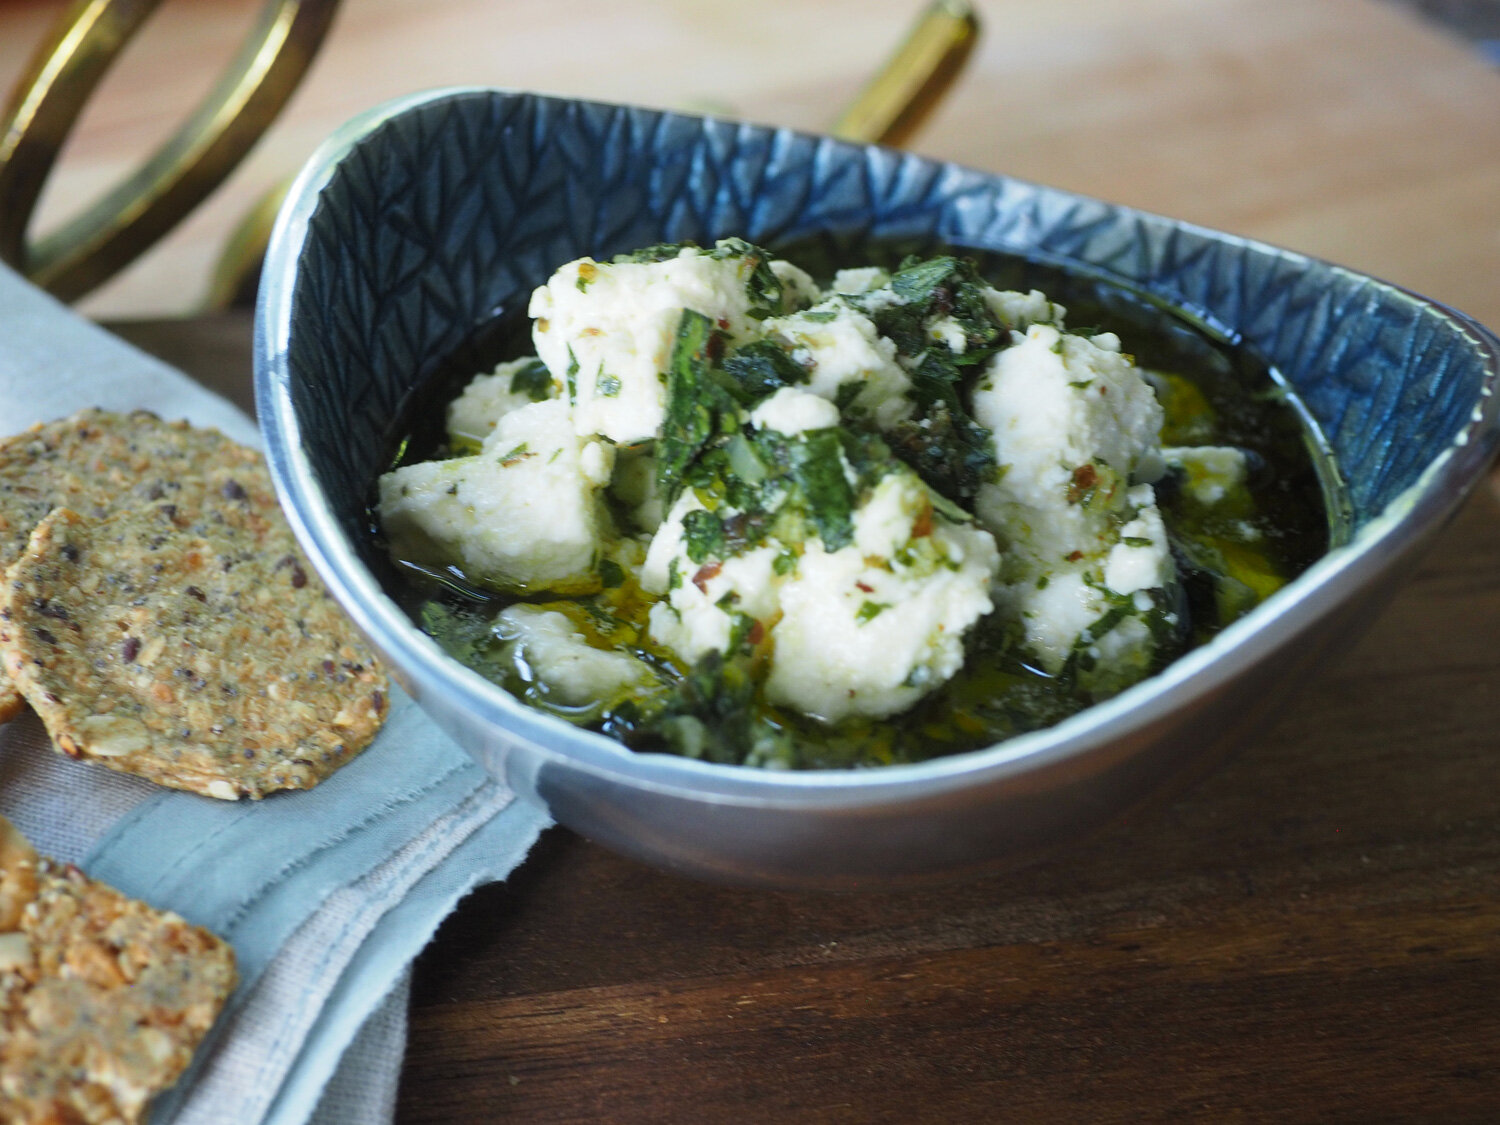
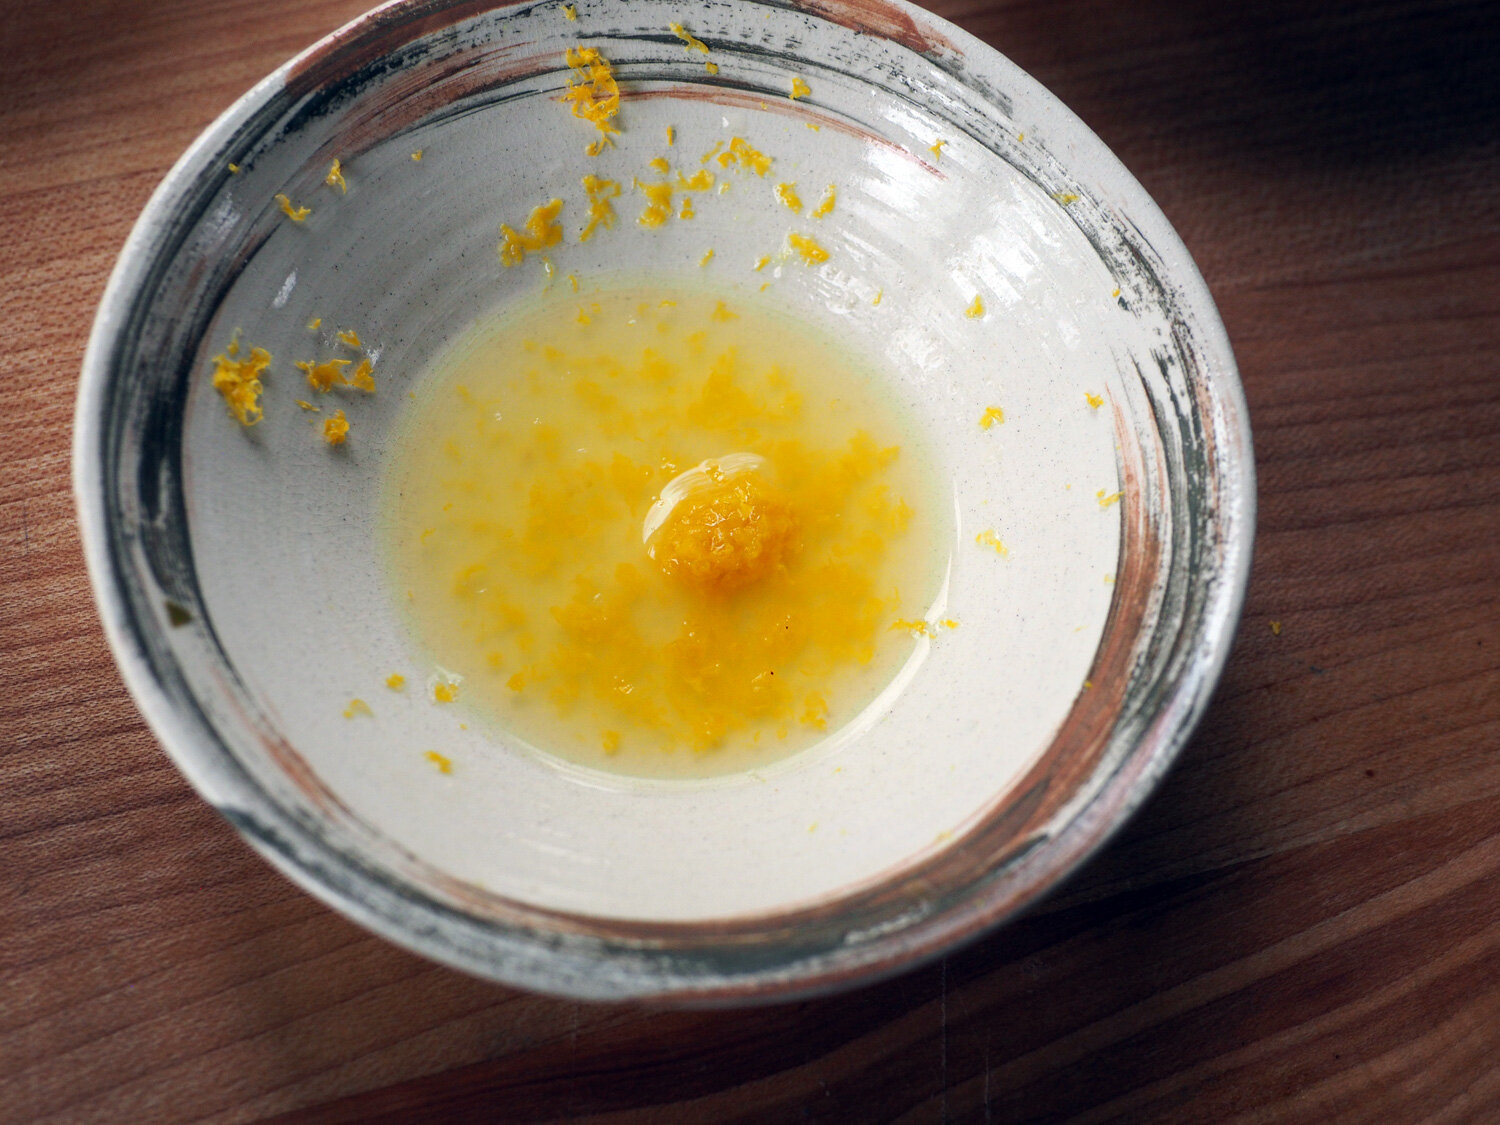
The feta mixture is easy to make. All it entails is cutting up some herbs and aromatics, stirring it together and then pouring it over feta cheese. Next step: spread it on everything!!

Marinated Feta

Marinated Feta

 
Now that is a lunch made with love.

Now that is a lunch made with love.

We finished the meal with some of my homemade coffee ice cream. Donna loved that too. It’s so easy to please a food lover. Just make yummy things and stir it with love. That’s how you create a ‘school day’ memory with a good friend.

 
Coffee.scoop copy.jpg


Marinated Feta

final.marinated.feta2.jpg

Over the past year, I’ve been whipping up a little marinade for the plain feta cheese I buy. Of course, I still use plain feta in a slew of other ways, but for months I took real joy in serving it as an appetizer all on its very own. Feta has an intensely tangy flavor but it is a simple cheese that I wouldn’t normally serve on just plain. The way to make something simple sing is to joosh it up a bit.

I landed on the idea to smother it in flavor while I was reminiscing about how I used to marinate olives when I lived in Miami. Back then the city was not the culinary mecca it has become today, and marinated olives weren’t as readily available. I know that seems hard to believe given their ubiquity, but that was way before there were so many cool markets with speciality items or olive stations. So, I would buy a variety of plain olives and then make a citrus, spice oil mixture in which to marinate them. Heck, when you don’t find what you want or need, you simply have to rely on your own talents to create it. That’s what I did then, and continue to do now. That old Miami olive mixture made me think of how yummy something similar would be on feta cheese.

*Side note about feta that I just learned from my Bulgarian brother-in-law, Peter. Much like Champagne, the word feta can only be used when referring to the cheese if it is produced in a traditional way in particular areas of Greece. Who knew? Now we do. All other cheeses made in different parts of the world can only state that they are fresh sheep’s or goat’s milk cheese ripened in brine. So interesting, and a tidbit I thought I would share. That said, as much as I would like to be a stickler for food correctness, it’s much easier to write feta, rather than a longer description of the cheese. Is that bad?

Back to the marinade. As I stated, I’ve made this before and it was enjoyed by my guests, but I noticed a real uptick in its wow factor. Whenever I’ve offered it up, it has been a home run. So much so that I was forced to make it in much larger quantities. Once people get a taste of it, it’s like tortilla chips and salsa, you just can’t stop eating it.

The ingredients that provide major zing: Cilantro, lemon, scallions, parsley, black pepper, olive oil, feta, oregano, garlic, red pepper flakes.

The ingredients that provide major zing: Cilantro, lemon, scallions, parsley, black pepper, olive oil, feta, oregano, garlic, red pepper flakes.

Ingredients

7 oz. Feta cheese (sheep’s milk cheese in brine. I prefer the French one, as it it softer and milder)
*if you wanted to double the about of cheese the below marinade ingredients will be enough

2 T Scallions, sliced thinly
1/2 c Clilantro leaves loosely packed, minced (3 T)
1/2 c Parsley leaves loosely packed, minced (3T)
1-2 Garlic cloves, crushed (1 t)
2 t Dry Oregano
1/8 t Red pepper flakes
Black pepper
1 t lemon zest
2 t lemon juice
2/3 c olive oil
a few twists of ground pepper

It’s the small touches of red pepper flakes and garlic that really bring a zing to this dressing.

It’s the small touches of red pepper flakes and garlic that really bring a zing to this dressing.

Instructions

I feel silly telling you what to do, but here goes.

Cut, chop, mince, crush according to ingredient list above.

It is so essential to use the freshest ingredients, always, but more so when you are making a raw dressing like this one.  Freshness and brightness are key.

It is so essential to use the freshest ingredients, always, but more so when you are making a raw dressing like this one. Freshness and brightness are key.

Give the herbs a good mince, and the scallions a thick slice.

Give the herbs a good mince, and the scallions a thick slice.

The zest and juice of lemon adds a brightness and acidity that rounds out all the flavors.

The zest and juice of lemon adds a brightness and acidity that rounds out all the flavors.

Gently cube the feta and place in an airtight container. (I prefer a glass container.)

Salty, briny, delicious French feta

Salty, briny, delicious French feta

You can make the cubes any size you want.  I like small ones.

You can make the cubes any size you want. I like small ones.

Combine all the ingredients and whisk together.

Crushed garlic

Crushed garlic

Dry oregano

Dry oregano

Red Pepper Flakes

Red Pepper Flakes

oil.jpg
Add all the ingredients and whisk together until combined.

Add all the ingredients and whisk together until combined.

Pour over the cheese, lovingly.

Pour the mixture all over the cheese ensuring every last piece is covered.

Pour the mixture all over the cheese ensuring every last piece is covered.

Note, that there is no salt in the ingredients. That is because the feta is brined in salt and you definitely do not need any additional. However, since the dressing amounts above make about twice what you need to marinate 7 oz of feta, you can do one of two things. You can add salt to the remaining marinade and use it to top fish, chicken or pork. Or you can simply double the about the feta, which is what I do because 7 oz may be enough for your crew, but it’s definitely not whenever I serve it. When you are ready to serve this up, remove it from the fridge at least 15 minutes prior so the oil comes back to room temp.

final.marinated.fetaCU.jpg

When I say it can be slathered on everything, I mean it. Naturally, it’s divine on crusty bread. A no brainer. But I’ve seen guests dollop it on salad. Eat with grilled shrimp. Top polenta, rice and pasta with it. Need I go on. As a matter of fact, we social distanced at my sister, Alyssa’s house this past weekend, and we literally had a slew of foods that this feta worked so well with. Pasta with pesto and shrimp, chick pea salad with fennel and herbs, sautéed string beans, a big salad and grilled sausage. We all made a big plate and mixed it all up together, and amazingly it was a medley in our mouths.

I recently made breakfast tortilla/tacos from leftover roasted veggies and decided to add some zing by topping them with this marinated feta. It took these already delicious tacos to another level.

Roasted cauliflower, onions, sautéd spinach on corn tortillas topped with marinated feta.

Roasted cauliflower, onions, sautéd spinach on corn tortillas topped with marinated feta.

I love when something takes on a whole new versatility. Marinated ‘feta’. It’s a very good thing!

Pro Tips & Time Saving Ideas Part 2

IMG_2574.JPG

The last Pro Tip post seemed to be popular among readers, so in effort to be a people pleaser, I present you Pro Tips and Time Savings Ideas Part 2.

Like most ideas I have, they stem from wanting to be more efficient. Whether it’s cooking, baking, or organizing, my brain is always figuring out how I can achieve the goal quicker, more effectively and with the best results.

Perfect example is the history of me making my ‘Acorn’ Shortbread cookies. I put acorn in quotation marks because originally the cookie was shaped like an acorn with the bottom portion dipped in chocolate. If you’ve ever worked with shortbread you know how dry and crumbly it is. To hand shape each cookie into an acorn used to take me hours. Until I figured out that the cookie tastes the same no matter what form it takes. Naturally, it still needs to look appetizing, but since we’re not squirrels, most any other shape would suffice, and without all the extra hand shaping work. The first couple of years I was still hand shaping but not so intricately. Then I realized that I could ratchet up my efficiency level up a few notches. I packed all the dough into a baking sheet and rolled it out evenly. Then I cut squares or rectangle shapes, and using a spatula, lifted them onto another baking sheet. Voilà, the process now takes minutes instead of hours. And instead of dipping each cookie, I use a piping bag and drizzle the chocolate across dozens of cookies at the same time. In my opinion, I like the look so much better.

I thought I would share that anecdote to illustrate how thinking things through can lead to working smarter rather than harder. I’m all about that x10! I hope these next set of tips do the same for you.

Pro Tips #1 - Roasting or grilling onion slices evenly: Onion Lollipops

I love onions. I make them in tons of ways including using them as a side vegetable. So, when I had a private chef gig out in the Hamptons last summer, I included onions as part of the menu. I wanted the onion slices to look composed and kept together, and of course, evenly cooked. By using this trick, you achieve just that.

First, peel the onion. Then place skewers into the onion spacing them the thickness you want for each slice. Then using a sharp knife, simply slice between the skewers. You wind up with onion lollipop sticks that can be roasted in the oven or grilled on a cast iron skillet. Drizzle with olive oil, salt and pepper then cook as you wish. Of course, you remove the skewers before serving. Unless, of course, you devise an interesting way to serve them keeping their lollipop look. Up to you. The beauty of this method… Let me count.

  • The onions cook evenly

  • It is easy to turn because all the rings are corralled together

  • They can be used in a sandwich or on a burger without onion flying all over the place

  • They look beautiful

Should I go on.

Pro Tip #2 - Rice is Nice but More is Better.

When you make rice, why not make 2 or 3 times what you need. If you are going to do the work once, why not take advantage of the efforts and make it easier at a later date. Cook the rice as you normally would. Set aside the portion you don’t need immediately by spreading it out on a sheet tray to cool for no more than an hour. Once cooled, place the extra portions in labeled plastic freezer bags. The best part about this is that when you need it in the future it doesn’t take 20 minutes to make. Remove the rice from the plastic bag and place it in a covered pan over a low flame and gently let it steam. If you have a microwave, which I do not, then you can warm in a microwave safe container. If using for fried rice, just throw in in the wok or pan directly. No need to steam since you want the rice to be cold. That’s the best way to make fried rice.

Various Uses:

  • Use for Stir Fry dishes like chicken and broccoli or shrimp and mushrooms

  • Add to soups

  • Use for Fried Rice

  • Rice cakes

* Storing and reheating rice needs special attention. Please refer to this link for important information to ensure that you safely store and reuse rice.

Pro Tip #3 - Buy in Season & Enjoy All Year Long.
Oven Roasting Tomatoes & Freezing

Some of you may recall the summer I bought 100 lbs. of tomatoes at the end of the season. Granted that is an inordinate amount, but I continue to reap the benefits of roasting these ruby red jewels. And that, my friends, is exactly what I’m talking about. Make the effort once and continue to feel the love.

For more on the various ways to oven roast or dry roast tomatoes, check out the links below.

The Great Tomato Caper

Tomatoes Galore

I hope that these few more tips and tricks will aid you in the kitchen, and make cooking easier and bring loads of benefits. For more ideas, check out:
Pro Tips & Time Saving Ideas Part 1

 
DP-stirredwlove-ID1.jpg

Pop Tarts or Pastilitos

final.tarts.jpg


When I was growing up we mostly ate homemade food, and even homemade desserts. Between my mom and grandmothers, cooking and baking were daily activities. Going out to dinner or buying already prepared items was a rarity, and if you could believe it, considered a treat. Funny, how the tides have turned. The trick was on us, since now, a home cooked meal is something to be cherished. (In my mind, it always was and still is.) We went out to dinner on special occasions, like New Year’s Day. But mostly we gathered at our kitchen table for meals. As far as desserts, my grandmother who lived with us would bake some of her specialties. We did however from time to time indulge in some packaged goodies. I must admit that when I was a kid I ate, and enjoyed a few of those artificial treats, including pop tarts.  Back then we didn’t pay much attention to labels. So reading a label to ensure it was good for us just wasn’t in our active consciousness. I cannot attest to how much crap might have been in them way back when, but given how shelf stable they were I would imagine quite a lot.  They probably were not great for us then. I do know that now I wouldn’t let those chemical enhanced things touch my lips.  But that doesn’t mean I don’t reminisce about the dough filled treat. So, when I realized that I had cream cheese and fig jam that needed to be used up, I immediately thought of pop tarts.  I guess pop tarts didn’t have cream cheese so these might be more in line with a Cuban pastelito.  For some reason pop tarts popped to mind first.  I always have puff pastry in my freezer.  And this is the exact reason why.  You never know when you might need or want a little ‘something something’.  And I’ve found that puff pastry has often come to my rescue.

These couldn’t be simpler.  Really, I mean it.

Just 3 ingredients: Puff pastry, cream cheese and jam

Ingredients 

3/4 c approx. Cream Cheese

1/2 c approx. Jam (I used fig jam)

Puff Pastry Sheet*

* You can also use pie crust. I would imagine that that dough will be an even closer taste and feel to the original pop tart.  Either puff pastry or pie crust will do the trick.

Instructions

  1. Thaw out the puff pastry.  Once at room temperature, dust the board with flour and gently roll it out to approximately 16” x 12”.  Cut the pastry into 2” wide strips, then cut those strips in half. 

Roll out the dough, and be sure to sprinkle the board with some flour so it doesn’t stick.

Roll out the dough, and be sure to sprinkle the board with some flour so it doesn’t stick.

2. Spread approx. 1.5 - 2 tsp of jam onto the middle of each strip. Then dollop approx. 1 tbsp of cream cheese on one end.

Spread the jam in the center making sure to not go to the edges.

Spread the jam in the center making sure to not go to the edges.

A nice dollop of cream cheese is always a good thing.

A nice dollop of cream cheese is always a good thing.

3. Brushing the edges with water before folding over the dough, then fold the dough over in half.

A simple fold is all you need to do.

A simple fold is all you need to do.

4. Then using a fork, crimp around all the edges to seal.  Place them on a tray with parchment paper and let them chill in the refrigerator for 15 minutes.

Crimping the edges seals the deal, and the pastry, of course.

Crimping the edges seals the deal, and the pastry, of course.

Lined up little treats.

Lined up little treats.

Love, lined up and ready for baking.

Love, lined up and ready for baking.

5. Bake in a 375-400 degree oven for 15-20 minutes until golden brown.

These look and taste better than a pop tart.  I promise.

These look and taste better than a pop tart. I promise.

Golden brown, flaky, sweet goodness.

Golden brown, flaky, sweet goodness.

And just like that you have a tasty, sweet and savory pop tart or pastelito. Whatever you call it, just make sure to include the word delicious. 

Sure you can stack them up on a plate.  Then watch the plate empty out.

Sure you can stack them up on a plate. Then watch the plate empty out.

Note:  If you like it a tad sweeter and more like a traditional pop tart, drizzle a glaze over top.  (To make a glaze, mix 3 Tbsp confectioner’s sugar with 1 tbsp milk and whisk until you get a nice glaze.)

That’s a whole lotta LOVE.

That’s a whole lotta LOVE.

Egg Salad with Zing

egg.salad.final3.jpg

As we approach the summer months, tentative thoughts of picnics, BBQs and the like twinkle in our minds. Conjured up images of burgers and buns alongside heaps of summer salads; macaroni, potato and the ubiquitous egg salad. Sure this Memorial Day celebration and seasonal BBQ’s may look different this year, but one thing is certain, we still need to eat. And we definitely need to celebrate and rejoice in life, in being healthy, and any and all good fortunes.

No matter how you decide to celebrate this upcoming Memorial Day, adding a little twist to an old salad standby might be a welcomed change. Although mayo based salads are often the usual accompaniment to BBQs, they rarely grace my table. I seldom, or should say, almost never eat them. Egg salad, most of all. Two main reasons, really. For a long time, I’ve had a food sensitivity to eggs, so I guess that’s a pretty good, and I would venture to say, big rationale. Then, of course, there is the mayo portion, which naturally is made with eggs. The other salads can easily be reinvented/reworked using a blend sour cream and yogurt. But when it comes to egg salad, there’s no getting around the egg portion, and the globs of mayo. Given that eggs make a double appearance in this traditional dish, I’ve steered clear for quite some time. But recently, I starting introducing these shelled wonders back into my diet, and things seem to be ok. With the weather finally showing signs of Spring, Summer and warmth, I figured now was the right time to give a twist to a traditional lunch salad.

I like texture, and I like zing… And I especially like them in my food. When thinking about the typical egg salad neither of those come to mind. In true ‘what do I have’ fashion, I pulled out of the fridge the following line up to answer the call to texture and zing.

Eggs | Mayo | Mustard | Pickles | Capers | Olives | Celery | Lemon

The line up; pickles, capers, mayo, eggs, celery, olives, mustard and lemon.

The line up; pickles, capers, mayo, eggs, celery, olives, mustard and lemon.

Ingredients

Yields 1.5 c | approx. 3-4 servings

3 hard boiled eggs
¼ t lemon zest
2 T lemon juice*
¼ cup fine dice celery
1 t capers, chopped
2.5 T chopped dill pickles
2.5 T chopped green olive (I used Spanish Manzanilla olives)
¼ c mayo
1 t mustard (For even more zing, use grain mustard)
(I would have added about 2 T diced red onion if I had it.)
Pepper to taste

Instructions

  1. To get a perfect hard boiled egg, place the eggs in a pot and fill with cold water just enough to cover. Bring to a boil, then immediately remove from the heat. Cover and let stand for 14 minutes. Then submerge in ice bath to both stop the cooking and to make it easier to peel.

  2. Prep all your ingredients in the famous mise en place way, getting everything ready.

I love using these perfectly sized handmade ceramic bowls by Miller Pottery.

I love using these perfectly sized handmade ceramic bowls by Miller Pottery.

As you can see, some bowls are deeper, while others smaller.  Choose bowls of varying small sizes to suit your ingredients.

As you can see, some bowls are deeper, while others smaller. Choose bowls of varying small sizes to suit your ingredients.

3. Combine the mayo, mustard and lemon juice/zest together and blend. Add pepper to taste.

As I mentioned, I like a less thick mayo style, so I used 2 tablespoons of lemon juice, making a thinner, lighter dressing. Adjust to your taste.Photo credit: JuanCarlos Casas/lookasithappens

As I mentioned, I like a less thick mayo style, so I used 2 tablespoons of lemon juice, making a thinner, lighter dressing. Adjust to your taste.

Photo credit: JuanCarlos Casas/lookasithappens

Look at how gorgeous those yellow yolks look.  Perfectly done.

Look at how gorgeous those yellow yolks look. Perfectly done.

Smash to your hearts content. i like mine on the chunkier side.                                                     Photo credit: JuanCarlos Casas/lookasithappens

Smash to your hearts content. i like mine on the chunkier side. Photo credit: JuanCarlos Casas/lookasithappens

4. Once the egg are done, smash with a fork to the texture you desire and add all the remaining ingredients saving the mayo mixture for last.

In go all the tangy items, olives, capers, pickles. NOTE: all these have a decent amount of saltiness to them, which is why no additional salt was needed.                                                                                               …

In go all the tangy items, olives, capers, pickles. NOTE: all these have a decent amount of saltiness to them, which is why no additional salt was needed. Photo credit: JuanCarlos Casas/lookasithappens

Crunchy celery in.                                                                                                                          Photo credit: JuanCarlos Casas/lookasithappens

Crunchy celery in. Photo credit: JuanCarlos Casas/lookasithappens

Creamy, zesty dressing drizzled.                                                                                                      Photo credit: JuanCarlos Casas/lookasithappens

Creamy, zesty dressing drizzled. Photo credit: JuanCarlos Casas/lookasithappens

*The two tablespoons of lemon juice makes a loose mixture.  I don’t like mine too dry nor too much mayo.  If you like yours less wet and with a thicker mayo texture then cut down the lemon juice.


Serve this with your favorite crackers. You know by know that my gluten free go to is Mary’s Gone Crackers. Naturally, a bun, or whole wheat toast would be great options. However, neither of which can be found in my house.

For more crunch, devour this with Mary’s Gone Crackers. Or serve it up on celery stalks.

For more crunch, devour this with Mary’s Gone Crackers. Or serve it up on celery stalks.

For an even healthier choice that will still give you a crisp crunch, fill lettuce leaves with the egg salad. Less carbs more freshness.

Egg Salad with Zing.

Egg Salad with Zing.

A nice lighter lunch served alongside some ice cold, crispy grapes.  Fruit is a great accompaniment to a creamy or mayo based salad.  I’m a fan. Check out some other salads using grapes.  Chicken Salad with Fruit & Nuts or Graped Up Bibb Salad.

A nice lighter lunch served alongside some ice cold, crispy grapes. Fruit is a great accompaniment to a creamy or mayo based salad. I’m a fan. Check out some other salads using grapes. Chicken Salad with Fruit & Nuts or Graped Up Bibb Salad.