Who doesn't love pizza? Who, I ask? What's better than that thin, crispy, yet somehow doughy flat wonder. My husband loves when I make pizza, but he also loves when I use pizza dough to make flatbreads. So in this post I am sharing how I take that perfect pizza dough and let it shine all on its own. Yeah, you heard me right. No fancy toppings needed here. Just fire up the oven, hotter than hell and crisp that yeasty baby up. This is one of the simplest ways to make a WOW at any party or in the hearts and stomachs of loved ones. I have a long list of stomachs who crave and howl for these. And you will, too.
In the past, on occasion I have made my own dough. And if you have the time, by all means knock yourself out and make it from scratch. I will admit there is a certain marvel of watching flour, yeast and water bring on their magic. But this is one of those moments when I shout out, "why reinvent the wheel?" I say, let someone else do all the making and waiting, while I do the all the buying of their pizza dough. Find a good source for dough, then bring it home and still achieve something homemade. Now that is magic equal to yeast rising.

Resting, Growing, Waiting to be grilled to perfection. Fresh oregano, chopped and ready to go.
I drizzle some oil on top of the dough, cover it with dish towels and let the dough rise a bit. (I try to leave it near the hot stove to help it along.) Once risen, move onto shaping. Instead of rolling it out, I prefer to stretch it and let it make its own odd shapes. I just feel this method makes it more rustic. You can certainly rock the rolling pin if you are in need of perfectly formed breads.
I keep the next step simple. It's all about the dough but I do like to enhance it slightly by sprinkling salt, pepper and depending on my mood, fresh or dried herbs or crushed garlic and followed by a drizzle of olive oil. I use a pizza paddle sprinkled with cornmeal to deliver my Picasso shaped dough onto the stone.

I literally almost never make a perfect round circle.
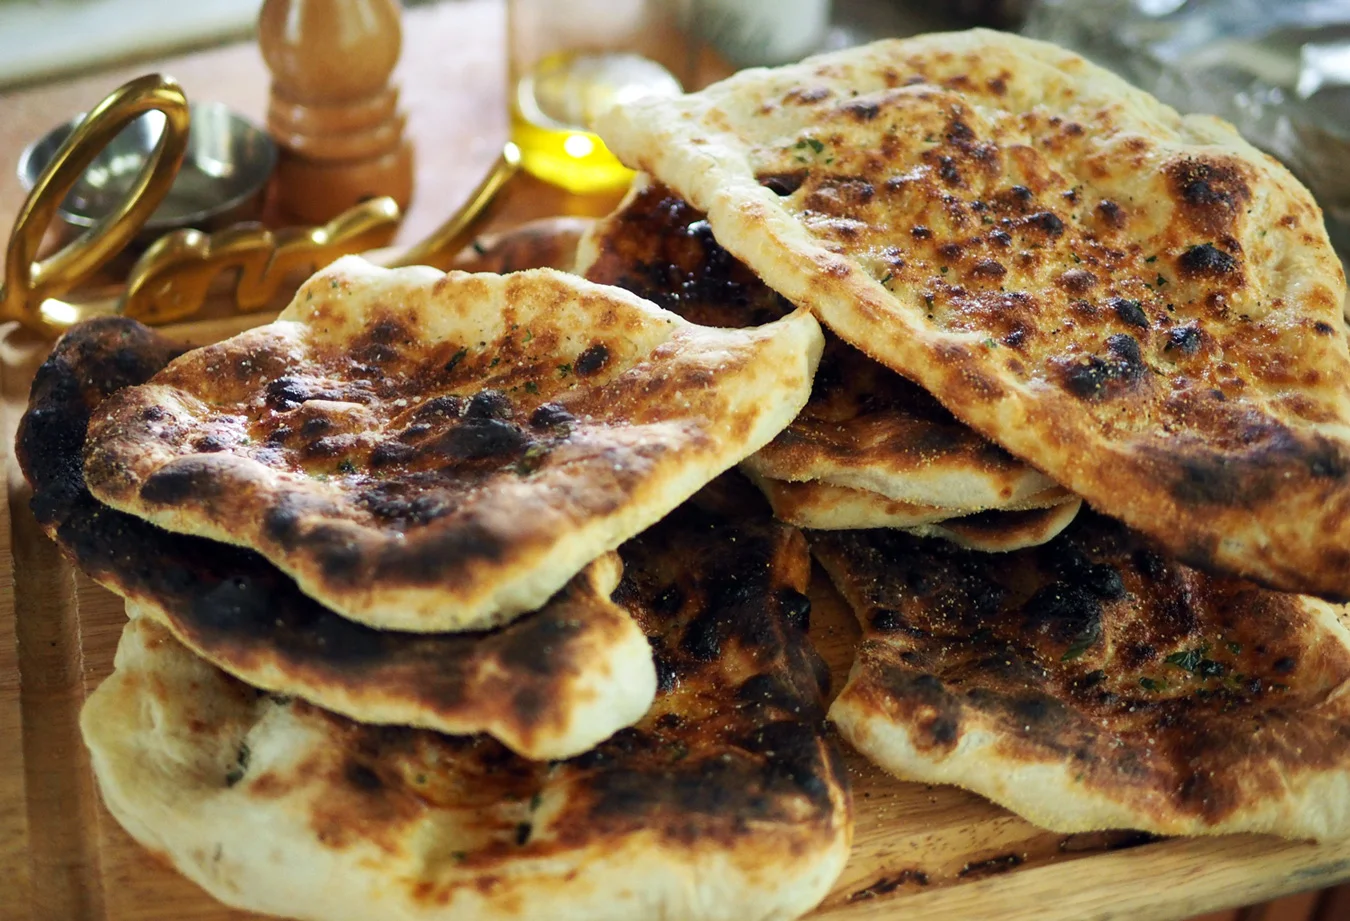
All the while the pizza stone has been readying itself in a piping hot 500 degree oven. Once the doughs are ready for cooking I turn the oven to broil. These bad boys cook in a heartbeat so don't you darn step away or it will go up in flames. JuanCarlos likes his flatbreads super toasty... shall we say almost burnt, so I always make a few that way. (And yes, maybe a few more than I would like, as I don't always heed my own warning about walking away from the oven.)

You can make these ahead of time, stack them up and cover with foil. Then pop them back in a 250-300 degree oven for a few minutes to warm just before serving. These flew out of the bread basket this past weekend. (Truth be told, I didn't cut up all the ones I made to serve to our guests. I kept a few for JC to eat this week because he loves them so much. And I love him. That's how to 2stir life with love.)

Stack 'em up because they are sure to disappear. You might want more than one stack because after they are gone you will have wished you had.
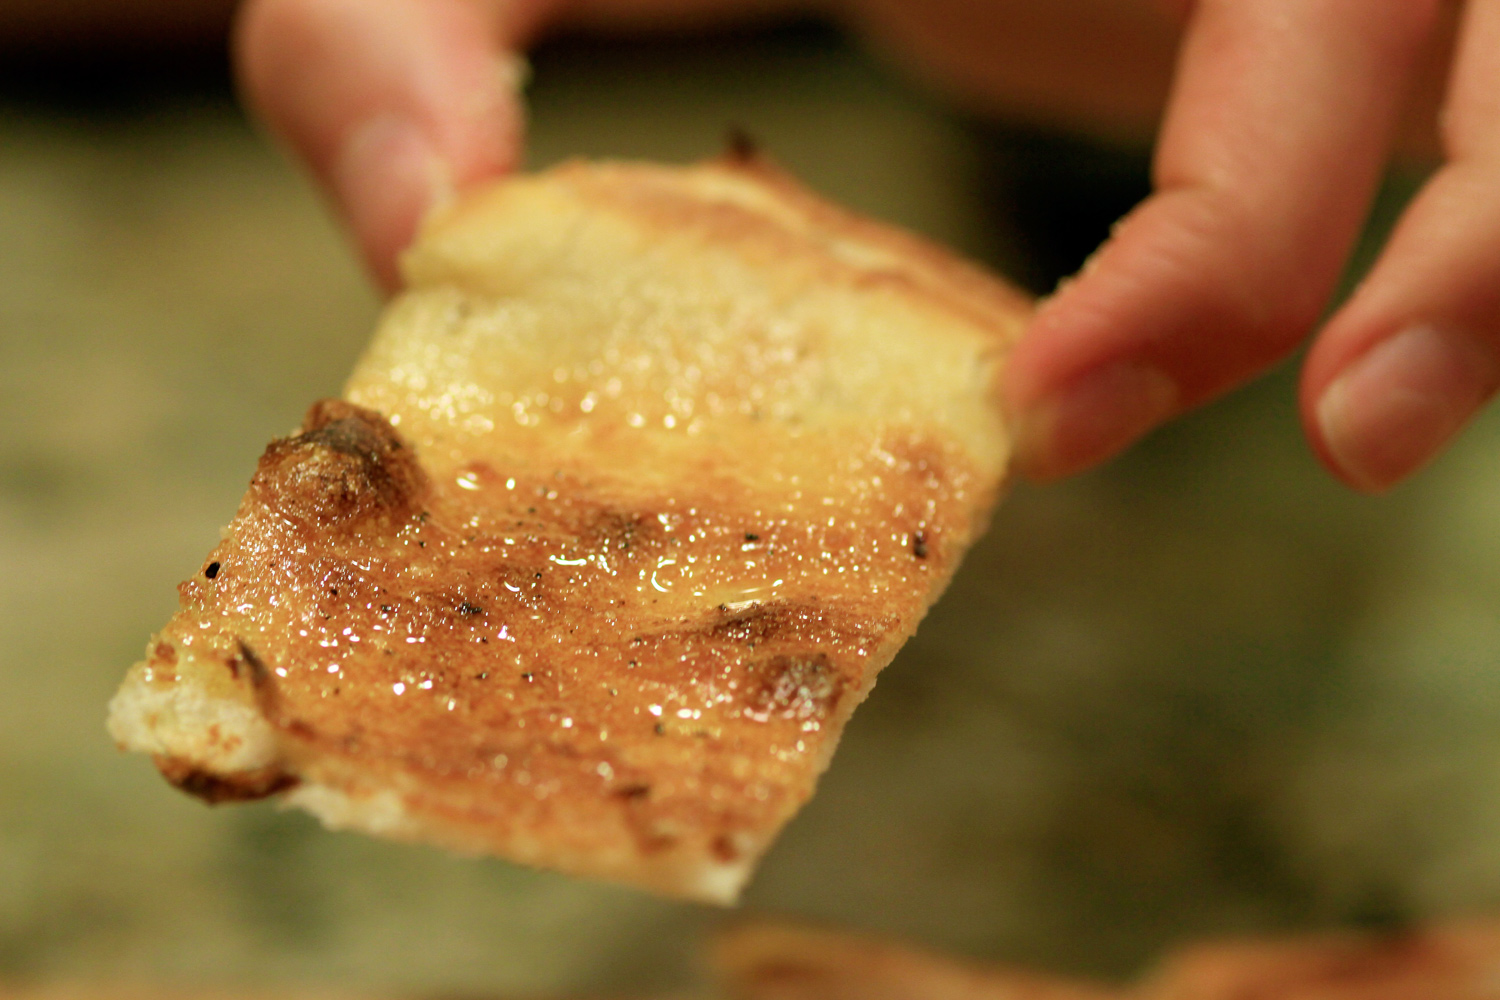
The perfect bite. Alone and unadulterated or used to scoop something up.
If you don't have a pizza stone, you can also achieve the similiar results using a cast iron pan. I have even thrown these on the BBQ, but you need to make sure the grates are oiled or the dough will stick. Give it a try.