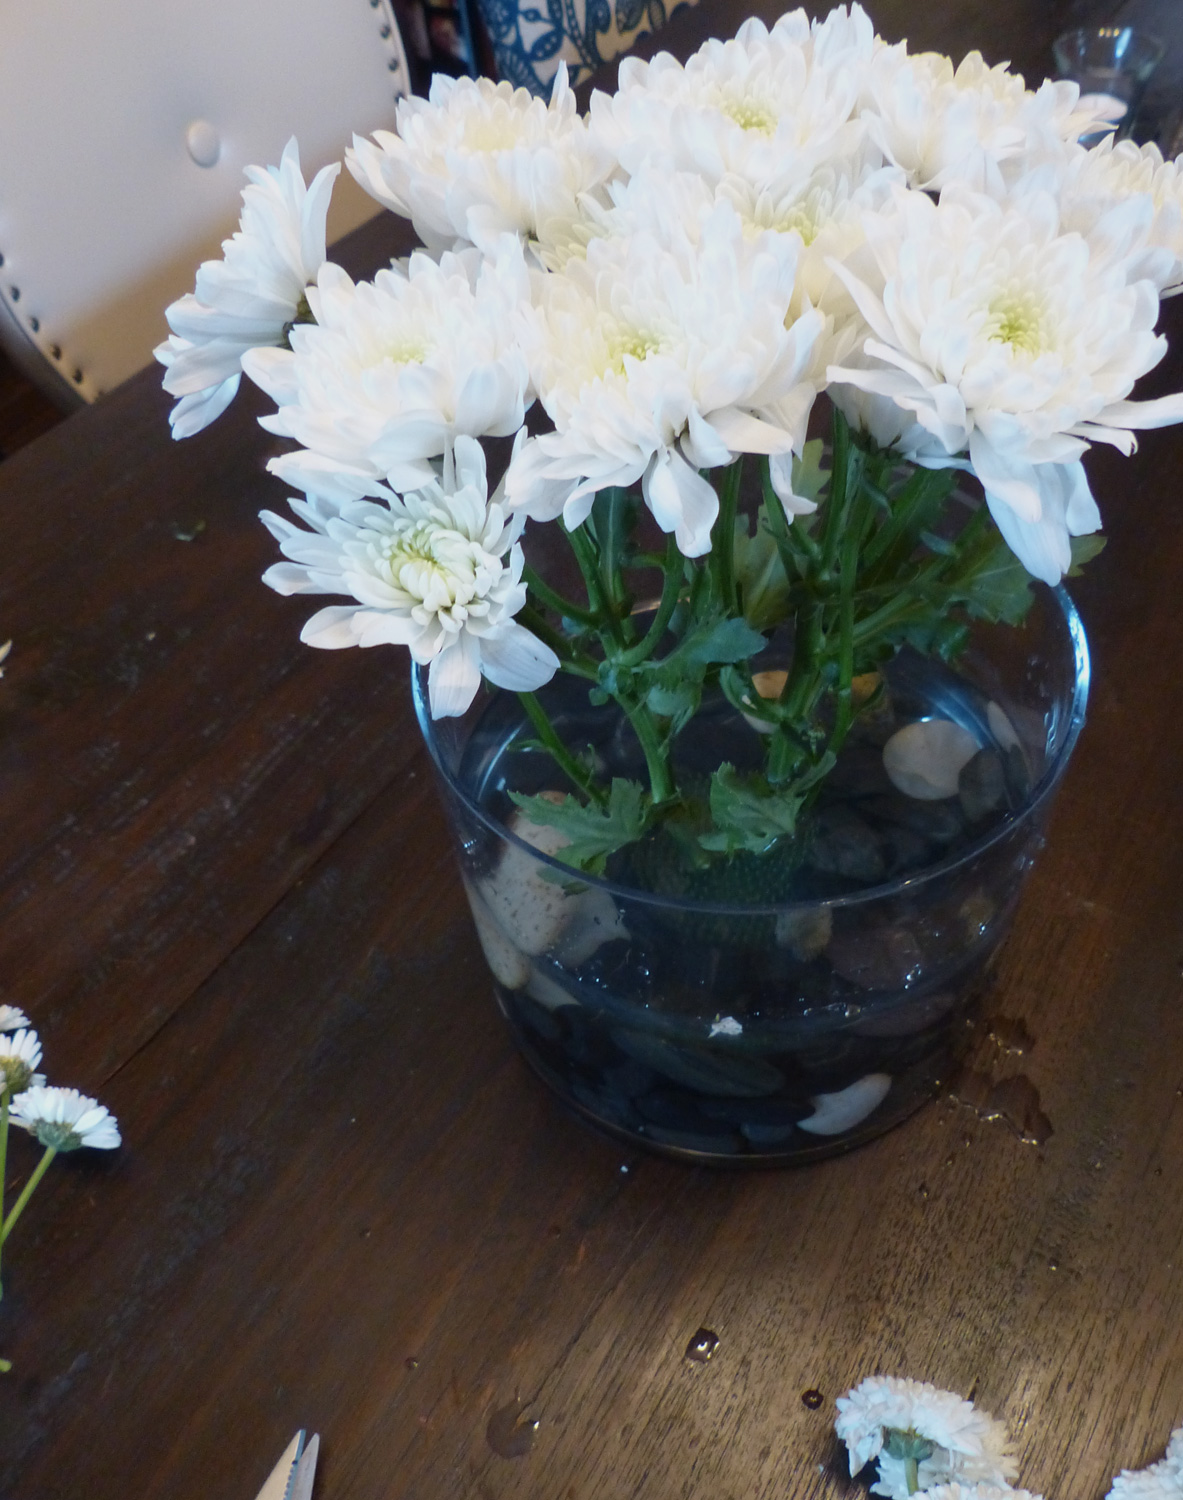
Graped Up Bibb Salad

When I was growing up, salad was always a part our meal.  Every night without fail there was salad on the table. However, looking back now I realize that the salad remained the same; lettuce dressed with olive oil, red wine vinegar, salt and pepper.  My mom used Iceberg lettuce for a long time before she realized that it had no nutritional value whatsoever. Yet even after she started using romaine lettuce, the salad stayed exactly as before: Just the Lettuce, Ma'am.   

I can't quite remember when salad became so important to me.  I'm not sure if I started experimenting during my High School years or maybe when I became a vegetarian in college. The starting point isn't as important as where I am today.  I love salads.  I love making them.  I love eating them. But most of all, I love sharing them.

Whenever I am planning a meal or dinner party, I consider salad to be one of the main dishes not the wallflower that stands on the sidelines hoping someone notices. Yet, I do keep in mind that it does need to complement the meal, not steal the show.  The flavors should enhance and unify the rest of the food offerings.  This Graped Up Bibb Salad did just that as one of the stars of a recent brunch. It was the bridge between the Citrus Salad: Martini Style to the rest of the meal. The two types of grapes played so well with the two types of Apiaceae vegetables; celery and fennel.  The mildness of Bibb lettuce provided a wonderful, soft backdrop so the other ingredients could pop when blended with a lemon mustard dressing. It was a lovely mix between the sweet and savory.

INGREDIENTS

1 lg or 2 small heads of Bibb/Boston lettuce
1/3 c thinly sliced scallions
1 c chopped celery
1 c red grapes, halved
1 c green grapes, halved
1/2 c sliced fennel
(reserve the fronds to mix into the dressing)

Dressing

1/4 c fresh lemon juice
1 tsp whole grain mustard
1/4 t crushed garlic
1/2 c olive oil
1 T chopped fennel fronds
salt & pepper to taste
Whisk together until well blended and pour over salad right before serving.

Like a crisp morning day, this salad is a fresh start to any meal and perfect for a brunch.


I'm dedicating this post to my fabulous husband on this day his birthday.  He is a huge fan of my salads, and I'm so grateful to have him in my life,  supporting me and my many endeavors.  Together, life is grand. Here's to creating, testing and enjoying salads for decades to come. 


My handsome, supportive and loving husband, JuanCarlos... and me.

My handsome, supportive and loving husband, JuanCarlos... and me.


Citrus Salad: Martini Style

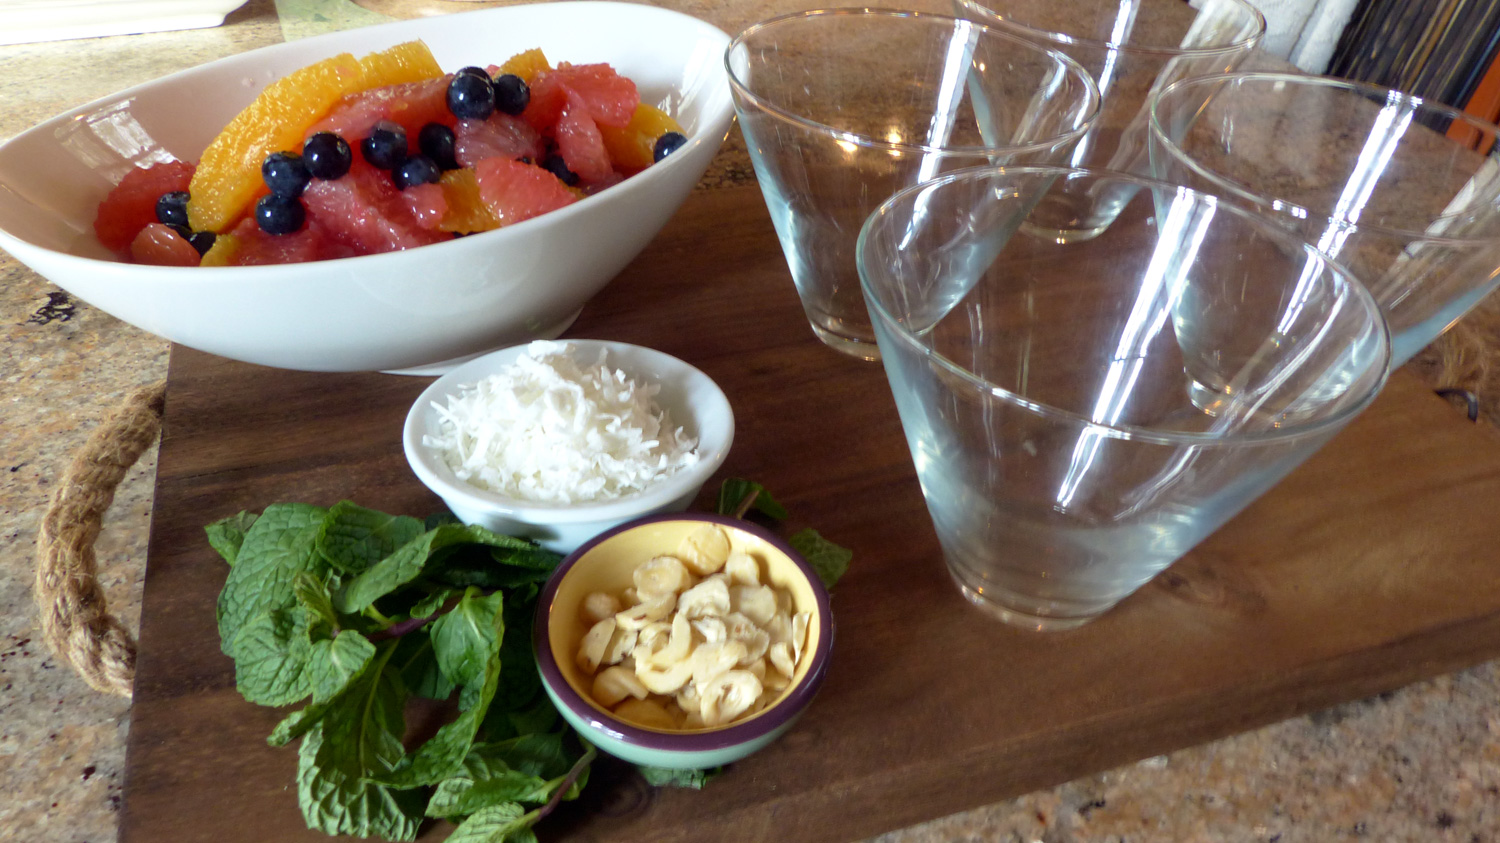
Mother's Day is approaching and often times a sumptuous breakfast in bed is on the menu.  But if time doesn't allow for such an elaborate offering, try presenting her with this simple refreshing breakfast starter, and maybe add a bubbly glass of Proscecco.  This is such an easy way to serve up a fruit salad, but I think it's the stemless martini glass that ups the ante just enough.  

Every time I serve this salad I love hearing the 'ahs' and 'yums' from our guests.  It must be the crisp, fresh flavors of the citrus fruit blended with that pop of blueberry tartness combined with the crunch of the almonds, the sweetness of the coconut with that blast of cool mint.  Just writing that made my own mouth quench for one.  

With the Vitamin C power from the citrus, the highest of antioxidants given by the blueberry, good fatty acids and vitamin E presented by the almond, and vitamin rich coconut, this salad will put a smile on your face and energy in your step.  Heck, try it because it's delicious, the other stuff is just gravy.

INGREDIENTS

3 red grapefruits, segmented
2 orange, segmented
2/3 c blueberries
1/4 c almond slivers
1/4 c coconut shavings, unsweetened
Mint
Homemade Granola (optional)

This amount makes 4 servings.


INSTRUCTIONS

Segment the citrus fruits and place them in bowl with the blueberries. As you are cutting the fruit be sure to reserve the juices. Cut some of the mint into ribbons and add to the fruit.  Spoon the fruit mixture into a pretty cup, adding a few spoonfuls of the juices to each glass. I used stemless martini glasses. Sprinkle the coconut and almond slivers right before serving and top with a few whole mint leaves.  

I also offered my homemade granola for my guests to top off. You definitely would not want to plate it with the granola as it would get soggy.

Honestly, this is so simple but packs a powerful punch as breakfast or brunch starter.  I often serve this as part of my brunch menu.  I think if you offer this up on Sunday it will be a great start to a very Happy Mother's Day.


Postscript: It dawned on me that you could splash some Prosecco over the top to kick this into a true cocktail type brunch item.  I haven't actually tried that but, hey why not?

An Asian Twist to Zucchini Ribbons

You might remember my zucchini story that I mentioned in my "About" page when my sister had way too much of the ubiquitous veggie and didn’t know what to do with it all.  Little did I know back then that the fight to get zucchini right would be an ongoing journey.  Zucchini is always so tempting at the store.  I’m not sure why.  Is it that they look so nicely organized lined in a row?  Or that they seem so hearty? Or healthy? Whatever their lure, the dilemma comes when it's time to cook with them.  They have so much water content that they tend to get soggy, and often times bland.

Several months back while I was in Miami (trying to restart/jump start my next phase in life and get this blog going) I found myself starving at midday.   A good a time as any to be hungry.  And guess what, just days earlier I was sucked in by the usual zucchini temptation and I bought a few.  Which delivers me back to my zucchini dilemma.  Since I didn’t have a ton of other ingredients in my Miami kitchen, my goal was the tastiest, easiest and quickest method to get some food in my stomach.

This is what I came up with. A true something from nothing dish. (Note: that the amounts below really only yield one serving. So adjust the quantities for the amount you need.)

Asian Zucchini Ribbons

  • 1 medium onion, thin slices
  • 1 large zucchini, shredded into ribbons (approx. 2.5 cups)
  • lemon zest & juice of half a lemon
  • 1.5 tbsp Tamari (gluten free)
  • 2 cloves garlic (shredded)
  • 1-2 tbsp olive oil

Instructions:

Shred the zucchini.  You can use one of those fancy, schamcy vegetable ribbon maker, or simply pull out your box grater and grate away. That’s what I did. Then, with the same grater,  grate up the two garlic cloves and set aside.

Thinly slice the onions, and in a cast iron skillet, sauté the onions in olive oil, salt and pepper.  You do not want to caramelize these, just get them soft with some color.  

Add the shredded zucchini/garlic and sauté over high heat.  You truly only need to cook this for 2-3 minutes.  Add the Tamari and stir.  Take off the heat, squeeze lemon juice and sprinkle the lemon zest on top.


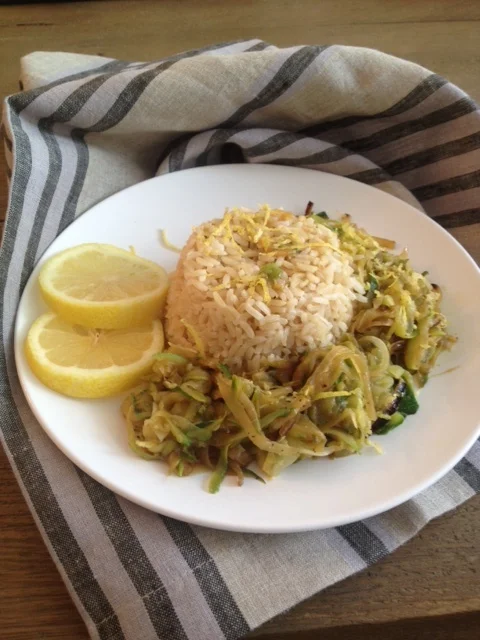
Done and done.  I ate the whole bowl. It was so delicious I decided to make another batch, this time adding the complement of rice, and saving it for the next night's dinner.

I think that this dish truly illustrates how you don’t need a ton of ingredients or skill or technique.  A few fresh items can provide so much flavor.  I kept this simple because I didn’t have much to work with (hence the something from nothing idea) but it dawned on me that you could add in some other ingredients in keeping with the Asian theme.  Like scallions or snow peas.  I do like the simplicity of this dish as I first made it, but this is one of those 'recipes' where you can enhance at will.  So I beckon your will, if you do try this one out and enhance it, please share your version with me. 


Loaded Potato - Healthy Style

I know you might find this hard to believe but I had a left over baked potato.  How is that possible, you say?  Well, my sister didn't join us for dinner one night and we had already eaten our fill of the fluffy spud. So the next day I decided to have a healthier version of a loaded baked potato.  

First, in case you missed how I cut the potatoes, you simply make slices not cutting all the way through.  Drizzle with the Magic 3 (oil, salt, pepper) and bake for 40-60 minutes. (Again, I can't take credit for this style of cutting. I saw it somewhere and liked it).   

Instead of using sour cream, I took out the Greek yogurt, every variety of the onion family I had (chives, scallions, red onion) and chopped them up.  Stirred them all together with a dash of salt and squeeze of lemon for brightness.

Chives, Red Onion & Scallions ready to be slathered in creamy Greekness.

Chives, Red Onion & Scallions ready to be slathered in creamy Greekness.

I also had some left over roasted broccoli and it reminded me of another topping that you often find in loaded potatoes.   But the roasted version is definitely a cleaner alternative to that traditional topping that is usually swimming in cheese sauce. I love texture, and these provided that crispy element, so I added it to my potato.

I suppose if you wanted more crispiness and the bacon factor but still wanted to keep it 'leaner', you could take some proscuitto or serrano ham, and crisp them up in the oven. This would make a less fatty version for sure.  I kept mine lean and mean with just broccoli and yogurt.  Add a small salad and you have a great lunch. A filling, healthier version of the traditional.  


Mums... the Word

I love working with flowers and listening to each stem tell me how it wants to be displayed. Living in Westchester NY, I go into Grand Central Station when I travel into the NYC.  There are tons of great shops in Grand Central, but one of my favorites is Dahlia Florist. They have a wonderful selection of flowers that at reasonable prices and that last long.  And as with shopping for food, I don't usually go there wanting to buy a particular flower. Instead, I see which ones look the best and have a common theme.  I try to go in the morning because Simone is there and she knows what is the freshest or will tell me if I can or can't combine particular flowers together in one vase. 

I can tell you that I am more of a purist when it comes to floral arrangement.  I like to keep the colors simple, sometimes even all one color but using different flowers.  I find this style can create a powerful impact.  I have also found that this monochromatic or zen approach can elevate the elegance factor even for the most common, inexpensive flowers, like carnations or mums.

My purchase this past week waiting to arranged

My purchase this past week waiting to arranged

Hence the title of this post, Mums the Word. But in this case, I am not keeping quiet about the beauty of Mums but instead declaring that indeed they are The Word.  When using several variations of Mums of the same color and displaying them simply and abundantly they can create drama.  I also picked up some Alstroemeria because I thought their purple hue and subtle green tones would play well off the white Mums.

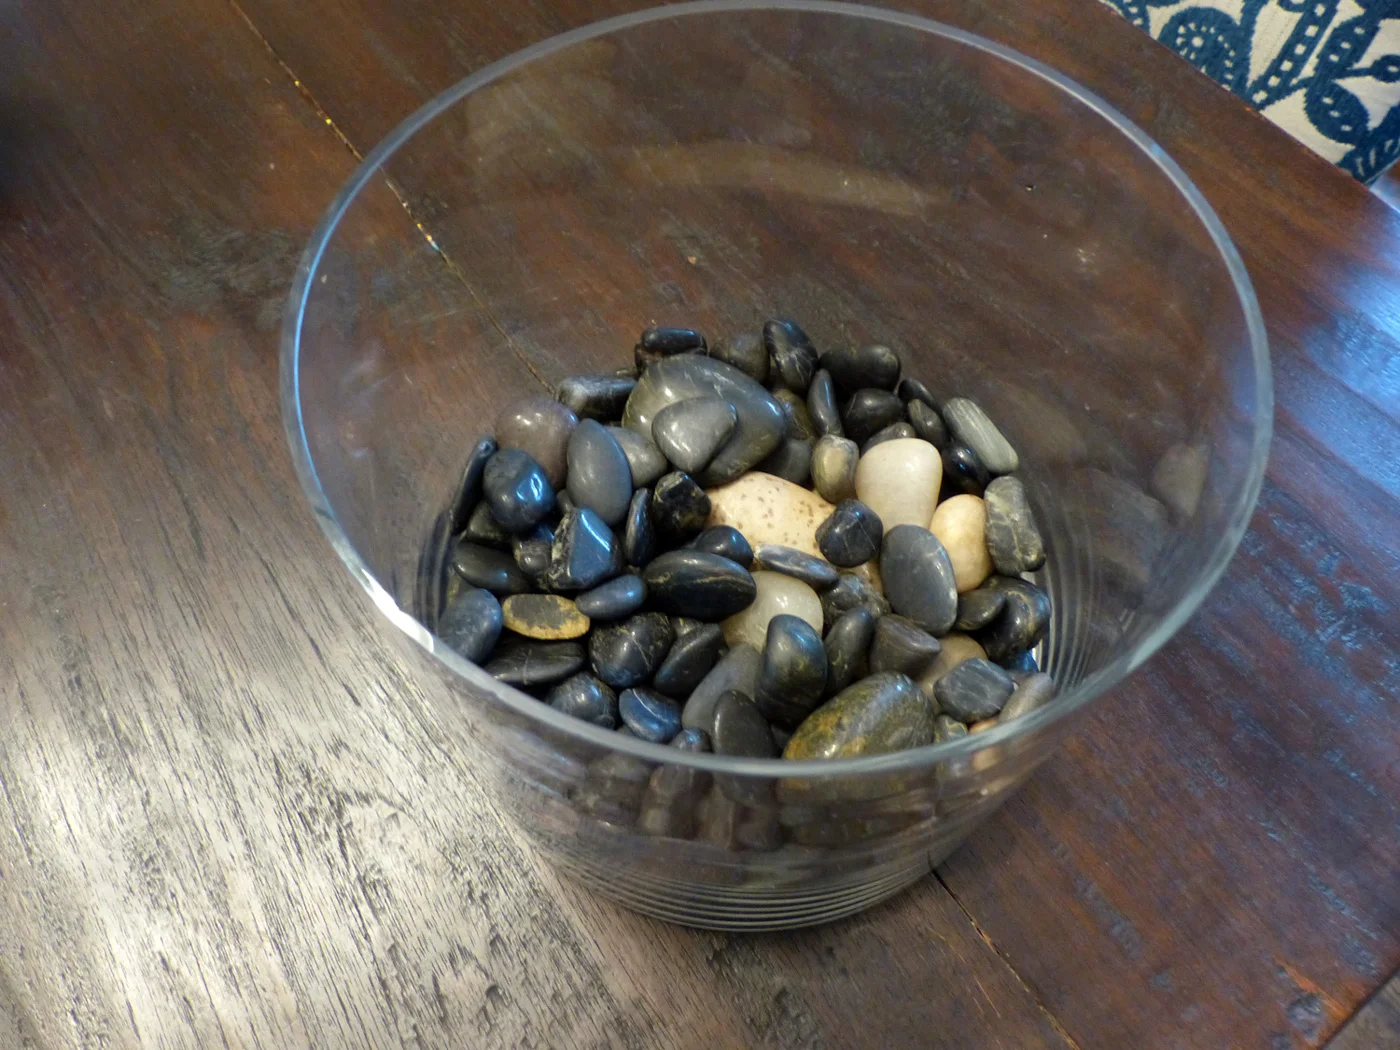
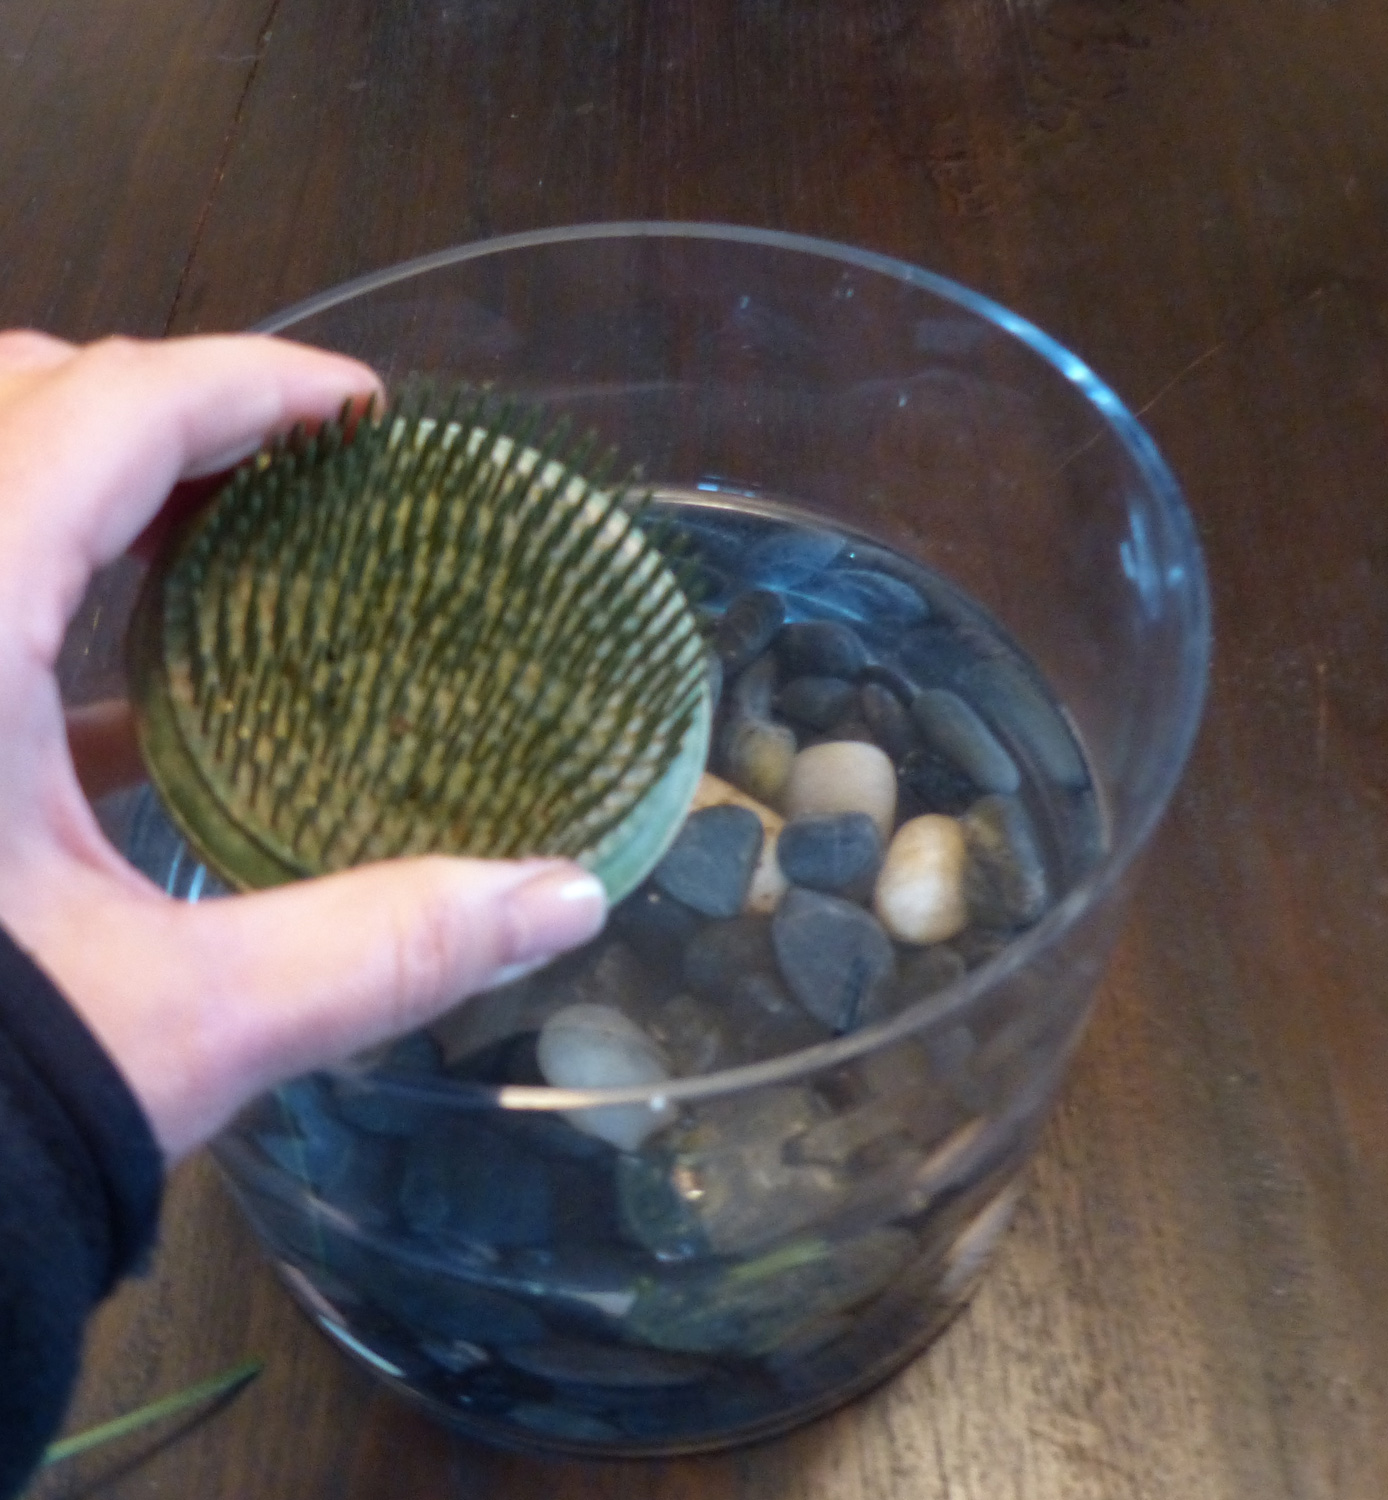
When I chose these flowers I knew that I wanted to make one big arrangement, as opposed to many small ones, which I have done in the past for party tables.  This one was intended to bring spring cheer to our dining room, so one statement piece was in order.  Picking out a large glass vase that had a wide opening meant that I would probably need a flower frog at the bottom. With such a wide mouth it's a bit more difficult to arrange without having some stability. The frog holds the first batch of stems exactly where I want them to be so they establish the center.  

Wide mouthed vase

Wide mouthed vase

Flower frog helps to hold the stems in place

Flower frog helps to hold the stems in place

I started by cutting the stems to the length I wanted.For this arrangement I knew that I wanted to create a ball of white in the middle.  To do that effectively, the stems need to be cut at relatively the same length and slightly higher than the lip of the vase. The challenge sometimes with Mums is that they have flower stems that shoot off at different levels of the main stem. Often times you have to be creative with the cuts to get the height you want trimming those bottom stems and leaving the main bunch as one stem.

I started building the center using all of the same kind of Mum.  Once I had a good amount, I began placing the next type of mum all around the perimeter and continued the same method with the last type filling in all the spaces.

Using the frog to establish the center from which the ball can build

Using the frog to establish the center from which the ball can build

The final layer was placing the Alstroemeria on a severe angle at the very edge of the vase.  The angle allowed them to sit out as opposed to straight up which helped shape a wide circle around the burst of white mums.

 Once I had a complete ball, I kept filling in any empty spaces.  I really love the strong statement that the Alstroemeria make as they corral the mums in a purple lasso.

The finished main arrangement, a ball of white cheer

The finished main arrangement, a ball of white cheer

Since there were leftover mums, and plenty of vases, I composed small white bunches that would accompany the main arrangement.

Heres' an overhead angle of the finished centerpiece with the smaller vases flanking it. It delivered on the promise of bringing spring cheer to our dining room.  Cheerio!

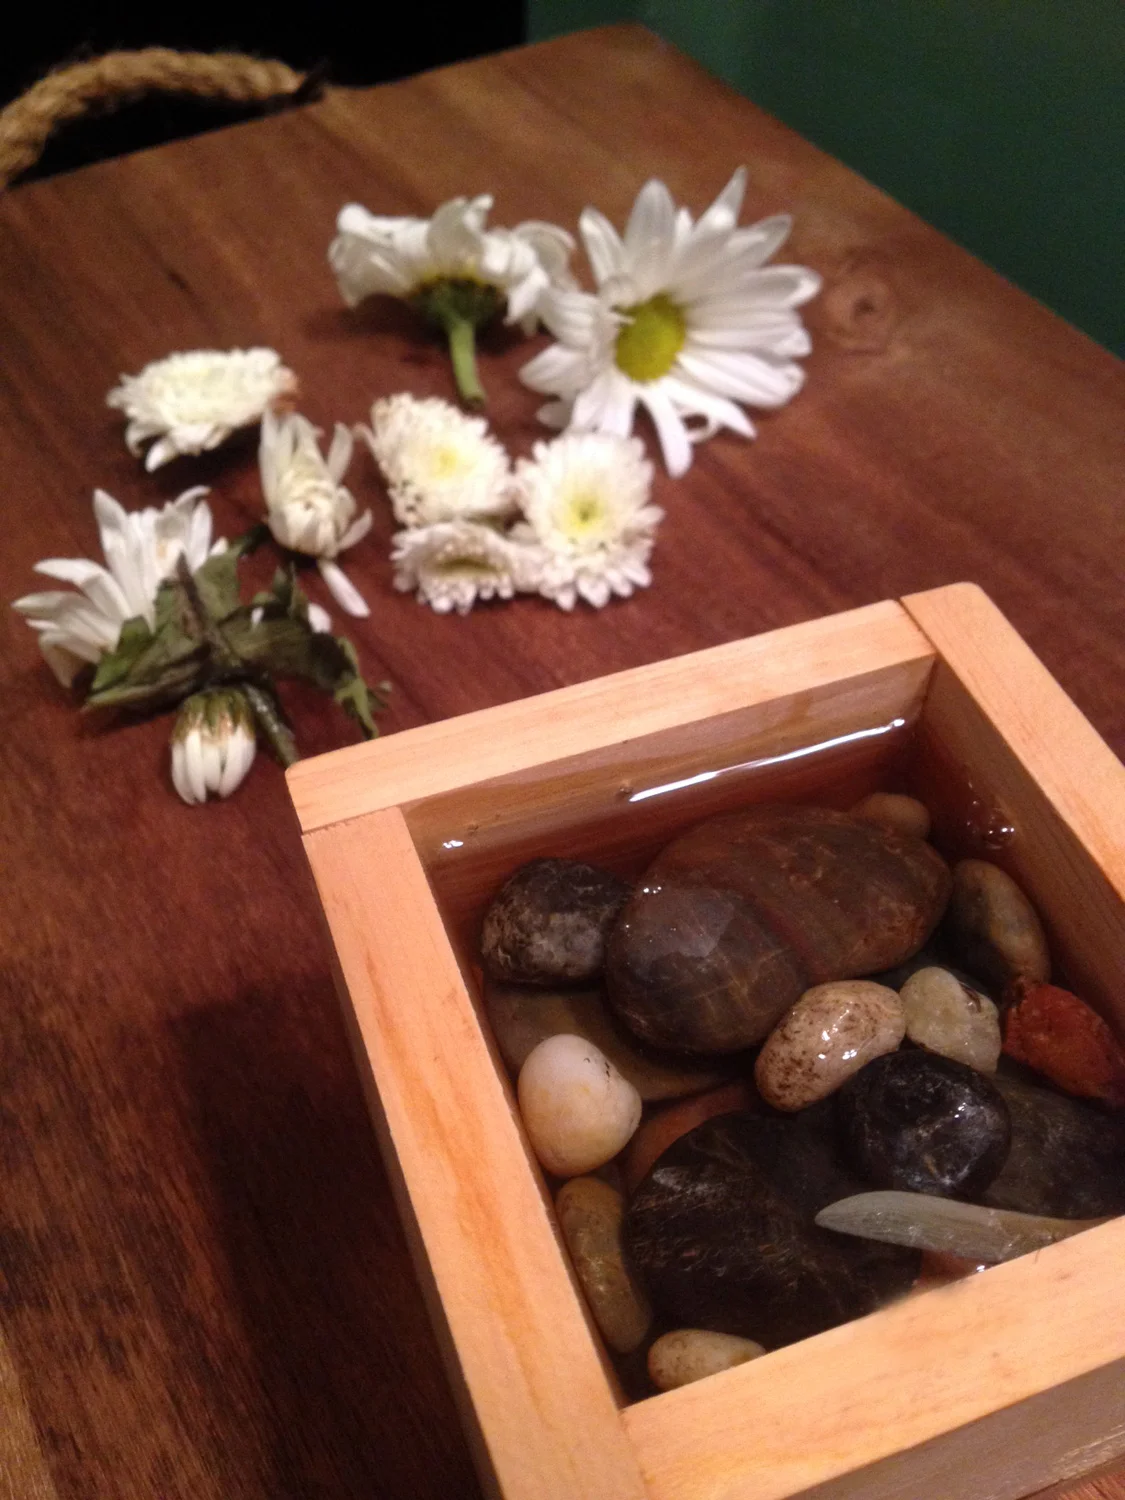
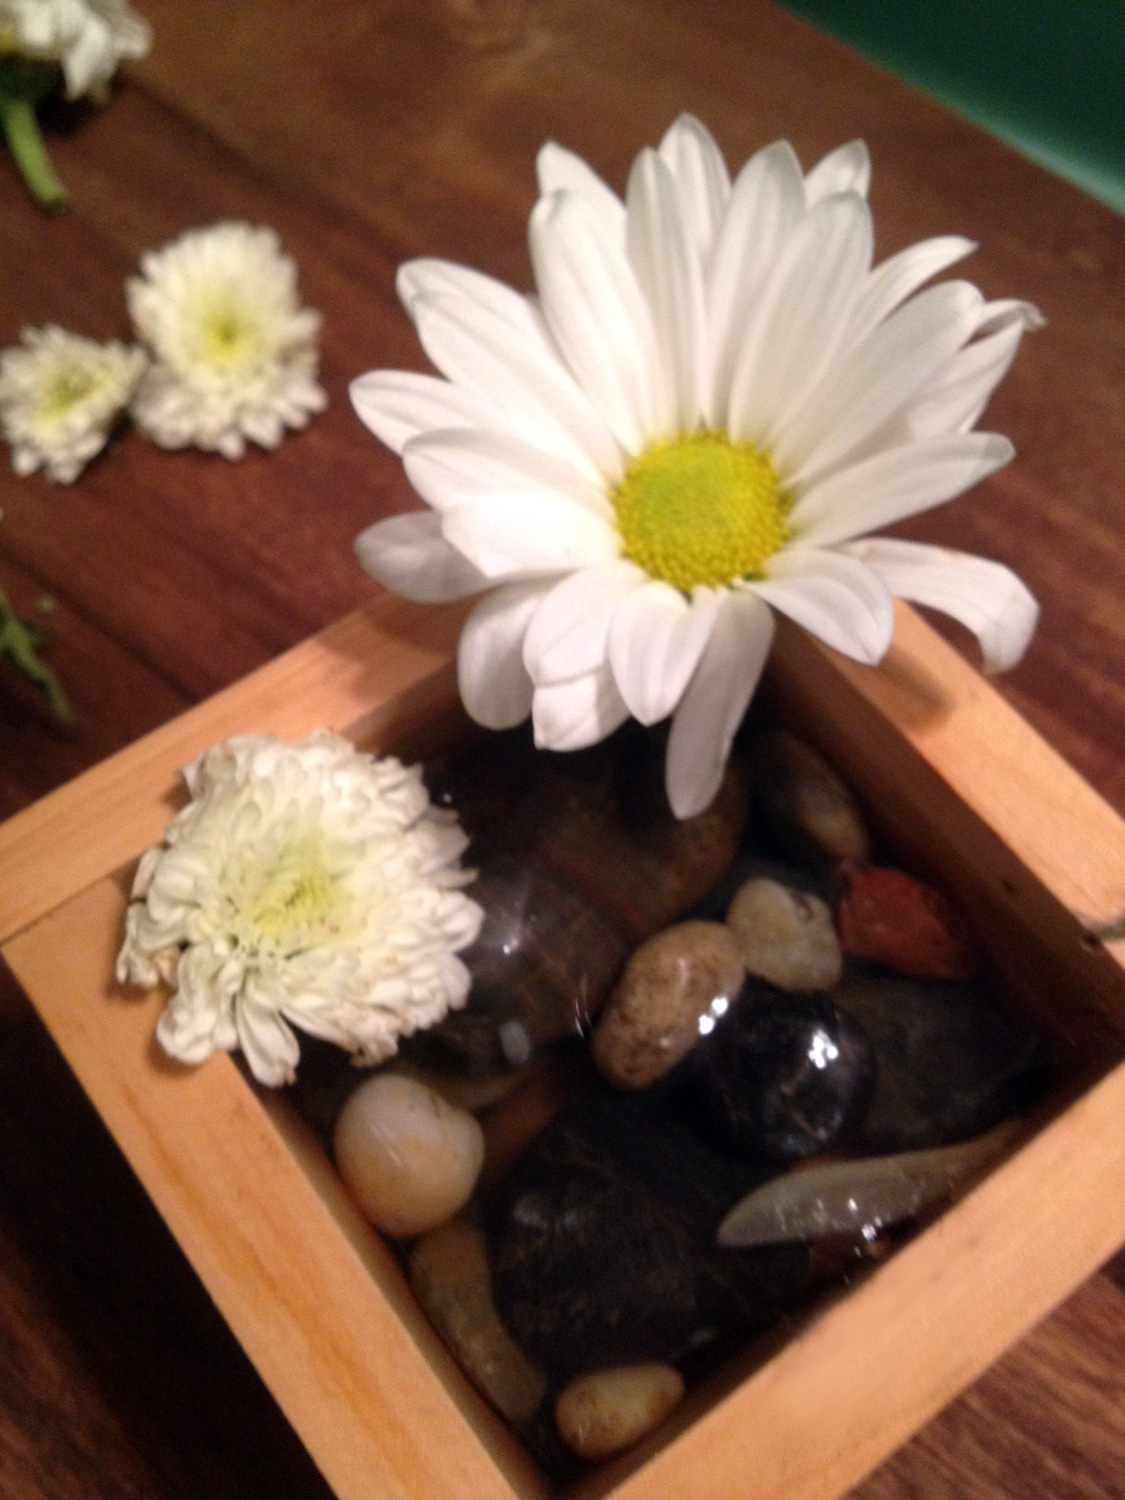
Sometimes a few buds break off.  I don't like throwing those away.  Each flower has it's purpose and beauty.  So I always try to find a way to show it off.  Here's a zen way of letting the buds shine.  I used a wooden sake cup, filled it with small pebbles and water, and began placing the buds to float together.

I hope this demonstrated just how beautiful an inexpensive flower can blossom into a magnificent centerpiece, or even a little bud garden. Spread the Mum word!


Also, I am repeating this little message about posting a comment since there might be some questions on how to do so.   Please note that you do NOT have to subscribe to Squarespace. After you write a comment, a black window pops up with several icons.  If you click on the one to left that resembles an outline of a person that will allow you to submit the comment without a sign up. You will only need to put your name, as leaving your email is optional. I would love to hear your comments and feedback, so please comment away!