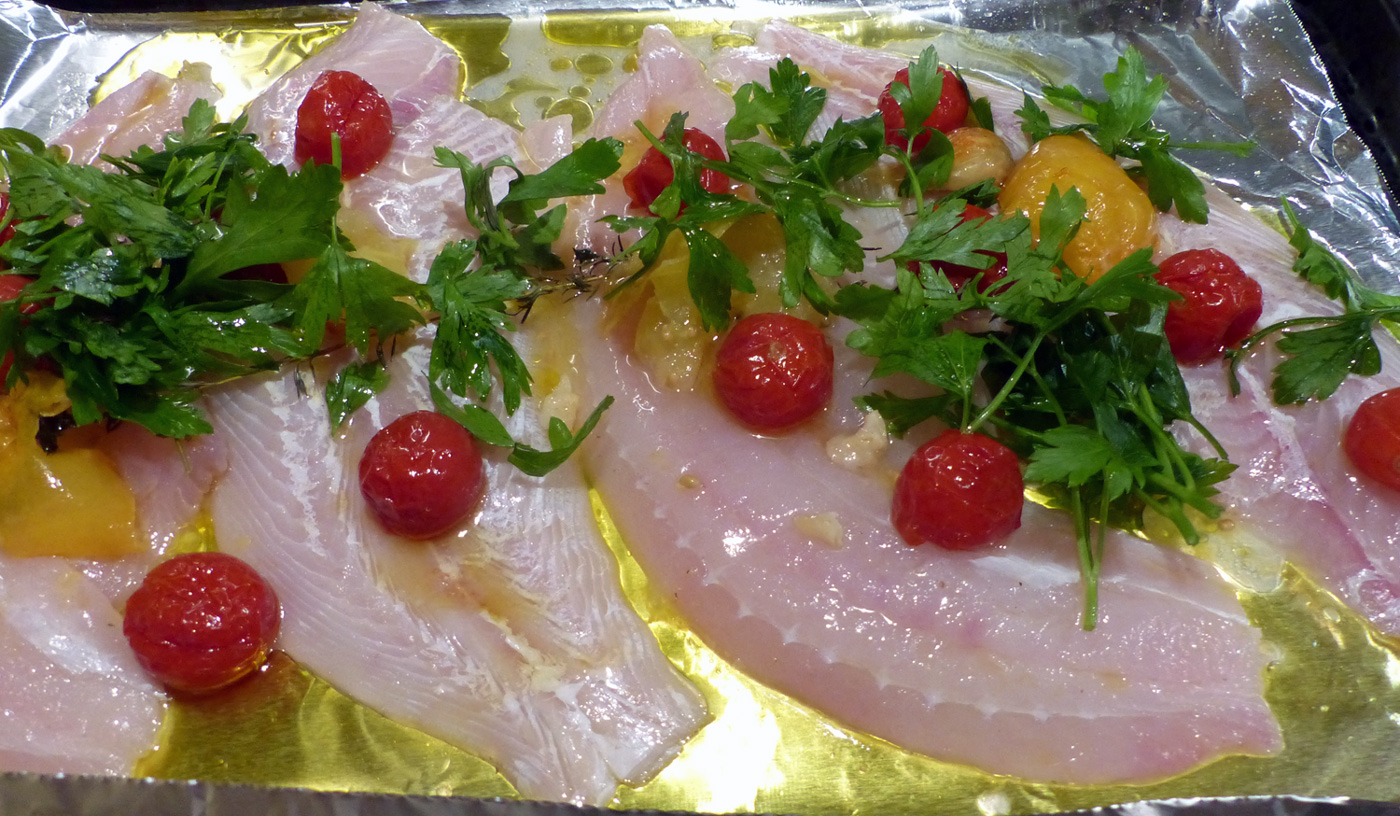
I know there are carnivores out there who have been reading my blog. Thank you for your patience. I can only imagine how you have been waiting, maybe a bit anxiously, wondering when some meat dishes might appear as you lovingly, shifted through and endured dozens of veggie and fish dishes. I see you gingerly raising your hand. I hear you asking, 'Where's the Beef?' And my answer is: Go big or go home. Which is why I am starting off with a hearty meat dish like Osso Buco. Don't be afraid. This is not a difficult meal to create. In fact, it's a one pot wonder, but it does take some cooking time. This dish is perfect for this time of year, plus it's the ideal, plentiful dish to serve during the holidays. Usually when we make this in our house it's for a special occasion or just to make my mom and dad feel as special as they truly are. Such was the case as we celebrated both their birthdays last week. Typically, my husband JC, is in charge of making it. Not because I won't or can't, but simply because I'm usually making a dozen other dishes. So again, thanks for your patience. And now, the MEAT.
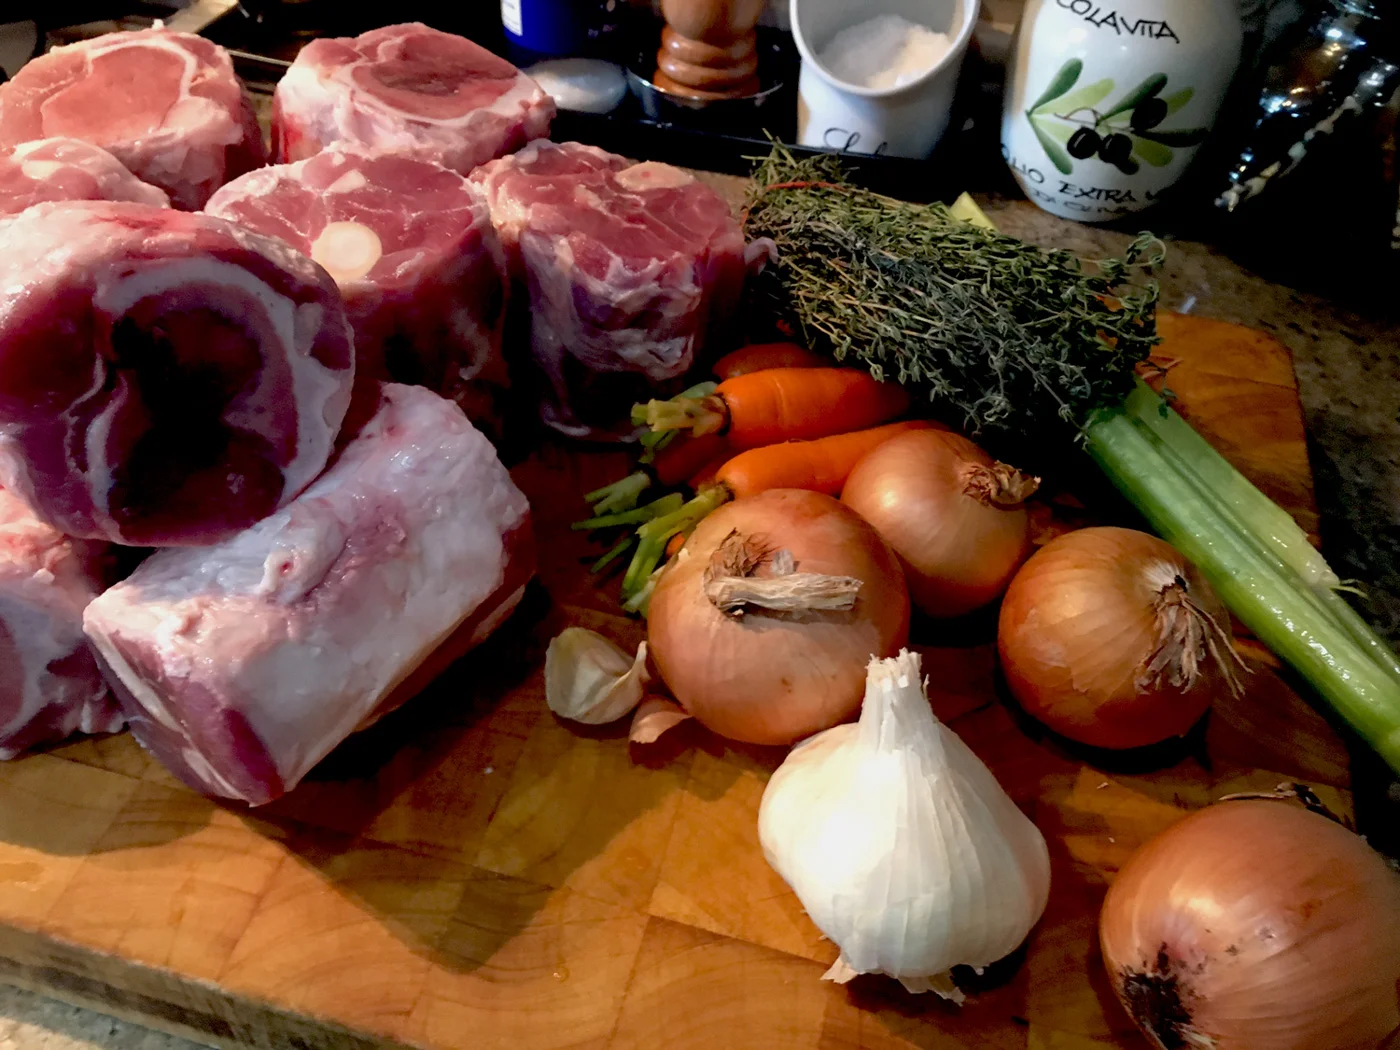
These are pork shanks. Traditional Osso Buco is made with veal but both are equally good. (Photo credit: asithappens.me)
Ingredients
8 pieces Osso Buco shanks (Veal or Pork)
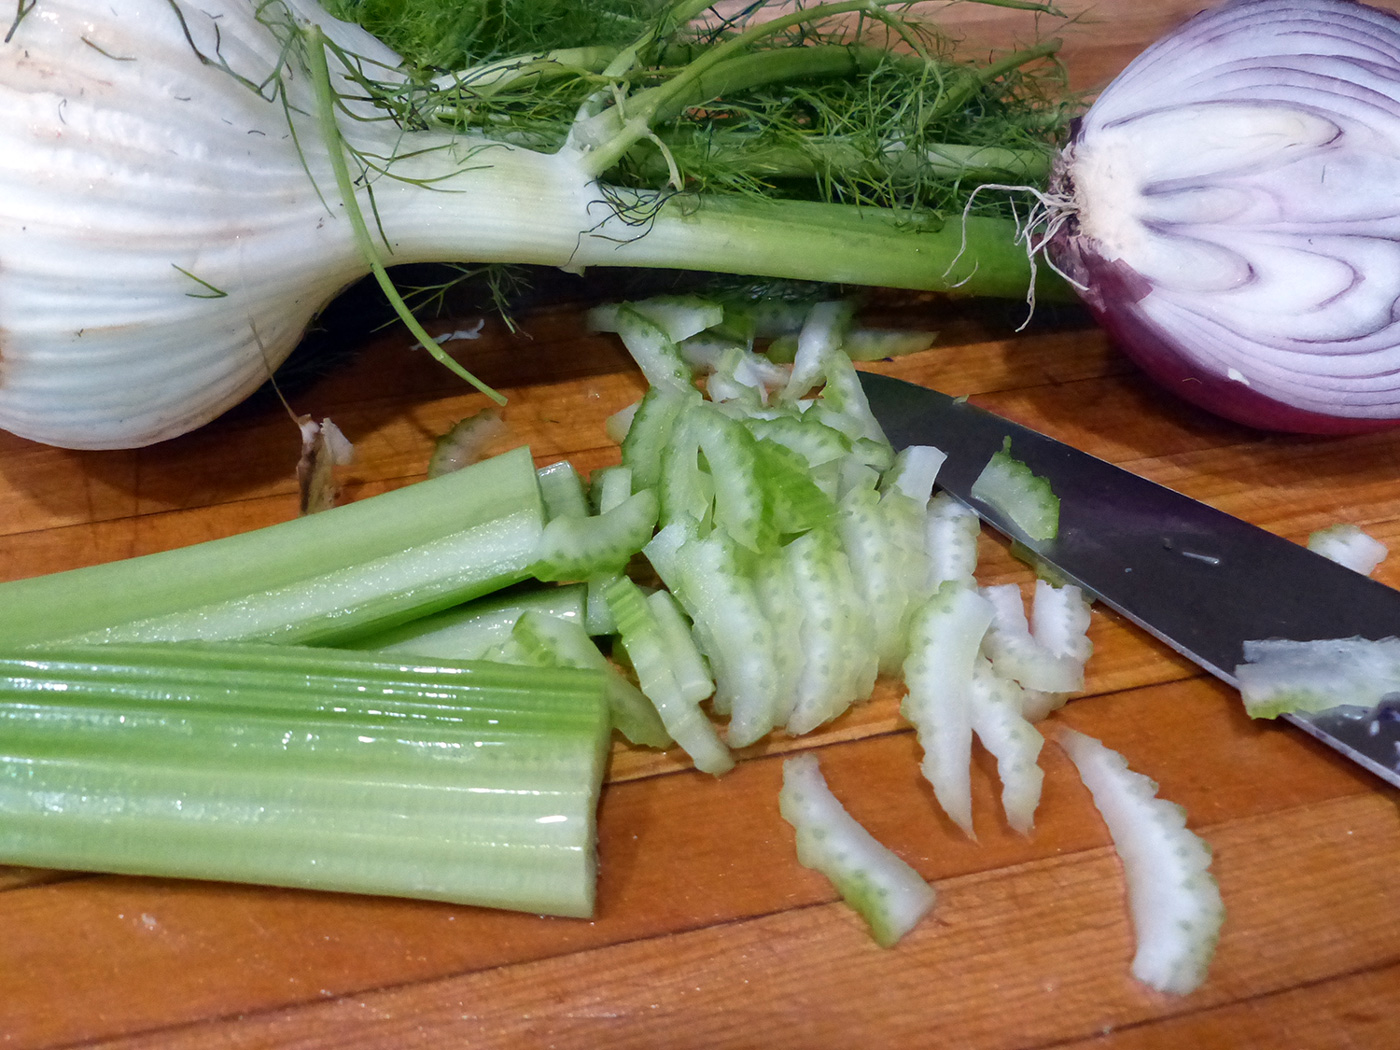
4 yellow onions, quartered
4-5 small carrots (Keep 2 whole, rest diced)
2 celery stalks, thick slices
6-8 cloves garlic, smashed & minced
4 whole plum tomatoes (roasted or fresh)
Fresh thyme, 8-10 whole sprigs
1/2 bottle white wine
8 oz. water
Magic 3 (oil, salt, pepper)
Instructions
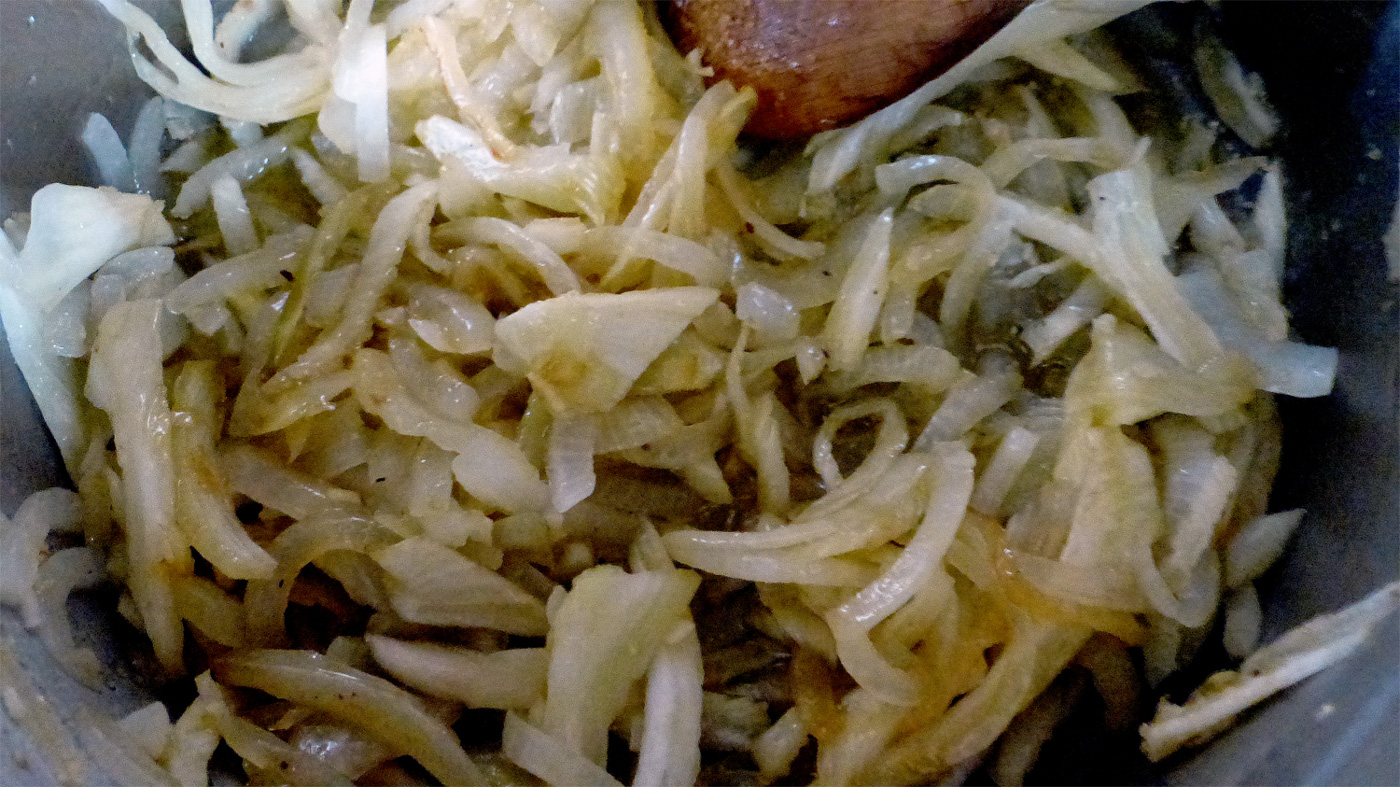
Pre heat the oven to 350 degrees, making sure that you have removed or moved the racks to accommodate the size of the pot. In a dutch oven or large stock pot, sauté vegetables for about 15 minutes under tender. Add salt and pepper. (We use a large Le Creuset which is ideal for holding in the heat for slow cooking.)

Photo credit: asithappens.me
The preparing of any protein is important in order to achieve the best cooking results. So it goes without saying that these shanks will need a little love. Rinse them in cold water and completely pat dry. All protein should always be as dry as possible prior to cooking.

Photo credit: asithappens.me
Then oil the shanks and place them in the dutch oven standing upright and pushing the vegetables out to the sides and also placing on top.
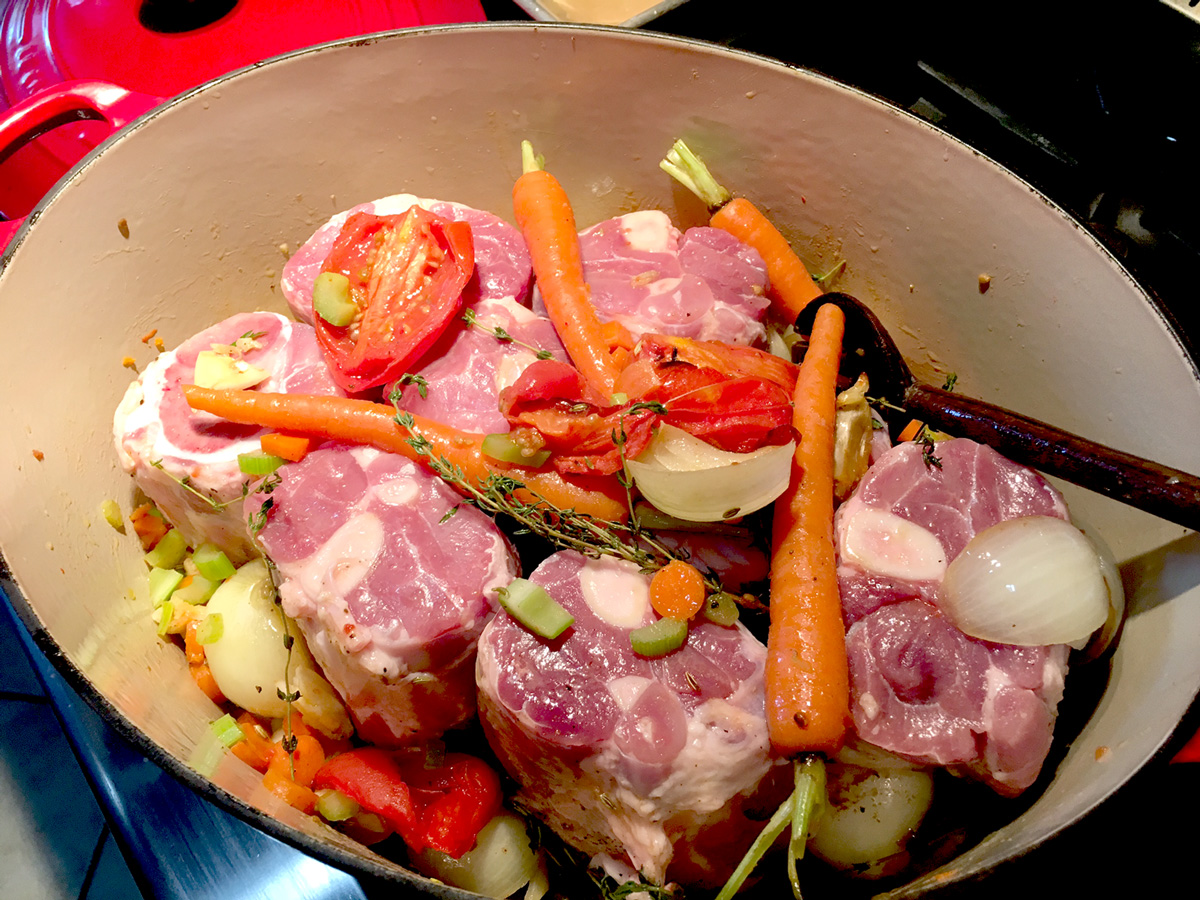
Photo credit: asithappens.me
Then lovingly but with gusto add the wine and water. Turn the heat on the stove up and bring the pot to a boil. Once at a boil, turn off the heat, put the lid on and place the entire pot in the oven.

Photo credit: asithappens.me
Cook for approximately 4 hours. Check at the 2 hour mark to make sure there is enough liquid. Only if it is really dry should you add a glass of water since the goal is to cook this slowly so the meat falls off the bone. This requires liquid.
And how do you know when it's done? The sides of the pot are brown, the meat falls off, the vegetables are soft and beautifully broken down into the sauce. I guarantee you that as this cooks it will fragrant your entire home with the sweet vegetable aromas that will have your guests running to the table.

Photo credit: asithappens.me
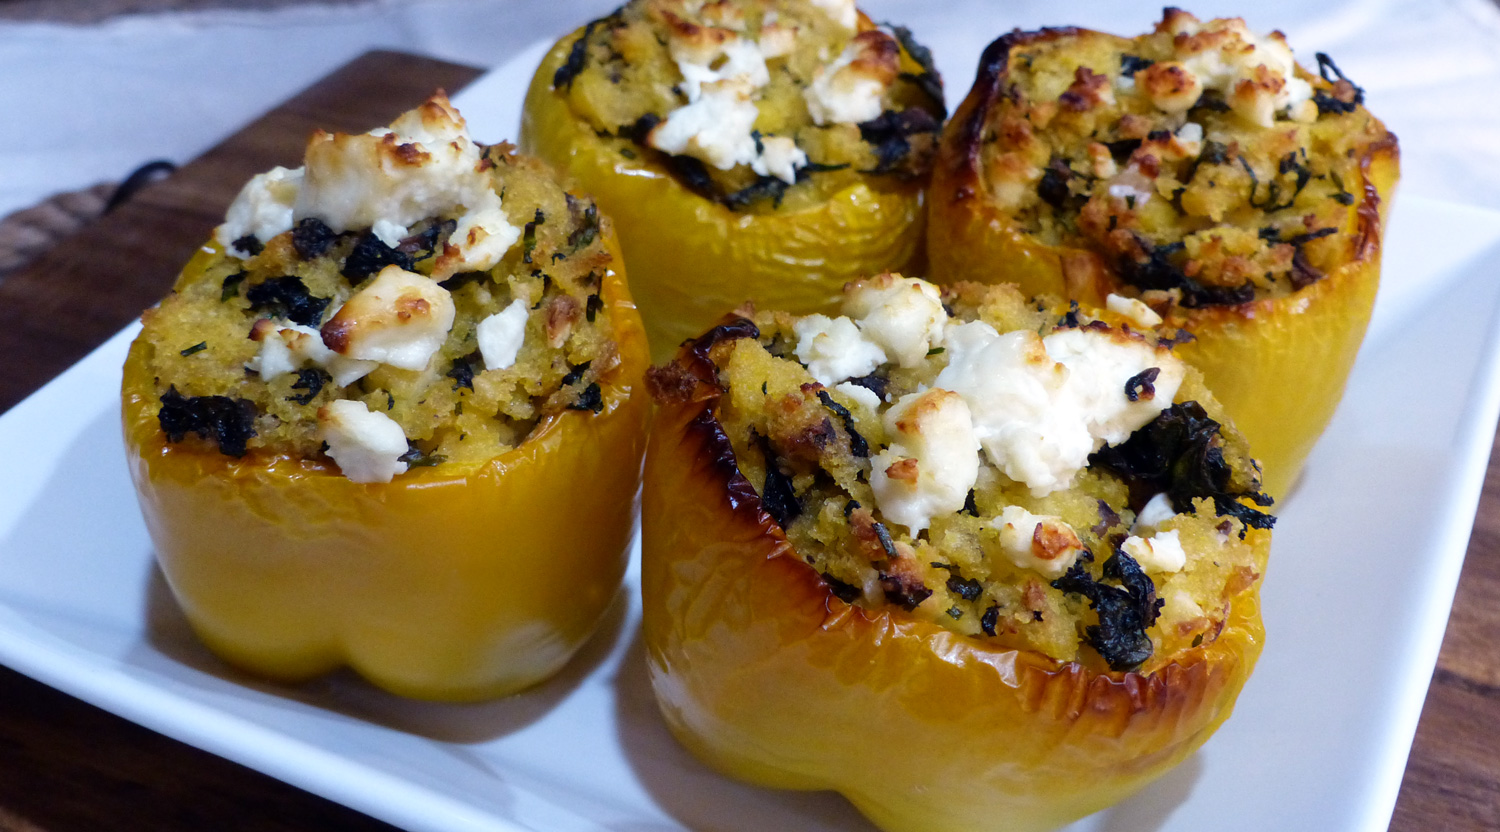
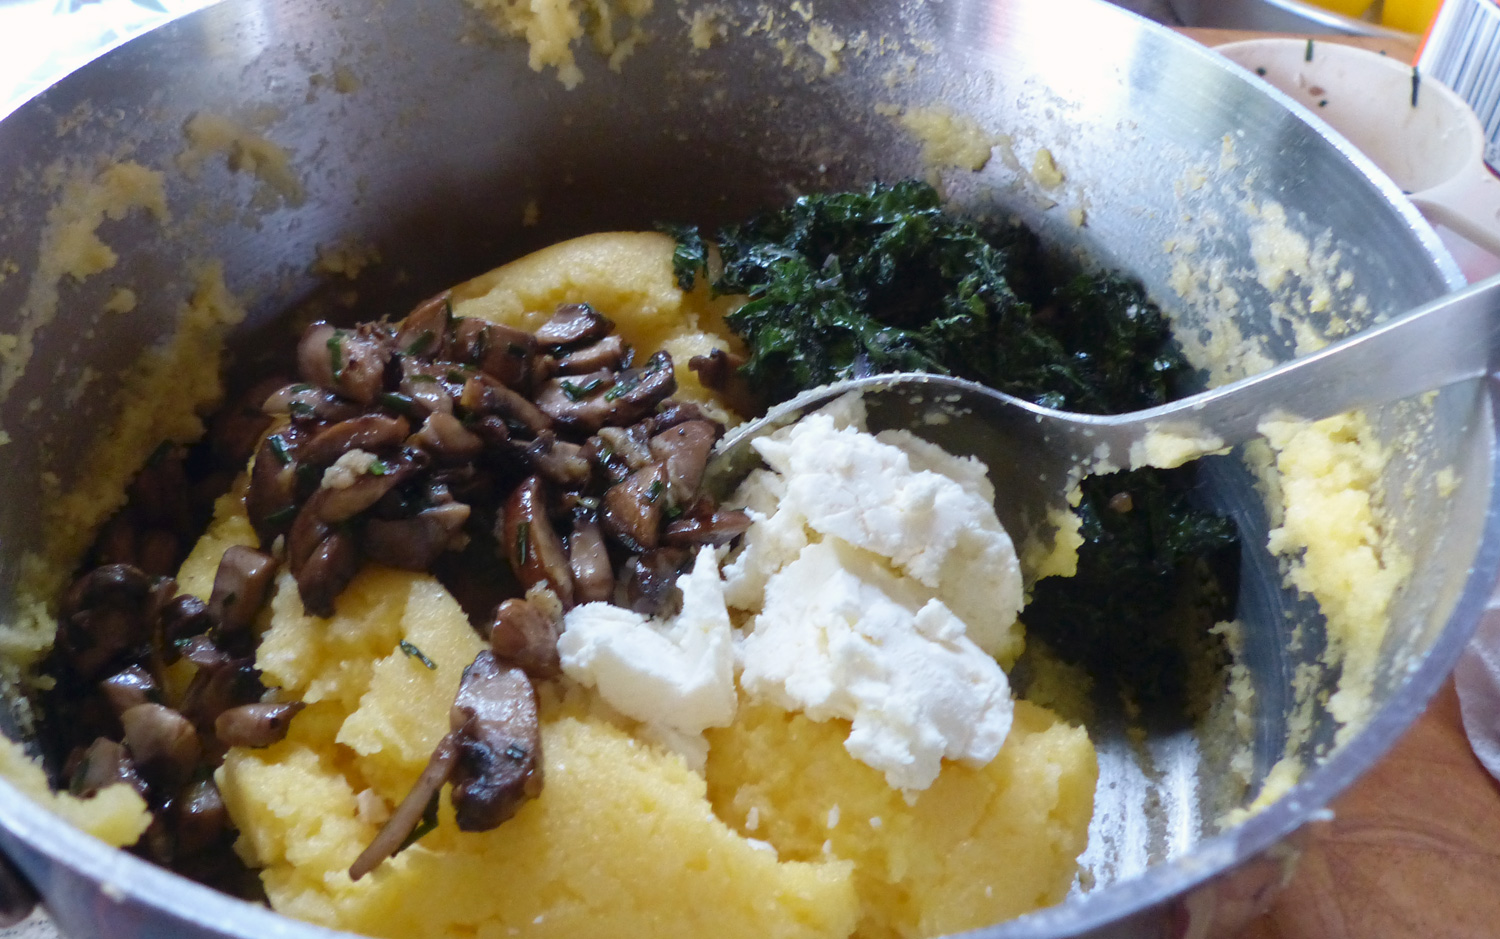
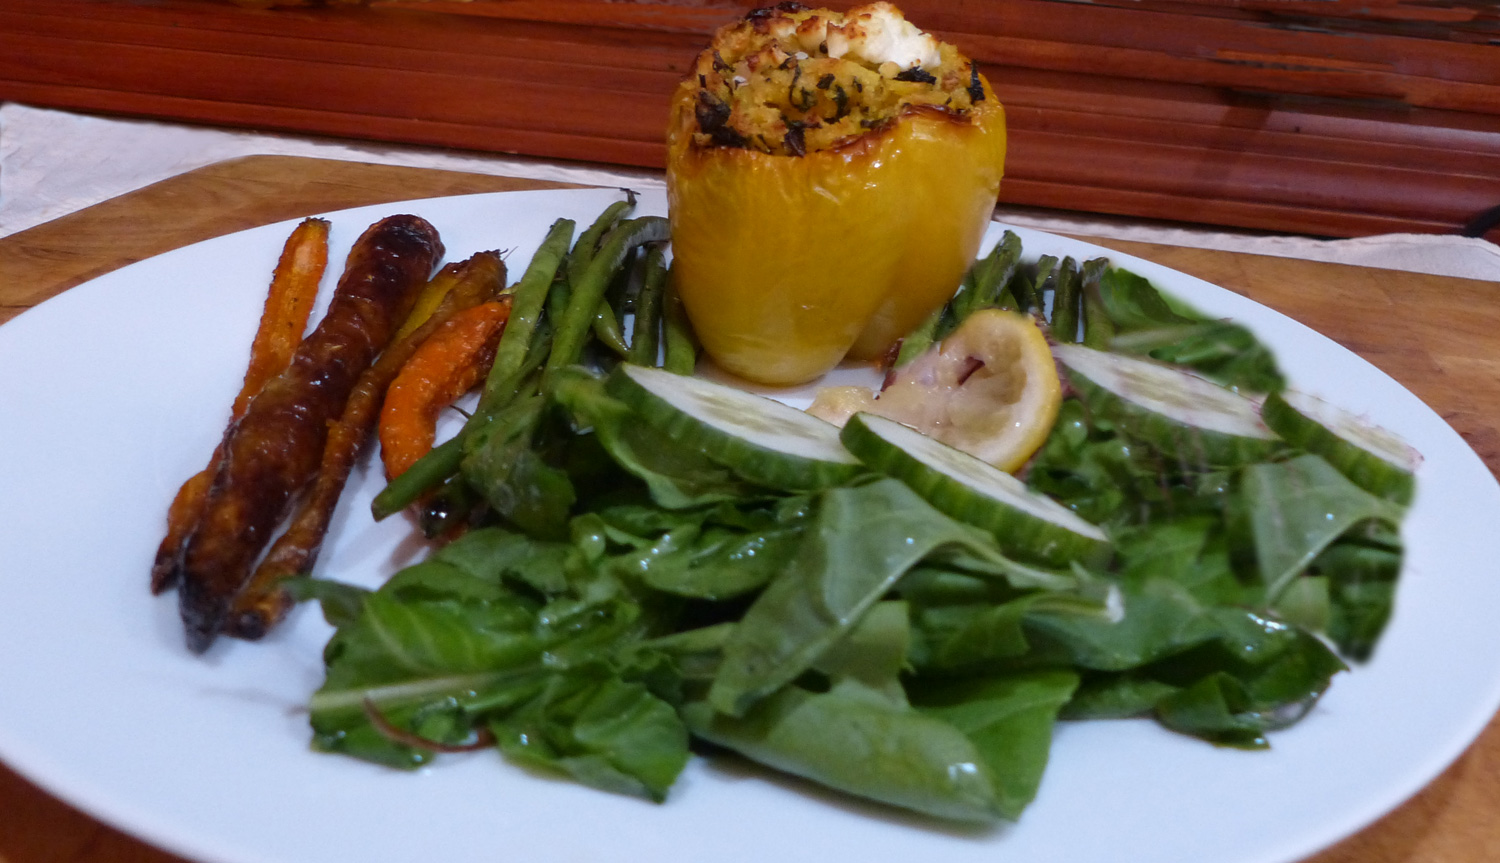
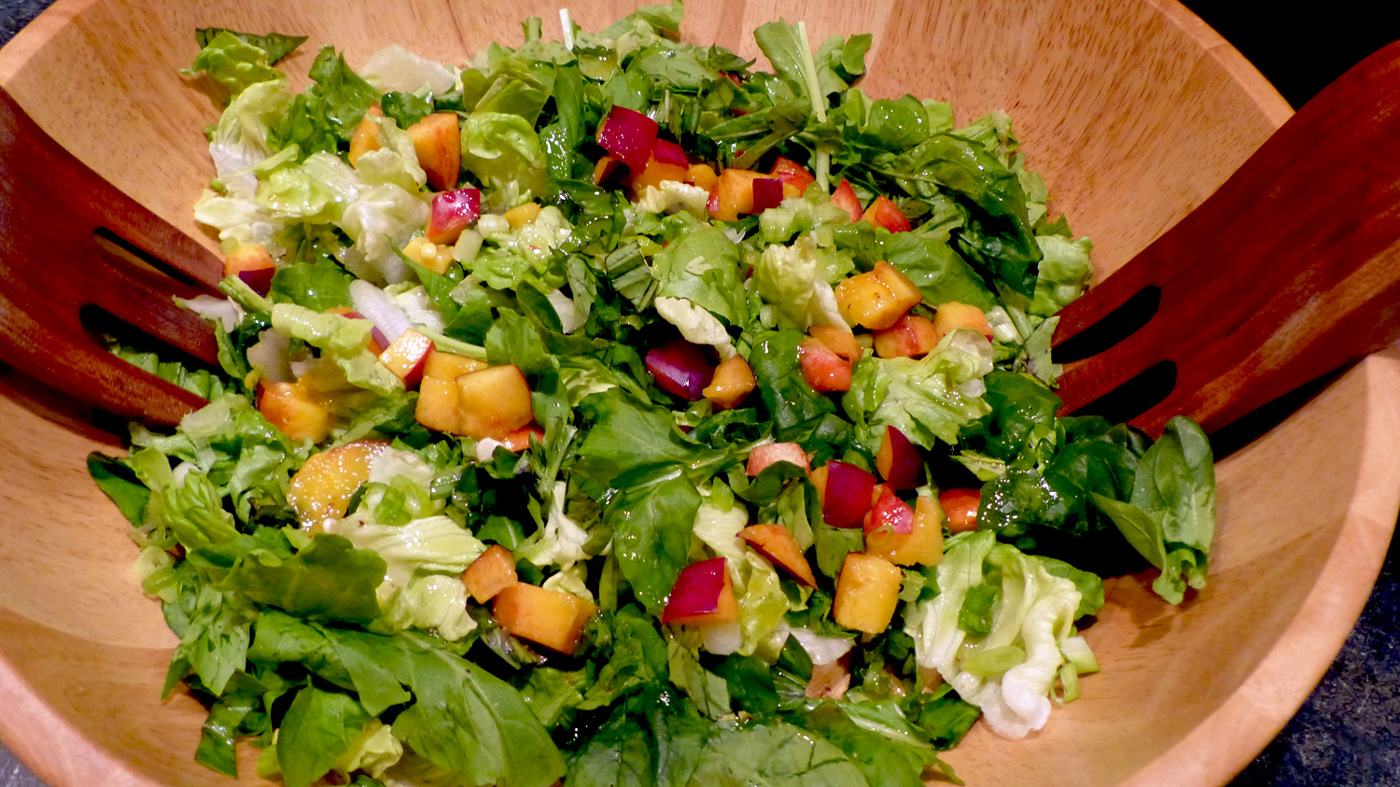
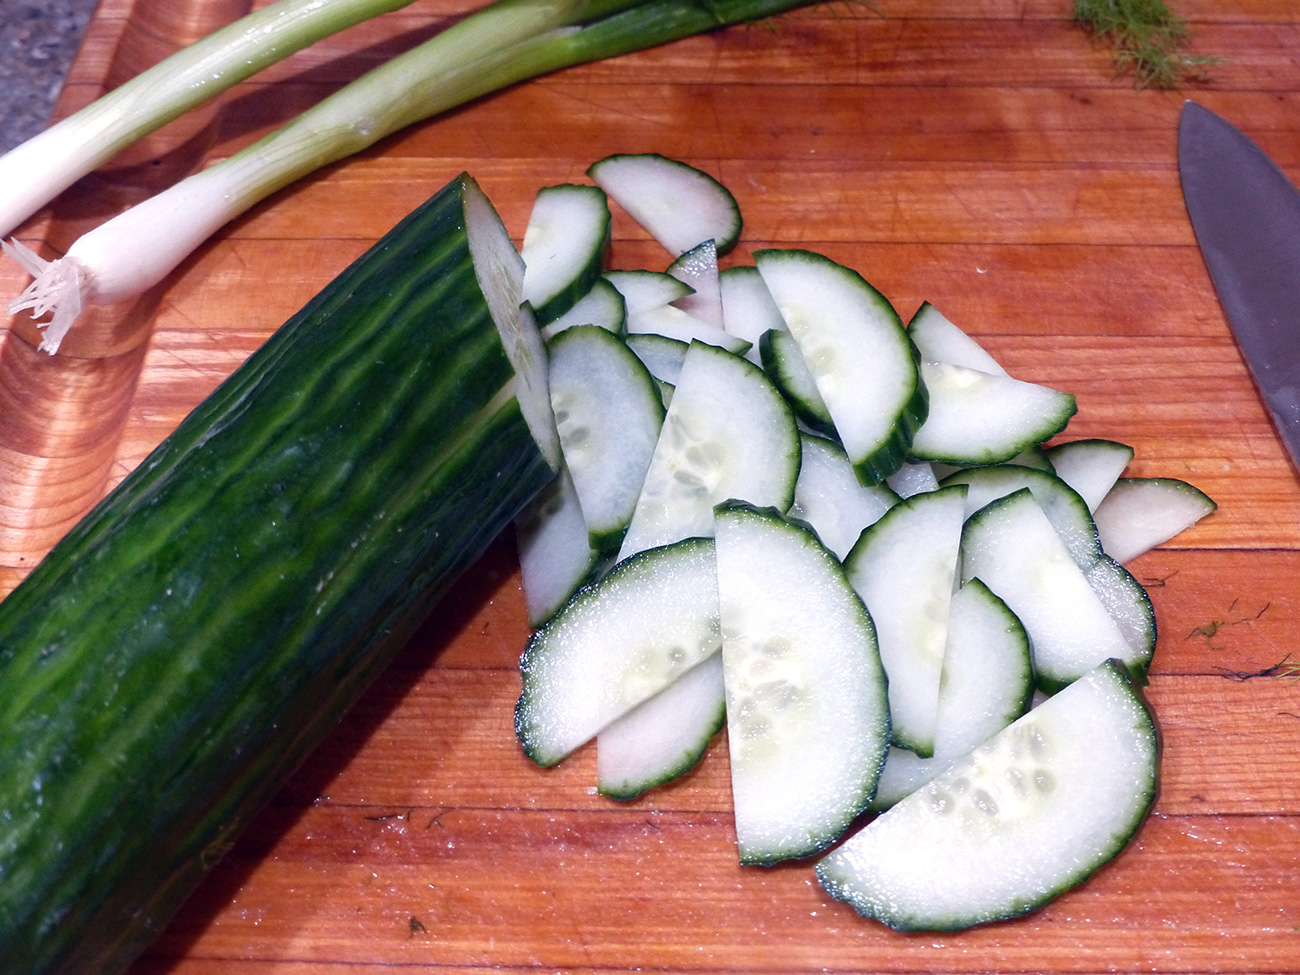
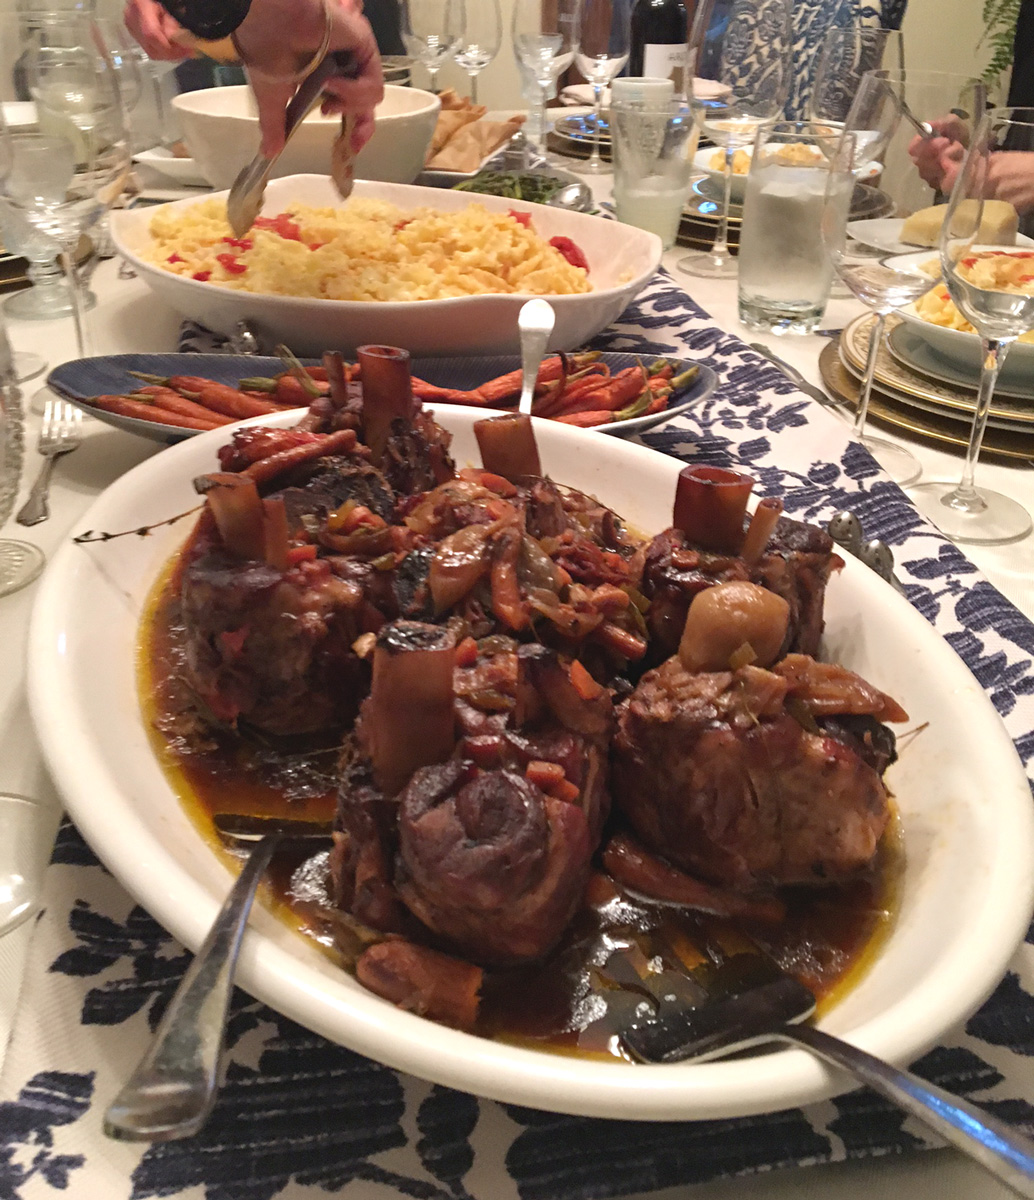
With tongs, carefully remove the shanks and place onto a serving platter, pouring all the good stuff around and on top. Serve this with polenta, or pasta, as we did. Pour an earthy glass of Barolo and share the love. We also offered up oven roasted carrots, asparagus and crisp green salad with Persian cucumbers and celery.
(This cooking technique can be used with a variety of other types of meats. Spare ribs, short ribs, rabbit. Pretty much anything you want to fall off the bone and mingle in with the sweet liquified vegetables. Please wear a bib!)
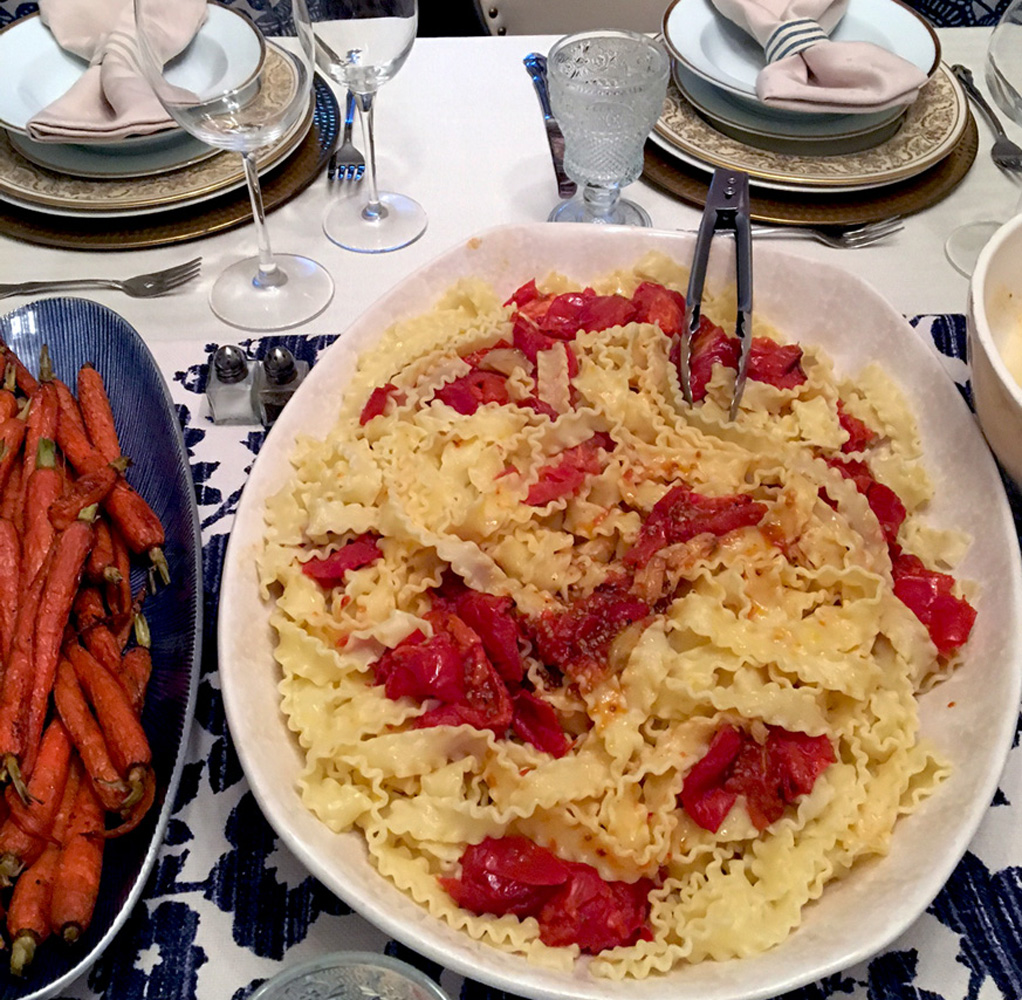
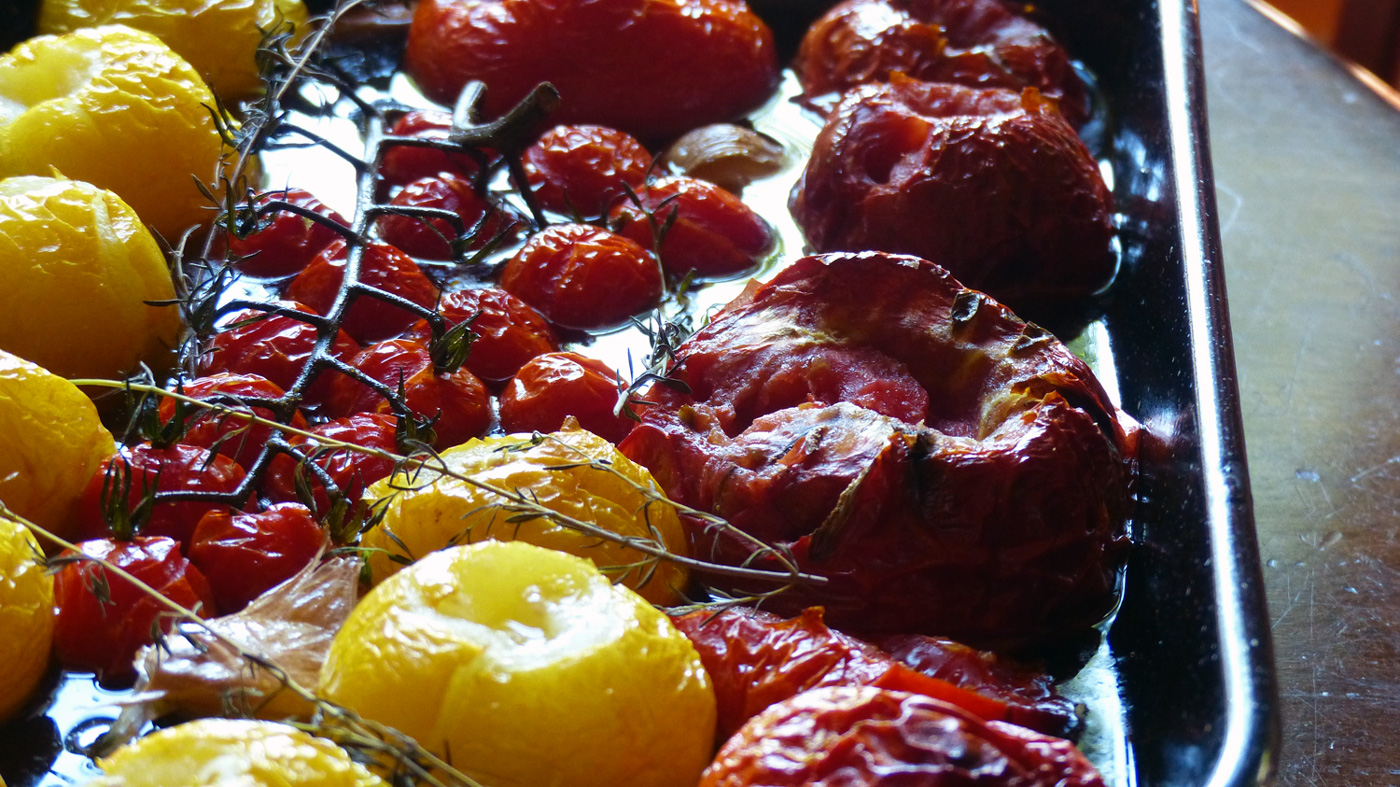
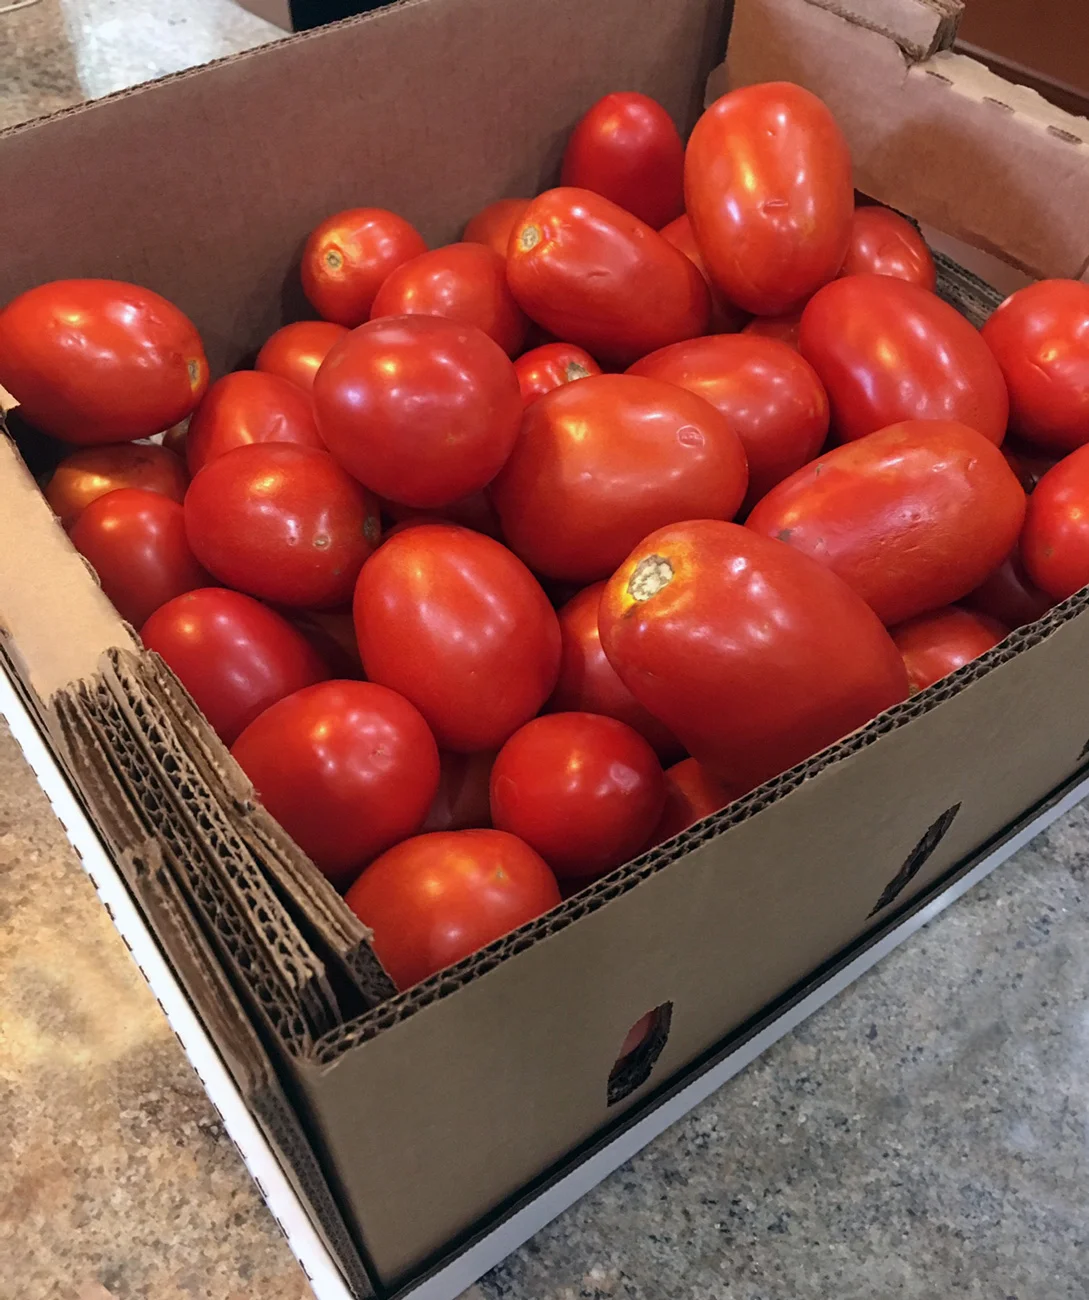
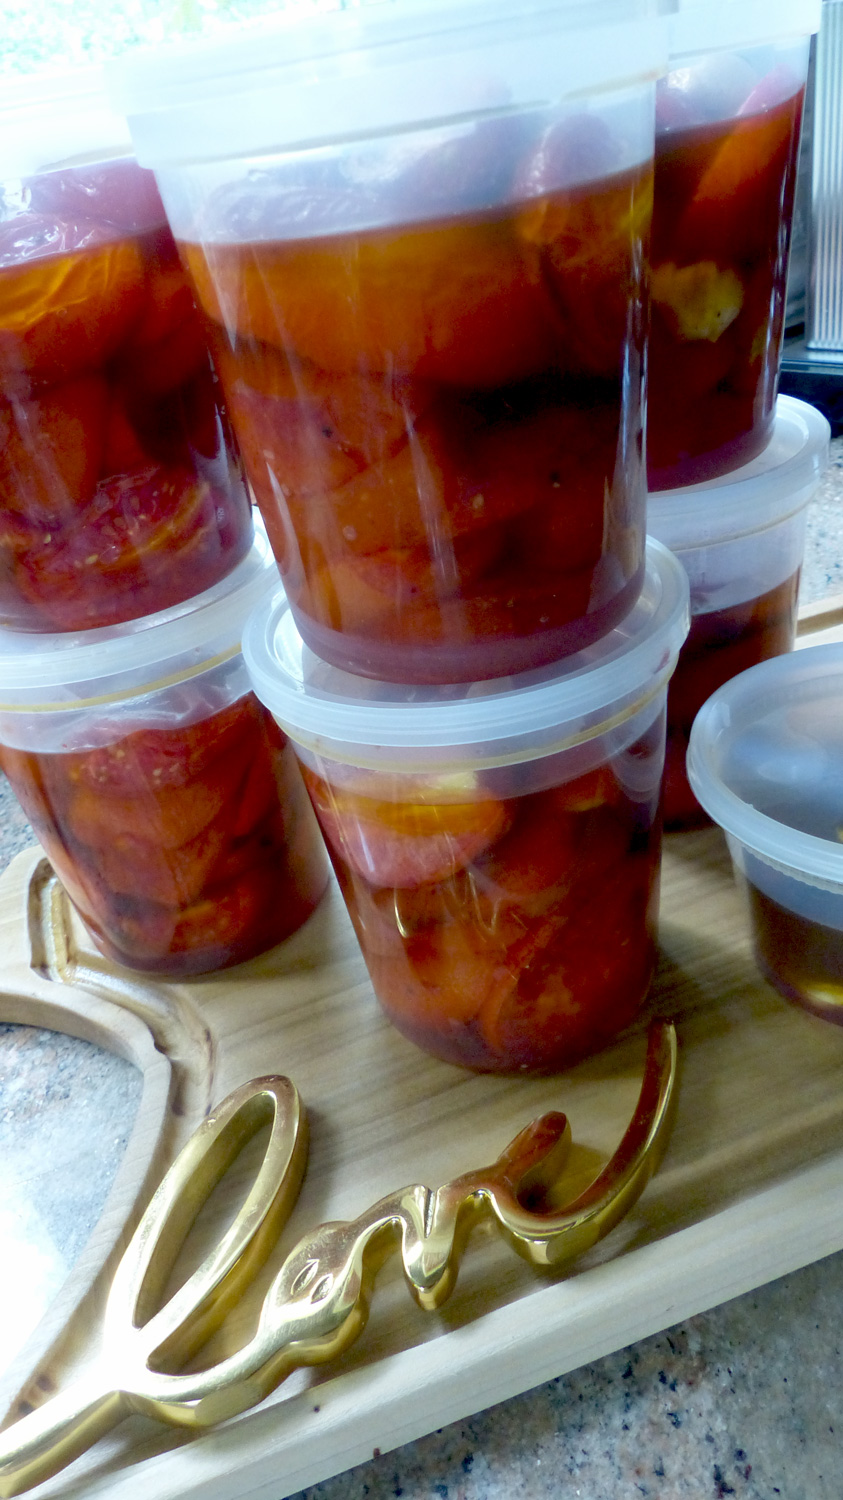
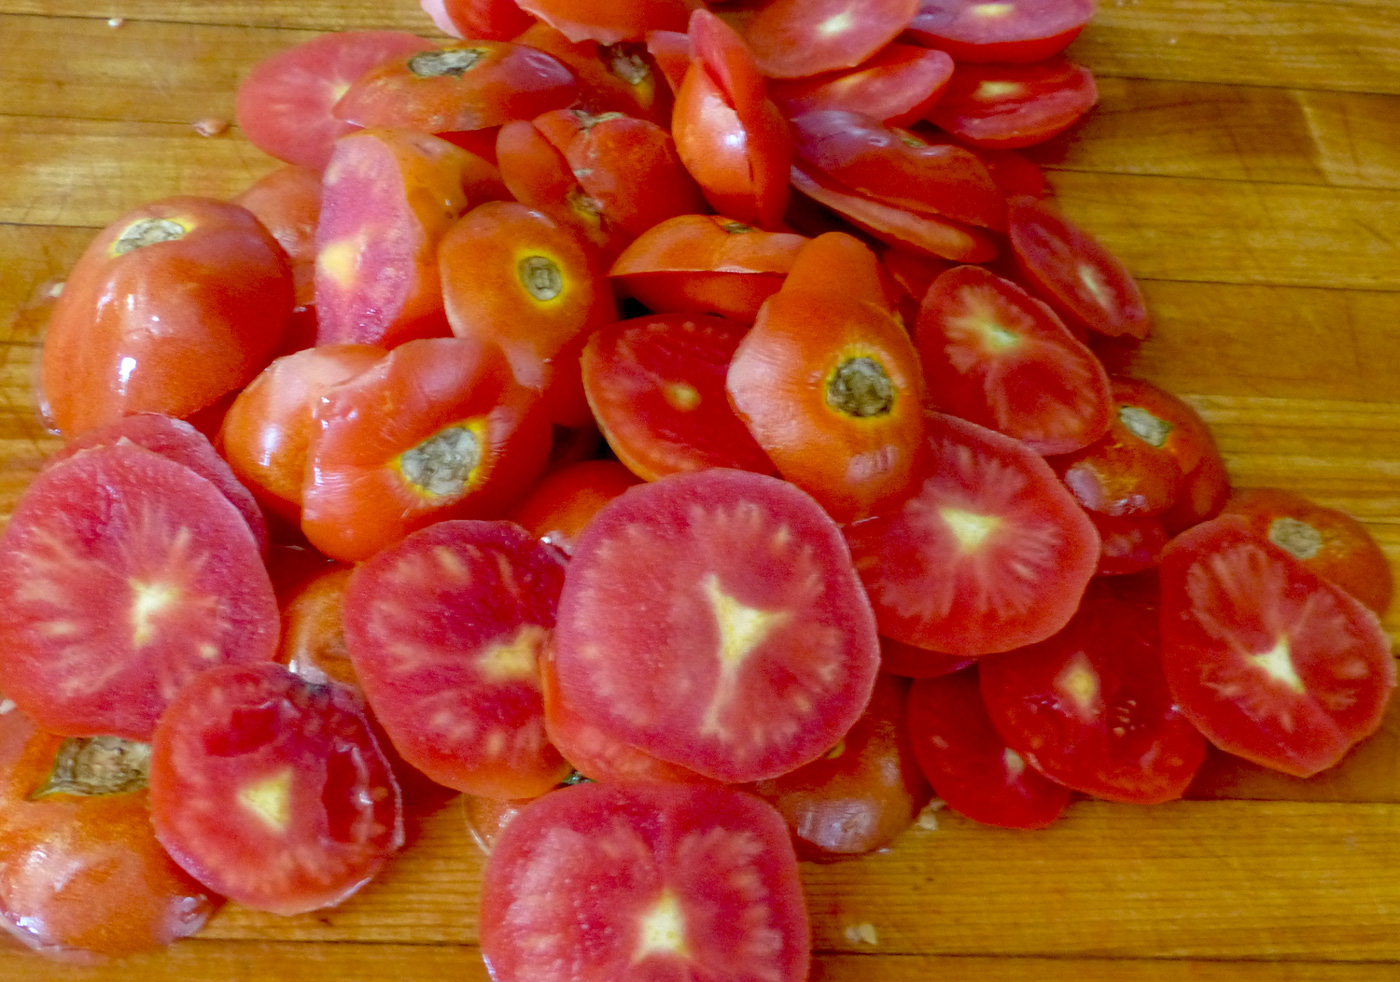
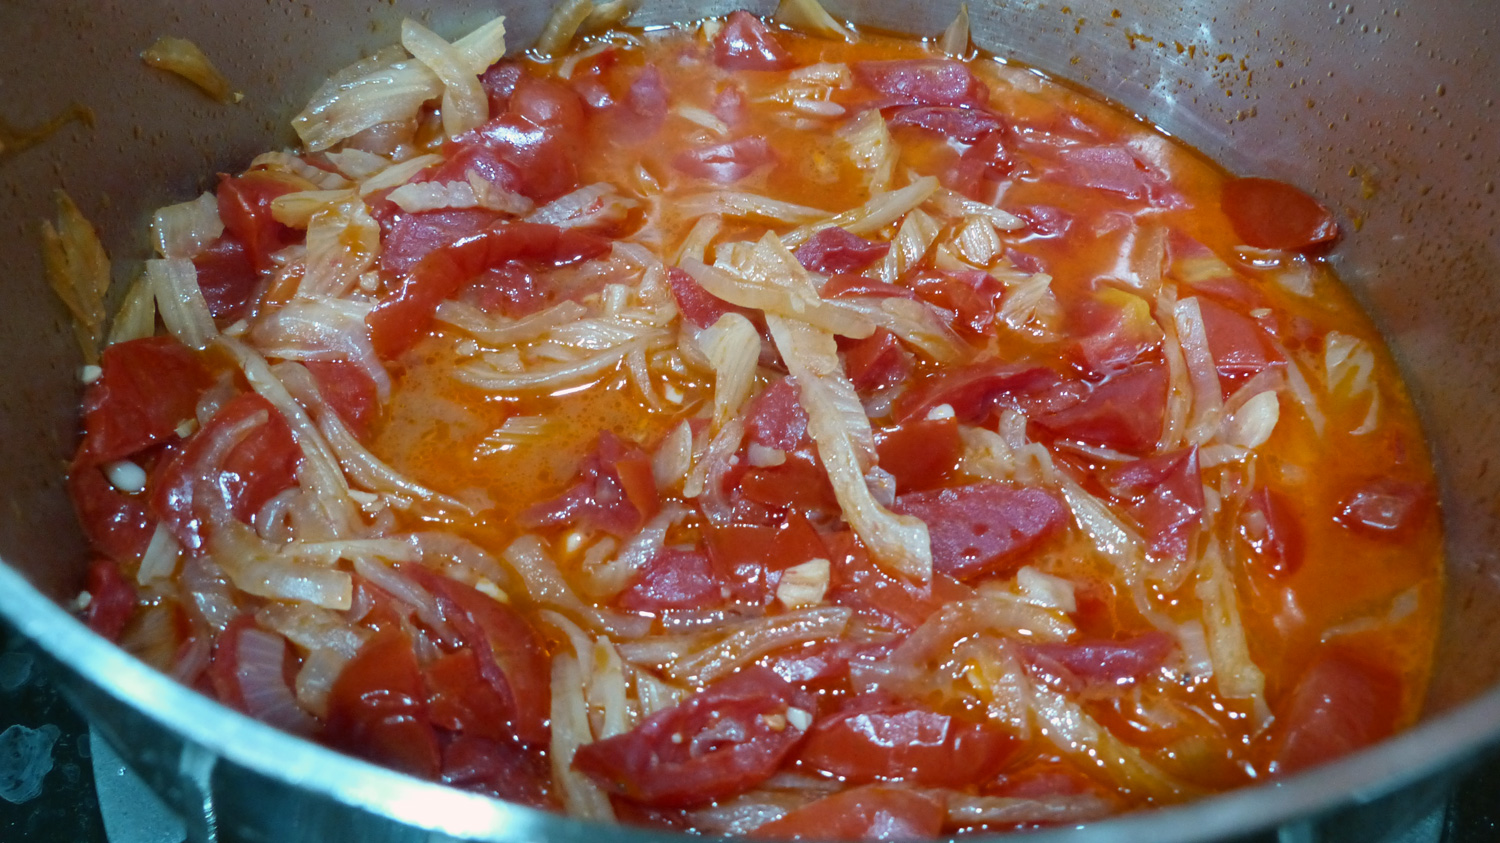
Did I say serve it with pasta? Heck, yeah and guess what kind of tomatoes those are? I know you all know the answer... Oven Roasted. Photo credit: Tom Nadolski
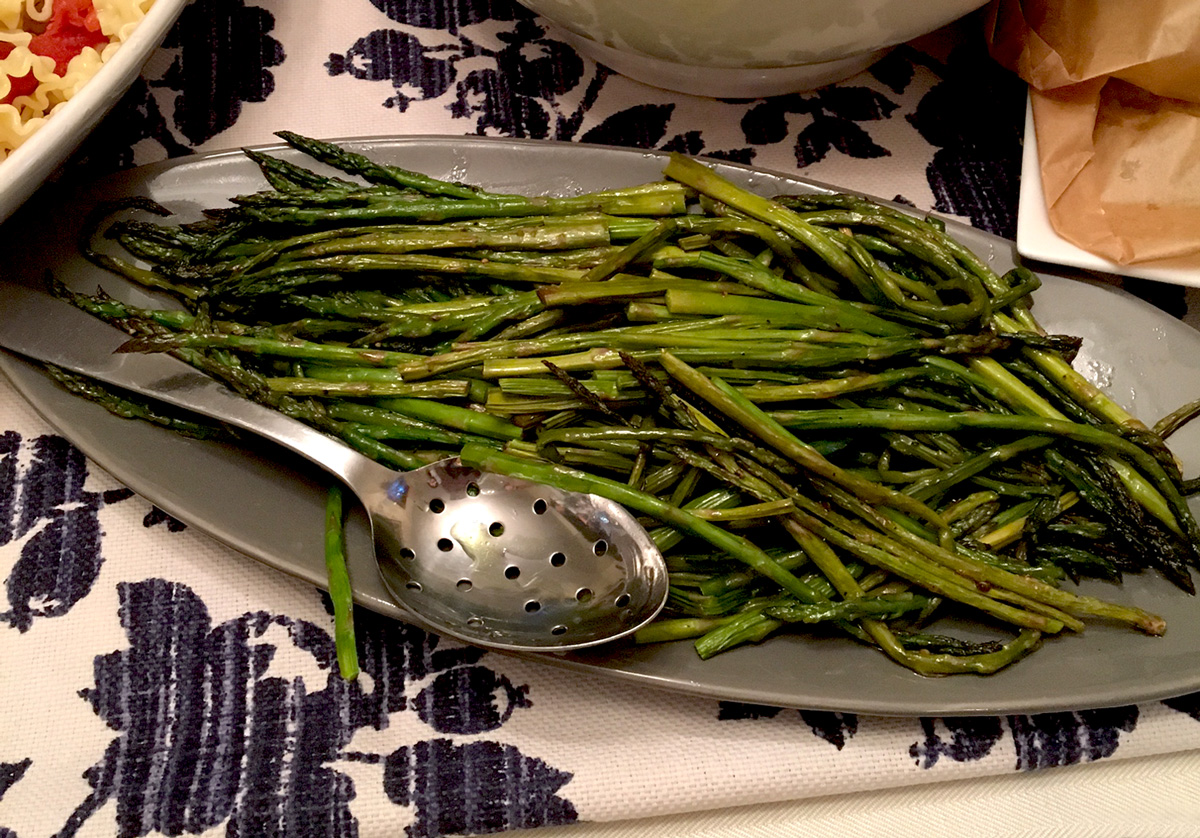
Photo credit: Tom Nadolski

Photo credit: Tom Nadolski