Now I bet you are wondering about the title of this post. No, it doesn't mean eggplant which is ironic since that IS the main ingredient. Basically it means mixed up pasta. This is the word my grandmother used to dub my dishes whenever I made up recipes that seemed odd or foreign to her. So it seemed quite fitting to give this dish that name since it is typical of my 'what do I have to cook with?' style.
It all began this past Monday as I was driving home from the city right around lunch time. I was so hungry that my first instinct was to stop on any city street corner and grab some food. I even considered one of those nasty looking carts that didn't look quite...well, shall we say "healthy". Lucky for me my natural tendency was to not spend money needlessly when I knew there were items at home. It just required some patience. I endured the ride home and used the time to mentally survey what contents presently existed in my refrigerator. I knew I had two things that needed to get used soon. Eggplant and feta cheese. (I zealously over bought fresh feta from our local Armenian market because it looked oh so beautiful and I wanted to do a taste comparison between French & Greek Feta.)
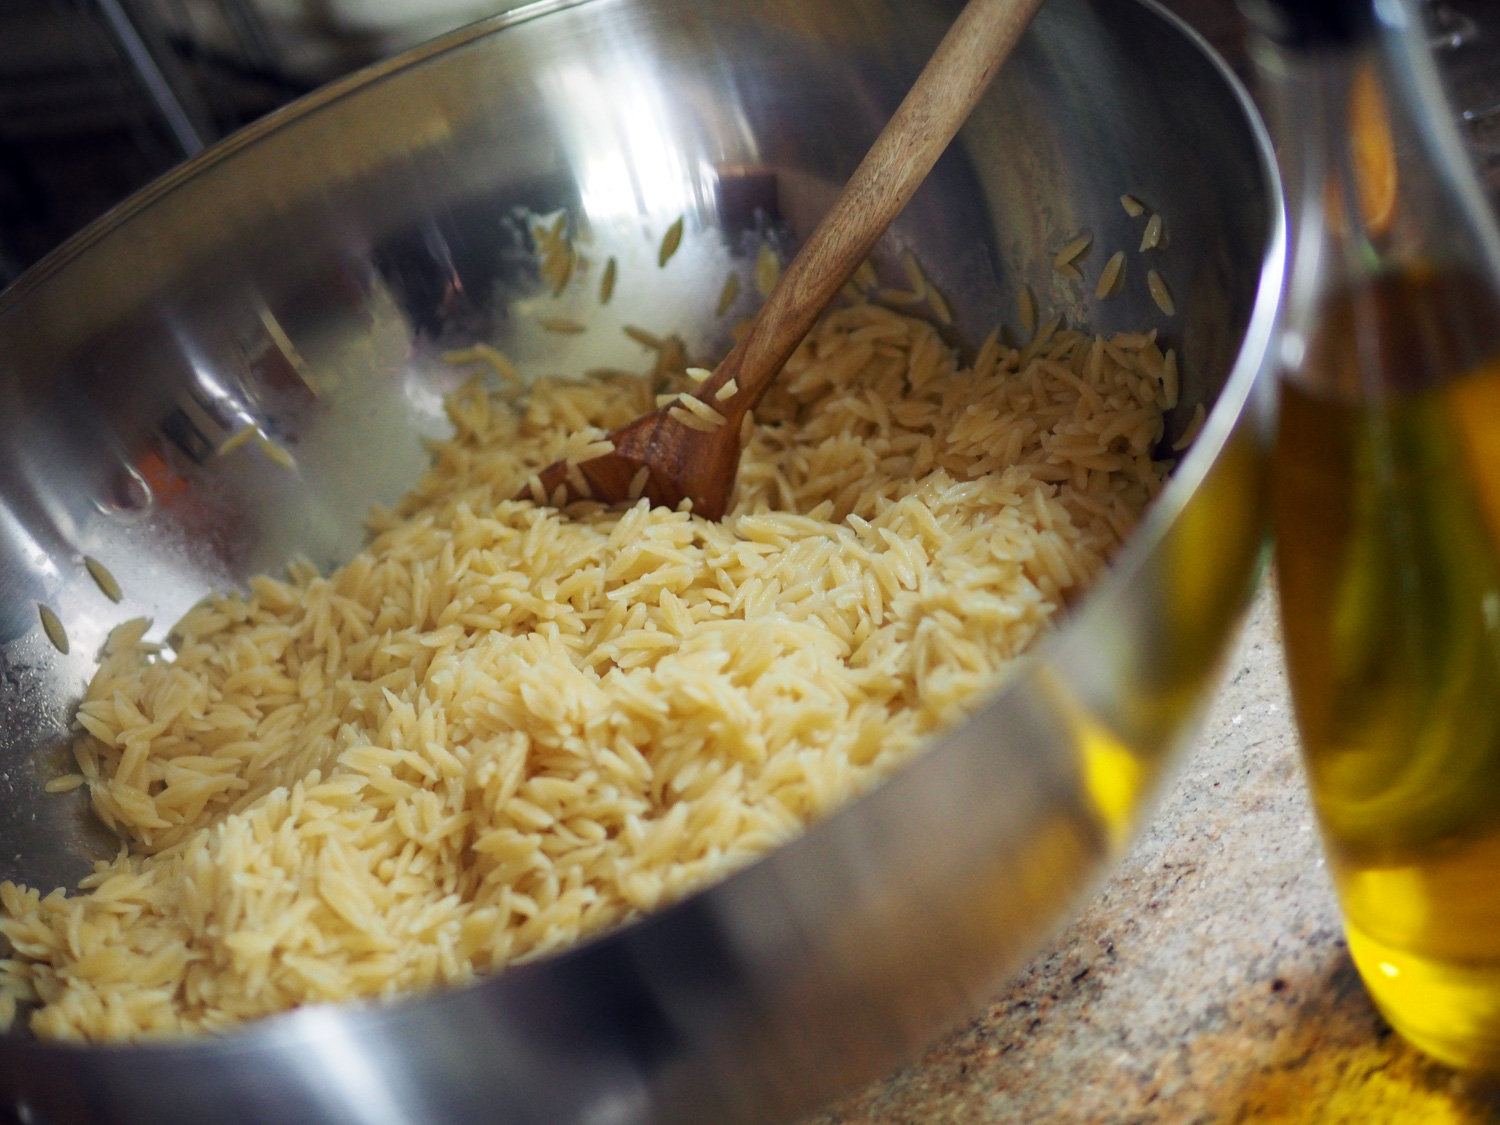
I also knew I had potatoes and for a split second starting building on that. Until my Italian roots kicked in with deep rumblings from my stomach crying out PASTA. Which is how that became the base for whatever it was I was about to cook up. As with any 'something from nothing' creation, you build as you go. I got home and immediately put water up to boil for my pasta.

Pasta boiling away.Doesn't that look like the start of something heavenly.
Then I opened the fridge to see what else might tag along on this eggplant, feta, pasta ride. Staple items sitting in the door shelves screamed out 'Use me, it's been awhile.' In order of loudest screams were: sun-dried tomatoes, oil cured olives, and capers. The shallot and garlic were a given to be used. Earthy, strong, powerful flavors taking a stand for pasta.

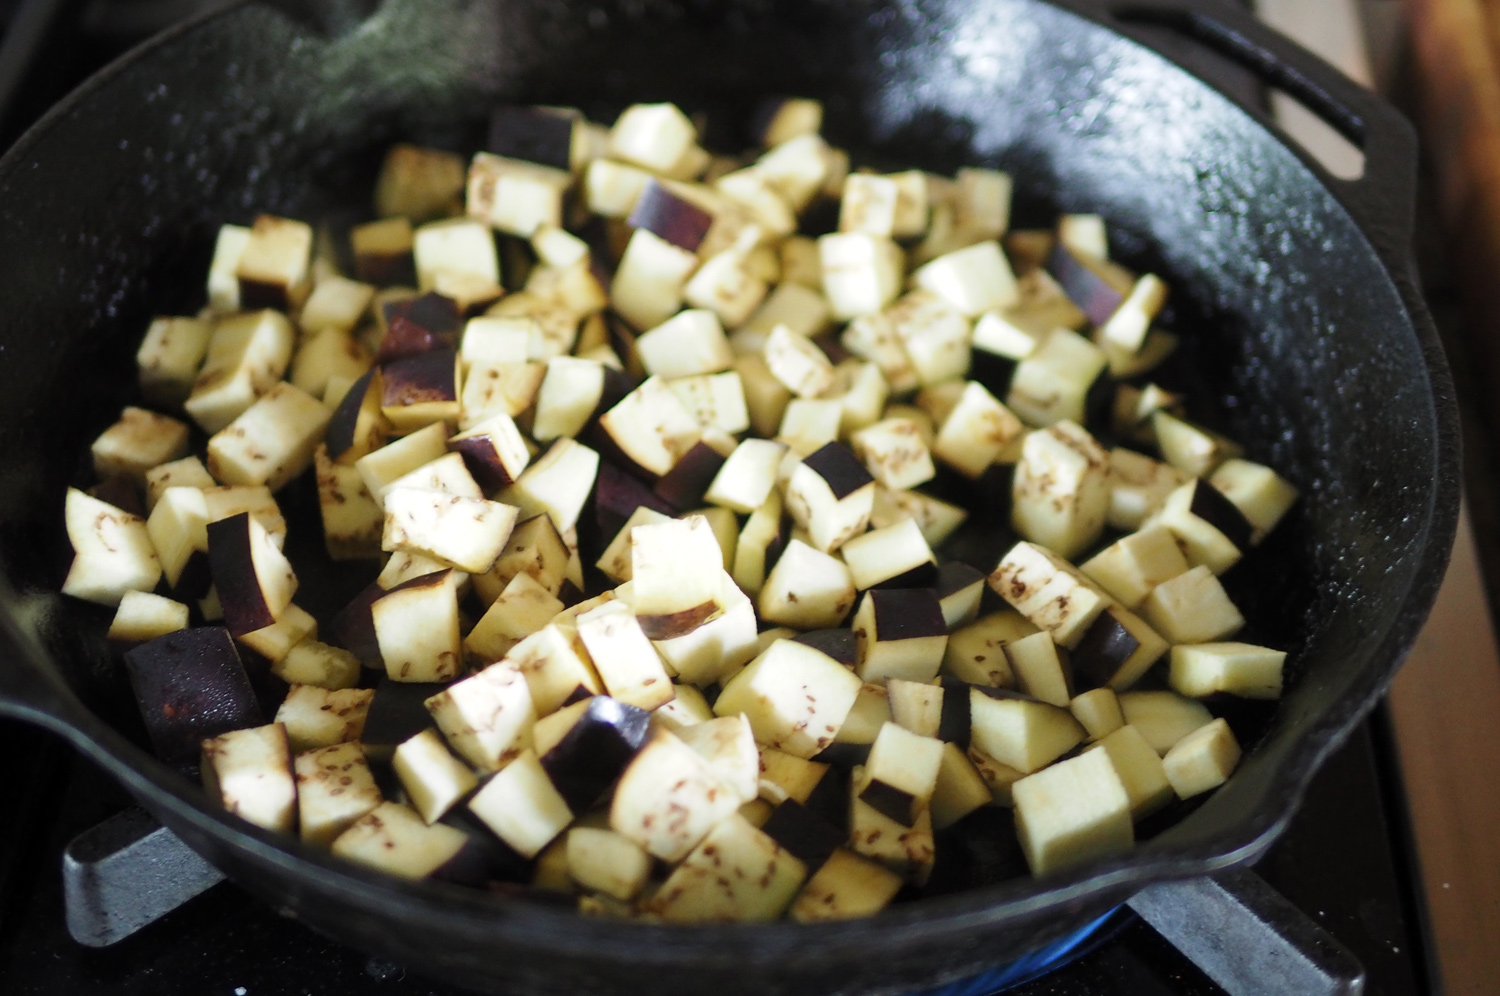
While the pasta was boiling away, I cubed the eggplant and in a screaming hot cast iron skillet I added a small amount of oil and the eggplant. Key here, do not add too much oil or touch the eggplant. It's a sponge. The more oil you add the more it will absorb and then it gets mushy. Not stirring them around allows them to sear, which is what I wanted.

Whilst that was cooking away, I chopped up sun-dried tomatoes, black oil cured olives, shallot and garlic.
Once I gave the eggplant a stir, I added a bit more oil along with the shallots and garlic to let them cook. Then in went the rest of the items. Do not add any salt to this before you taste it. Between the sun-dried tomatoes, olives and capers the salt level is already at a pretty good pitch. (If you like heat, add some red pepper flakes.)

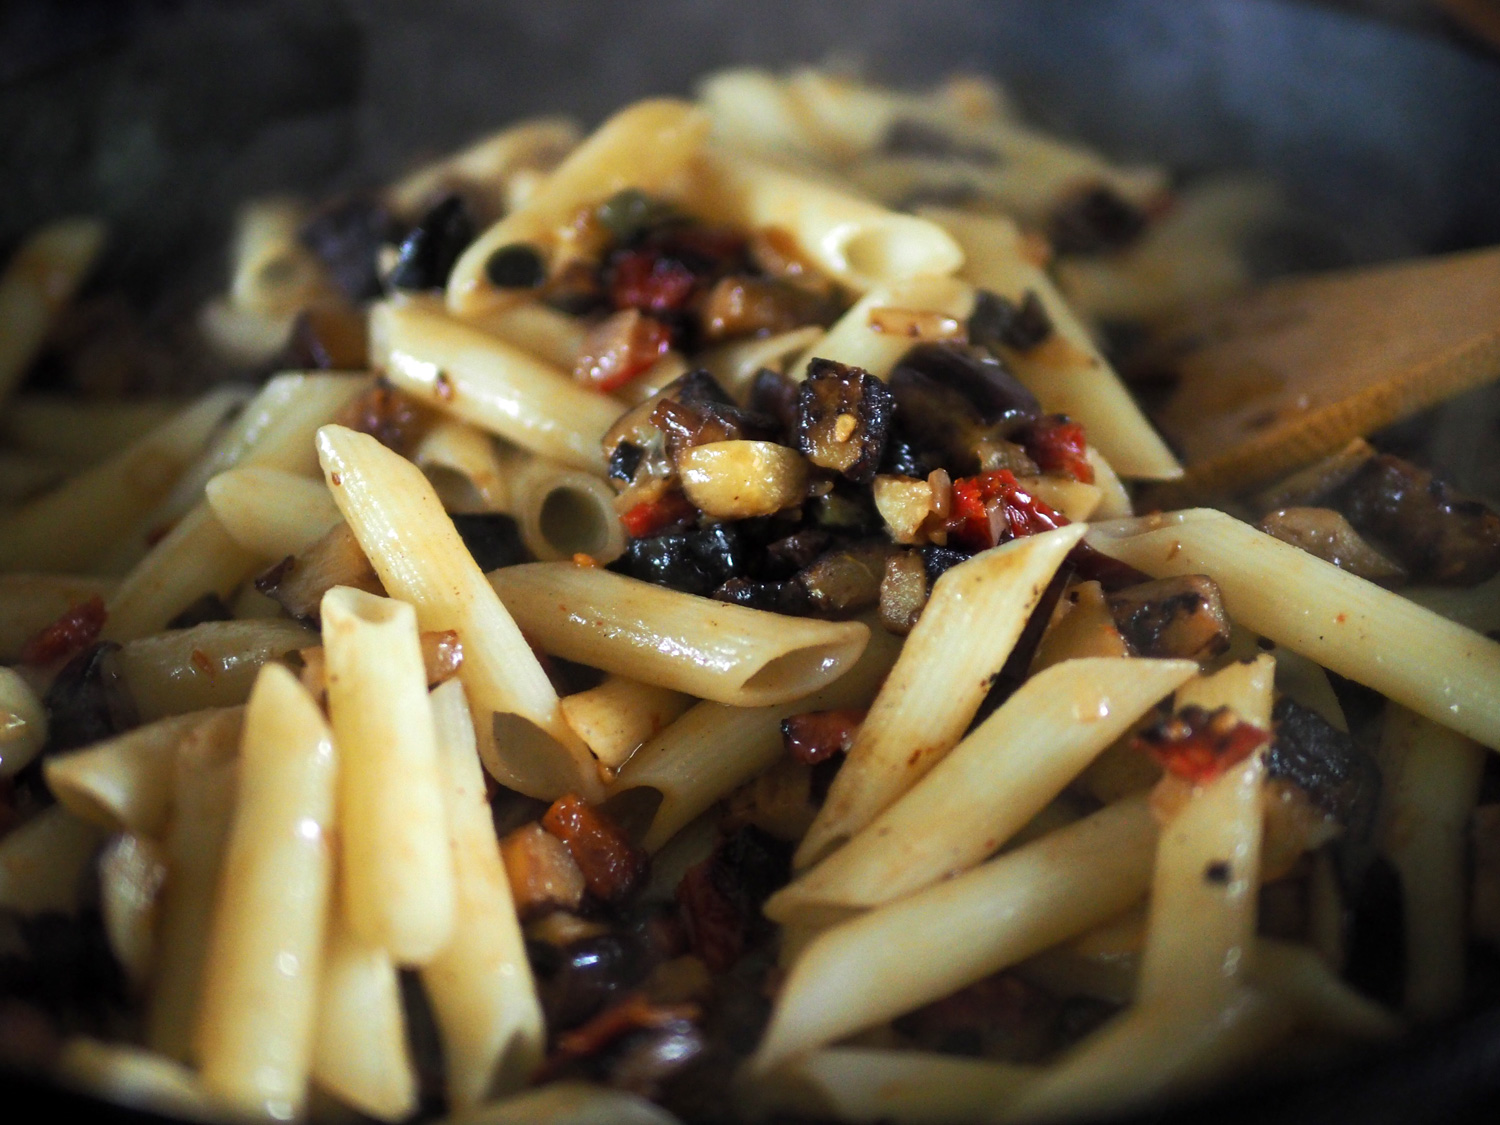
The Mescolanza coming together.
The pasta was just shy of al dente, so it was the perfect time to add it to the eggplant pan and combine. And a little of the pasta water helps binds it altogether.

As I mentioned I had a ton of feta so that is what I topped this dish with. However, goat cheese would be great too. This dish has an very earthy flavor to it. Not for the shy at heart since all those flavors pack a punch. When you are starving with but one fresh element to work with, pull from your reserves and create your own Pasta Mescolanza. Perfect for Monday or any day.
Below are the rough amounts for this dish. Honestly, I would have never measured a single item for this creation, as a true something from nothing creation is all about whatever you have in whatever amount you have. But I did want to give you a guide, so below is what I used. This only took 15 minutes to pull together and my stomach was as happy as any Italian could be.
ingredients
1/2 lb pasta
1/4 c approx. Baby eggplant, cubed
1/3 c sun-dried tomatoes, chopped
1/4 c black oil cured olives, chopped
1/4 c shallots, minced
1 cloves garlic, minced
1-2 t capers
Olive oil
Feta or goat cheese, amount to be determined by you
While writing this post, I ate the whole bowl and forced myself to stay in my office so as not to go back for a refill. The two things I would do differently. Mince or thinly slice the garlic, and add fresh parsley or basil if I had any. Also, I ate the leftovers the next day and used creamy goat cheese. I must admit that I prefer that over the feta as it mellows out the intense flavors of all the other ingredients and creates a creaminess to the dish. A Mangiare!!