Cream Puffs have been a part of my life for a long, long time. My mom has been making them ever since I can remember. Quite honestly, since she always made them, I never did. That was until a caterer friend of mine hired me to bake for one of her clients. One of the orders was for 100 mini cream puffs. Thus began the start of MY cream puff making.
First, a little culinary lesson for those who may not be familiar with these little, light puffs. The pastry used for cream puffs is called pate a choux. Yup, just like a lot of good pastry, it's French. This is a very specific type of pastry that when baked at a high temperature puffs up with a crispy but tender exterior and hollow interior. This creates the perfect pocket to fill with any type of stuffing you can imagine. The classic fillings are a vanilla pastry cream for the traditional cream puff or ice cream drizzled with chocolate, which are known as profiteroles.
Because experience whether good or bad always serves, here's a bit of valuable info and full disclosure. My first attempt at making cream puffs was a complete disaster. They turned out like portobello mushrooms. And when I say portobello, I mean large, flat and blackish brown. How did that happen, you ask? Ha, I certainly asked myself that same question. So what do you do when you need answers to life questions? Call your mom. Which is what I did. She explained that the choux pastry is very delicate and temperature has a huge effect on it. Well, there you have it, my answer in spades. I had been baking for 9 solid hours to fulfill the catering order and the kitchen was piping hot. Worse possible scenario for this recipe. However, this was a great lesson that yielding an enlightening tip which I am now passing along to you. I recovered that day by turning off the ovens, letting the kitchen cool down and starting from scratch at 10pm so I could fulfill the order. I have been making these tasty little puffs perfectly ever since.
Here is the basic recipe for pate a choux. (Don't let the amount of photos make you think this is hard. It's not. I just loved some the images and also wanted to show some of the steps.)
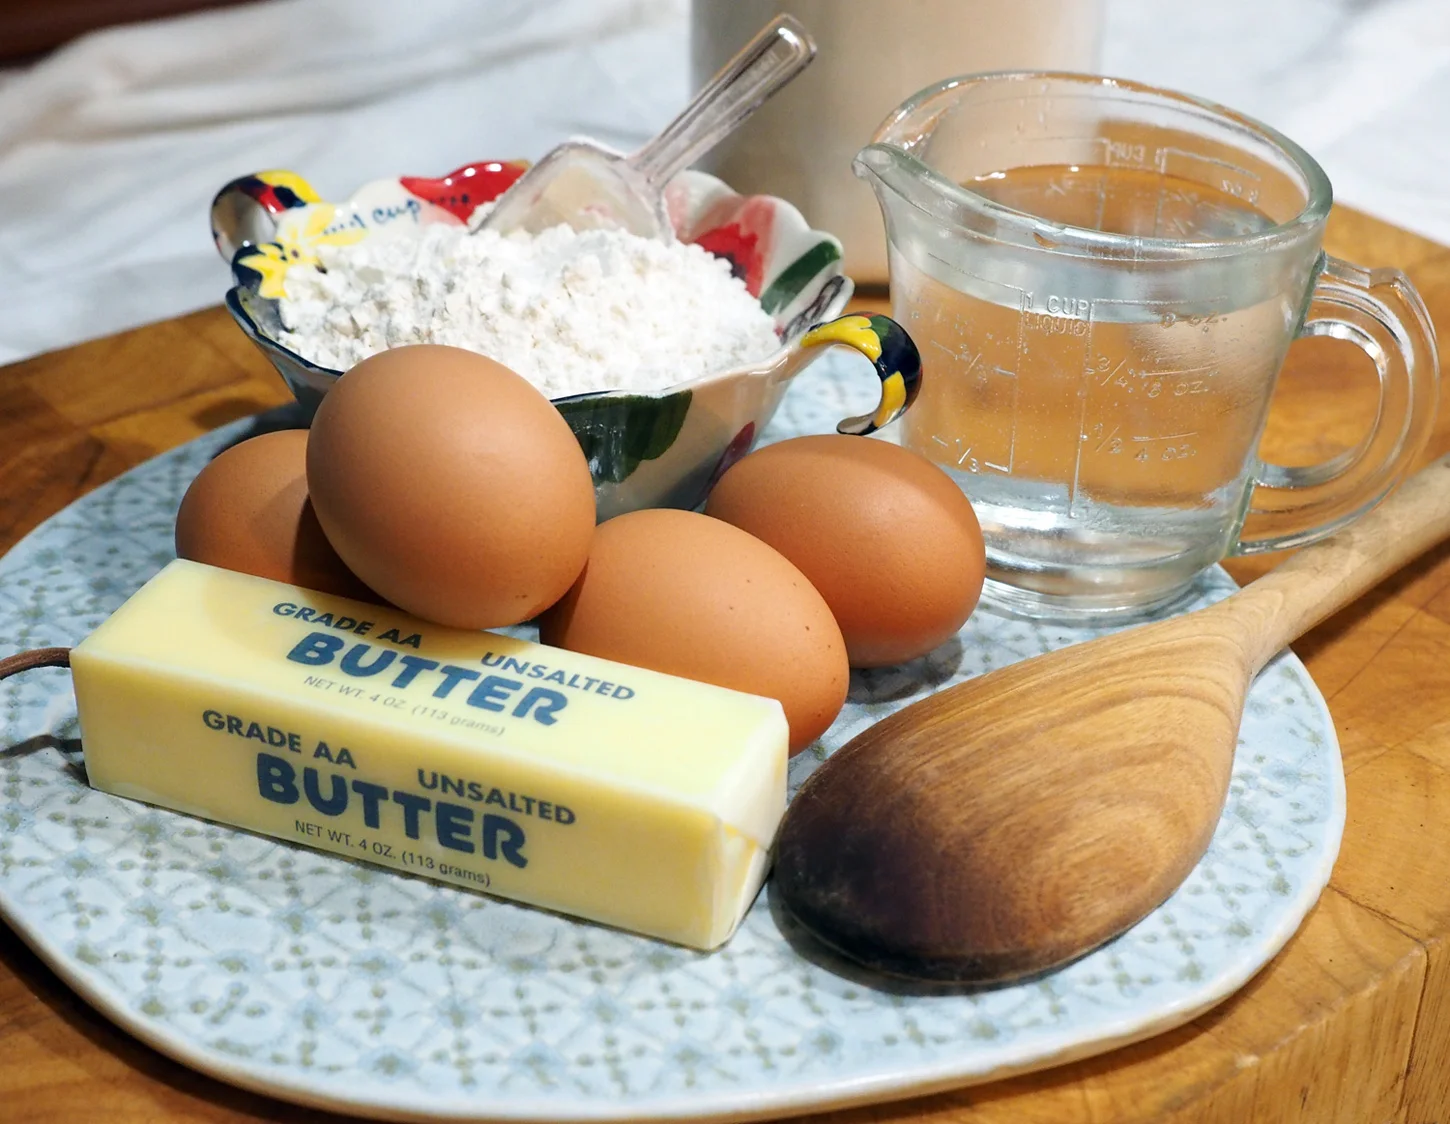
INGREDIENTS
Yields approx. 44
(2" puffs)
1 c water
1 stick butter
1 c flour
pinch of salt
4 Lg. eggs
Instructions
Heat the oven to 450 degrees. Meanwhile, in a saucepan, melt the butter in water then add the salt and flour. Take pot off the heat and stir until the mixture comes together in a ball. Let the mixture cool slightly and add one egg at a time. I use a wooden spoon to combine but you can also use a hand mixer.
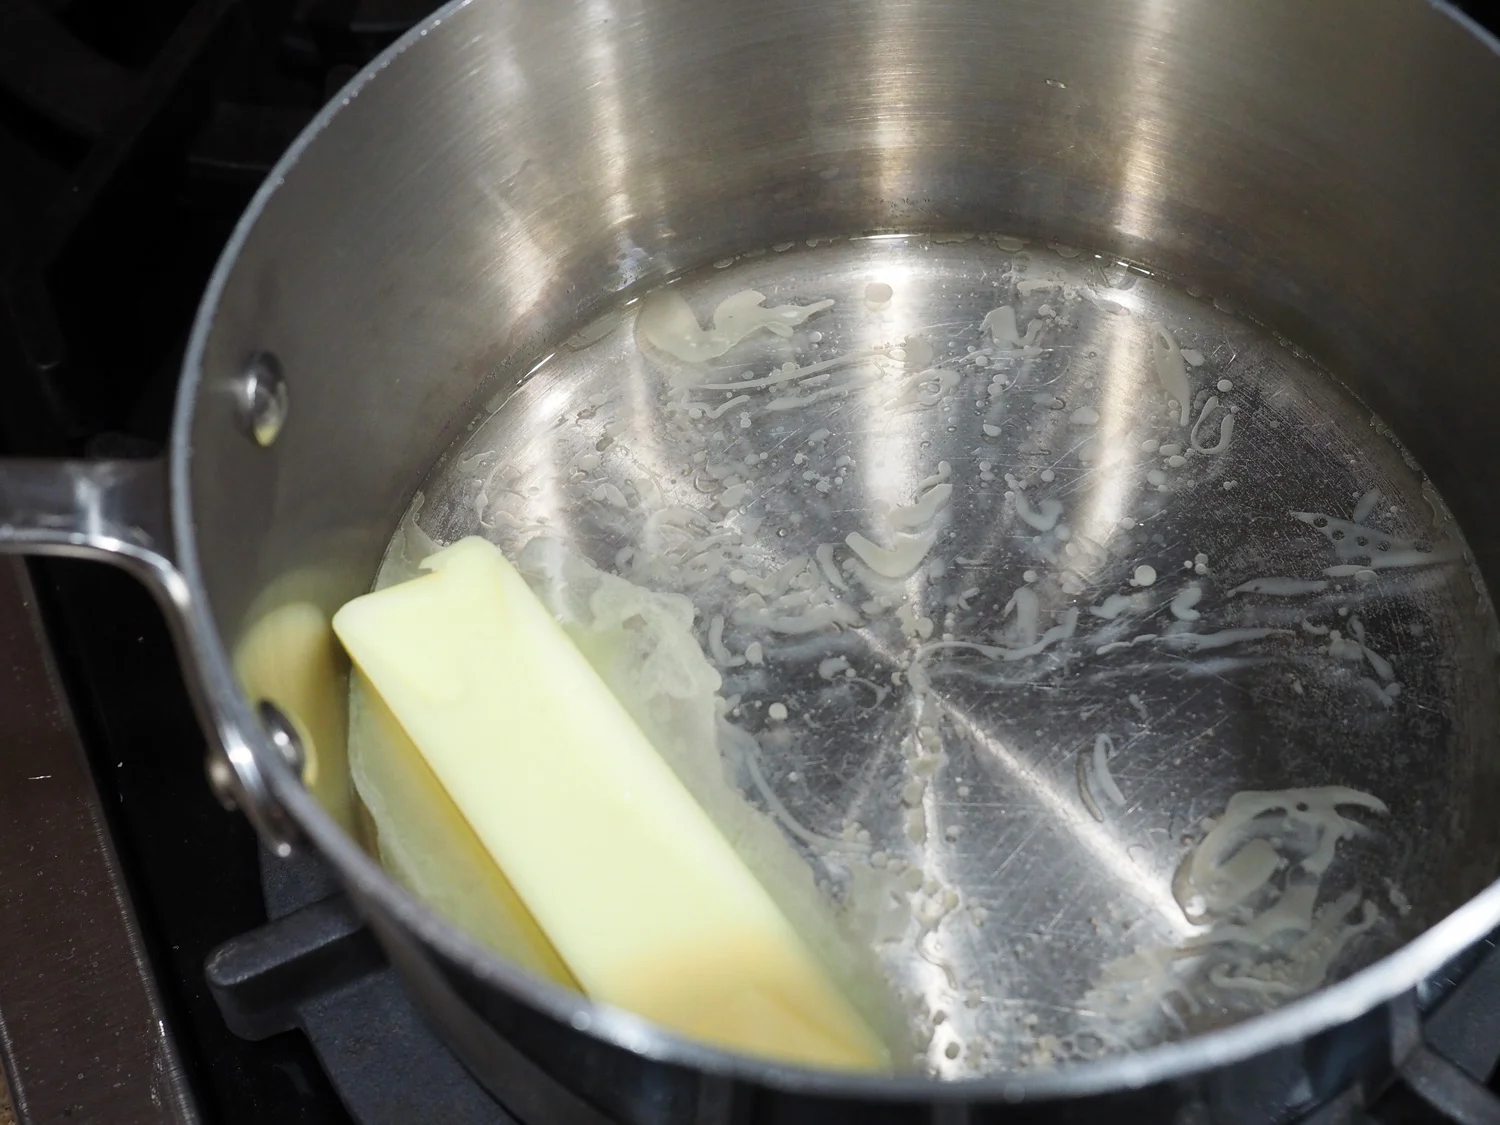
Butter melting in water

Add flour

Stir quickly to bring together
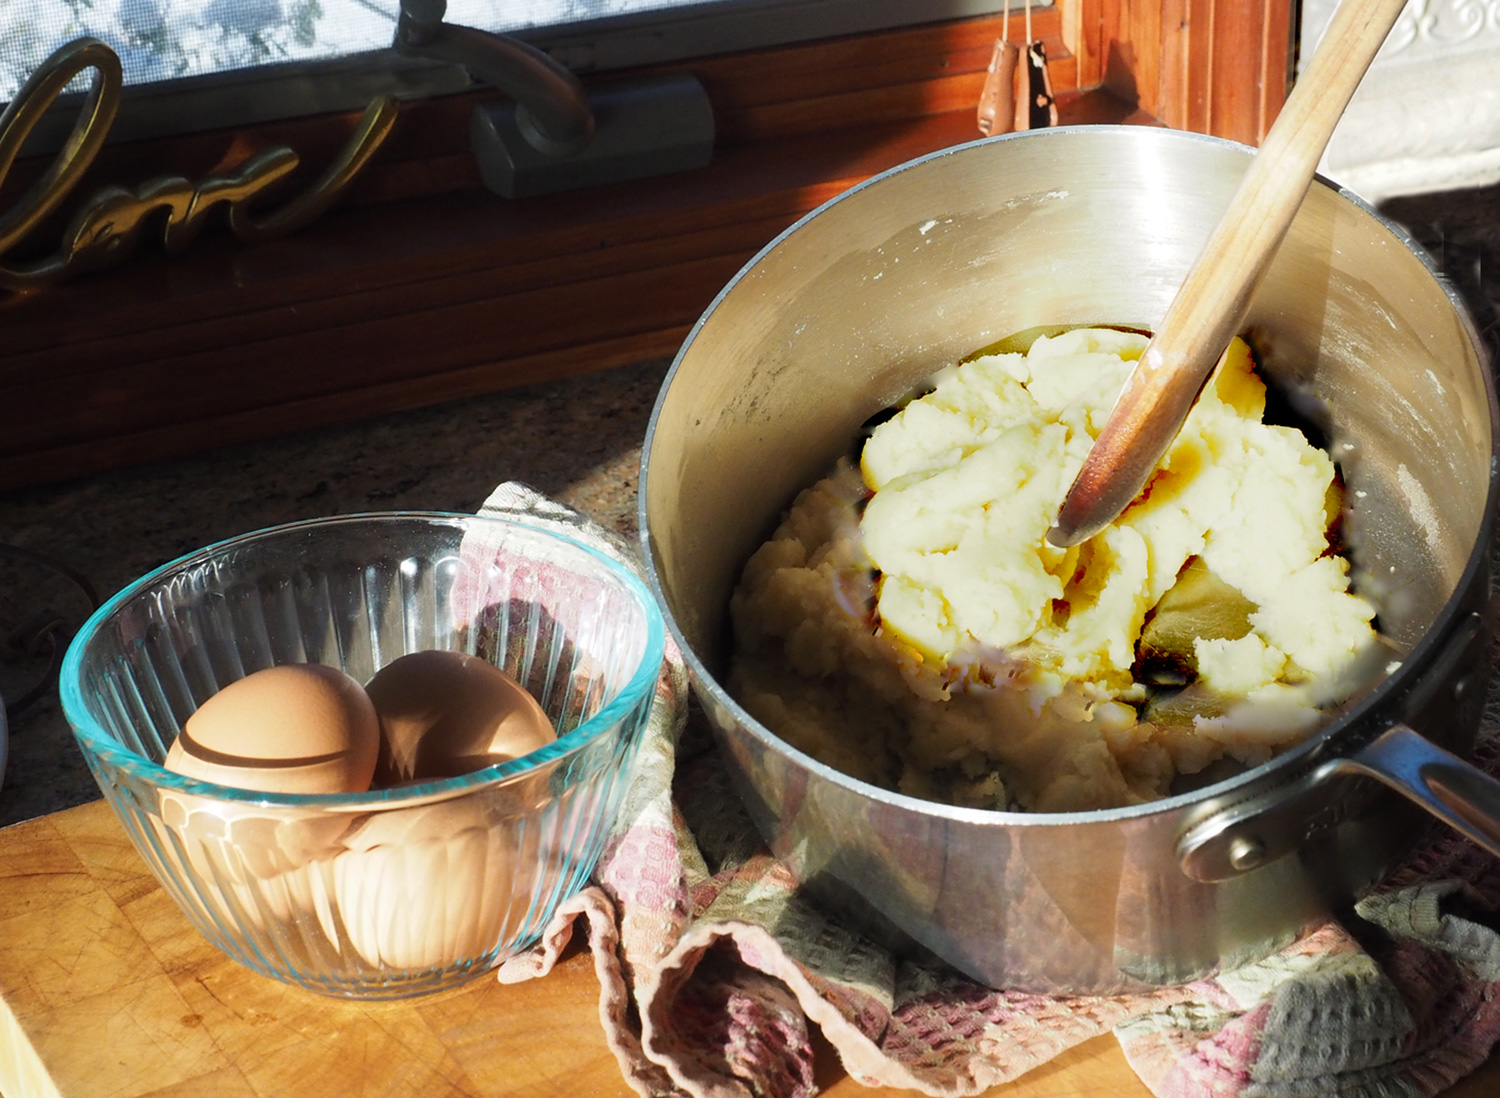

One egg at a time
When you add the egg the dough will separate. Not to worry. Keep stirring it until it combines, and it will combine. Then add the next egg. Continue until all eggs are incorporated.

Notice how the pastry seems to get gloppy. Just keep stirring.
For quickness, ease and to make the puffs all the same size, I have found that using a piping bag is the best method. Fill the bag and squeeze out the size you desire. My mom makes hers on the larger size. I make mine smaller. If you don't want to use a piping bag, you can use two small spoons to dollop the pastry onto a greased baking sheet.

Spoon into piping bag. You can also use a large plastic bag and cut the corner off.
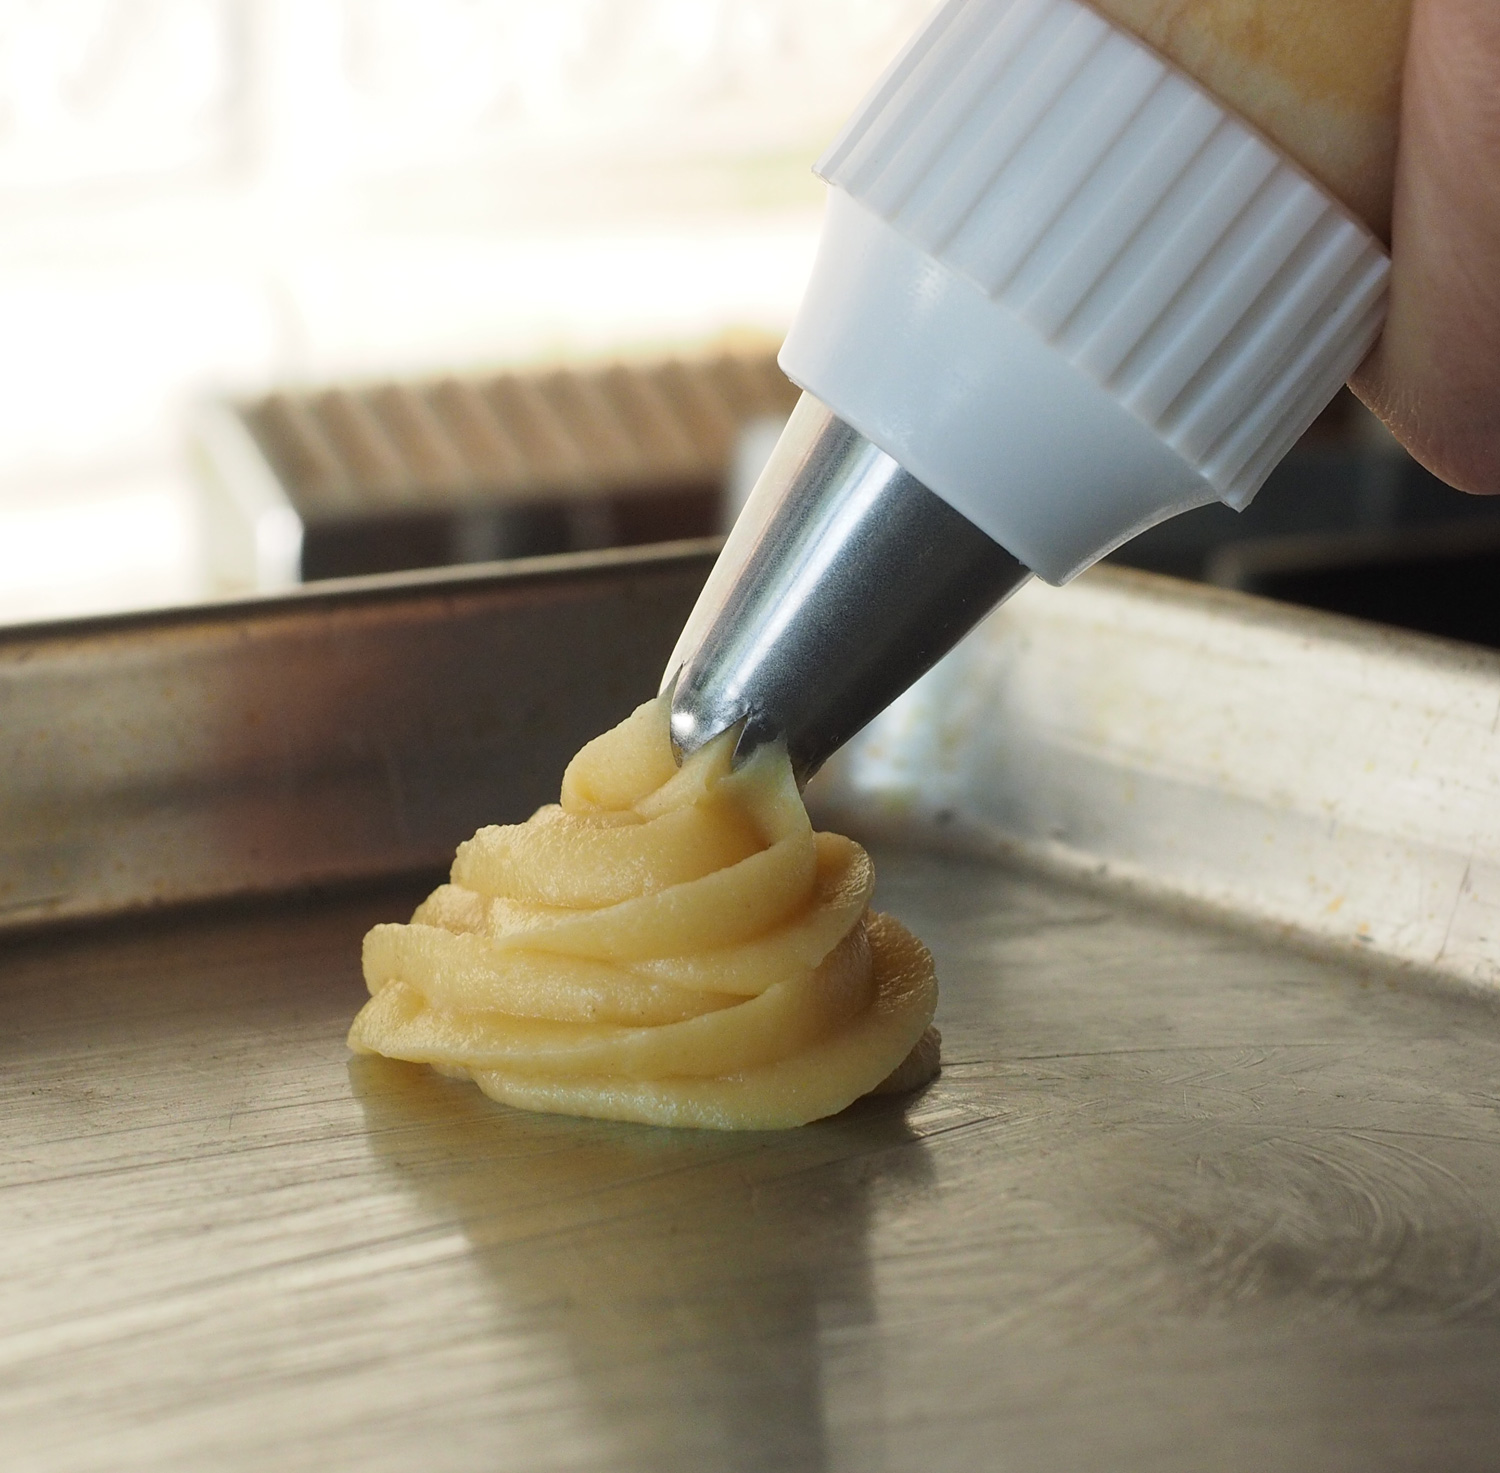
Traditionally, cream puffs are not fluted like seen here, but this was the piping tip I had so I used it. It makes them pretty so why not.
Two important notes. Try to make them as close to the same size as possible so they will cook evenly, as well as they look nice when you present them for dessert. Consistency in size really ups the level of presentation in anything you serve, especially in baking. Second; swirl the top so as to not create a long tip or tail, since it will burn. If you do get a little tip, wet your finger with some water and dab the tip down.

Bake for 10 minutes at 450, the lower the oven to 400 degrees and bake for another 10 minutes. Remove from the oven and let cool.

Lines of perfectly baked puffs awaiting their filling.
Filling - the Classic
The classic filling is vanilla pastry cream which can be made using this link recipe. But my mom took a short cut which seems to work well and is quick and simple. It may be a cheat to the traditional method but it tastes pretty darn good. Here's what she passed down to me.
Ingredients
1 box Jello Instant Vanilla Pudding
1 c milk
2 c heavy cream
Powdered sugar for decorating
Instructions
Add the milk into the pudding mix and beat until combined. Refrigerator while you whip the heavy cream to soft peak.


Combine the two together to get a light filling.
Once the cream is whipped, fold the pudding into the cream and thoroughly combing. Fill a piping bag.

Clearly, I love using a piping bag. It really does make things so much easier.
Using the tip, gently push a hole into the bottom of the puff and fill 'er up.

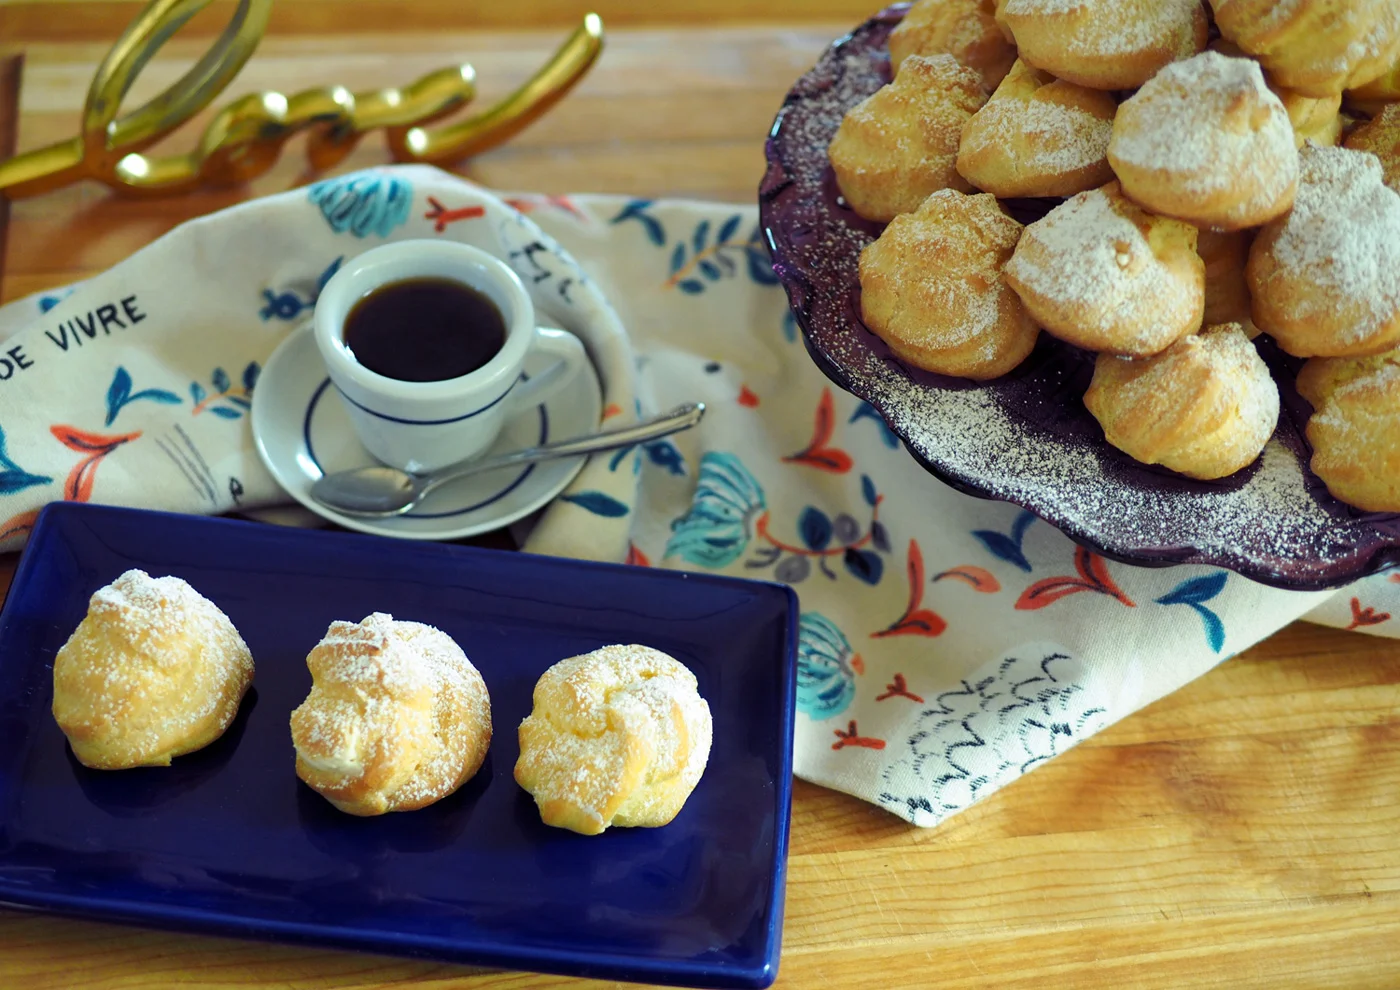
Once you have all your puffs filled, stack them on a cake plate and sprinkle with powdered sugar.

And there you have it. Light and fluffy filled with creamy lusciousness. If that's the definition, then go ahead and call me a Cream Puff! Enjoy with an espresso and don't forget to share the love.
Other fillings: Oh there are so many that this post would go on for pages and pages. Why would I do that when I could use all those good ideas to write another blog post... which I will. You can fill these little delights with whatever your heart desires. I promise to post a handful of savory ideas in the near future.