My mind is always going. Thinking, racing and pondering.
And when it comes to food, I’m always making up new combinations with whatever items I have on hand. This approach provides a decent amount of recipes stockpiled in my arsenal.
Back in the day, I mean 2020BP aka Before Pandemic, when creating proposals for catering gigs I had an ample amount of food items from which to choose. With a good range from hot to cold, from meat to fish to vegetarian. Yet even with all those options, I found that each gig offered up opportunities to create new ones. Before the virus hit and shut down all catering work, I had a client who wanted to add a few more fish options to her menu. Since it was going to be a cocktail party with pass-around hors d'oeuvres, I needed to devise a small bite that I could easily execute as well as be easily consumed. I started experimenting with bite sized medallions of cod poached in coconut milk served on a spoon. It was quite tasty, fit all the prerequisites and was slated to part of the menu. However, I never did get to pull off that idea for the client as the party never took place.
Luckily with me, no idea is ever completely tossed aside. Most often, I just create new ideas but I do try to file through my mind catalog when faced with ‘what do I make with this?’ That’s exactly what happened when I had some leftover coconut milk and monk fish. Why not try that same codfish recipe using monk fish? I have poached monk fish before with great success so I felt confident that it would work out.
My hubby, JuanCarlos, wasn’t sure about the coconut milk. He skews more heavily on garlic, wine and butter sauces. But I just wasn’t feeling the butter.
I wanted to use shallots because I really like their subtle onion flavor and softer, more delicate texture, but lock down mode had made it difficult to procure certain items vs. others. There’s always an improvise, and this one came in the bigger sister of a shallot: deeper color, larger size and more intense sibling known as the red onion.
Poaching softens everything. Including my husband’s opinion. Instead of getting a hard sear on the protein, which is his preferred method, poaching gently cooks the protein and provides a luscious finish. There are times when you just need soft and comforting, and that’s just what this delivers, especially when served with rice. If you do want to add some crispy elements to this dish, you can fry up some of the shallots or onions or basil to finish the dish.

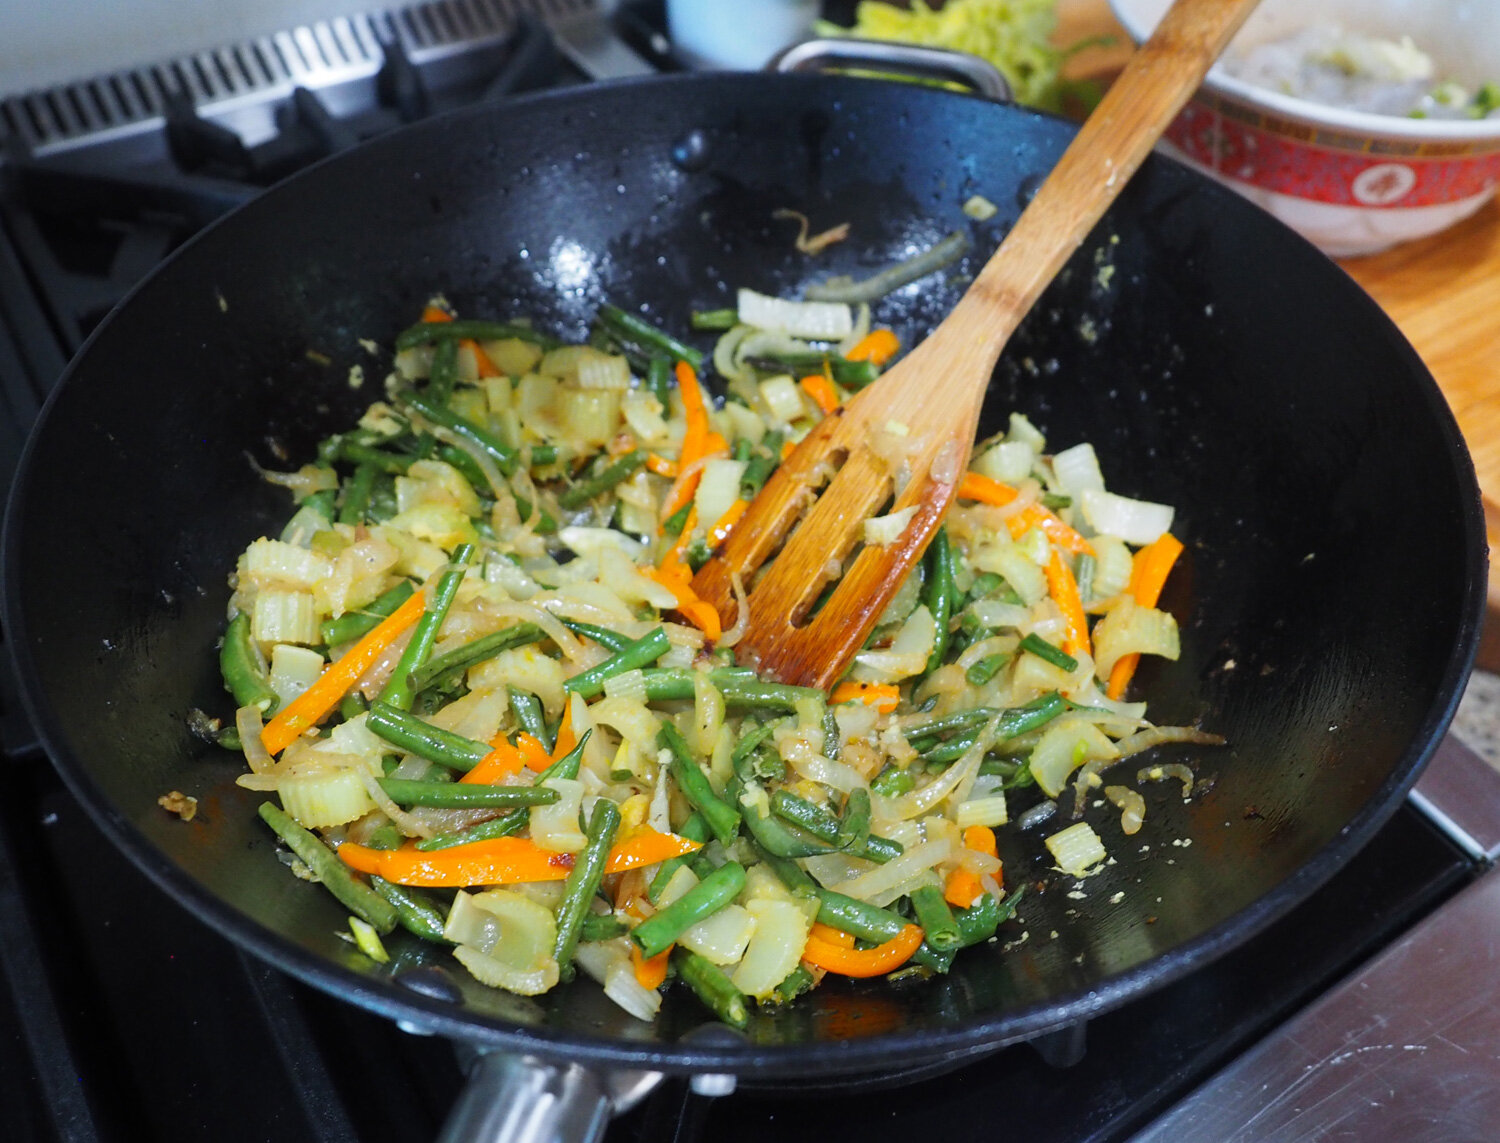
The aromatics: red onion, garlic and ginger.

White wine adds some acidity as well as a sweet component to then lightly braise the aromatics.
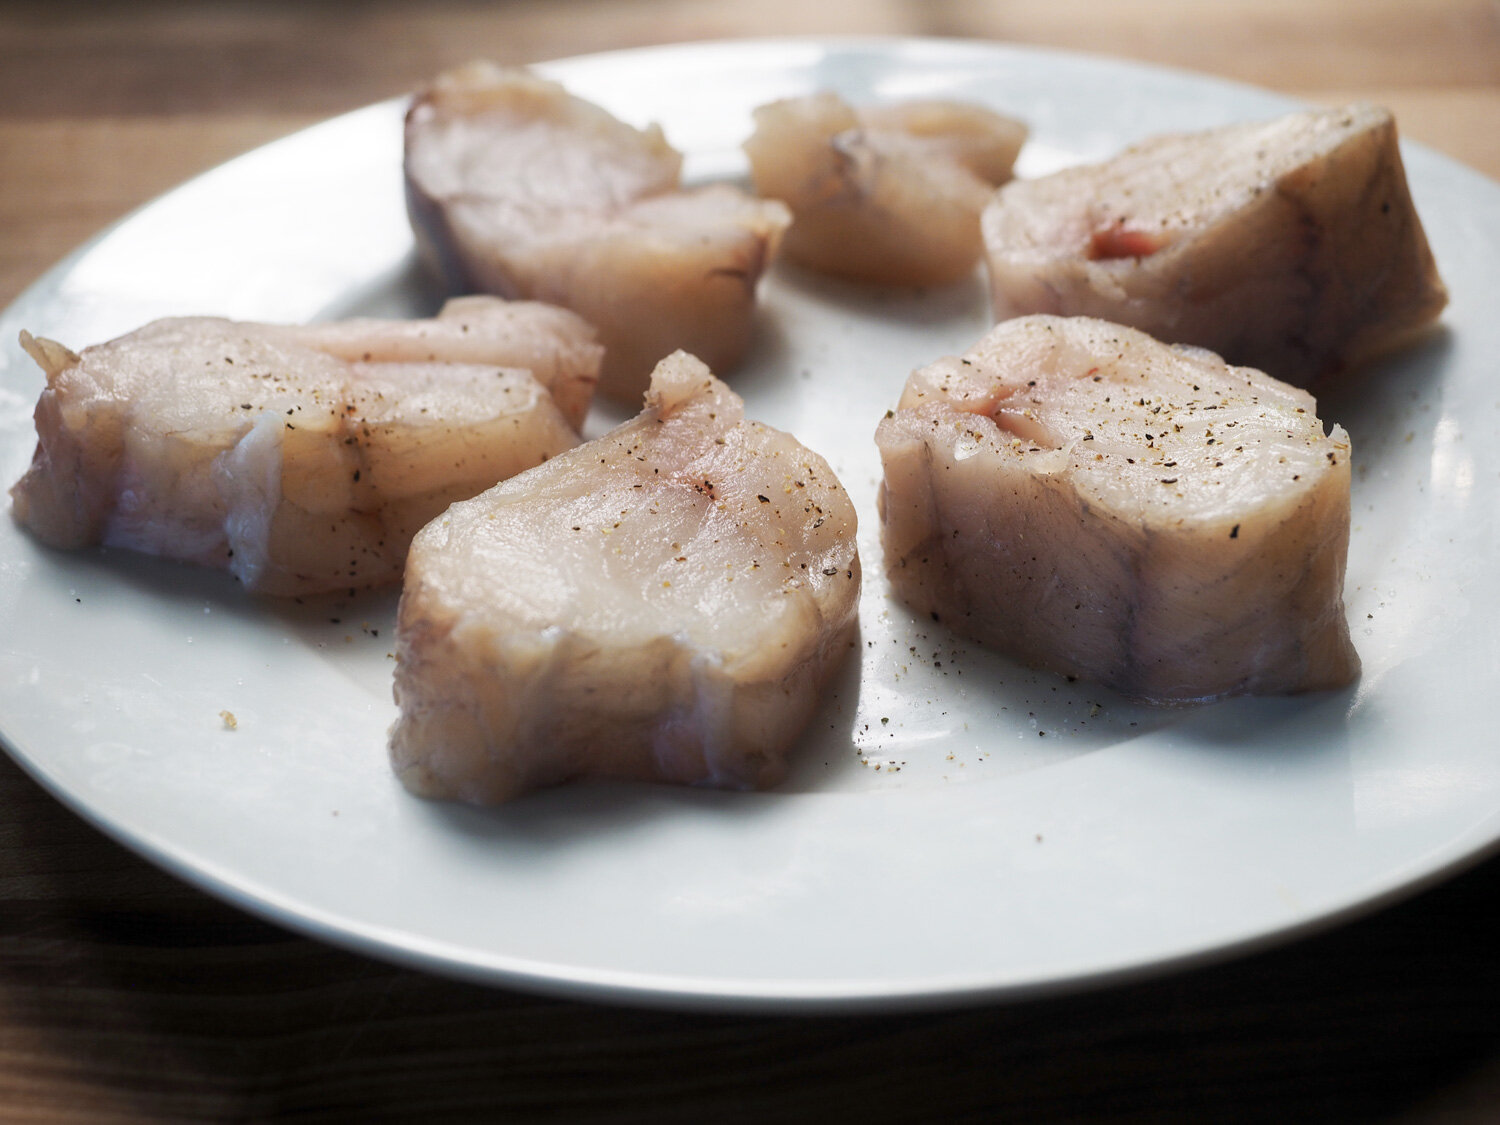
Cut the fish into medallions, a hefty inch thick.
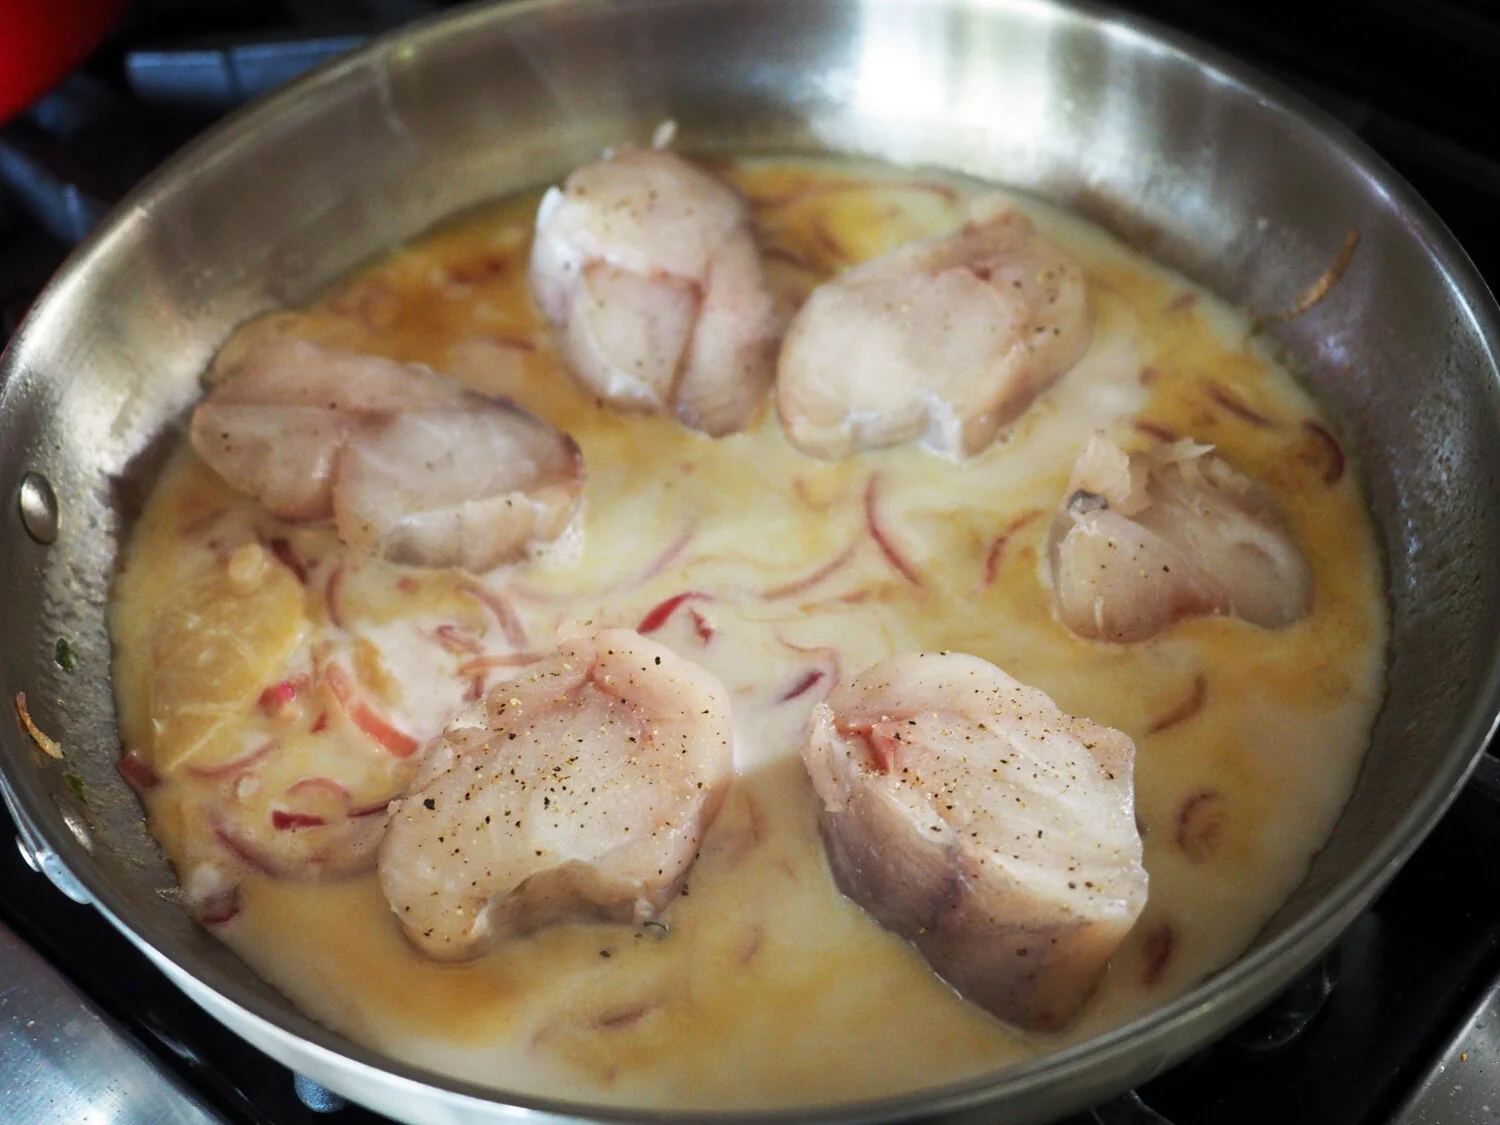
Add the coconut milk and nestle the fish into the liquid.
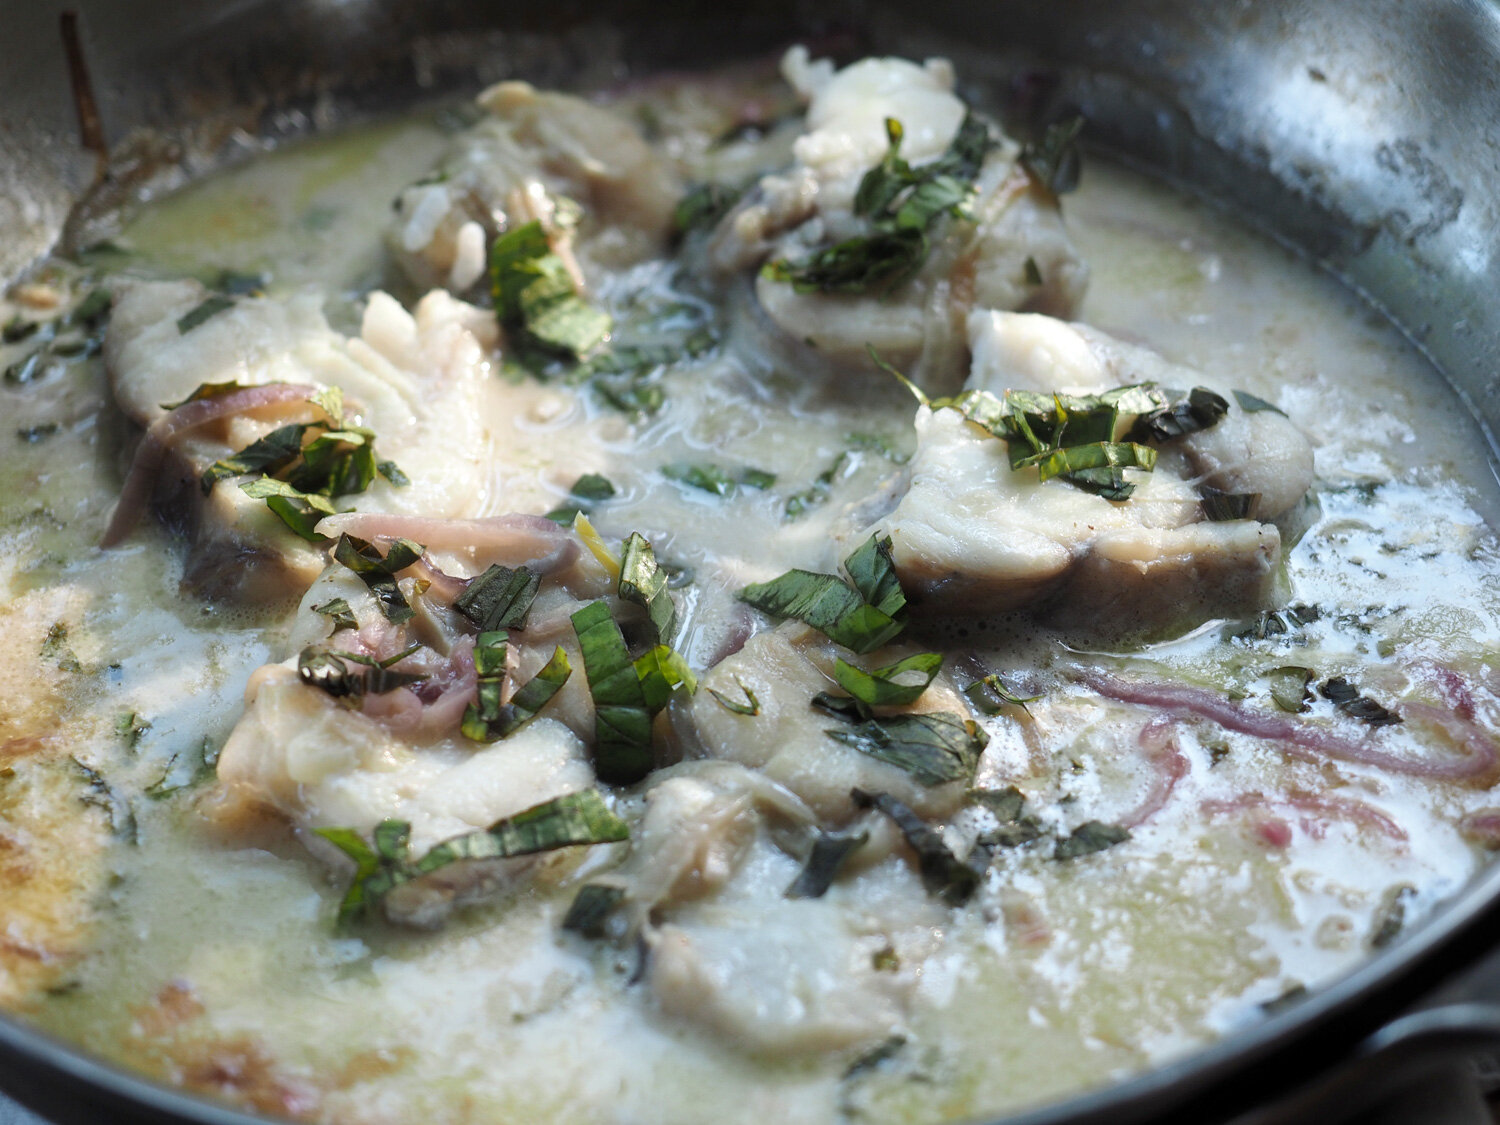
Over a medium low heat, cover and gently cook until the fish is tender. Then add basil to finish.
Ingredients
⅔ cup shallot or red onion, thinly sliced
2 cloves of garlic, thinly sliced
1 lb monk fish, cut to 1-½” thick slices
2 tbsp of olive oil
¼ cup sliced ginger
1 cup of dry white wine
¼ cup basil, chopped
1 cup of coconut milk
¼ cup of water
2 tbsp basil, chiffonade
Instructions
1. Sauté onions, garlic and ginger in oil over medium low heat to soften
2. Add white wine, and slowly let the alcohol burn off
3. Add the coconut milk and water, and place fish into liquid. Cover and cook over medium low heat.
4. After 10 minutes, turn fish pieces and add cut basil, cook for another 3-4 min.
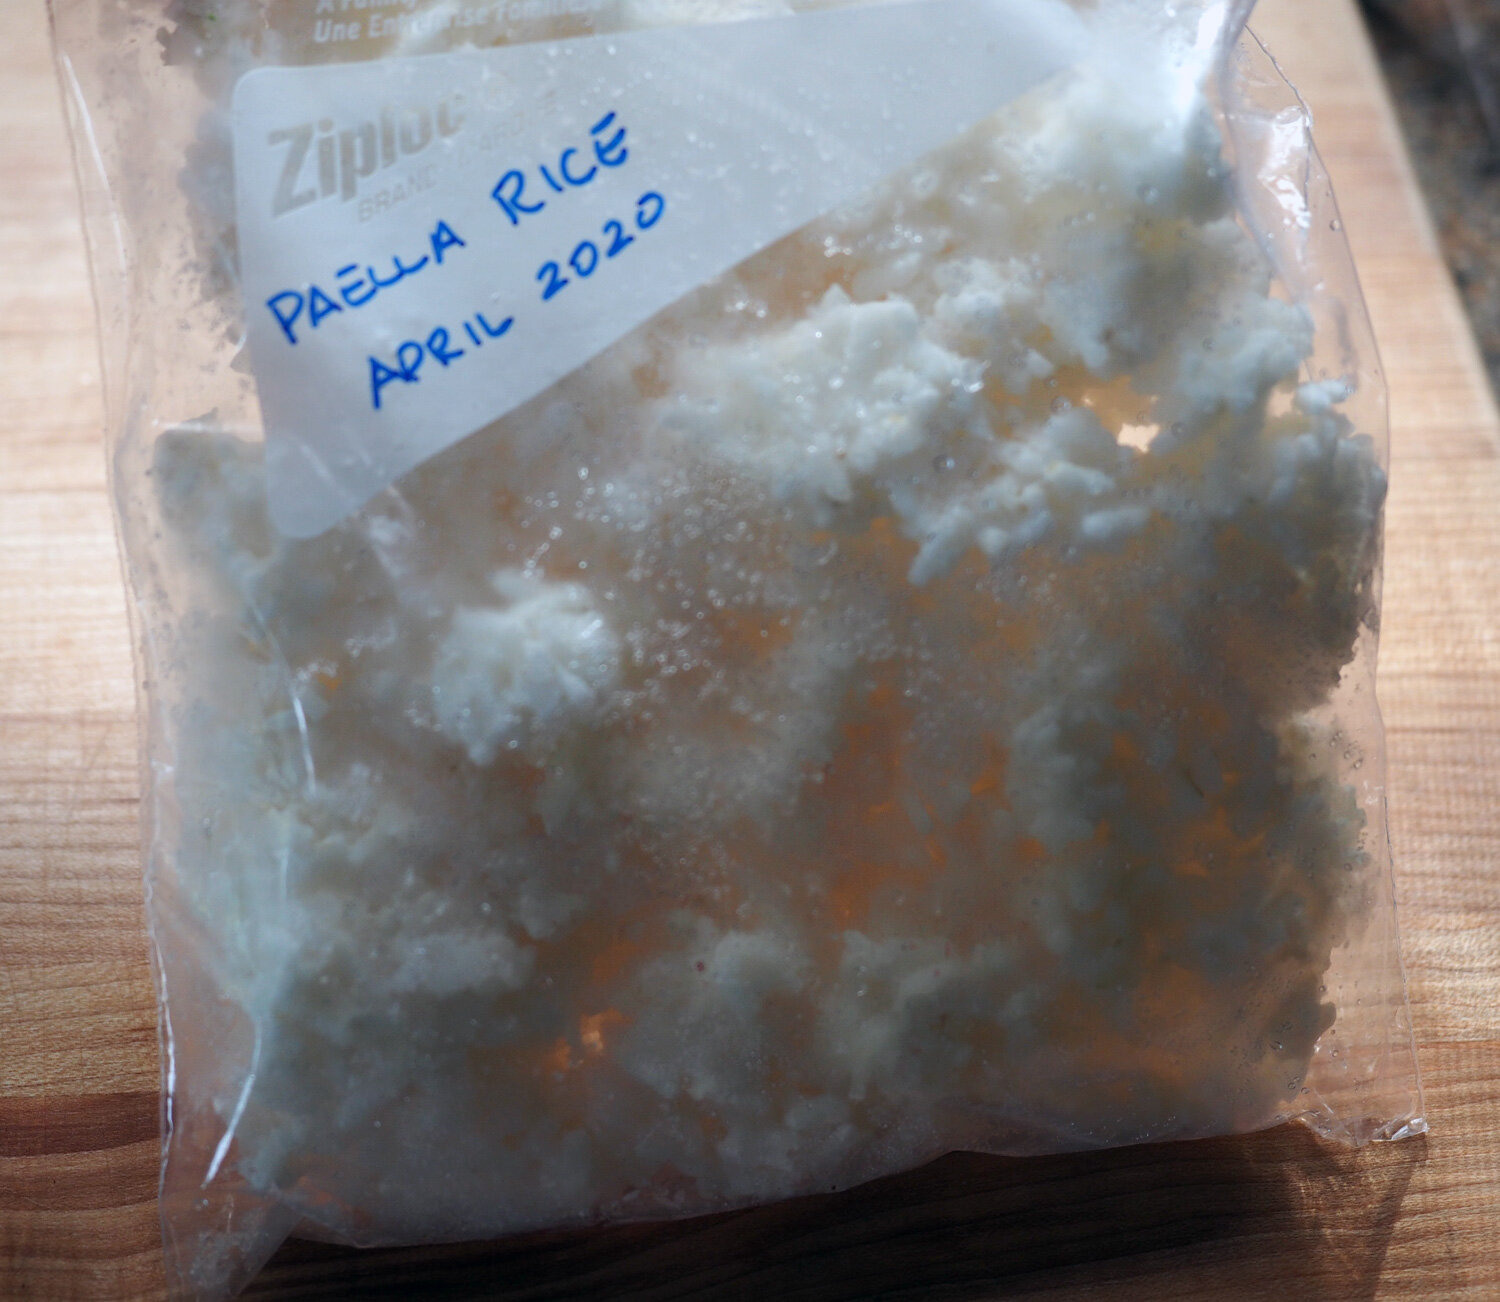
Serve with rice:
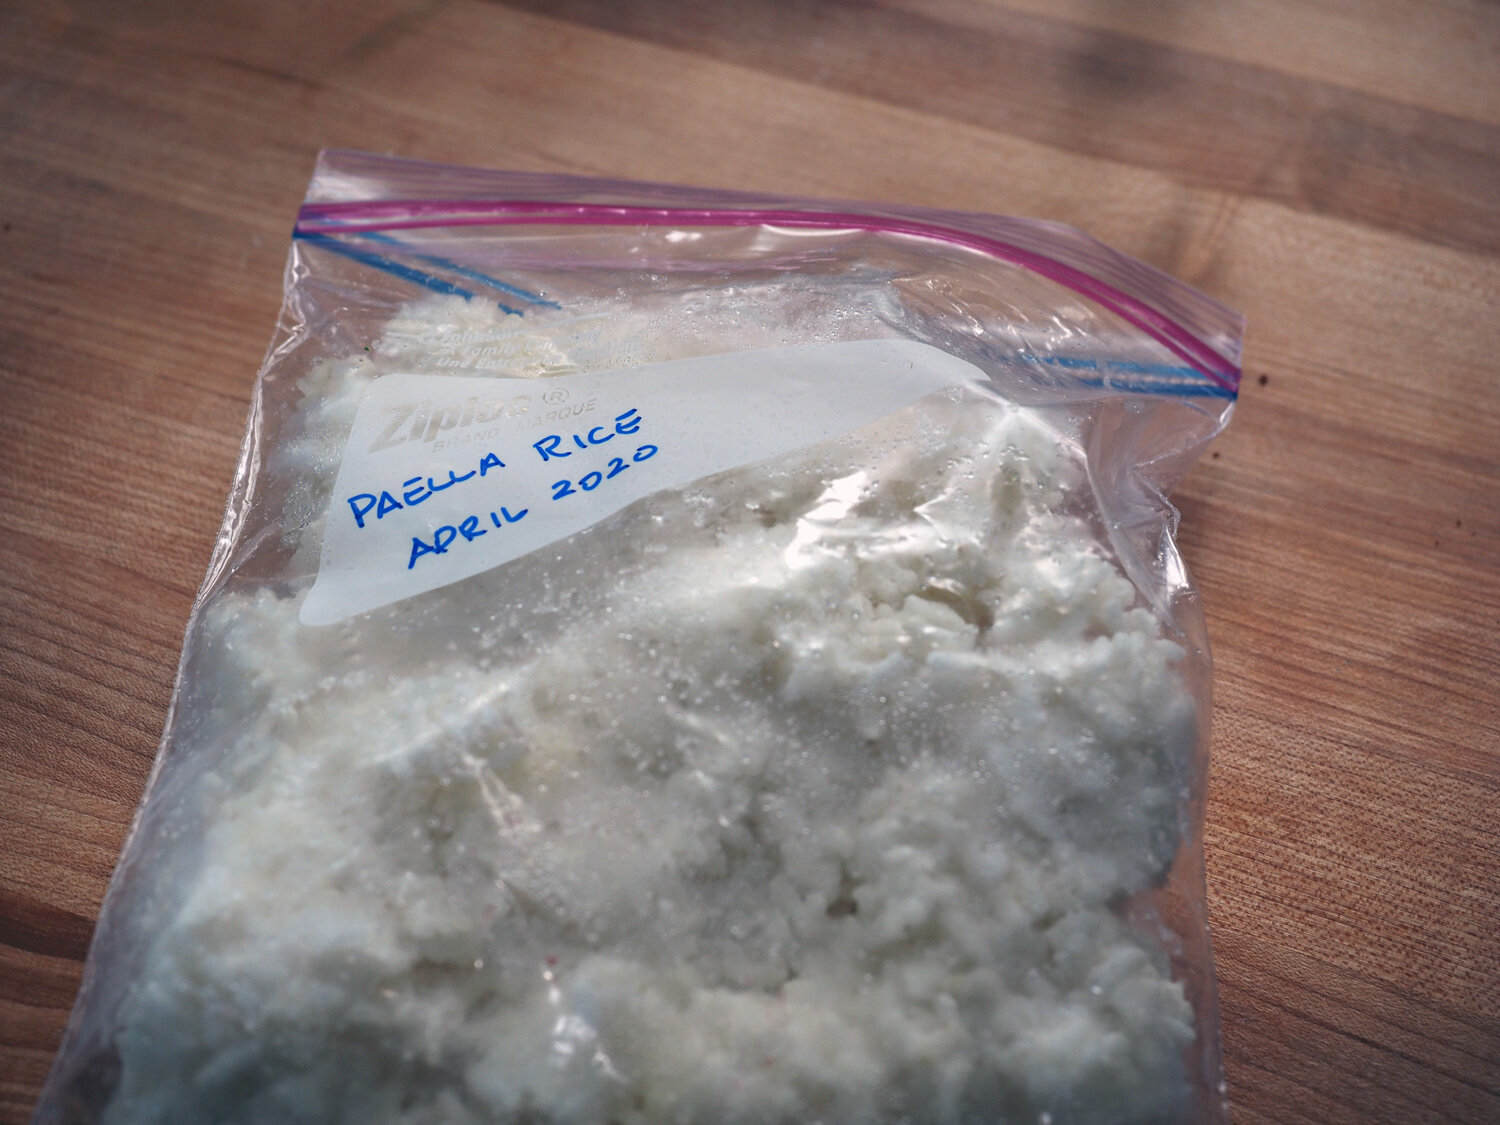
Hopefully you remember when I shared some tips and tricks, with one of them making extra rice and freezing it. Well, here’s a perfect example of when previous work comes in handy. While you are prepping/cooking the monk, just pull out the bag of frozen rice and gently warm it on the stove top or if you have a microwave. Then spoon the poached monk fish and coconut milk sauce over top. Meal complete.

This dish is warm and comforting. The fish is tender swimming in a creamy sauce with only a slight hint of coconut. Besides the rice, I like serving it a side vegetable of bok choy or grilled asparagus.
Sure, there are certain aspects of catering I miss. Mostly, the creating of the menu and culling together foods that will work with the party’s theme, the client’s taste and guests. But, hey, that’s what I have all of you for; catering at home. So, all’s good.