One day, quite awhile back when JC and I lived in our comfy, perfectly, suited for the time, co-op, we emerged from our home office starved. The realization hit us hard as we looked around the kitchen to discover we had barely anything to eat. Like Little Miss Muffet, I opened every cupboard, and the cupboards were bare. Or so I thought. One last search in the refrigerator revealed there might be salvation. I had the oddest combination of ingredients. If you could call these items ingredients. These are typically used to enhance a dish, not actually be the leading ladies. As I stared at them, I don't know who was begging more. Me? - willing them to turn into something else. Or them, shouting out, "TRY US, we can do it."
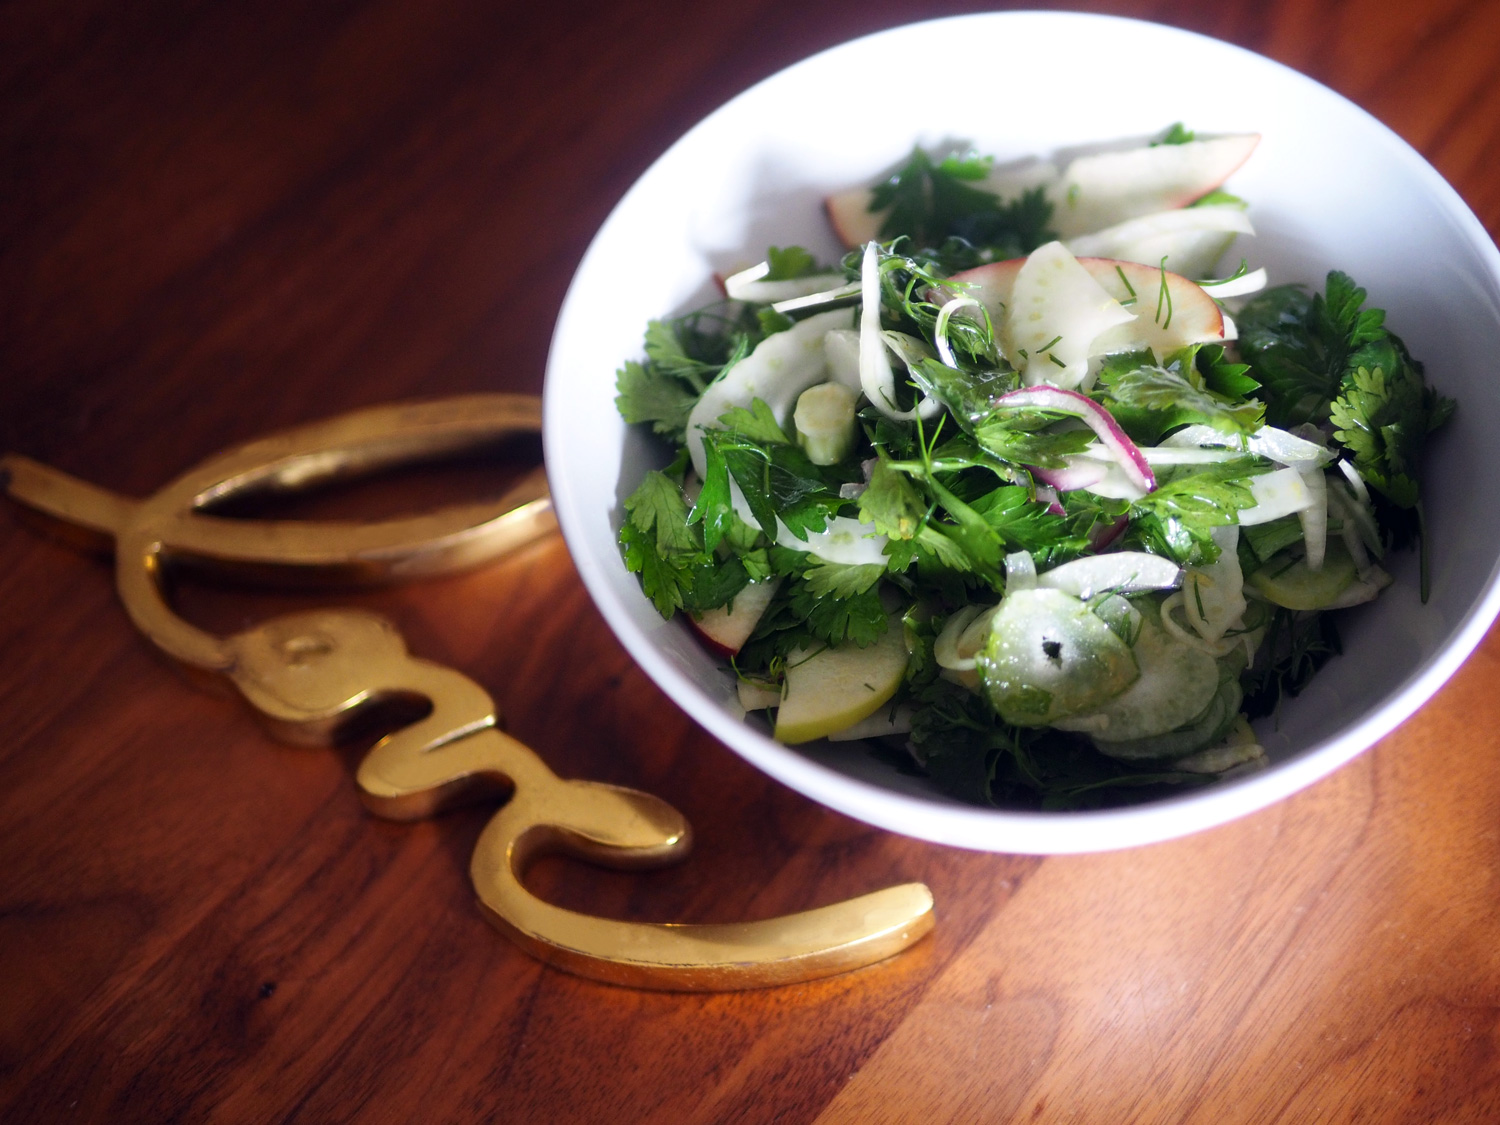
So, here goes an unusual bunch creating a surprisingly, refreshing salad.

Nothing but cilantro, fennel, red and green apples, parsley and red onion.
Ingredients
1 bunch Cilantro leaves (approx. 2 c), whole leaves, remove woody stems
1 bunch Parsley leaves (approx. 2.5 c), whole leaves, remove stems
1/2 Red onion, thinly sliced
2 Apples, thinly sliced (I used Red Delicious, Green Granny)
1 bulb Fennel (approx. 2 c), thinly sliced
Fennel fronds
Dressing
zest of whole lemon
1/4 c lemon juice
2 T lime juice
1 T mustard (I like spicy brown)
1/2 t salt
1/8 t pepper
1/2 c olive oil
crushed garlic, optional
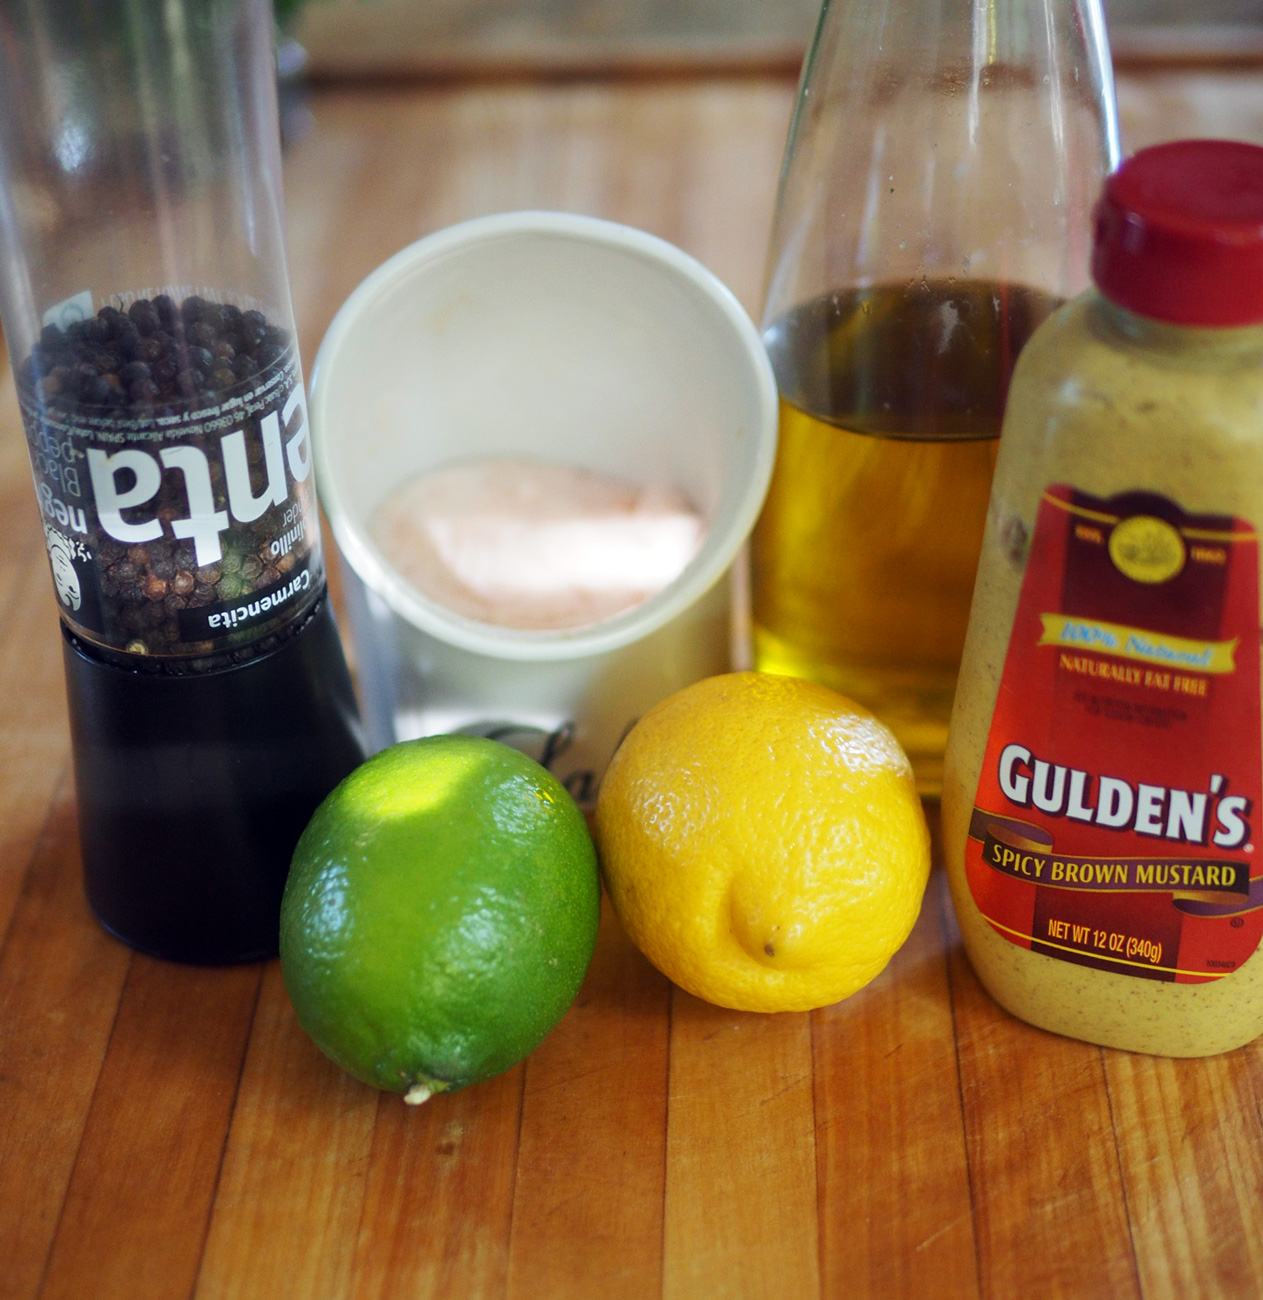
Dressing line up.
Since I didn't have any lettuce greens I knew I needed to use as much of the cilantro and parsley as I could. These were going to have to do the work of lettuce. So I lovingly plucked off each leaf leaving it whole. I did my best to not include the stems. I really wanted the purity of the leave to shine. Once all plucked, they got washed in cold water and took a went for quick whirl in salad spinner for a good dry.

Pluck, pluck, pluck.

Look at those fresh, crisp beauties. You are going to love their flavors front and center.

Since I needed as much volume as possible, I used the fennel fronds, too. I shaved them off the tops and then rough chopped them. Onto to the fennel bulb, which I thinly sliced.
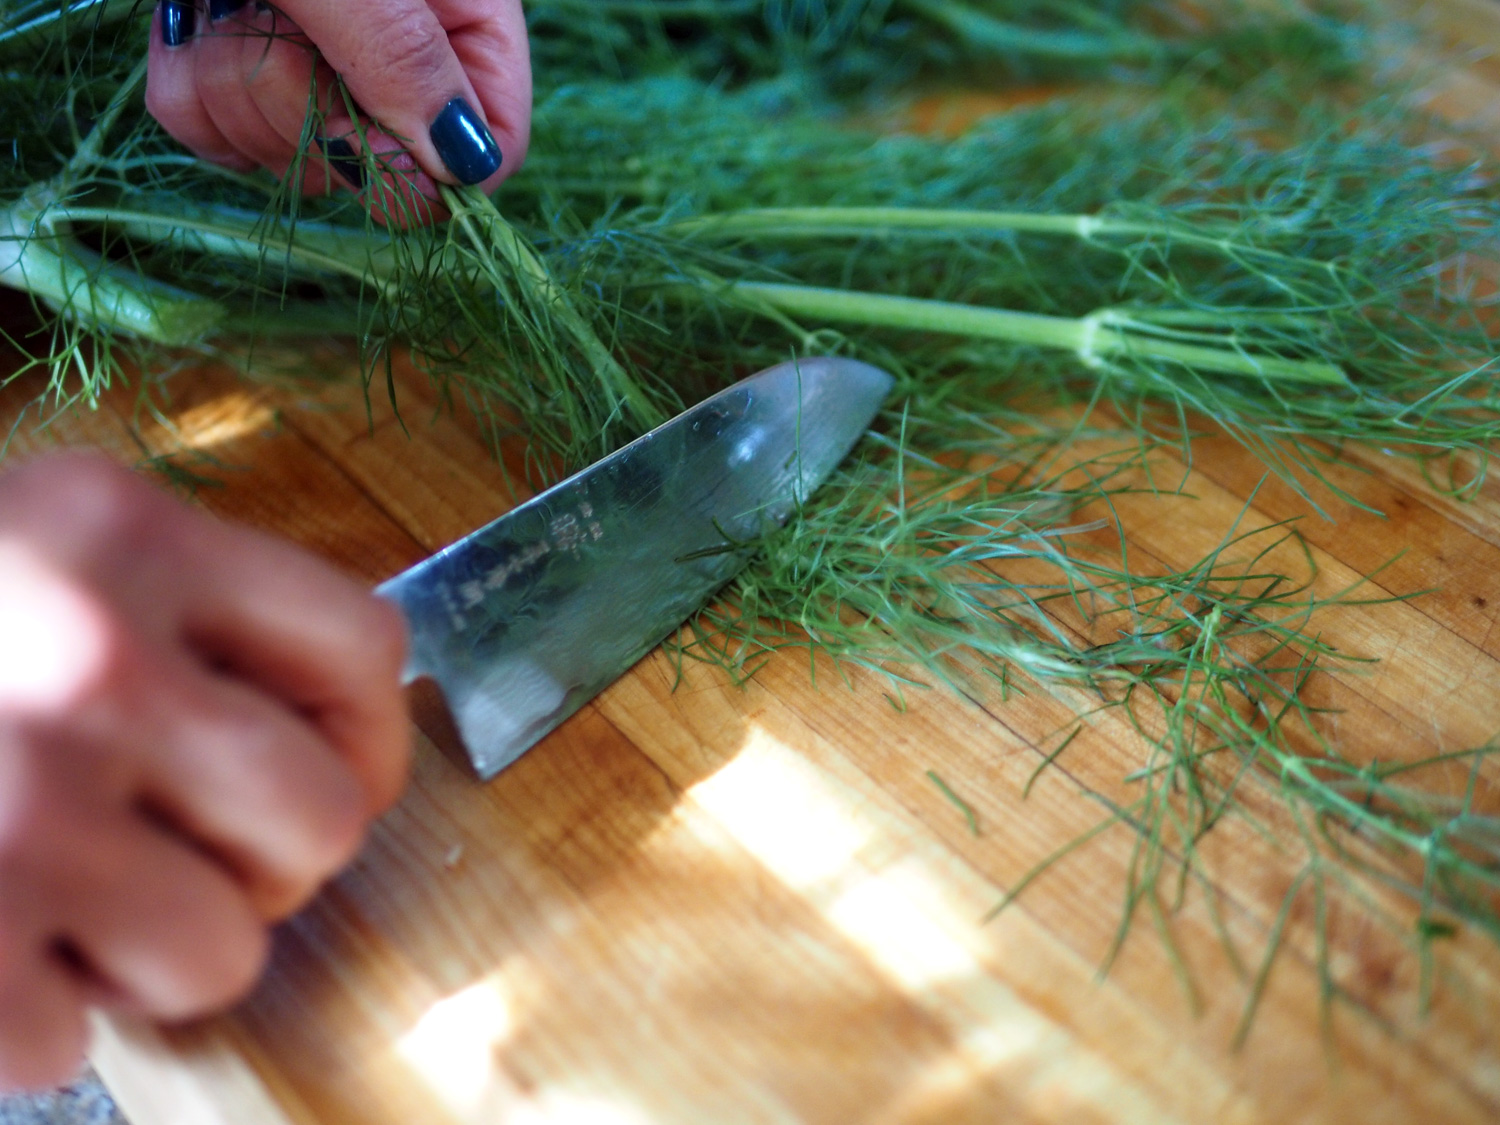

Chop, chop. Just enough so they mingle in.

Thinly slice the bulb and some of the stalks.
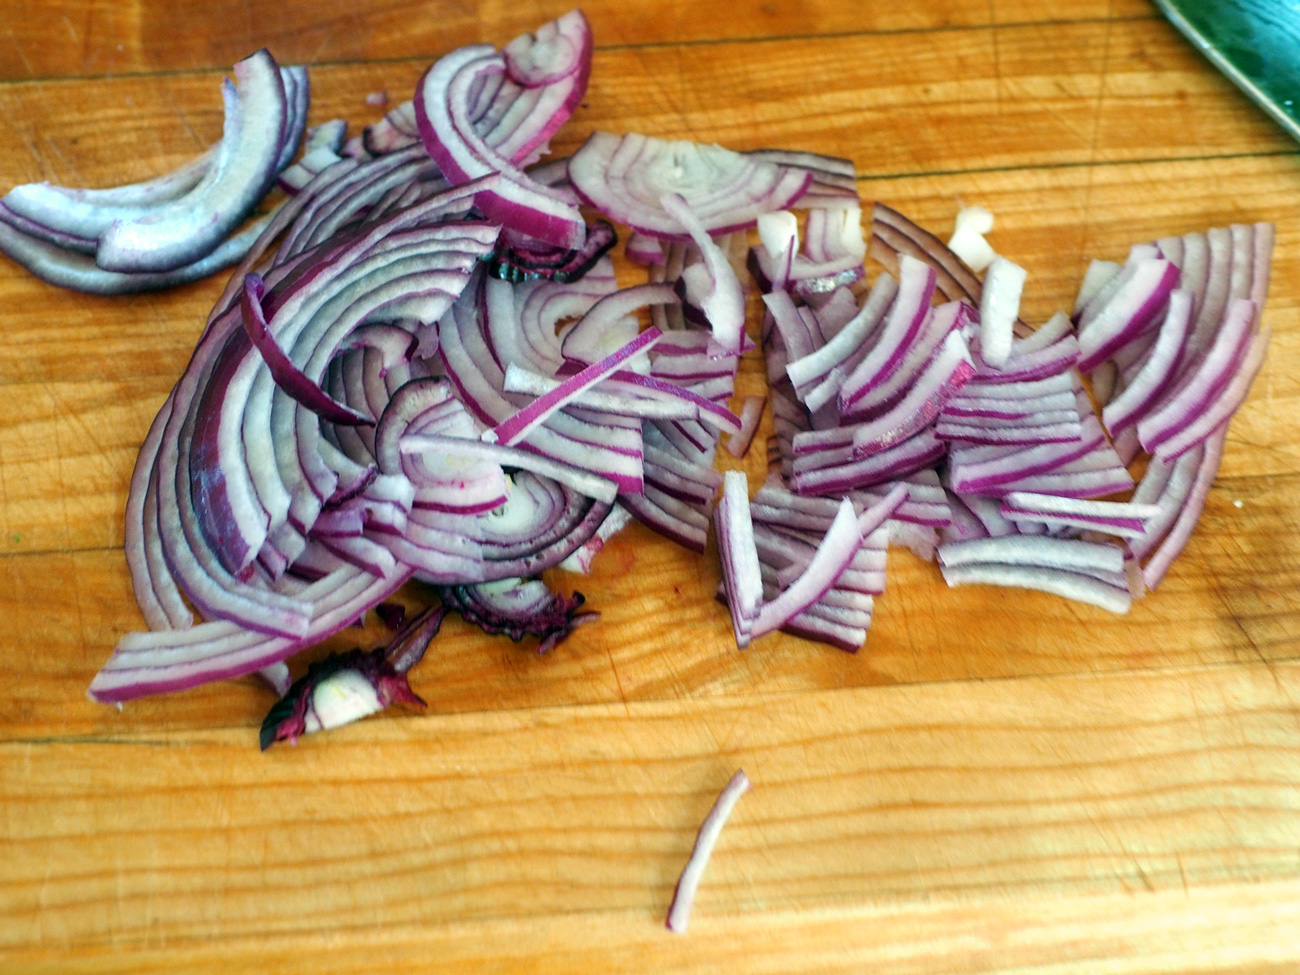
Keeping with the theme of thin. I sliced the onions and apples in the same manner. (I usually use a mandolin for all the thin slicing. So if you have one, this is the perfect time to bring it out. I felt like using a good, sharp knife this time.) Normally, I like to cut salad ingredients using a variety of different sizes for the items. But I knew this salad would require an even more delicate touch since eating parsley and cilantro leaves whole might be a bit over-powering. This is why all of these ingredients are nice and thin in order to mingle well together.
Since apples can turn brown once cut, a good trick is to place them in acidulated water, which is nothing more than cold water with a big squeeze of lemon juice. This both helps to keep them crisp and prevents ugly brown spots, but only if you will be plating the salad within 15-30 minutes. If you keep them in the water longer, than it actually has the opposite effect. Check out this interesting, helpful link for other ways to prevent browning.

Apples happily floating in lemon water.

Keeping everything at the same thinness allows each to stand up to one another. And so they did, dressed in a mustard vinaigrette.
Never underestimate those dangling participles left in your fridge. Those usually making supporting appearances, or a walk on extra without a speaking part can make a starring role if you let them. These were so proud of their debut as stars of the show!
Eat this salad on it's own, or add it to a brunch plate, or dinner plate. Whatever plate. Just pile it on.
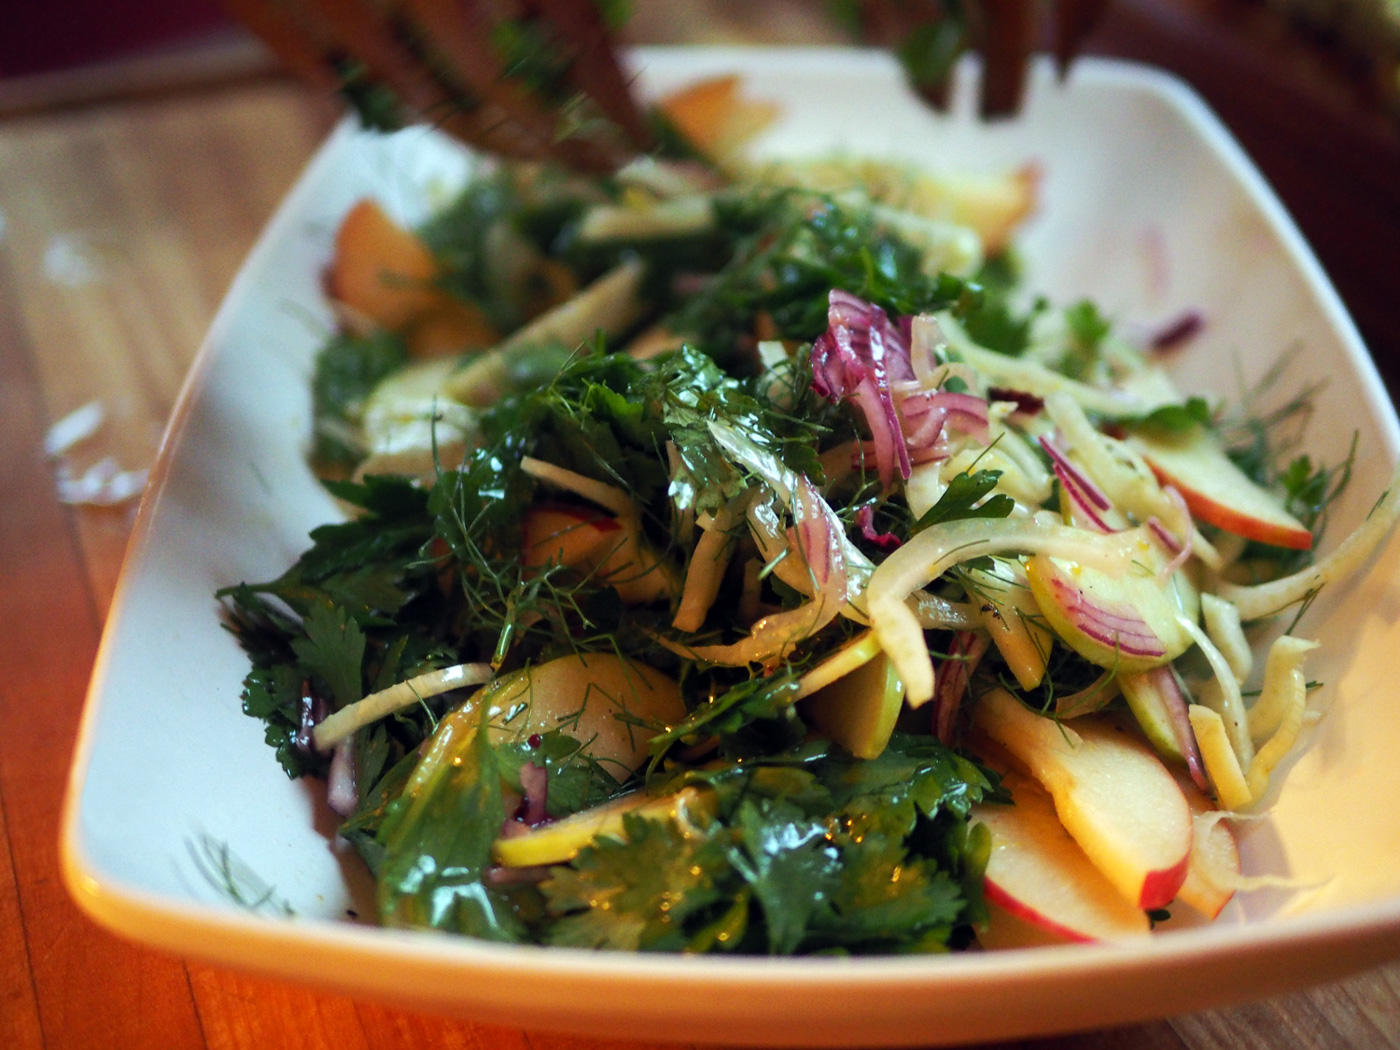
Thin slices keeps this salad so crisp and clean.

Oh, the freshness truly brighten an already delicious brunch plate.