I asked. You answered. Now the ball is back in my court to deliver.
Some of you have requested simple, yet elegant ways to fold a napkin. Sure, you can just plop a napkin down next to the plate. Why not, what's all the fuss, right? Guests are just going to place them on their laps anyway. But I will ask you this one question, and then see how you feel about just plopping that napkin down.
When you enter the home of a host/hostess and see a table set with place settings and napkins lovingly positioned, how do you feel?
1. Oh Ah, what a beautiful, welcoming setting. I feel special.
2. Oh yeah, that's where we're going to eat
If you answered #1, keep reading. If you answered #2 grab some other reading material and forget about scrolling through the rest of this post. I promise next week will bring something of more interest for you.
Setting a table can be as easy or as complicated as you want. The same goes with the finishing touches such as folding a napkin. I choose the simple method, but still try to make an impact. Some of the styles below are quite basic with a twist. They are geared a bit more towards the festive side for the holidays, yet any of them can be used or modified for any occasion.
The idea here is not to twist yourself up as you fold napkins. Sure those fancy, schmancy, origami style versions look impressive. But let's face it, those take a ton of effort and time only to have sadness kick in when your guests pull apart your time consuming creation and place them on their laps. I'm all for making the table look pretty. You guys know that about me by now. But I am also practical. Employing simple techniques for maximum impact. Whether it's preparing a dish, plating it or folding a napkin.

I pulled out a few items to play with for this episode of how to fold a napkin... Fast but pretty.
Let the folding, or rolling begin. The best part about these suggestions is that you don't need the exact napkin or ribbon or decor that I show in these examples. These are guides and intended to motivate you to look around your house to see what you can use. Any of the ideas shown can be easily refashioned to incorporate what you already have. In fact, all the ribbons I use are from packages I received, or remnants lingering around just waiting to be given the chance at another useful life. I also cut the ribbon handles off of nice shopping bags. These are usually good quality and the perfect size. Give a good think about what you have readily available. Need more hints. How about using twigs or acorns, cinnamon sticks or nutmeg rounds. A feather, a flower, chives.
Although most of these are for individual place settings, I've shown two napkin options for use on a buffet or cocktail setting.
The Simple roll
This method is a no brainer. The art comes in how to finish it with a little extra flare.
Fold the napkin in half and in half again.
From the open edge side of the napkin, begin rolling towards the folded edge of the napkin. This helps to create a cleaner finish.
Tie a 3/8" ribbon around the mid section and finish with an adornment.

Once you have rolled the napkin up, tie a ribbon, knot it, place an ornament down and tie a bow. Place in the middle of the plate.

3/8" ribbon + ornament

Note the folded edge on the left side is where you want to roll to.
The Simple roll - Candy Caned
Using the same simple roll technique, wrap the roll with a wider ribbon to create a candy cane or striped effect.
Tuck one end of the ribbon under the bottom right side of the napkin
At an angle begin to wind it around leaving equal amounts in between.
Tuck the edge under.

Chic, simplicity

Roll the napkin
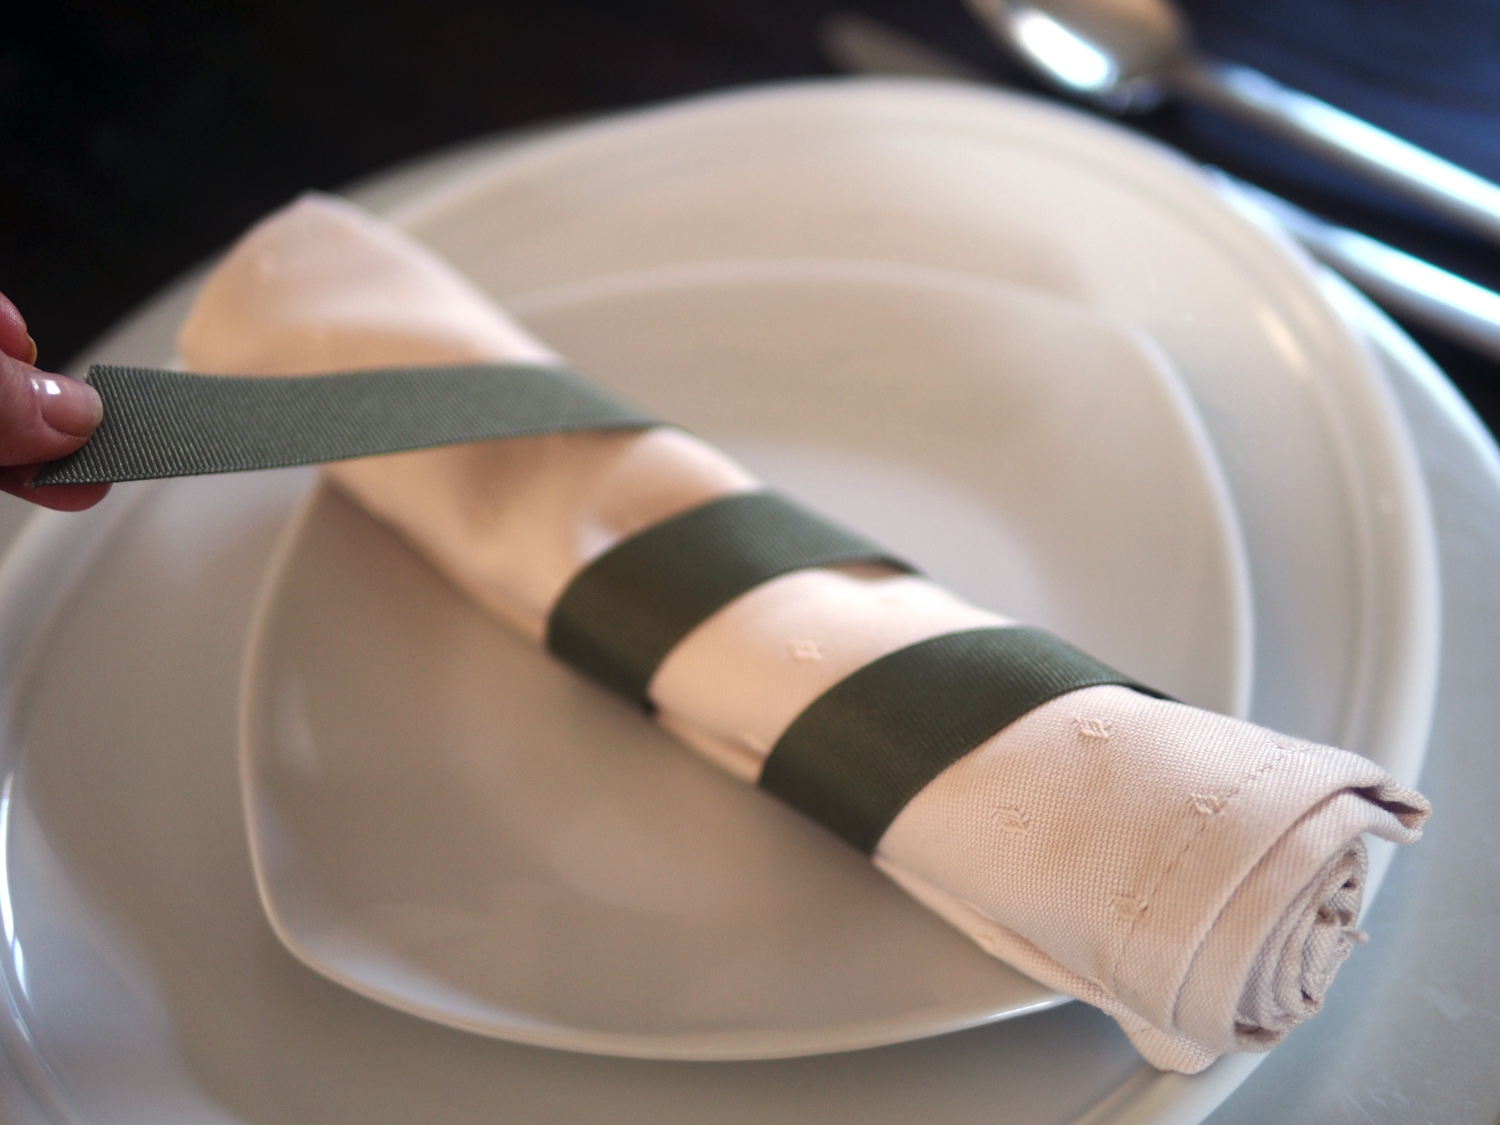
Using 1/2 grosgrain ribbon, tuck on end under the napkin and wind it around leaving equal amounts in between. Tuck the edge under.
The simple roll - Crisscross
Can this simple roll be more versatile? Duh, of course, it can. If you don't want to spiral the ribbon around, why not create a straightforward crisscross effect.
Place the ribbon midway under the napkin, then crisscross in front placing the ends across the plate.

Modern, simple and elegant.
The buffet Roll
Using the roll technique, find a vase or bucket or even a wide bowl that coordinates with your table theme. Then place all the rolled napkins in an orderly fashion. Place your napkin bucket near the flatware and dishes on your buffet table for easy access for your guests.


I didn't have enough black napkins so I used a cream/green one to coordinate. The way to make it look planned is to concentrate the colors. I choose to use the darker color for the circular perimeter with the light colored center. It feels like a flower.
The Simple fold
I know you are saying, "What the heck? This is a napkin folded over in a rectangle. Is she serious?" Yes, I am. This is a straightforward approach but by turning the napkin horizontally it feels slightly different. Don't worry, keep scrolling. There are more plays off this easy technique.

Is there anything easier than folding a napkin and placing it in the middle of the plate. I think not. But we can pump it up. Read on...
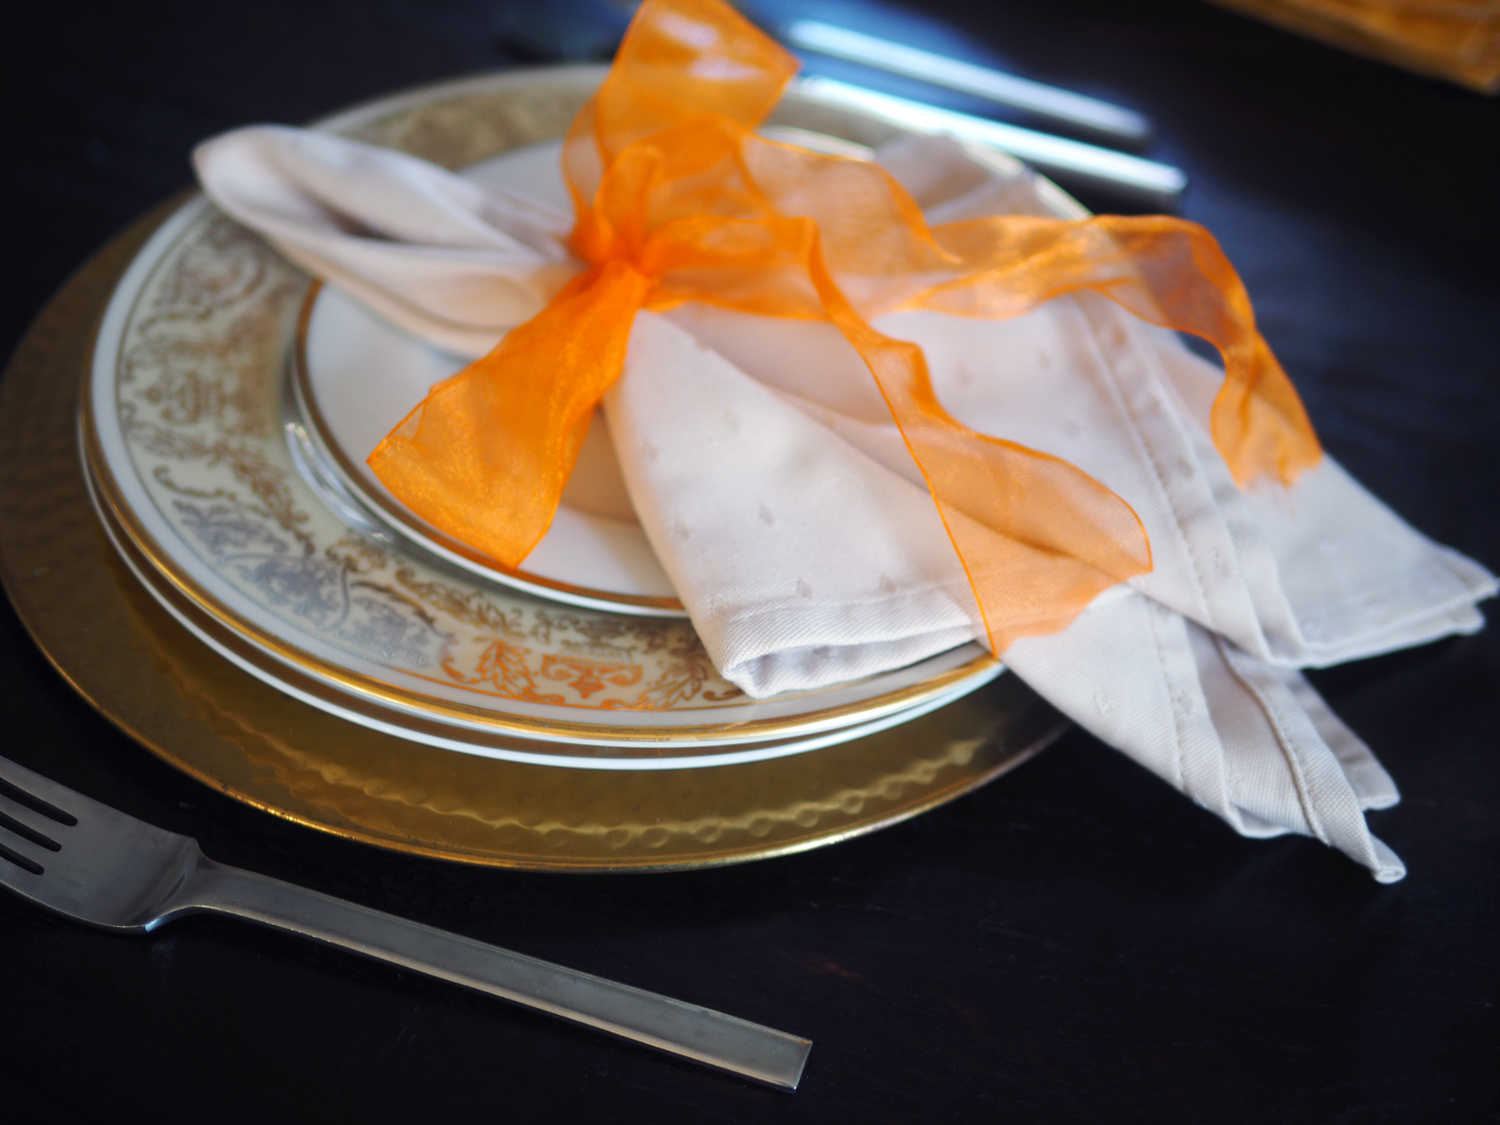
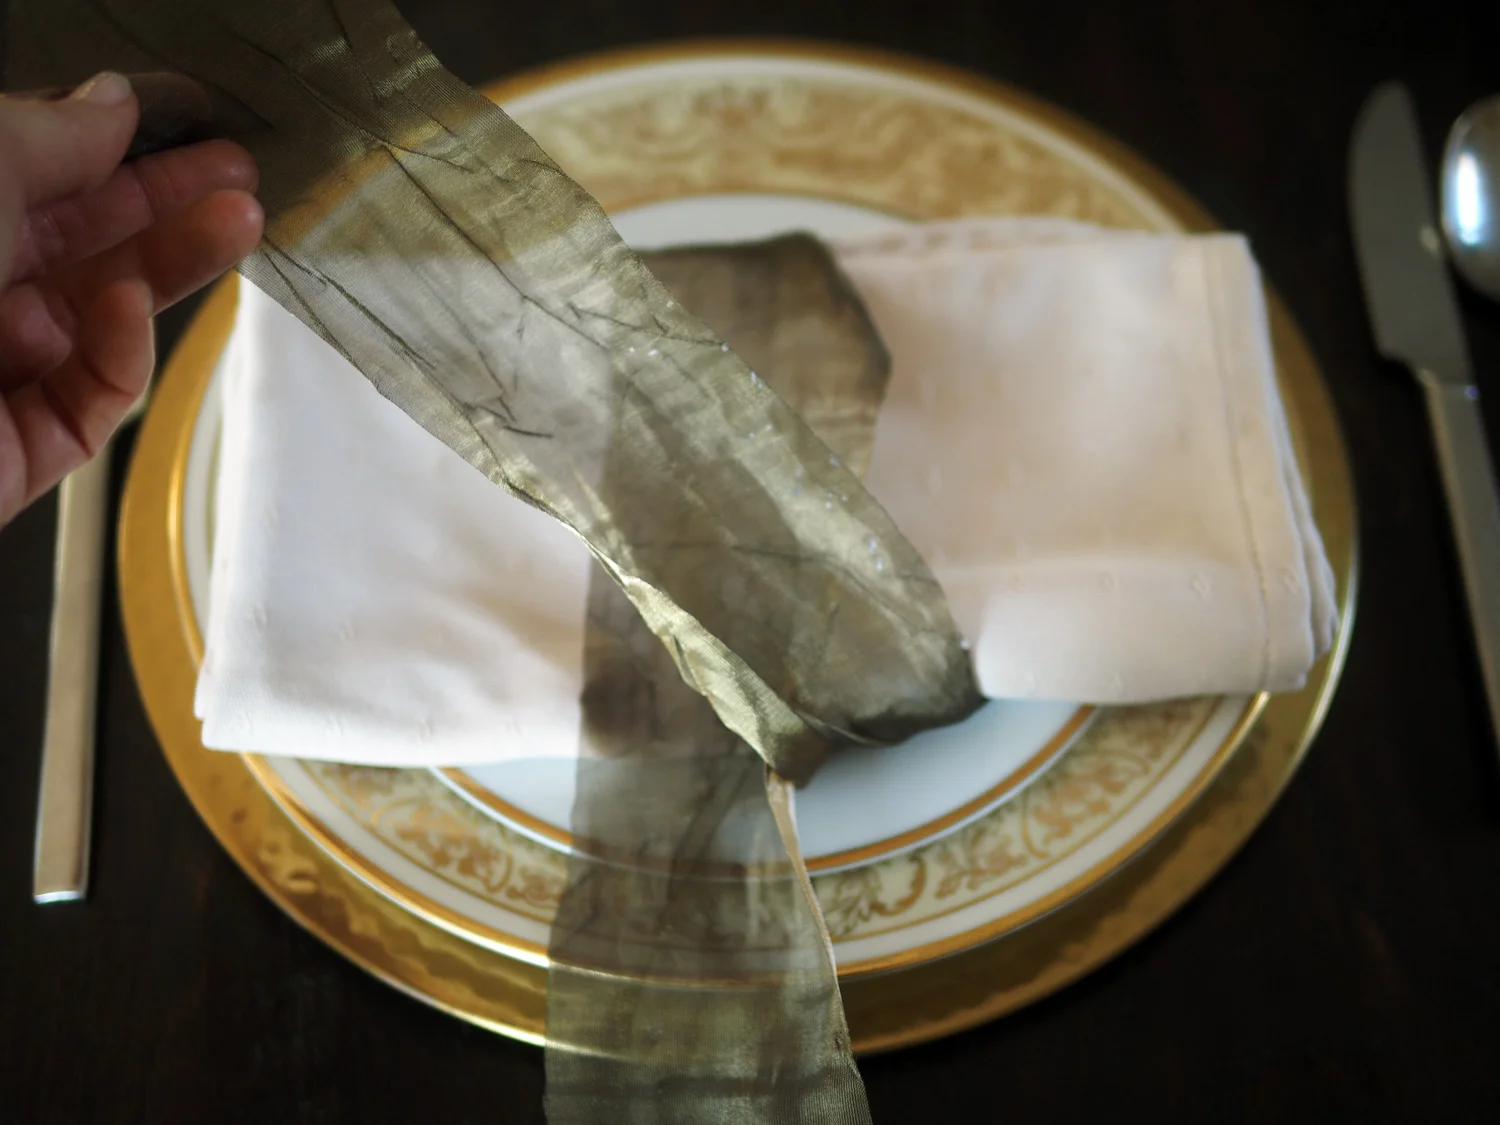
The Simple Fold Doubled Wrapped
You see. The rectangle fold slightly jazzed up. (Fun tip: The sage green, crinkle organza ribbon is from our wedding. Yes, you read that correctly. I saved the ribbon from our wedding 16 years ago, and just like our marriage, it's still going strong!)
Using a wide ribbon, starting on an angle tuck one end under the bottom left hand side.
Wrap the ribbon around twice, slightly overlapping in the middle so there is no gap.
Leave enough ribbon for the tail to poke out on the bottom right hand side. You may need to adjust as you go.

The simple rectangle napkin has a more powerful impact with a doubled ribbon wrap tail peeking out.

Fold napkin in half, then half again, than half yet again.

The wide ribbon is what makes this angled wrap have more presence.
The Simple Fold & Half Knot
Same rectangular fold, same ribbon but with a bit more sass.
Place the wide ribbon under the napkin in the center with the top portion of ribbon being slightly longer than the bottom.
Bring the the top portion of the ribbon to lay down over the napkin.
Take the bottom ribbon and cross over front.
Then tuck that piece under and flare the tail out to the right.

Once you pull the short side through to the right, make both tails lie flatly down.
The top portion of the ribbon rests across the middle of the napkin while the bottom/under portion gets crossed over front.

Tuck the ribbon under the midsection and pull to a loose knot.
The triangle
Yes, this is another no brainer fold, but one that also has versatility.
Fold the napkin in half and half again
If you have a nice finished edge like the one shown below, fold the point down only to the trimmed edge. (You can also use this approach even if you don't have a fancy edge. It will actually make your triangle fold a bit more special.
You can also just fold it point to point.
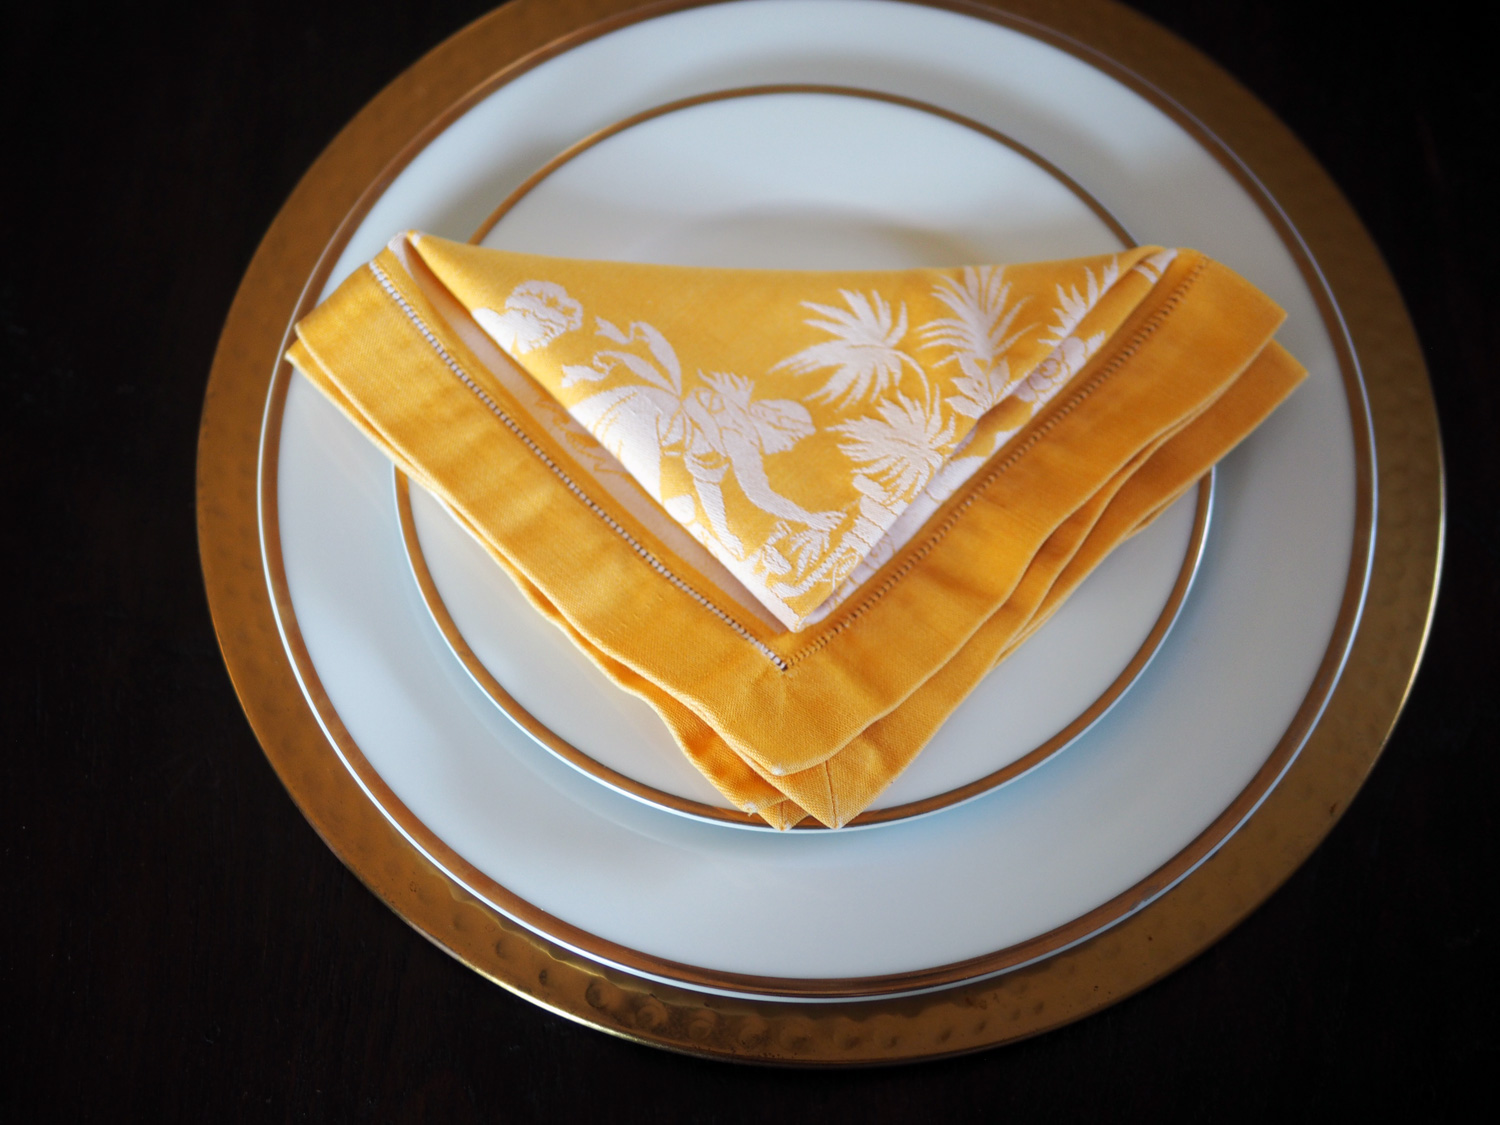


Simple Triangle & Ornament tuck
Tuck an adornment under one side. Use a cinnamon stick, or a flower stem or this stem of pearl like buds.

The Triangle Tower - Buffet Style
Using the same triangle technique but folding edge to edge, you can then stack them to create a uniformed row for a buffet table


The fold & hold
Easy fold in half fashion and tying in the middle.
Lay the napkin right side down and fold each edge into the middle
Flip the napkin over placing a ribbon midway. Add an adornment
Tie one knot to secure and place onto the plate


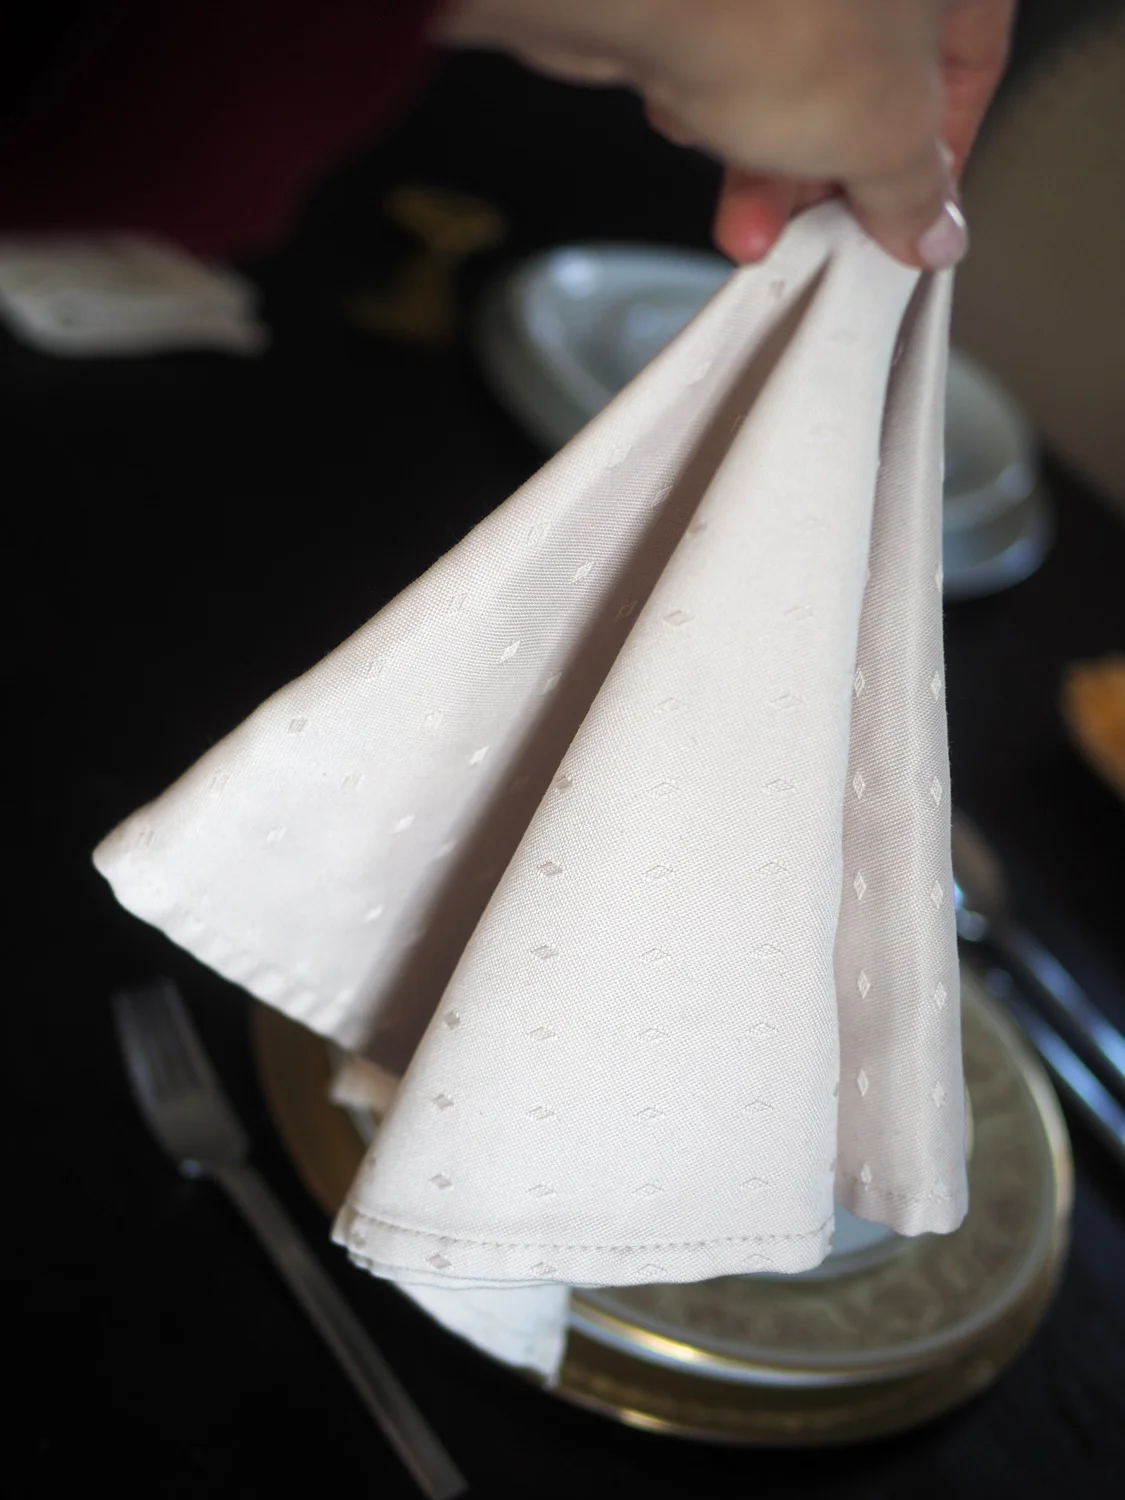
The Drape
The more elegant dropping of a napkin.
Fold the napkin in half
Grab the middle folded edge and let the napkin naturally drape
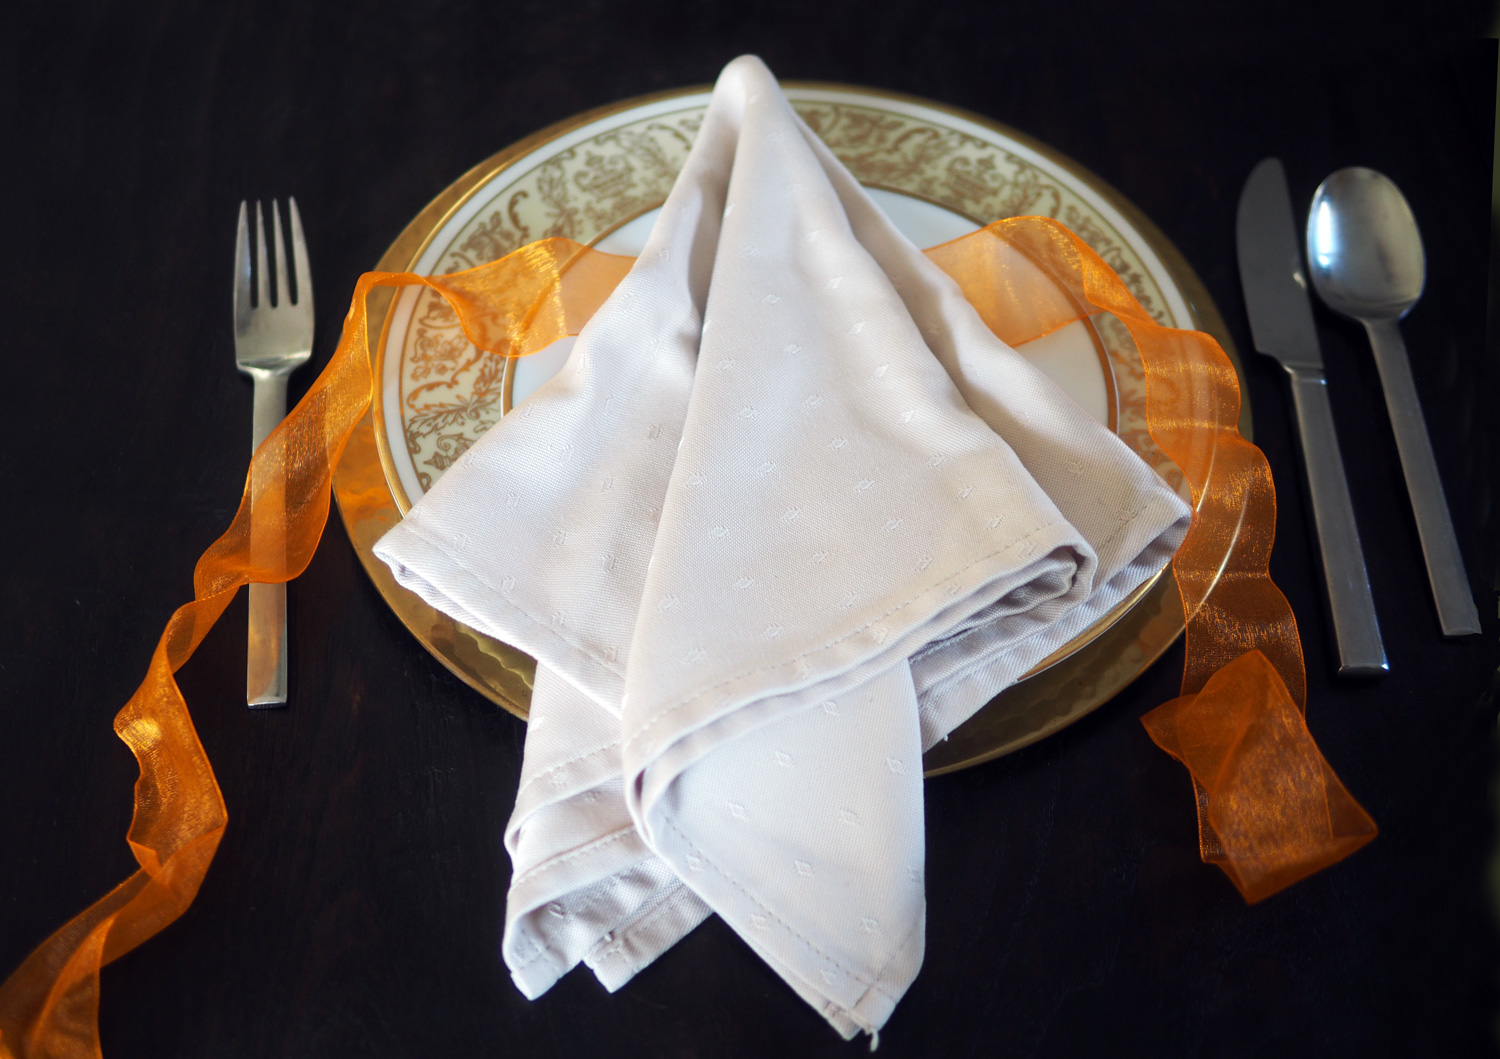
Place the napkin on the plate. It will create pretty folds


Fold the napkin in half and grab the folded edge.
The Tied Drape
Just add a ribbon tied 1/3 the way down from the top

As I mentioned, none of these are ground breaking. They are simple techniques with a little extra pizzaz, which is what I believed you asked for. I hope I sparked your creative spirit using the napkins and odds/ends pieces in your home to create a festive, happy landing place for your guests.