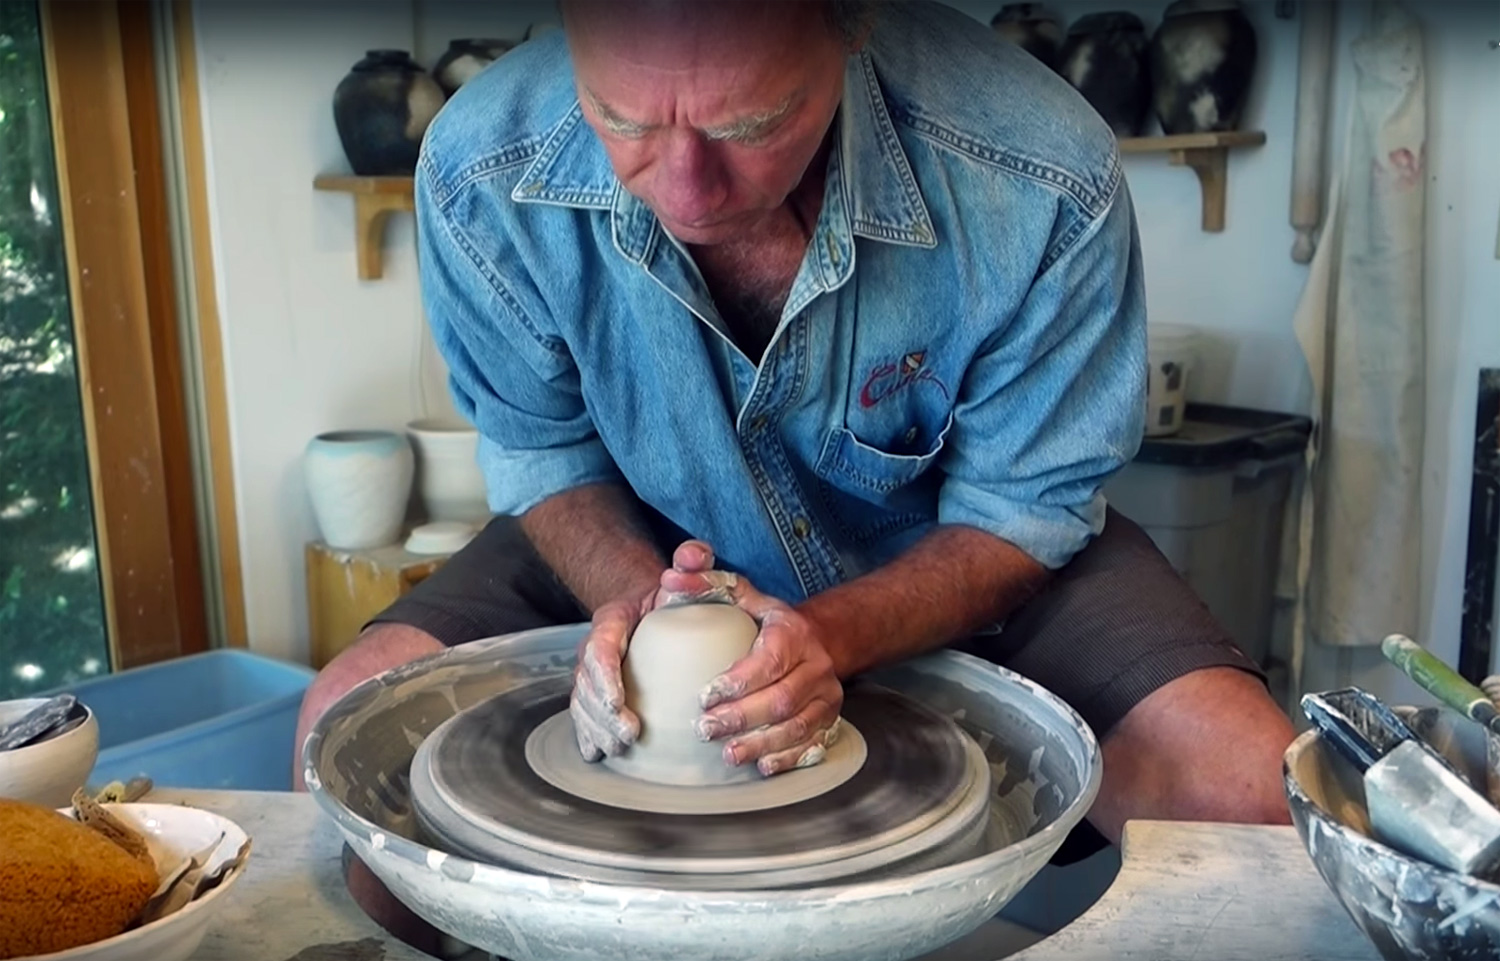
Woodstock, seems to be the ground zero for creative spirits. And so it was for Ron Miller, who in 1996 took a little pottery class in the famous town. From that first introduction, he was bitten by the pottery bug. So inspired by the art form and the work of local potter Nancee Meeker that he asked her to teach him. At first, the answer was no, but somehow her potter’s wheel did a 360 and she agreed to mentor him. Fortunately for all of us, because Ron has started his own pottery business, Miller Pottery HVNY.

Ron has always had a spirit full of creativity but like most of us needed to find a way to pay the bills with a ‘regular gig’. That gig for 25 successful years was the high stakes NYC restaurant industry as a GM, Maitre d’ and Wine Director/Sommelier. Alas, the creative itch keep scratching and it was time for Ron to spin back to the love that inspired him so many years ago.

I first met Ron over a decade ago during his restauranteur career. He has always been a consummate professional in all he takes on. His attention to detail, deep knowledge and commitment to any craft all funnel into a man who always brings his best. After years of seeing pottery all over his home, it came as little surprise that this would become his creative outlet and new business venture.
Ron’s style follows a few different paths. As an admirer of Matisse’s cut outs, some of Ron’s work incorporate interesting overlays which pay homage to the that style.

Another route is simplicity. As Ron mentioned to me, he tries to adopt his friend, Alex’s mantra of “Dare to be simple.” Which seems simple, when in fact, restraint is not always the easiest path to follow. Ron seems to have gotten the knack.
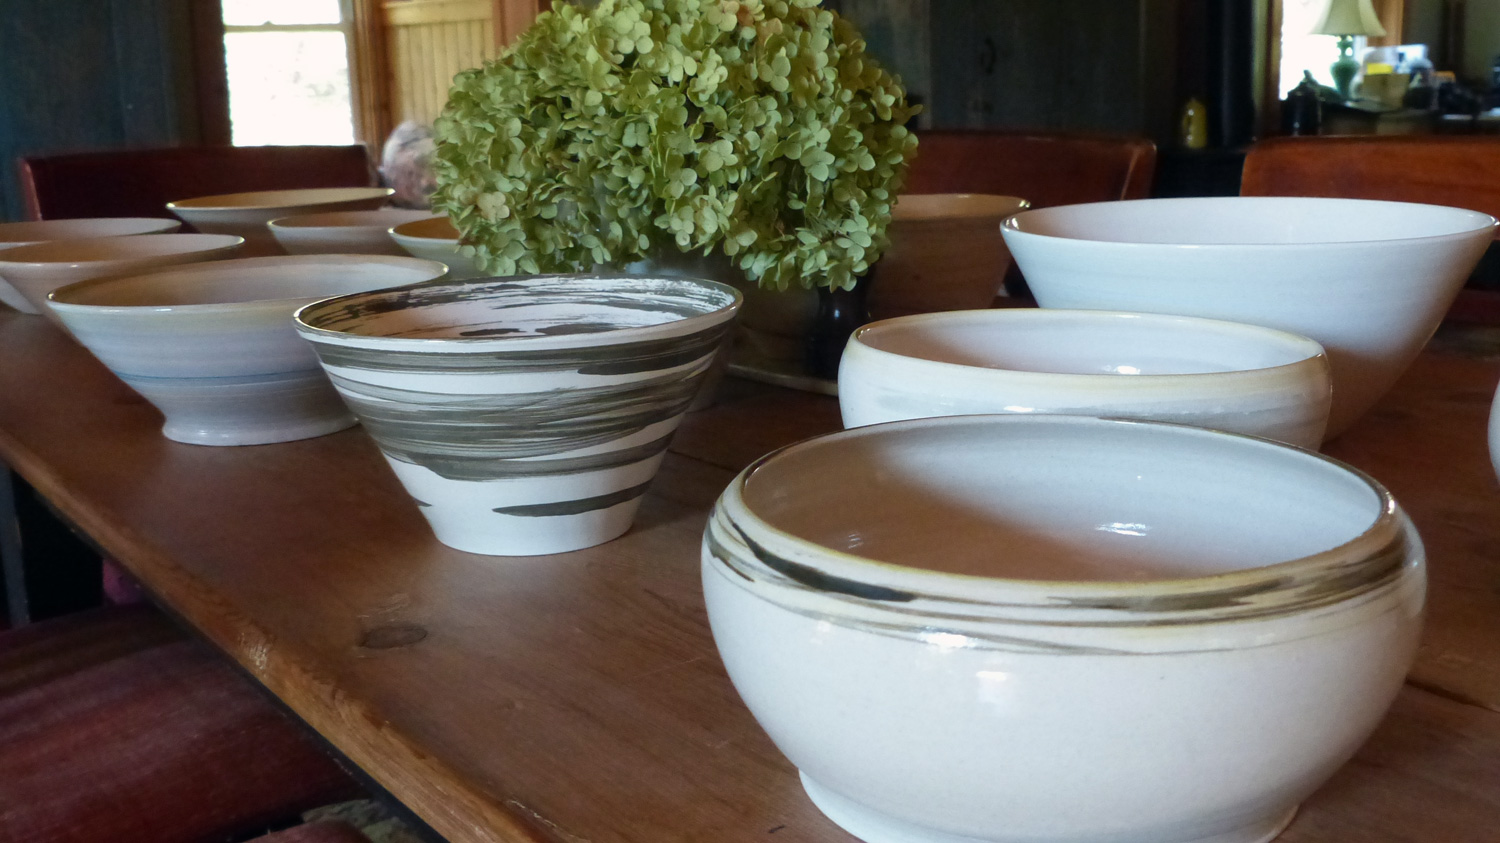
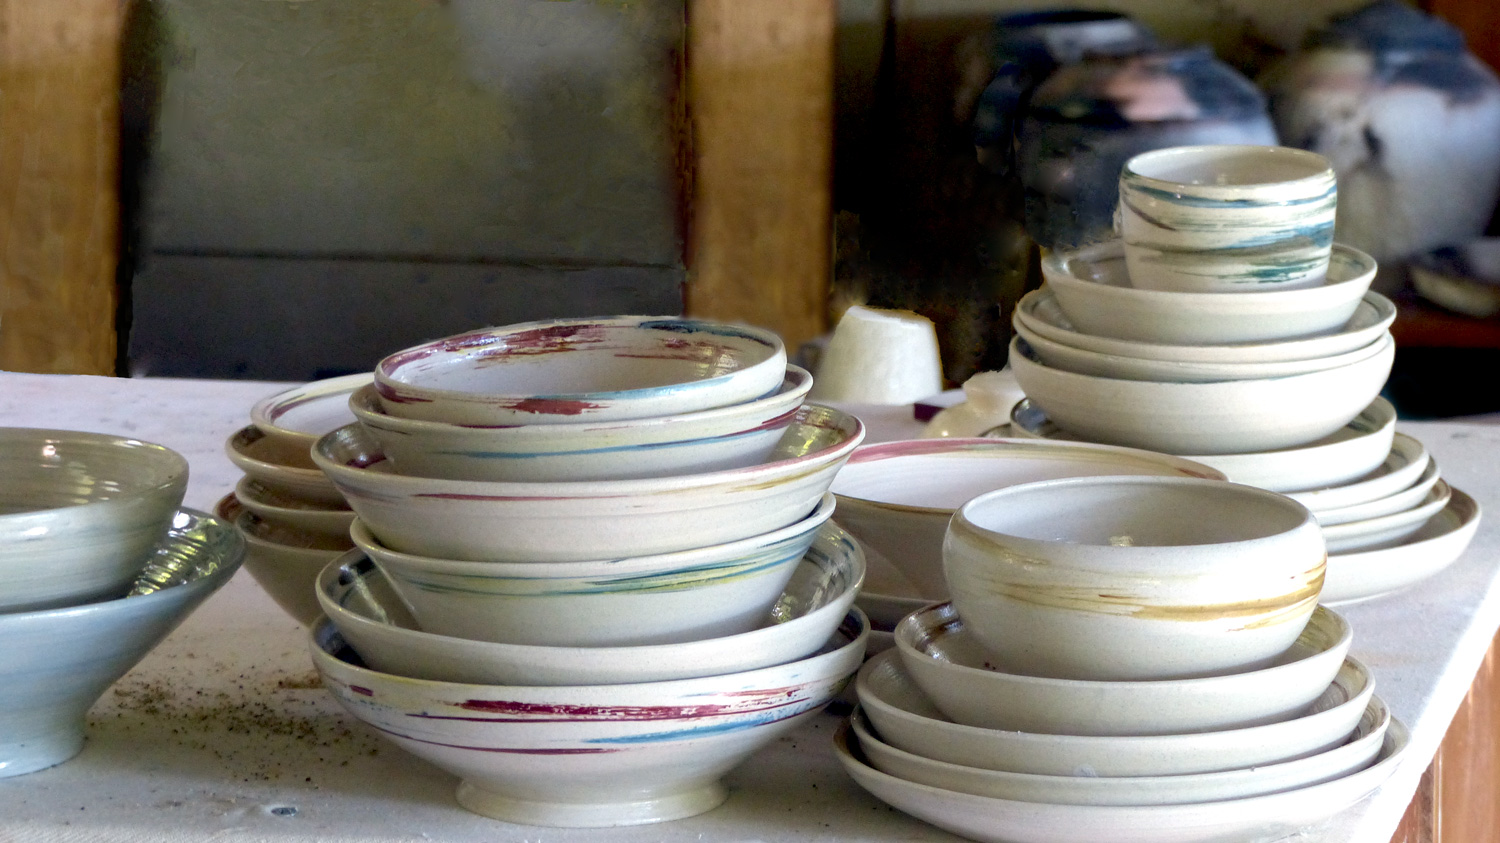
Creating streamlined and clean shapes with simple swirls of color. Simplicity at is best.
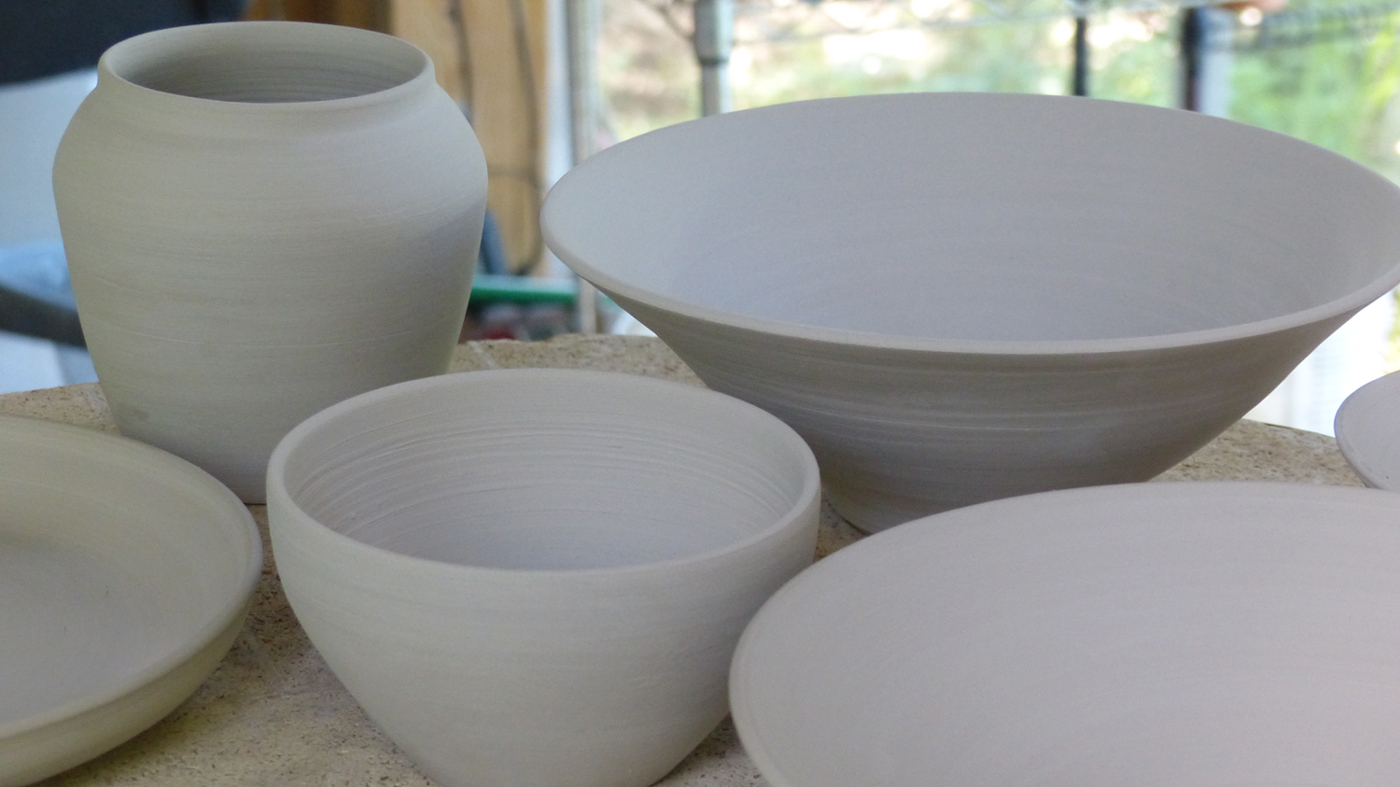
Lastly, allow the clay to guide him, letting it take the form and shape it wants to become.


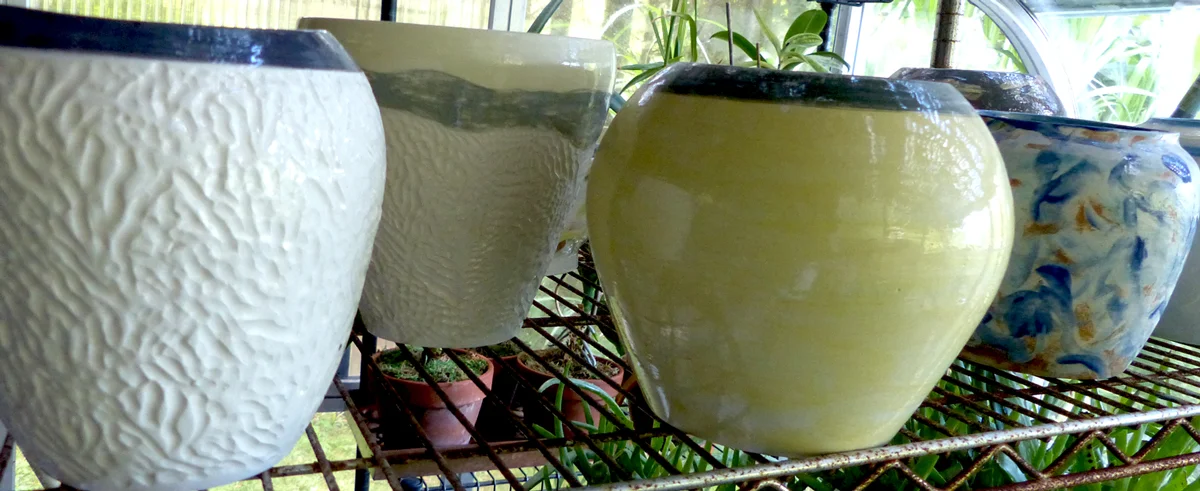
Earthy and organic shapes
He uses a low fire earthenware clay for his carved and sawdust, smoked pieces while stoneware clay is employed for his ‘fun and functional’ work.

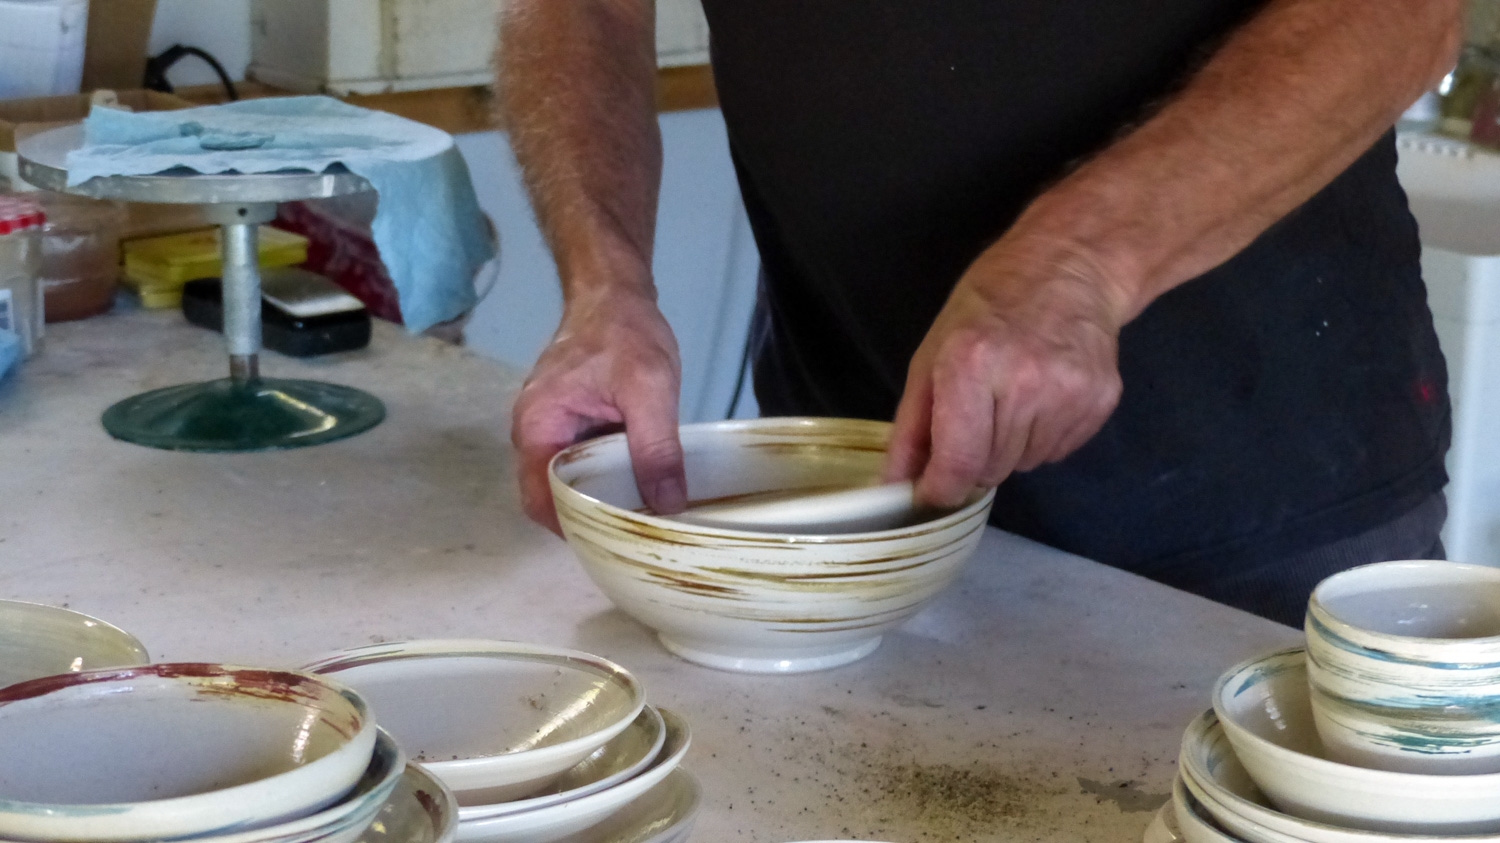
Like any artisan workmanship, it takes time and effort and in this case, a true spinning with love. The process of ‘throwing a shape’, then trimming the clay, then carving and applying a Terra Sigilata. Adding stains, firing it in the kiln, glaze then re-fire. Well, you get the picture. Passion, care and love is required.

It is a process that is quite literally grown from the earth and is a reflection of the artist himself. Deeply committed, pure and simple, fun and functional.


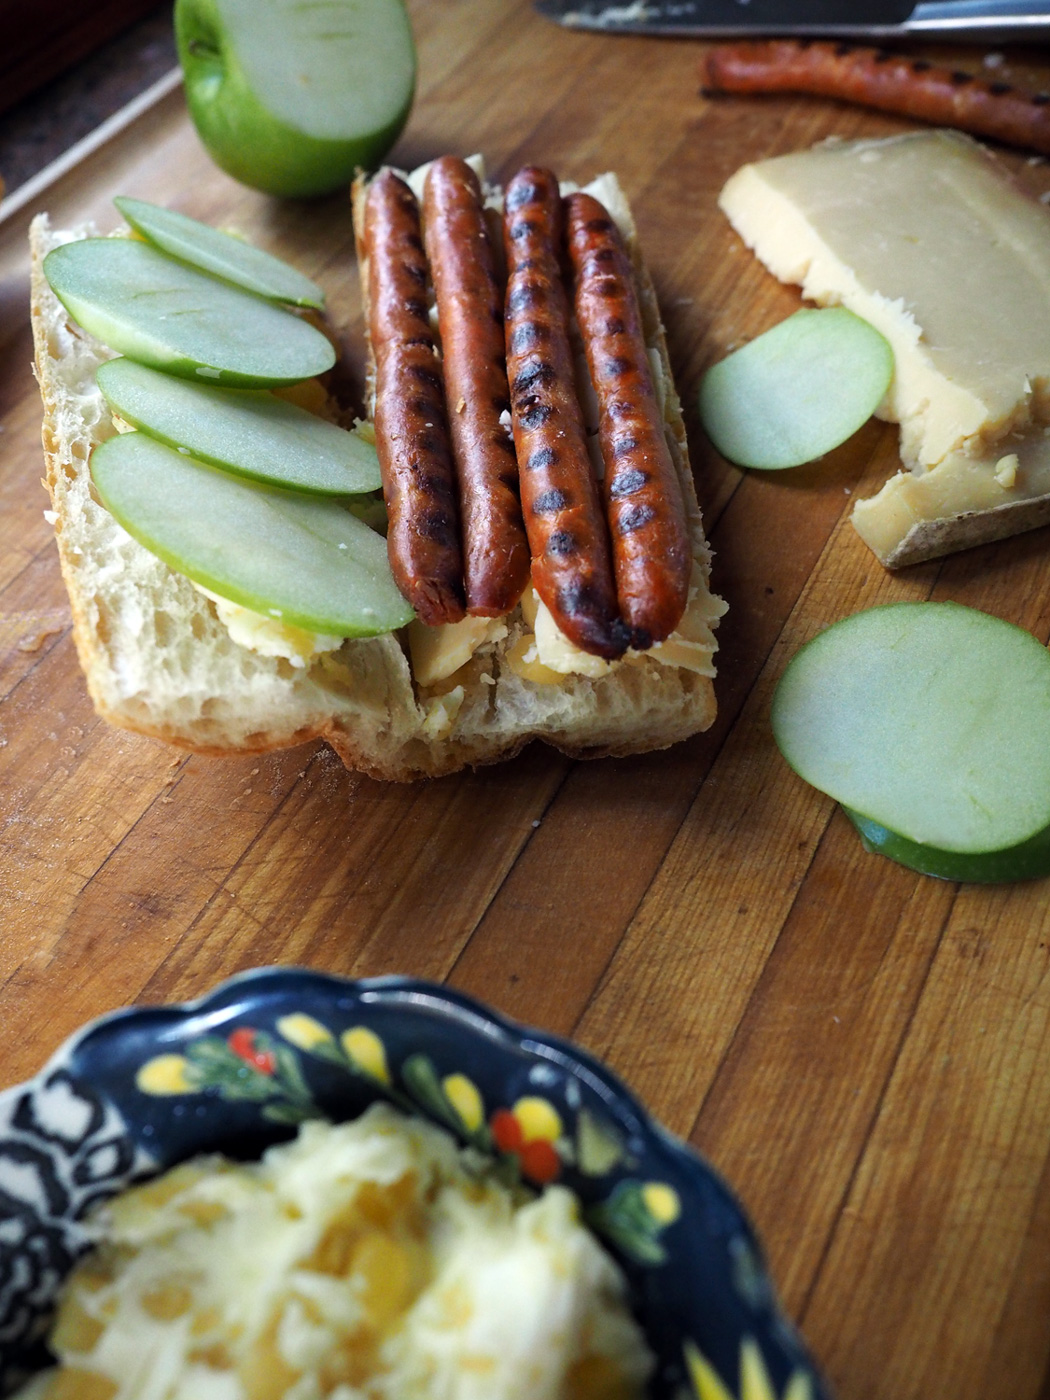
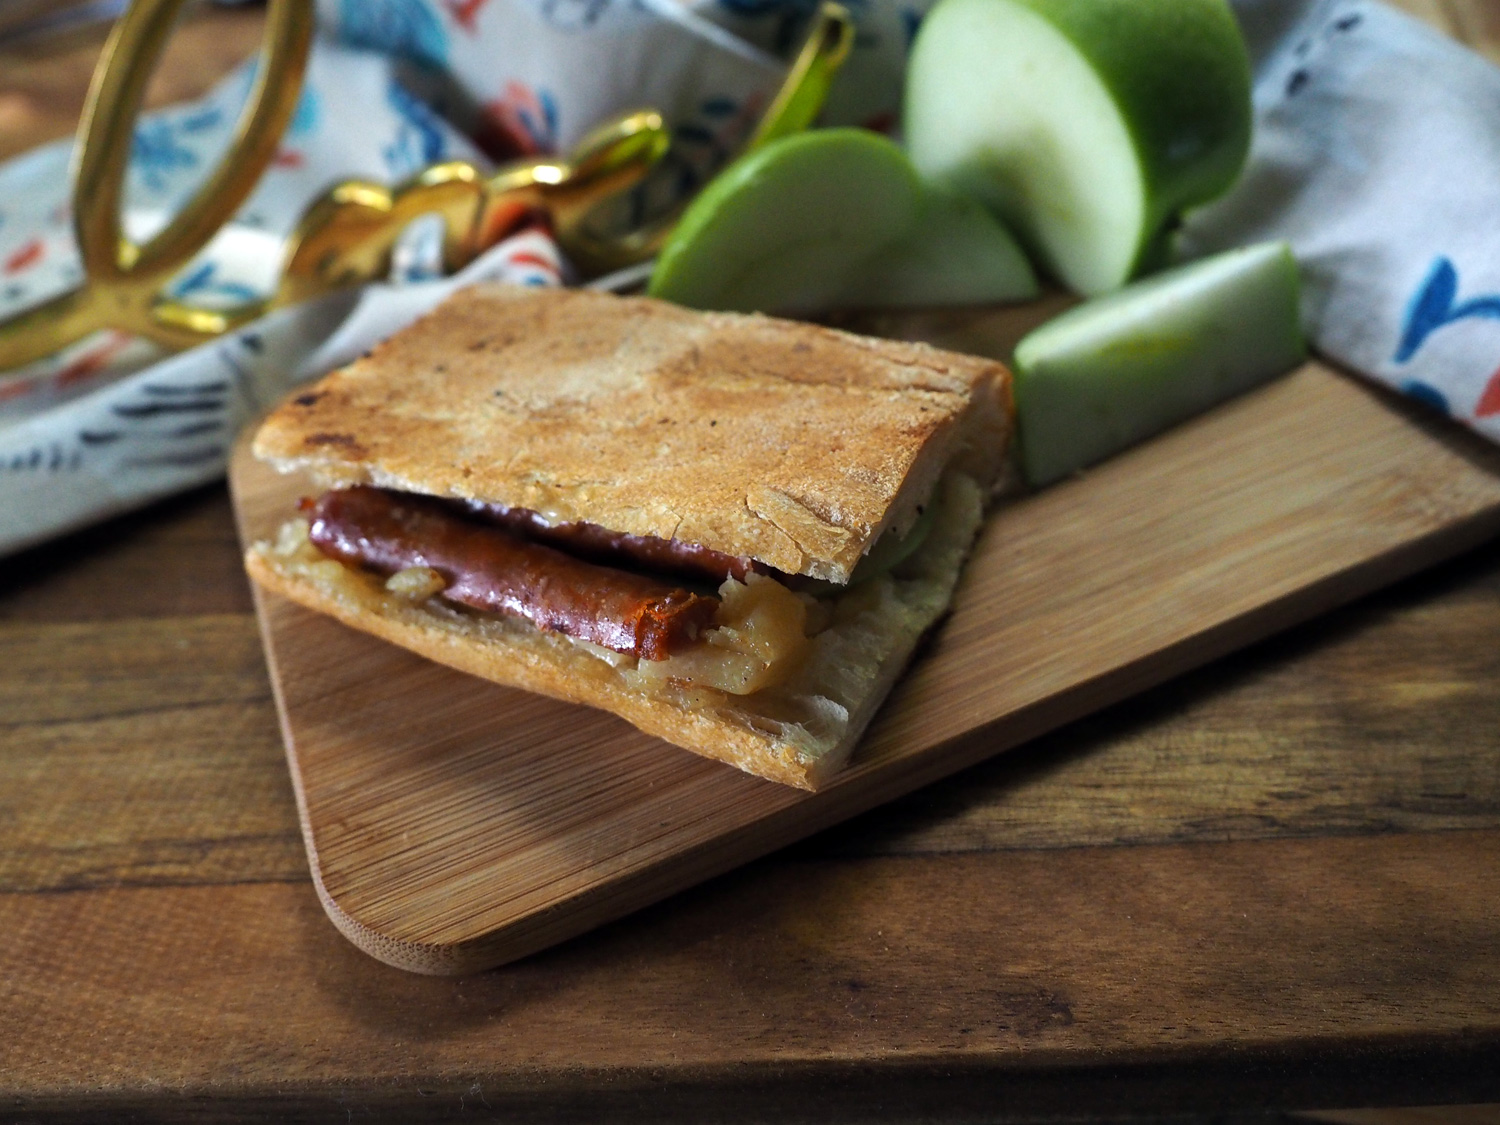
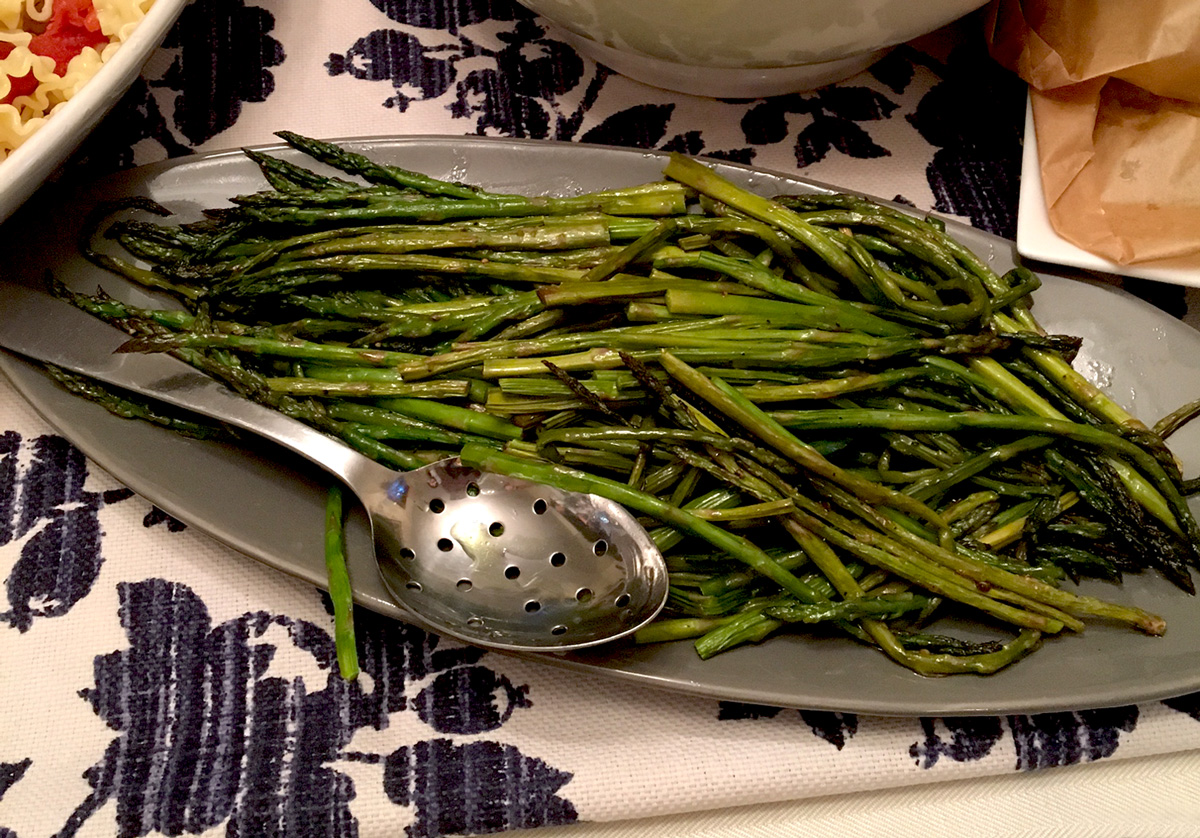
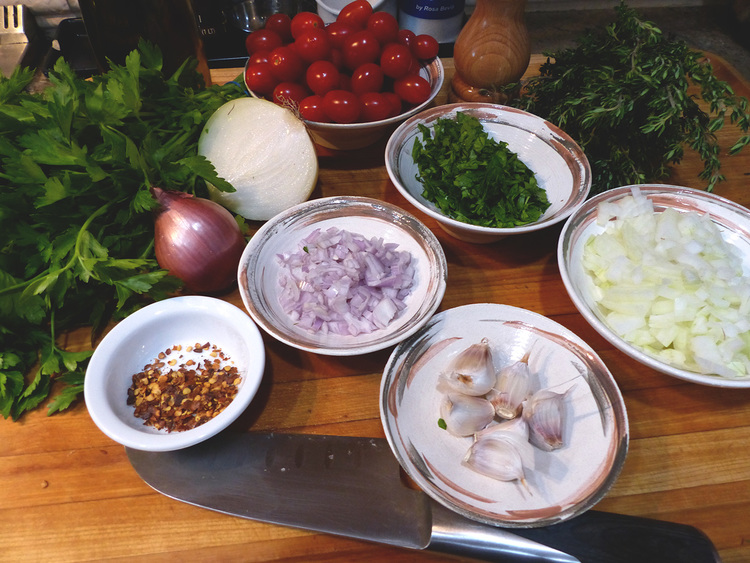
You may all remember seeing some of Ron’s pottery in my Clams, Clams, and more Clams post. I use a set of his small bowls for my prep work known as mise en place (French for everything in its place). Whenever I’m cooking I cut up, prep all my ingredients and place them in small bowls. The ones that Ron created are perfect as the sizes are varied which is ideal for various different amounts needed in any recipe.
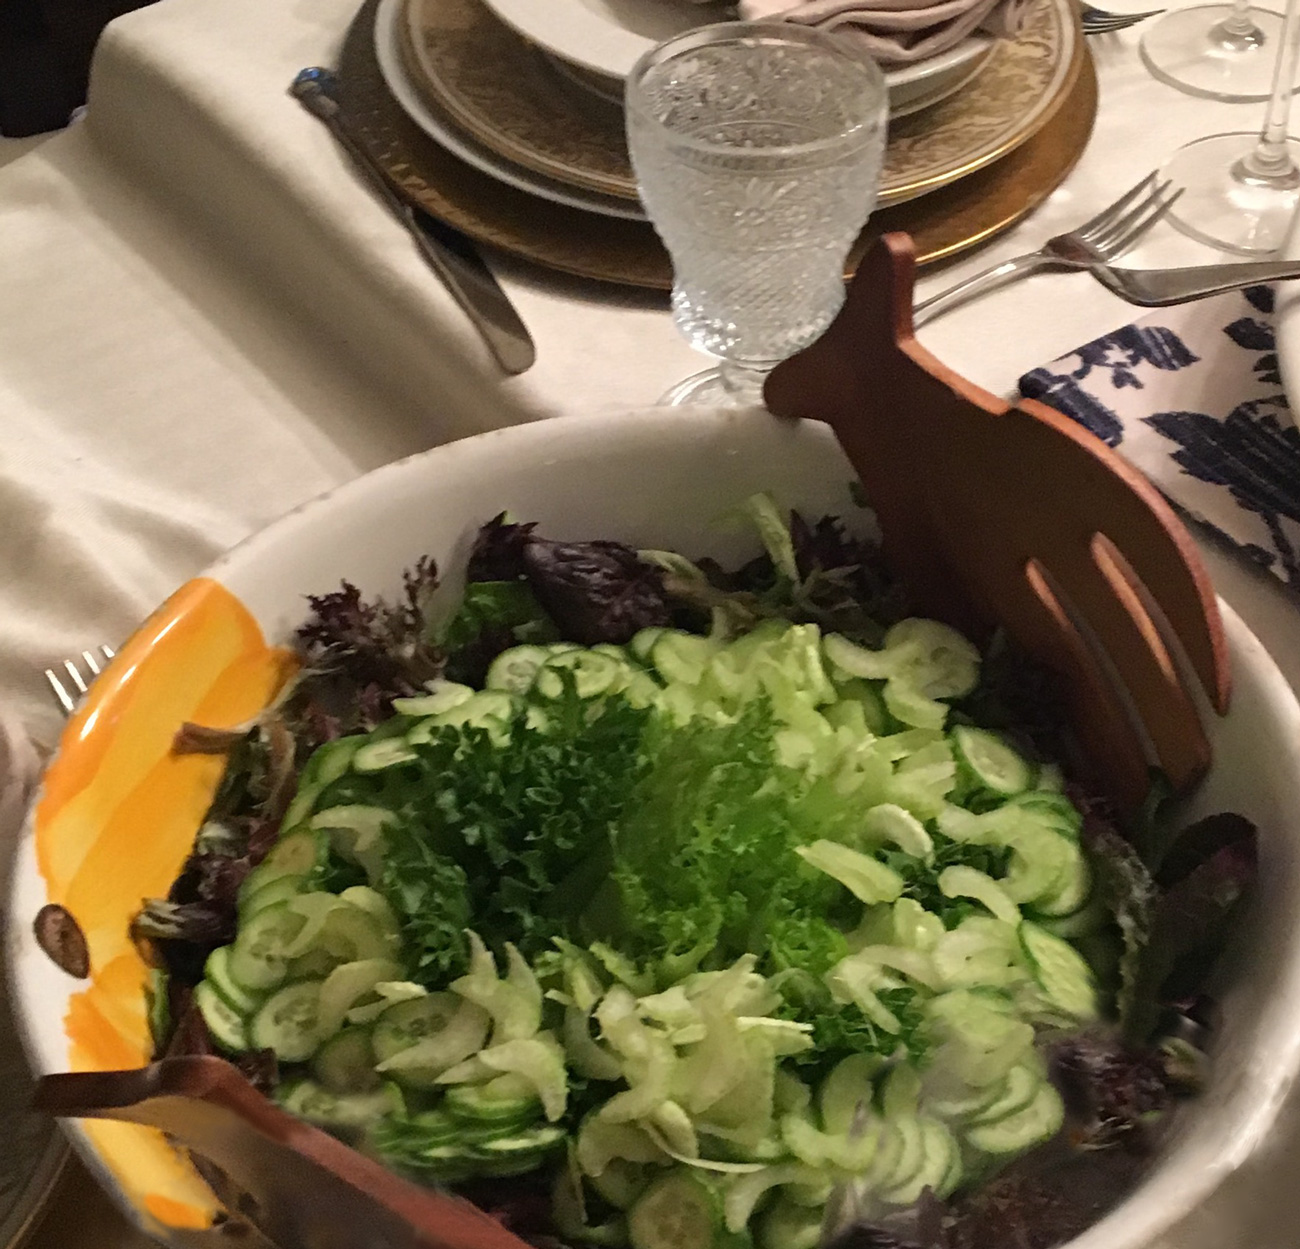
Juan Carlos and I also have several on Ron’s bigger and more decorative pieces in our home. Some have been gifted to us and others we have purchased with great glee. I am a huge fan of giving gifts that are unique and Ron’s pottery lands squarely in that category. Please check out his pieces on the site. They make ideal gifts for the holiday season. Ron is continually adding pieces to his website, so If you don't immediately see some of the pieces featured in this post and are interested, please contact him directly via the rwm210@gmail.com.