Sheets upon sheets of puff pastry take up a disproportionate amount of space in my freezer. For awhile, they actually took refuge in a neighbor’s freezer while I sorted out space in my own. Why, you ask, do I have so much puff pastry when I can’t even consume it? Just because I can’t enjoy its light, buttery layers of puff doesn’t mean my catering clients and guests can’t. Plus, I do enjoy creating treats with it. It’s so versatile. It’s so light. It’s so crispy and flaky. Yet still gives you a doughy mouth feel. Yes, I have a great imagination of what it would taste like. I’m working off of memory banks deep in the recesses of my mind.
So, when I needed some of this light puffiness for a catering gig a few months back I opted to buy the larger box. As expected, I knew I would find other uses for it. If you recall, it certainly came in handy dandy when I baked it up for a not too sweet dessert. Then another cocktail party gig came a-calling. That event needed a small bite. It needed to be warm. And if it were cheesy too then let’s just call it the perfect trifecta. With all this extra puff pastry, palmiers came to mind, and thus won my little heart.
In an effort to continue to prove how incredibly easy some recipes are, this is another one that falls squarely in the ‘anyone can do this’ category. Let me show you how.
In four steps, this is how simple.
Roll pastry
Spread cheese
Fold, fold and fold again.
Cut and bake.
Ok, there is a fifth step. EAT and ENJOY!
Here are the actual steps with a few more details.

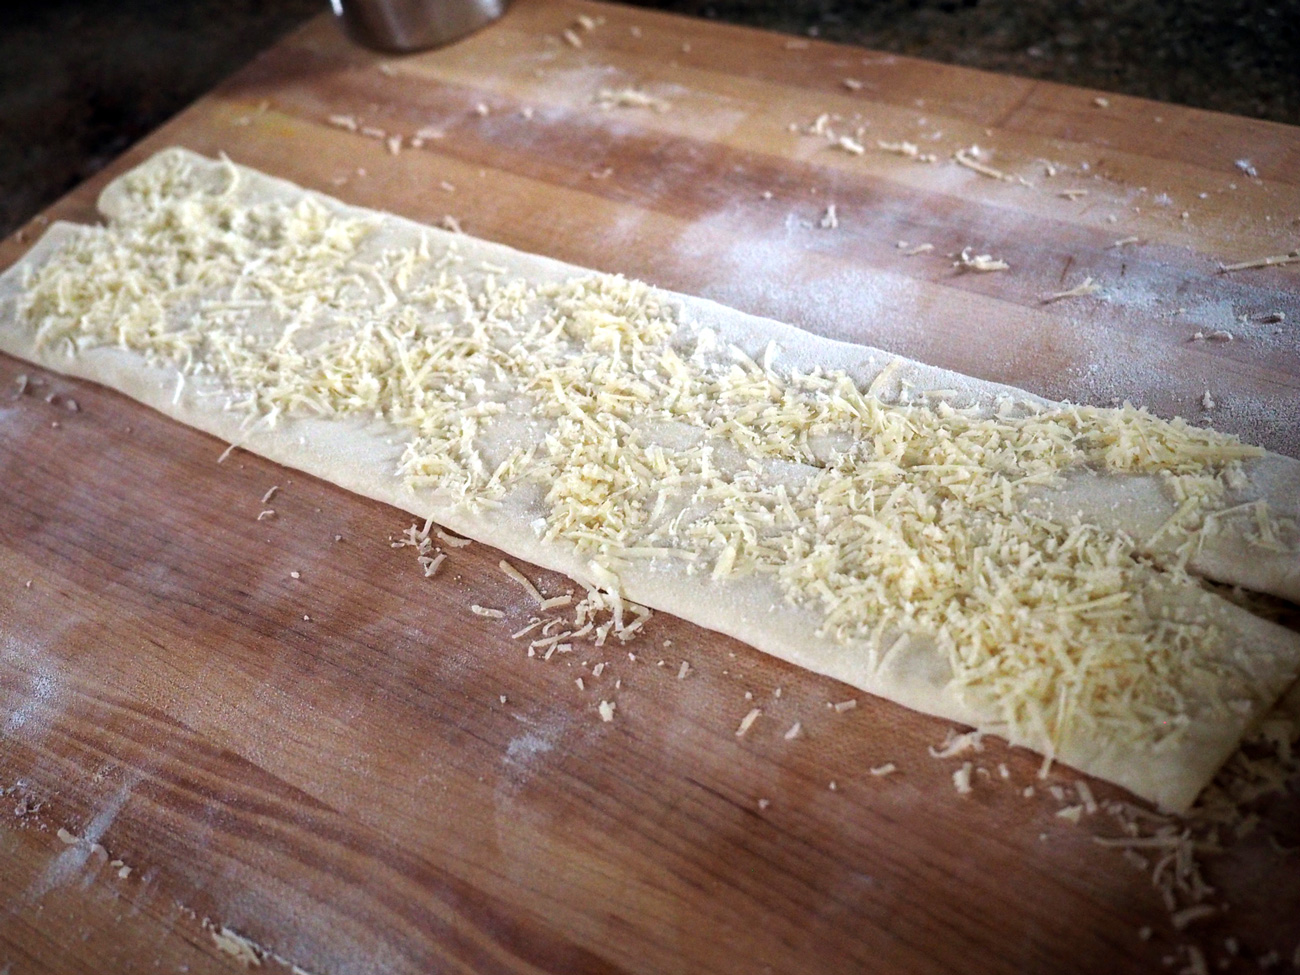
Cheese, glorious cheese. In this case Manchego.
ingredients
1 Puff Pastry sheet, thawed
2 c Manchego cheese*, grated
1 egg, beaten plus a splash of water
* Of course, you can use whatever hard cheese you like. But my catering gig focused on tapas from Spain, therefore, Manchego was the natural choice.
instructions
Take puff pastry out of the freezer and let it defrost. Once thawed, sprinkle flour on a board and roll the pastry out to 12” x 17”.

2. Generously spread 1.5 c Manchego or your desired cheese over the entire dough. Then place parchment over top and gently roll again to press the cheese into the dough.

Cover the entire surface. You’ll want cheesy goodness in every bite.

A gentle roll is all you need. It helps to secure the cheese so it doesn’t fly all over the place when you fold the edges over.
3. Fold the edges in 1/3 the way, then fold and fold again until you get to the center. The folds create more of a heart shape. You can also roll the edges into the center to create more of a rounded palmier. Your choice. I wanted hearts. Also, the more folds you have the smaller the size of each one. Fewer folds creates a larger individual palmier. (Also, note that I added more cheese after the second fold. That’s only because I wanted it to be cheesy.

First fold.
Then add another 1/2 cup of cheese before the final fold.
More cheese, please. This is the second fold. From this point, fold one more time to close it up.
4. Cut 1/2” slices and place them cut side down on a parchment lined baking sheet, brush tops with egg wash and bake at 420 for 10-12 minutes or until golden brown.

All those folds will explode open into light fluffiness in the hot oven.

Lightly brush with egg wash.
It’s just that SIMPLE, and these are as cute as a button or should I say, as a heart shaped cheesy bite.

They make the ideal bite sized snack to enjoy with afternoon tea, or anytime. I also wrapped them up in parchment paper and gave them to a neighbor as a little birthday gift. (And of course, gave some to the kind neighbor who housed my pastry for way too long, thanks Antoinette!)

And as if those reasons aren’t enough to motivate you to make them, they are perfect for stacking up on an appetizer platter. Since I was asked to bring an appetizer to a dinner party, I added them onto a cheese and charcuterie platter. They were all gobbled up!

Those are boquerones skewers standing up in a glass jar. They look like lollipops. Rounding out the platter: Manchego and Majorero Pimentón cheeses, my spiced nuts, mortadella, Chorizo Vela, olives, roasted red pepppers, cucumbers and cornichon and Mary’s Gone Crackers.

Try it, and I beg you to please stop saying that it’s only easy for me. I have faith in your ability, and so should you.