First things first, please do not be put off by the fact that I named this Vegan Chick Pea Mash. This recipe doesn’t contain any weird, mystery ingredients posing as something else. I would never do that to you. I’m not going to take some soy based crap and try to turn it into bologna. NEVER. This is vegan simply because it doesn’t have any animal products whatsoever.
Now that we have that out of the way, let’s get down to how this dish came to be. I love a good challenge. One of my skill sets is solution providing. I love figuring out a better way, an easier way or simply just A Way to accomplish a task. So, when I was hired to cater a Traditional British Style Tea Party the major request was to offer gluten free and vegan options. Normally this shouldn’t be too much of a challenge, but remember the typical Tea Party food is finger sandwiches, which do not sit squarely inside the gluten free and vegan circle. But I’m so glad I was put to the test because it yielded some good finds. Like this Vegan Chick Pea Mash.
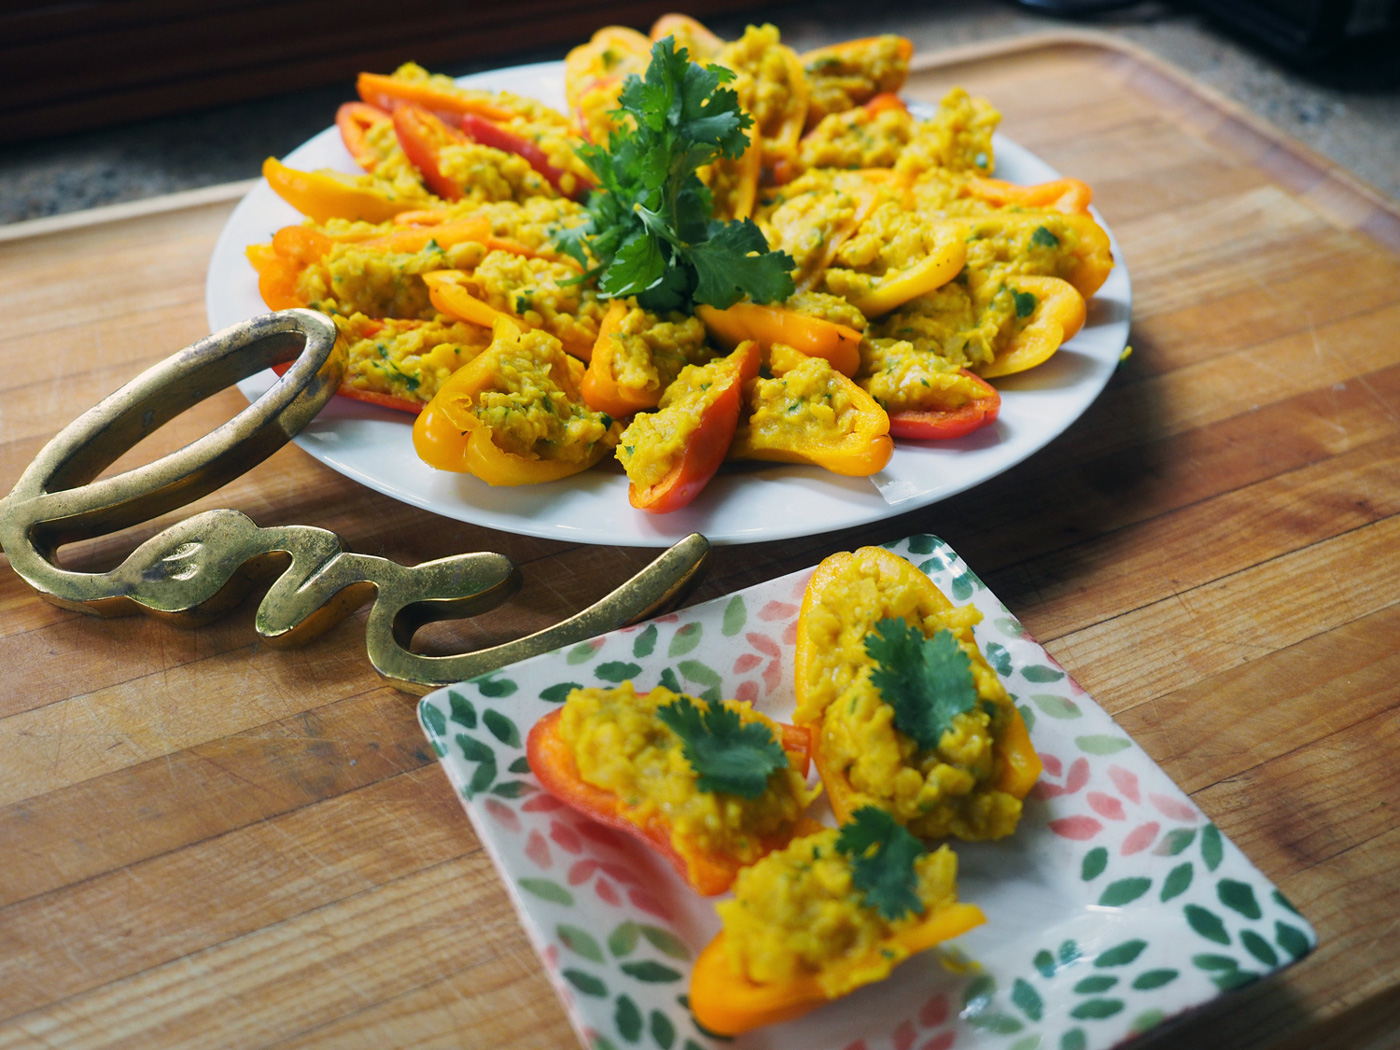
Since the event was all about finger food, I needed to devise a bite sized morsel that would fit the vegan criteria. Chick peas are a hearty protein, and versatile thus the top choice in helping me solve this dilemma. Chick peas being what they are, dense and round, make them easy candidates for rolling off the plate, onto the floor and then ultimately squashed under foot. Goal: No rolling. So, how do you keep them from falling onto the floor instead of your mouth? Smash ‘em before they hit the floor. And so I did. But you can’t just scoop up smashed chick peas with your fingers! They needed a vessel, and colorful would be nice, too. Introducing the baby bell pepper brigade to the rescue. Perfectly suited to be filled up with the robust, chunky flavor of chick peas; smashed, of course.
Since I had a good variety of other food offerings in different flavor profiles, I wanted to ensure that this protein mash could stand on its own with savor. The first thing that came to mind was garlic and onion, but then kept layering more and more flavors as I cooked it, adding cumin and turmeric, cilantro and lemon juice. Here’s how it went down.
Ingredients
1 15 oz can Chick Peas
1/2 red onion, minced
2 garlic cloves, crushed
2 t ground turmeric
1/4 t cumin
1 T cilantro, minced
1/4 c Aquafaba (chick pea liquid)
1 T + lemon juice
salt and pepper to taste
3 T olive oil
Instructions
In a large sauté pan, heat oil, add onions and cook until softened.
Add garlic, cumin, turmeric, salt, pepper and cook until the aromatics are nicely toasted.


3. Add the aquafaba and 1 T lemon juice and stir until combined.
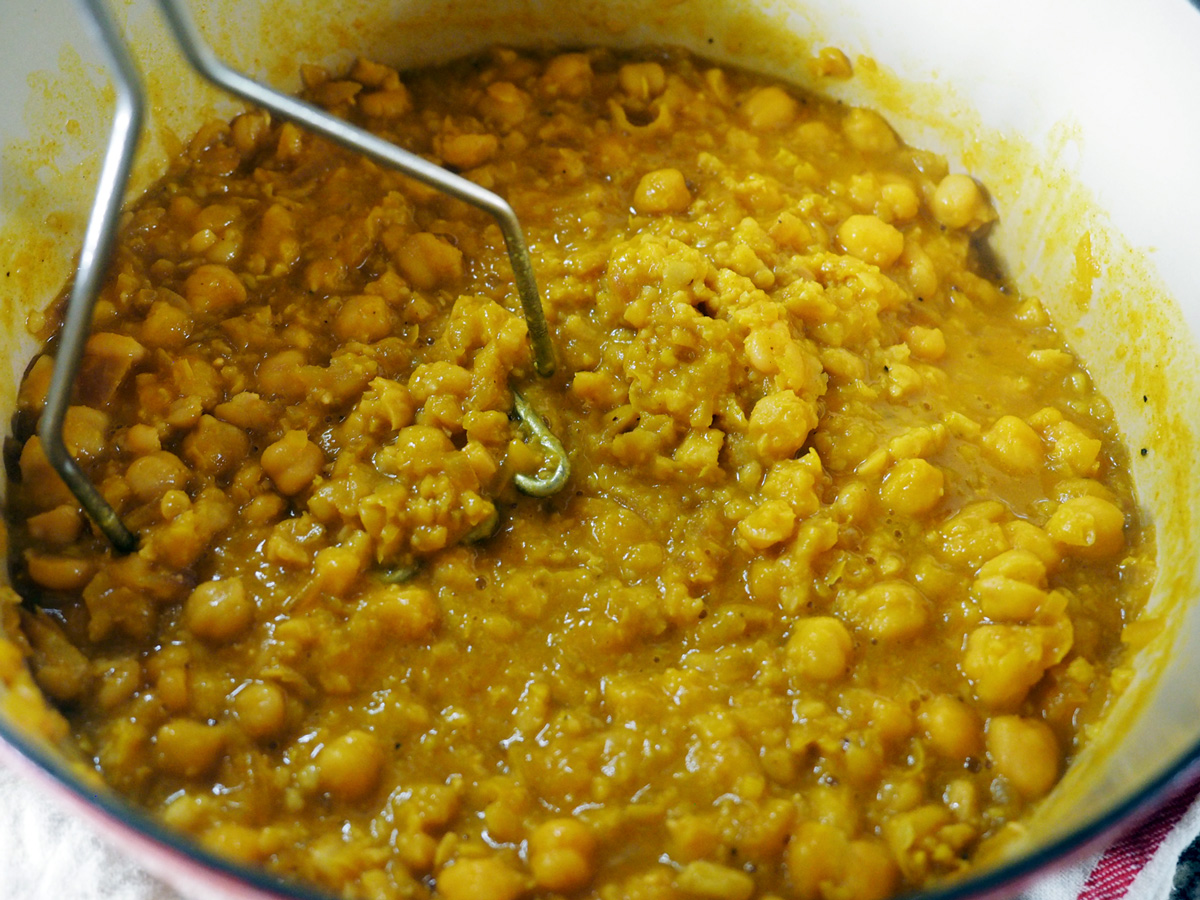
4. Add the chick peas, let warm through and then using a fork or a potato masher begin to smash them. I like it chunky so I smashed some very well and other only lightly to give different textures.
5. Squeeze some more lemon juice to finish, then add the cilantro.

You can serve this dish warm, room temp or cold. It truly does work well at any temperature. As I mentioned, the first time I made this was a for a catered event, so making individual pieces was the goal. The baby bell peppers as the vehicle to steer them into people’s mouths was a great choice. The sweet, crunch of the peppers perfectly complemented the earthy flavor of the chick pea mash so much so that it is my preferred serving vessel.

The size of the baby bell peppers makes it an ideal cocktail party bite. And because the chick peas are smashed, no rolling off onto the floor.

You could also, place the chick pea mash in a bowl, place on a platter filled with baby bell peppers and cucumber rounds and use it as a dip. Either way, these made the perfect bite size treat. I recently decided to test drive this again at a backyard party we hosted for our neighbors using the peppers, and then two days later for a small family gathering using endive. Happy to report; it was a hit with every serving.

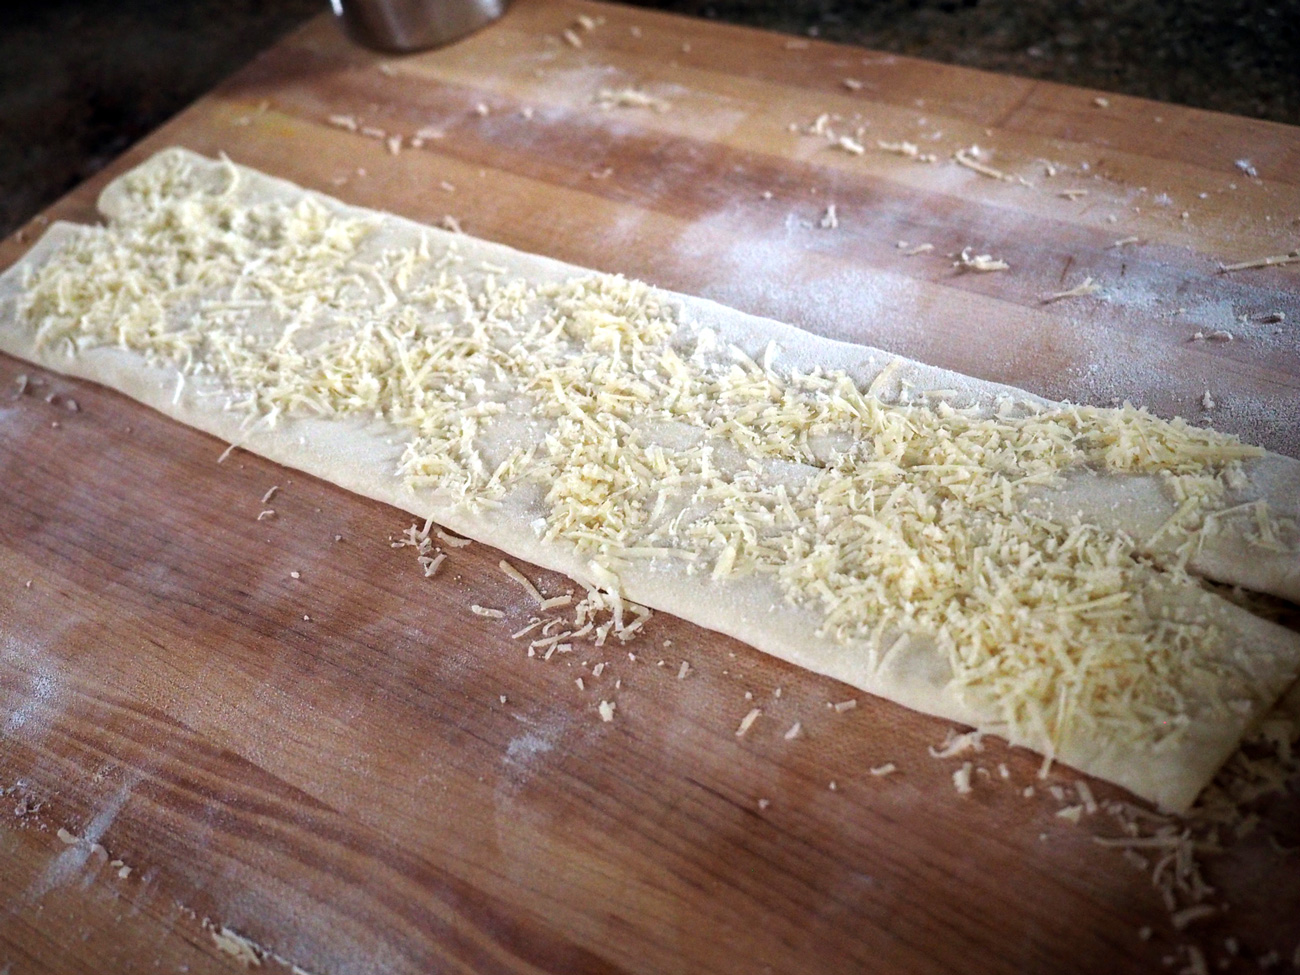
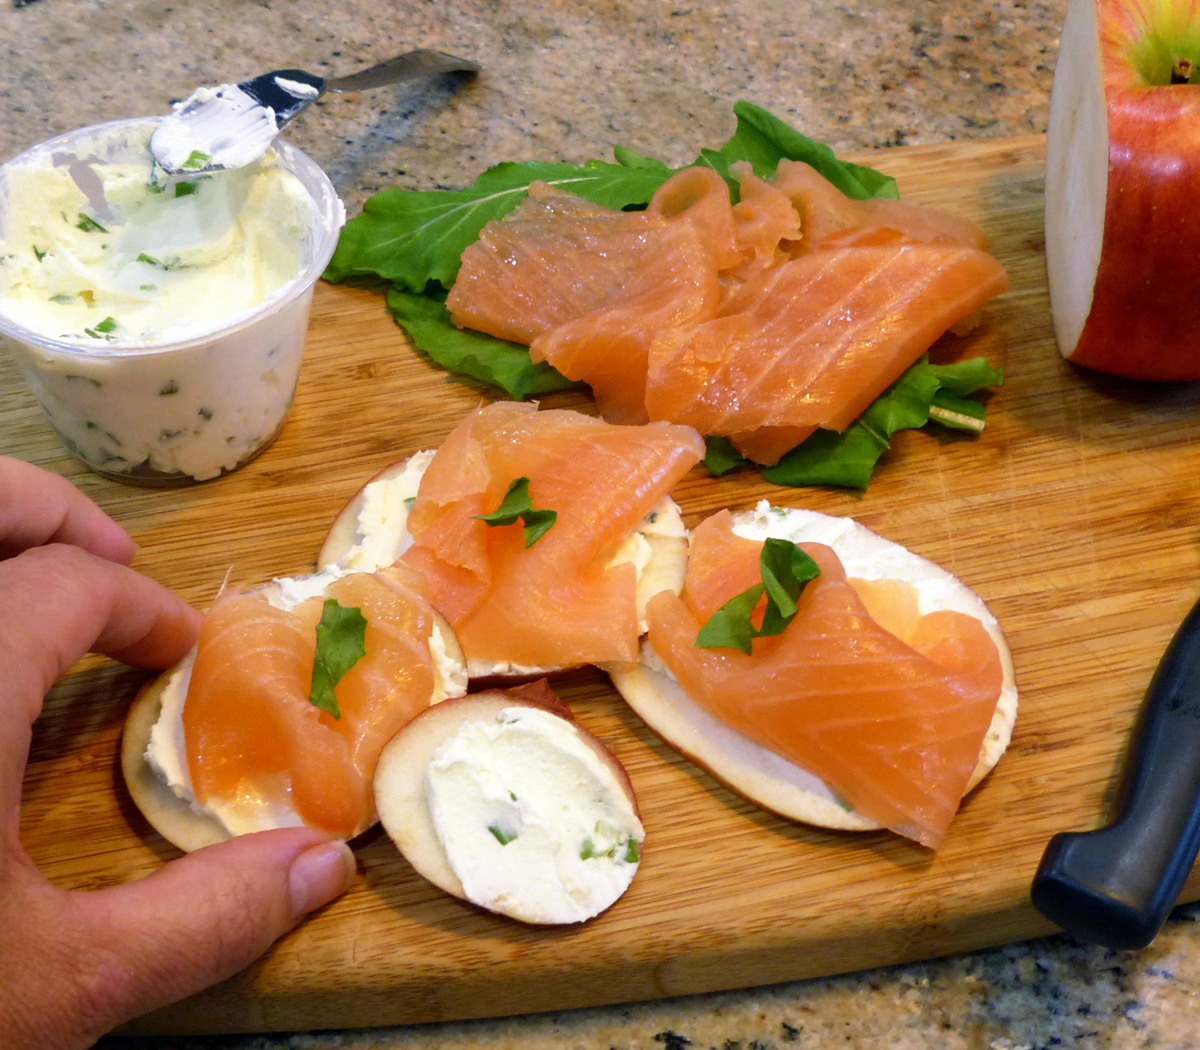
The tower of offerings. Chick Pea Mash, Salmon Roll Cucumber Rounds and Watercress, Herb Butter Tea Sandwiches.

Since I had some leftovers, I served them up again using endive.
Now, of course, this dish can be used in a variety of other ways. You should know me by now, everything I make has to do double, triple, well, multiple duties. I had some leftover and tossed it over warm pasta. Naturally, it was yummy. You can spread this on toast and add avocado or tomato or both. Go ahead. Start your creative engines…

Postscript: In reading some of the comments, it got me thinking about this recipe. I don’t know why it didn’t occur to me before but this can be a heartier substitute for hummus in a pita sandwich. It’s chunkier and therefore will be squish out less than traditional style hummus. Keep it vegan and add cucumbers, sprouts, olives, etc. Keep it vegetarian and add some feta cheese. Just thought I would share the ‘stuff it in a pita’ idea, which quite frankly seems like a no brainer that I’m surprised I didn’t think of before.