Being home in shelter in place means so many things to so many people. It conjures up different experiences for each of us. Some people are using the time to get home projects accomplished. Get their yards ready. Some are decluttering. Some are mastering their skill set like solving puzzles. Others are finding hidden talents like painting, dancing or singing. Maybe you are learning a new language. Whatever this time brings, my wish is that we embrace it.
For me, I’ve gone back to my comfort zone which is cooking and baking, using all the food I have, and using it wisely. This has been, and still is, one of my strong suits. It’s how I honed my cooking skills and harkens back to my ‘something from nothing’ style and overall approach to cooking. Which is; check out what you have and figure out what to make, regardless of the ingredients or the quantities.
For those you who aren’t aware of how I began this style, it started when I was in my late teens, just wanting to experiment at home. (You can also click on my About page for more of my back story.) My grandmother, who was both an awesome cook and amazing baker, and one of my strongest influencers, would look on with doubting eyes as I mixed up and cooked up concoctions for the family to try. I often heard her famous line, “What a “mushgononza”. Which is basically the slang version of the Italian word mezcolanza meaning mixture or mash up of several things. I guarantee you that she meant it more as a mixed up mess. However much she may have doubted me during the cooking process, she inevitably would turn to me and say, ‘Not bad, not bad at all.’ Phew, praise from the master.

My Grandma Perri making her famous peaches & cream cake.
However, I would say that this style of cooking truly took form when I used to visit my sister after she first got married. Jill rarely, ok, never had fresh herbs but usually had a pantry full of canned stuff, and a freezer of frozen items. I would look through her stash and try to figure out what can I make from what was seemingly a hodge podge of items. For more on this, you can click the highlighted link for the Zucchini Orzo Pie story.
From that point, I just kept that style in my own kitchen. Not caring too much about recipes, or amounts. Simply buying what looked fresh, and then once at home figuring out how they all would dance together. Which is why I sometimes encourage you to not fuss about recipes so much but try your hand at using however many carrots you have, or to substitute what you. Sure, I give you amounts and recipes. That’s because I want you to cook, and get a feel for how much looks right. Some of you, I know, are pros and already do this, and just use the recipes as guides. My recipes are a jumping off point, and are here for whatever level of cooking you feel comfortable.
And so in that style of use what you have,
I give you 4 super simple dishes using a combination of 3-5 basic ingredients and then adding a protein and a starch, thus turning them into different dishes. Using slightly different cooking methods, you also create different flavors and textures. From sautéing to stir frying, braising or simple soup making. This is like those old Chinese menu ideas; two from column A, one from column B, etc. Feel free to mix and match. That is the beauty of basics, you can create so many variations.

Celery and fennel.
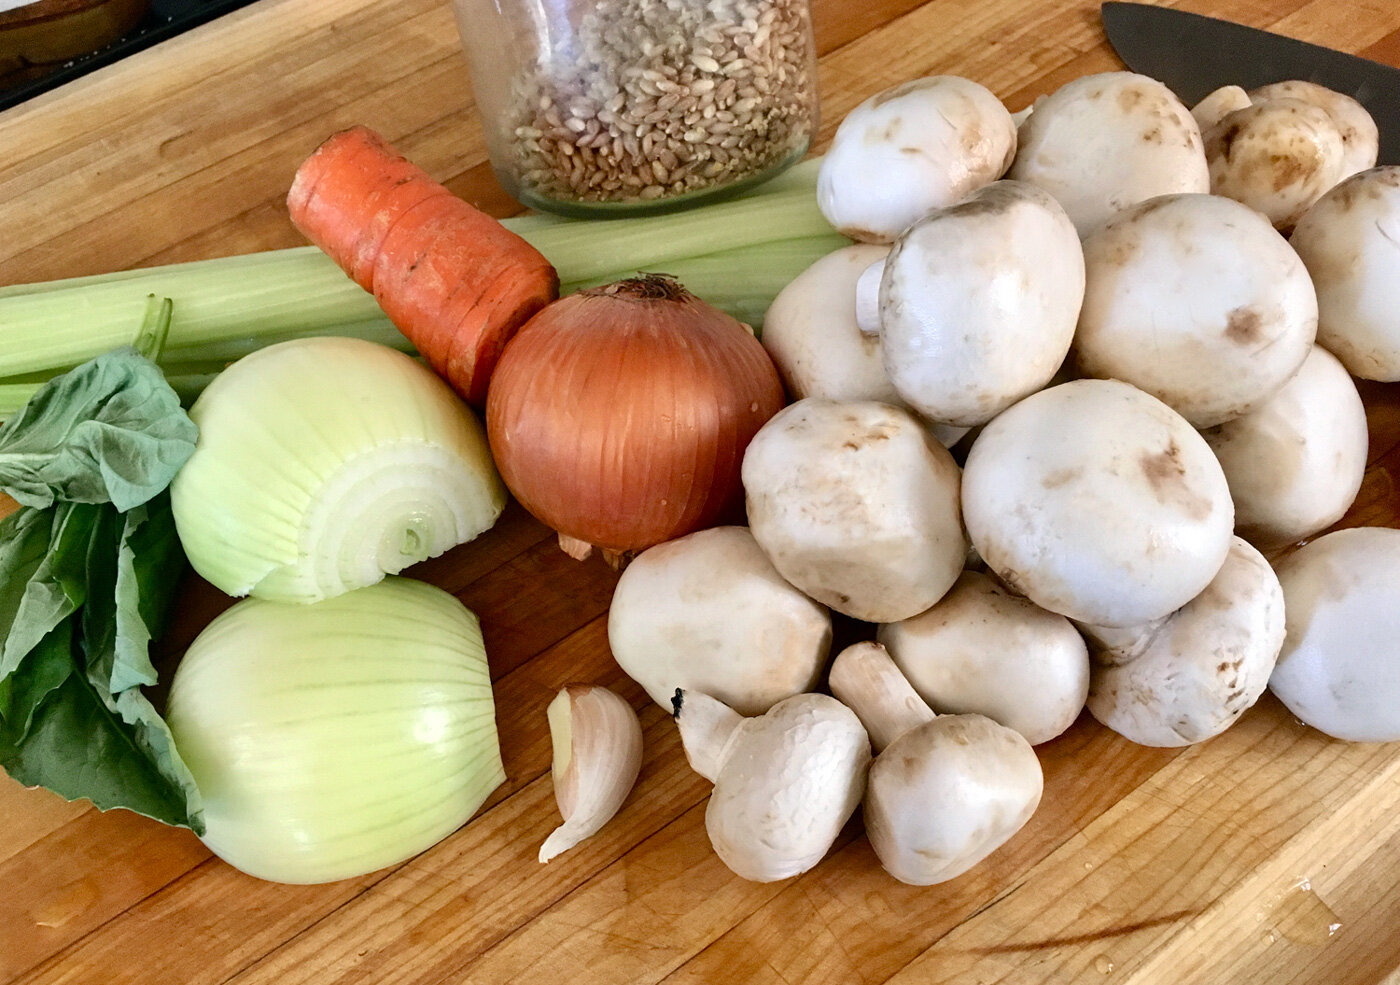
The Basics:
Onions
Celery
Fennel
Carrot
Basil
The Proteins:
Shrimp
Cod
Mushrooms
The Starches:
Polenta
Barley
Rice
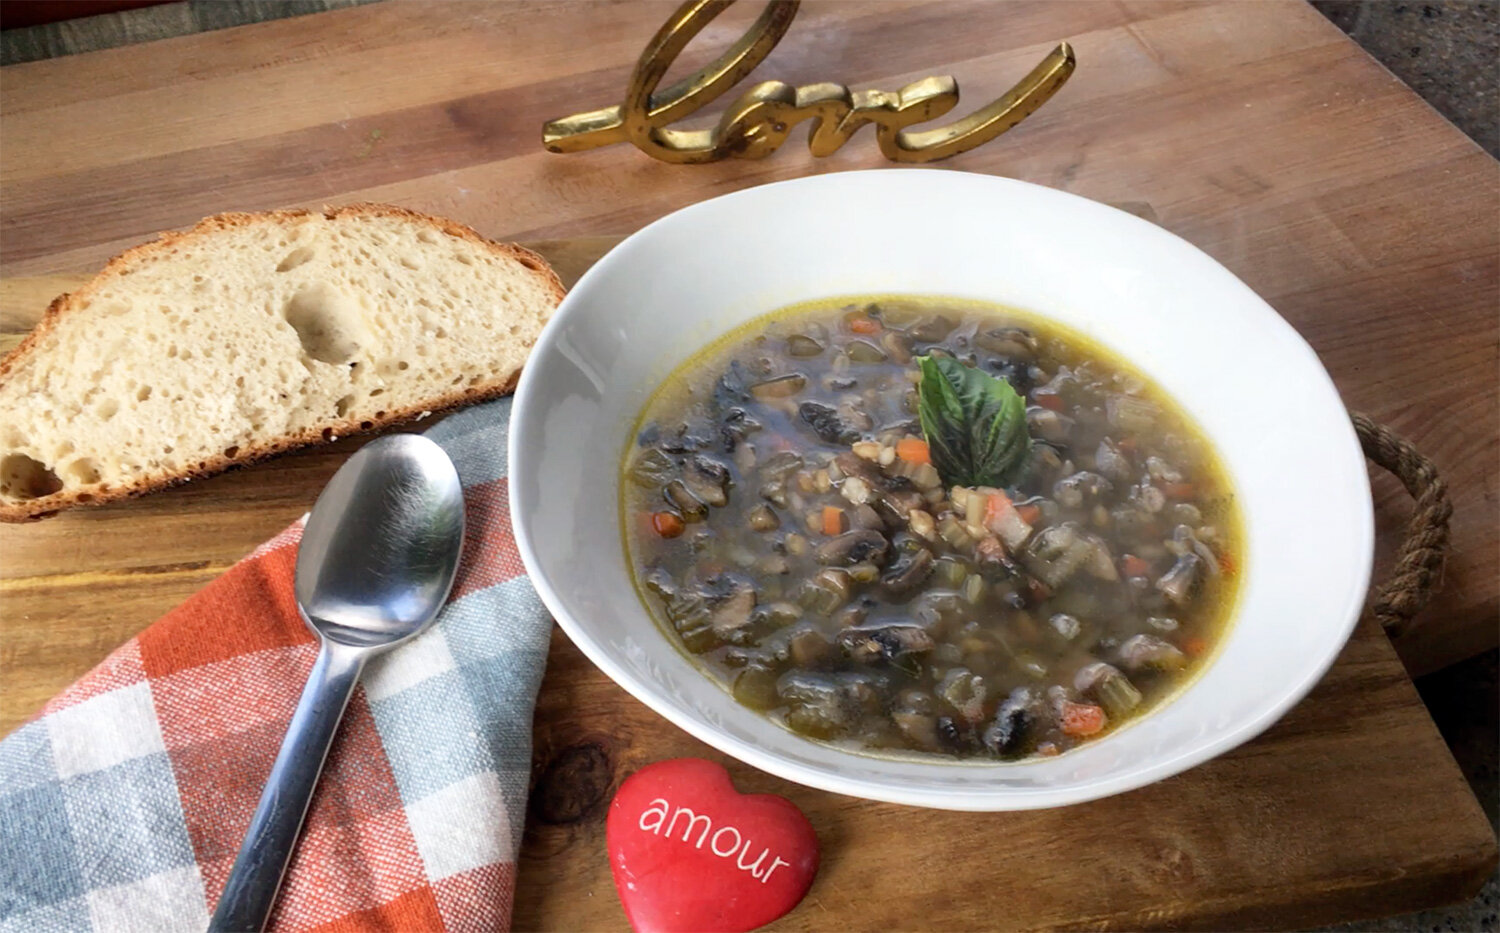
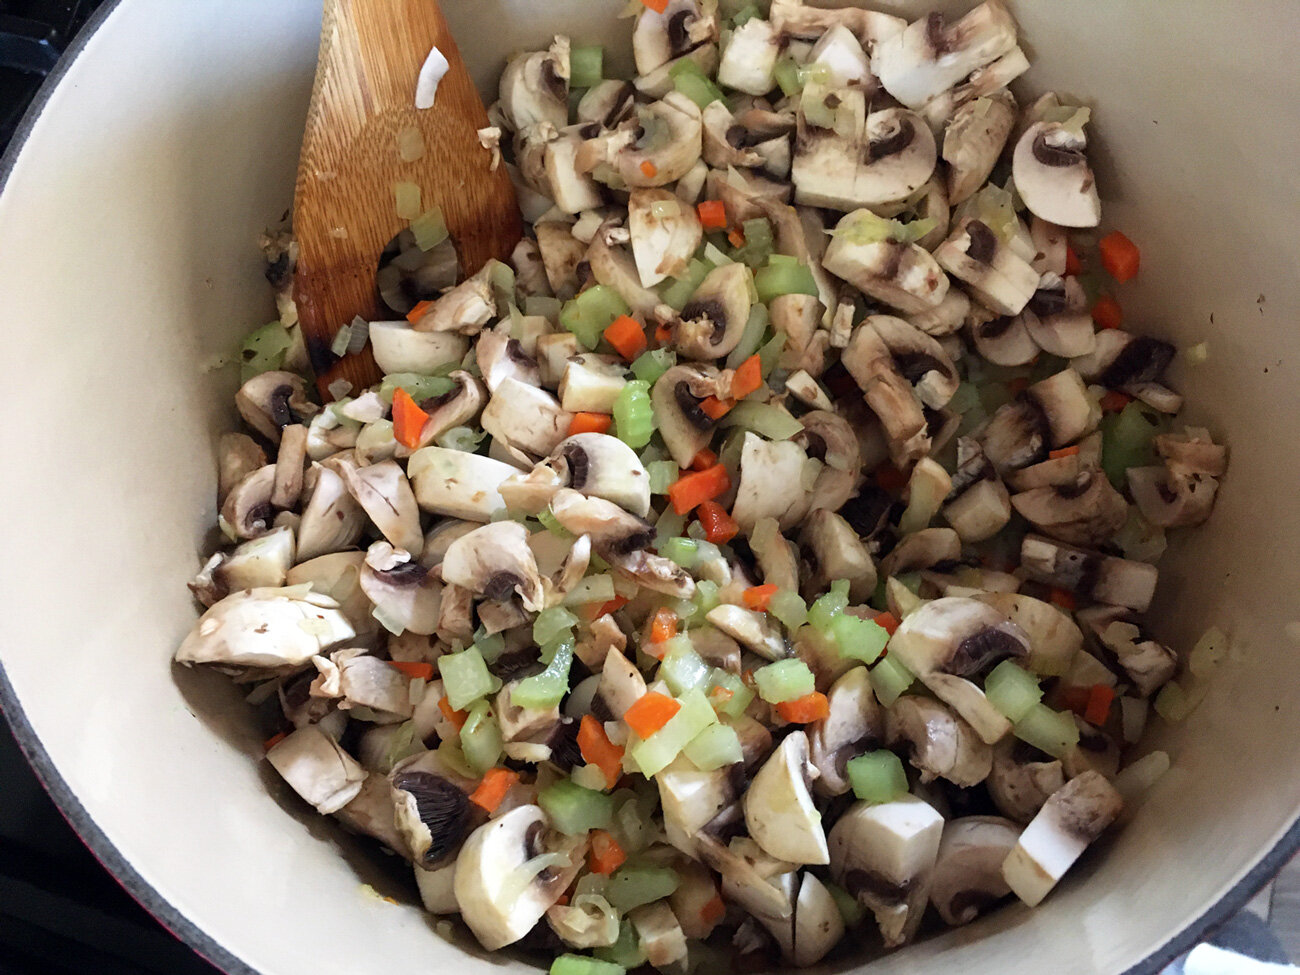
Mushroom Barley Soup
4 Basics + 1 Protein + 1 Starch
(Onions, Celery, Carrots, Basil) + (Mushrooms) + (Barley)
Instructions:
Cook the barley in a separate pot.
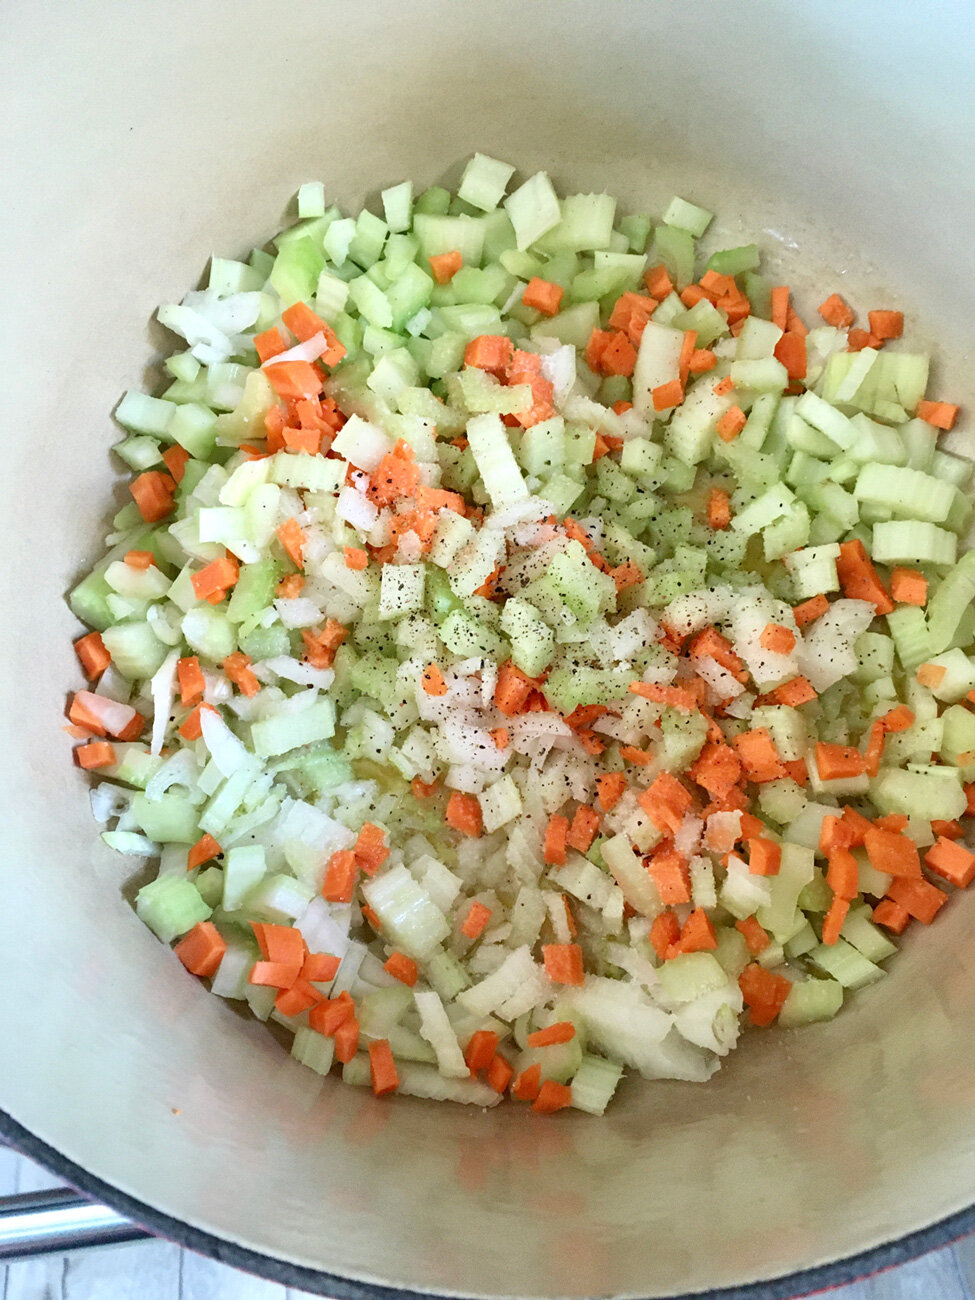
In a medium stock pot, sauté onions, celery and carrot in olive oil until softened and season with salt and pepper.
Add the mushrooms, over a medium heat cook until softened.
Then add chicken or vegetable broth or water to cover and let simmer.
Add the barley once cooked. I added basil which I had on hand and it gave it a nice floral note that I enjoyed.
Serve with a salad or crusty bread and lunch is served. And check out the video below. I’m getting all fancy now and inserting moving visuals. Enjoy a steaming hot bowl of comforting soup.

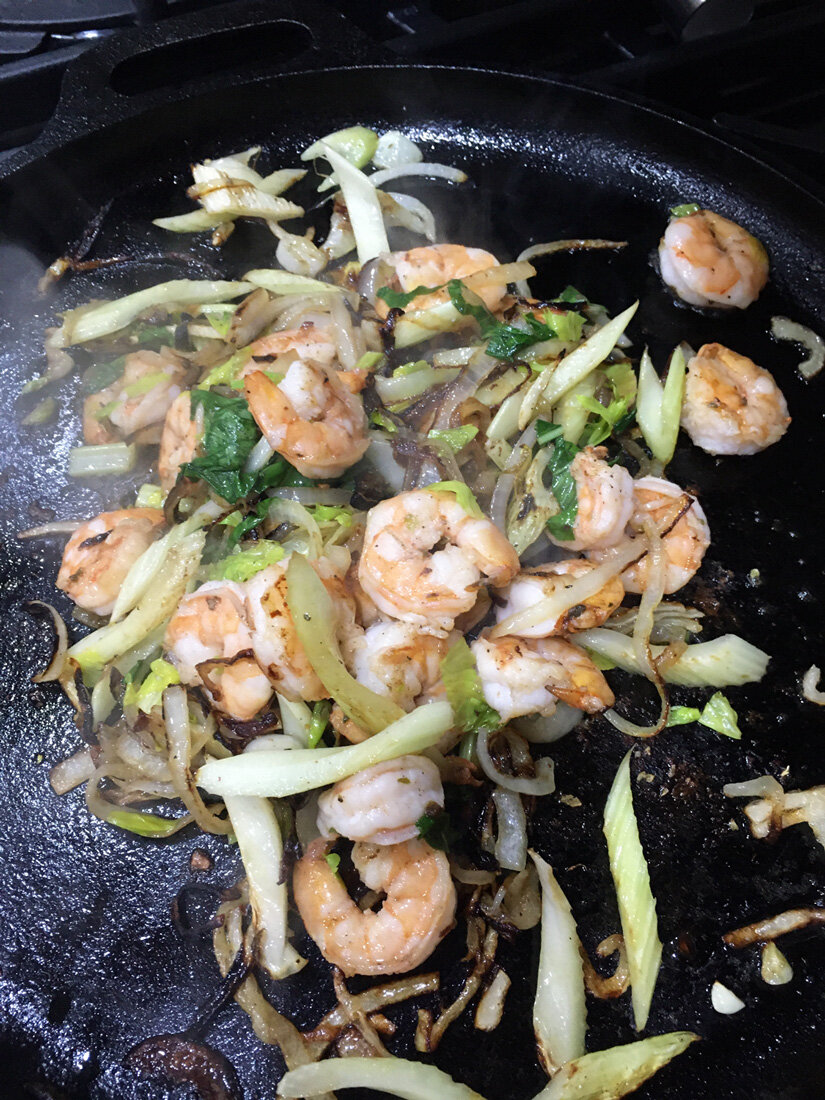
Simple Shrimp Sauté
3 Basics + 1 Protein + 1 Starch
(Onions, Celery, Basil) + (Shrimp) + (Polenta)


Instructions
Cook polenta according to the package. (You can add cream and butter at the end to make it luxurious and extra creamy, but keeping it in the basic mode, use just water.)
Sauté the sliced celery and onions until softened, then season with salt and pepper. Keep the celery leave tops and use them along with the basil to finish.
Add the shrimp and cook until just pink, then add the freshly chopped basil and celery leaves.
Top the polenta with the shrimp mixture. Yum and Yum
Another video for your viewing pleasure.
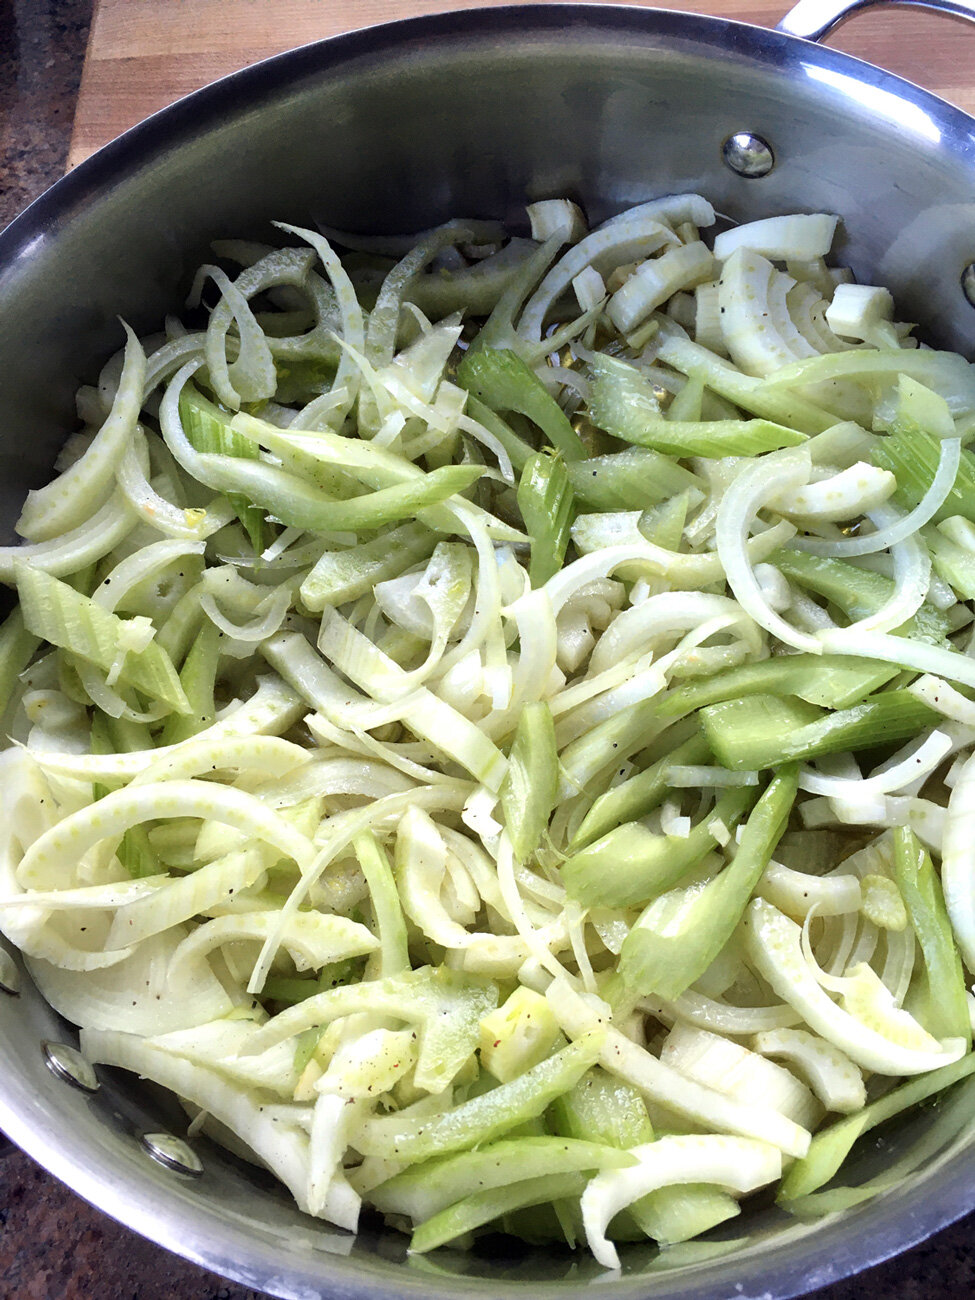
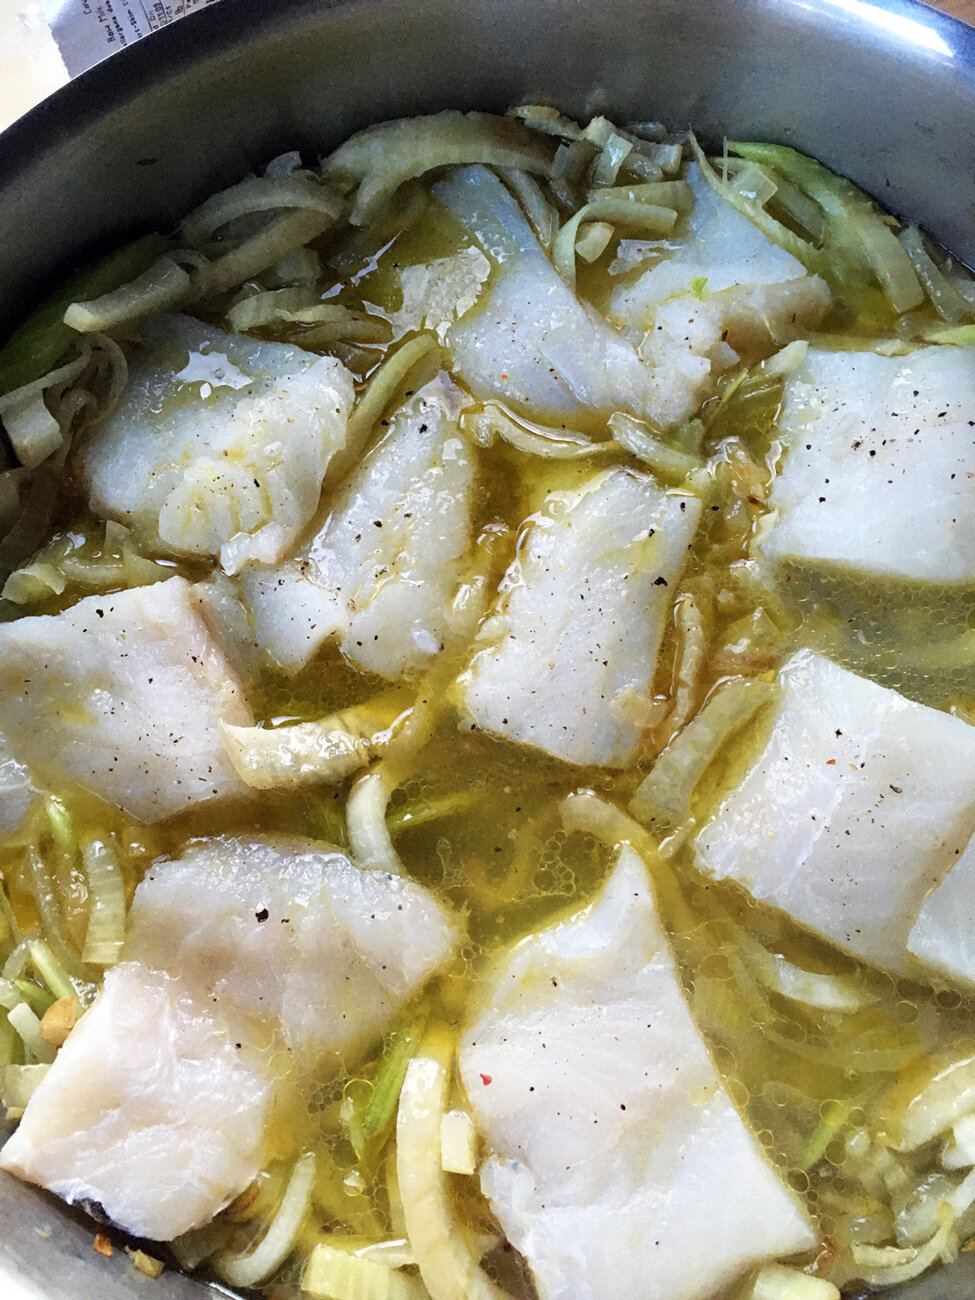
One Pot Poached Cod
3 Basics + 1 Protein + 1 Starch
(Onions, Fennel, Celery) + (Cod) + (Rice)


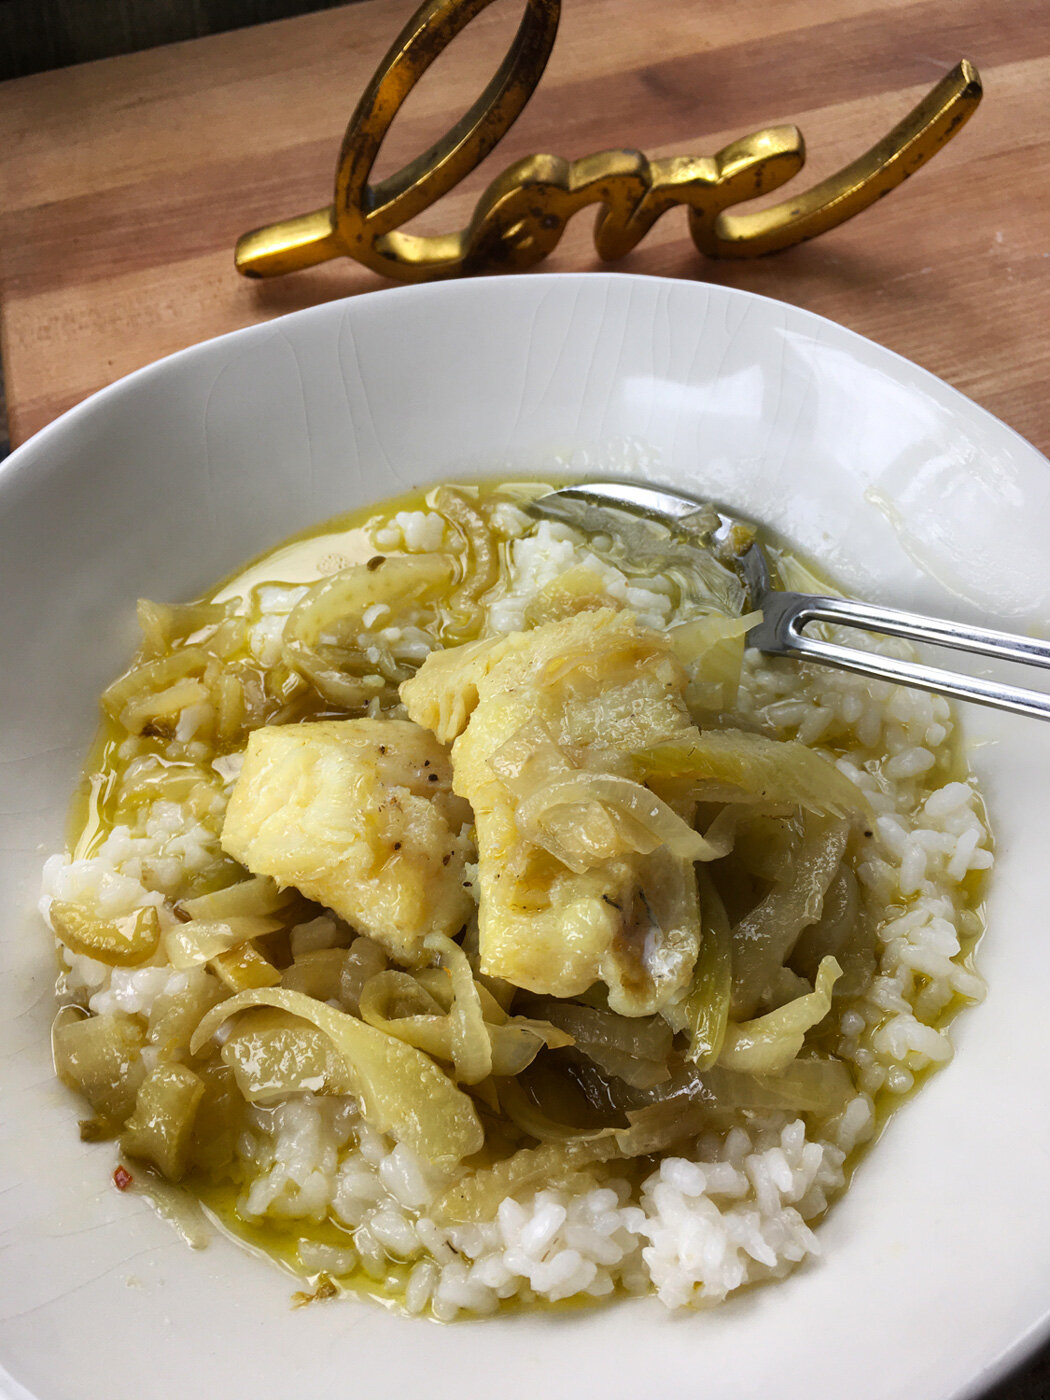
Instructions
Wash, dry and cut the cod into chunks (approx. 2” squares) and set aside.
Sauté the sliced onions, celery and fennel in olive oil, and slowly cook until softened.
Add water and then nestle the cod pieces into the pan. Cover and let poach until the cod is white and cooked through. Depending on how thick the pieces are this should only take 8-12 minutes. A beautifully flakey cod with braised vegetables is soothing and delicious.
Leftover Rice & Mushroom Stir Fry
2 Basics + 1 Protein + 1 Starch
(Onions, Basil) + (Mushrooms) + (Leftover Cooked Rice)
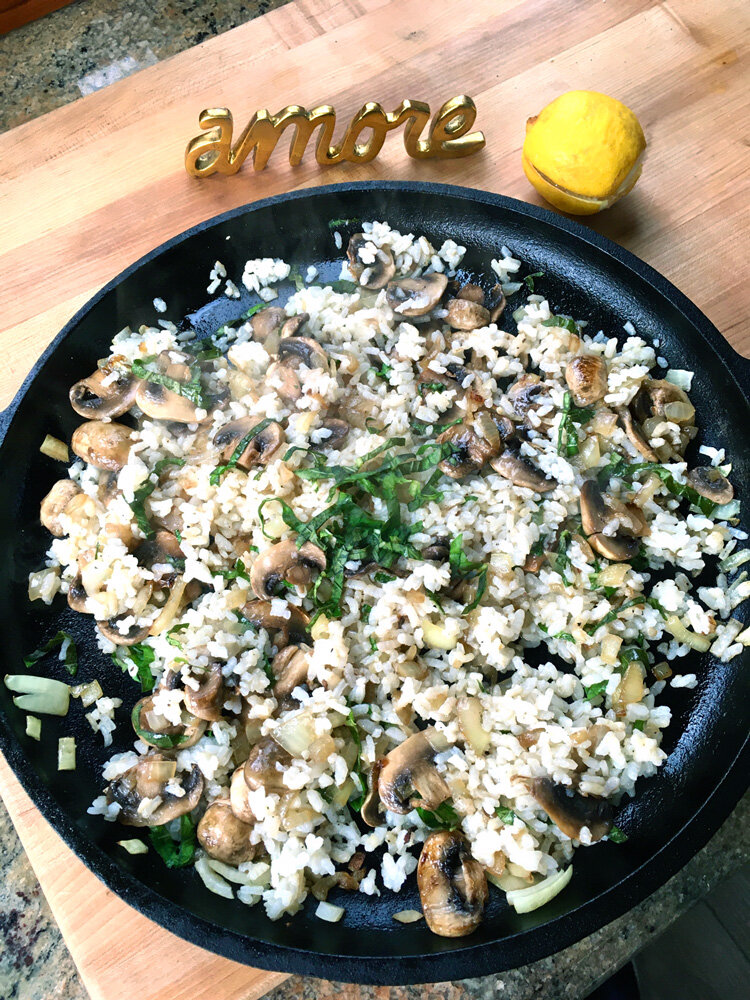
Instructions
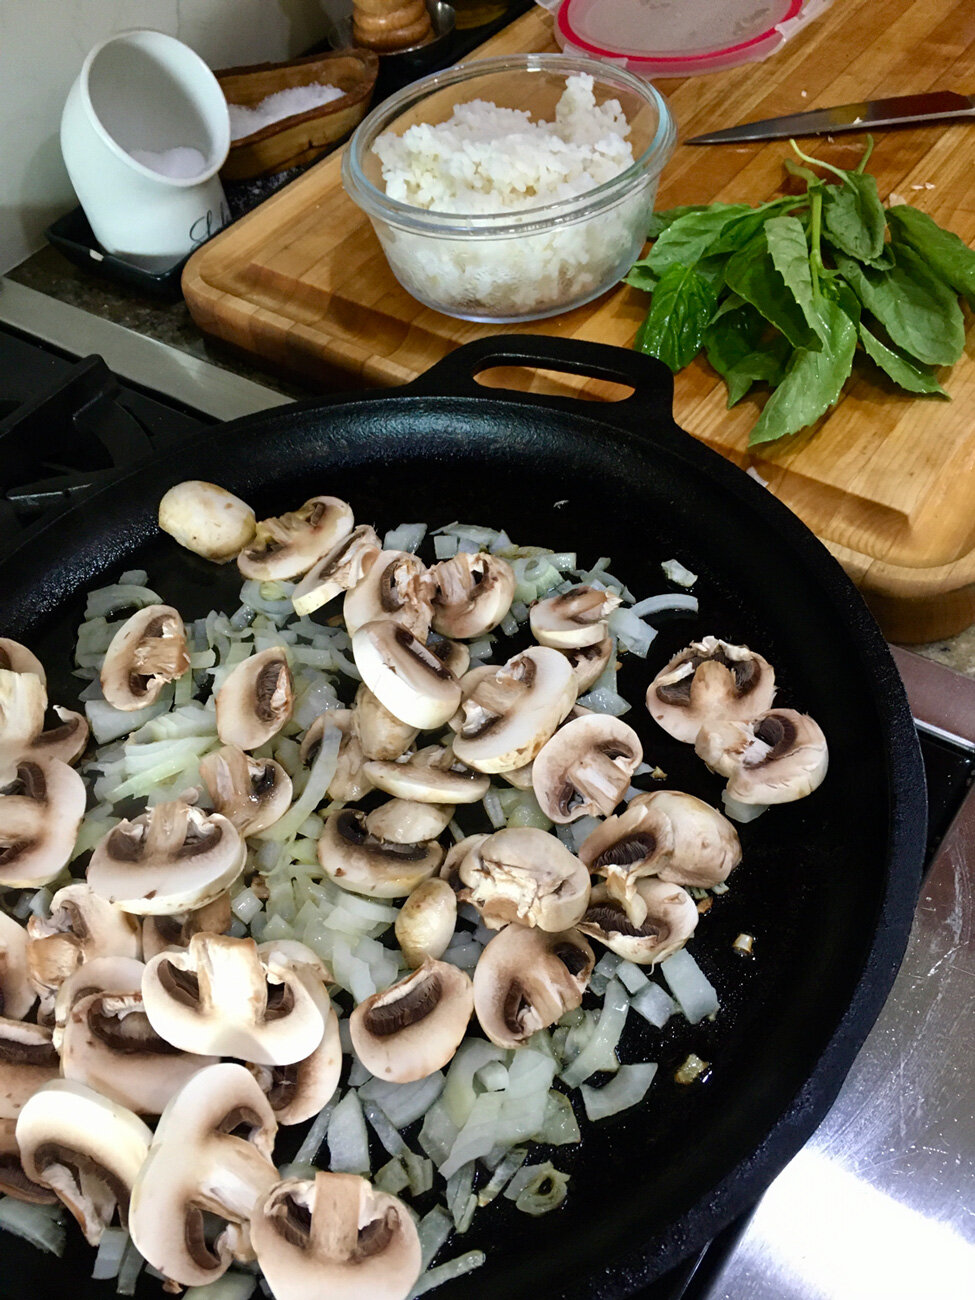
Chop the onions into a small dice. Sauté using olive oil until softened, add salt and pepper.
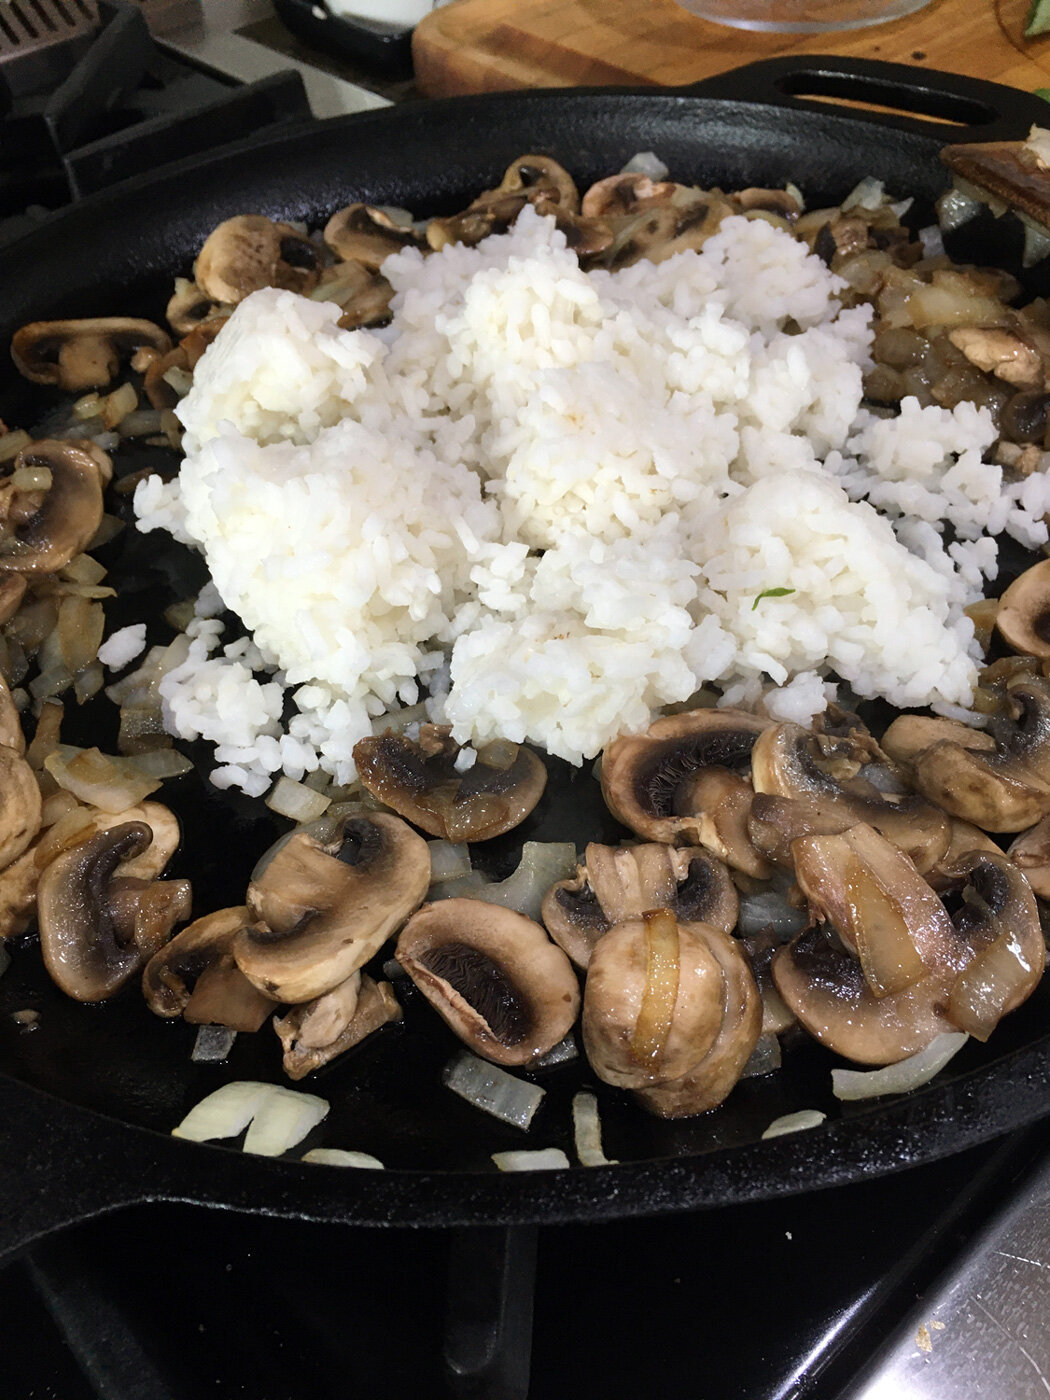
Slice the mushrooms and add to the onions and let them cook together until the mushrooms get browned.
Add the cooked leftover rice until completely heated through. Add seasonings to taste. (Salt, pepper or even red pepper flakes). Finish with chopped
And there you have it, 5 basic staple ingredients combined with other fairly basic proteins and starches. And just like that you have 4 different meals that are complete, hearty, delicious, and I dare say… EASY.
Send me your mix and match creations. I would love to hear how you are making the most of your basic items.