Over the past year, I’ve been whipping up a little marinade for the plain feta cheese I buy. Of course, I still use plain feta in a slew of other ways, but for months I took real joy in serving it as an appetizer all on its very own. Feta has an intensely tangy flavor but it is a simple cheese that I wouldn’t normally serve on just plain. The way to make something simple sing is to joosh it up a bit.
I landed on the idea to smother it in flavor while I was reminiscing about how I used to marinate olives when I lived in Miami. Back then the city was not the culinary mecca it has become today, and marinated olives weren’t as readily available. I know that seems hard to believe given their ubiquity, but that was way before there were so many cool markets with speciality items or olive stations. So, I would buy a variety of plain olives and then make a citrus, spice oil mixture in which to marinate them. Heck, when you don’t find what you want or need, you simply have to rely on your own talents to create it. That’s what I did then, and continue to do now. That old Miami olive mixture made me think of how yummy something similar would be on feta cheese.
*Side note about feta that I just learned from my Bulgarian brother-in-law, Peter. Much like Champagne, the word feta can only be used when referring to the cheese if it is produced in a traditional way in particular areas of Greece. Who knew? Now we do. All other cheeses made in different parts of the world can only state that they are fresh sheep’s or goat’s milk cheese ripened in brine. So interesting, and a tidbit I thought I would share. That said, as much as I would like to be a stickler for food correctness, it’s much easier to write feta, rather than a longer description of the cheese. Is that bad?
Back to the marinade. As I stated, I’ve made this before and it was enjoyed by my guests, but I noticed a real uptick in its wow factor. Whenever I’ve offered it up, it has been a home run. So much so that I was forced to make it in much larger quantities. Once people get a taste of it, it’s like tortilla chips and salsa, you just can’t stop eating it.
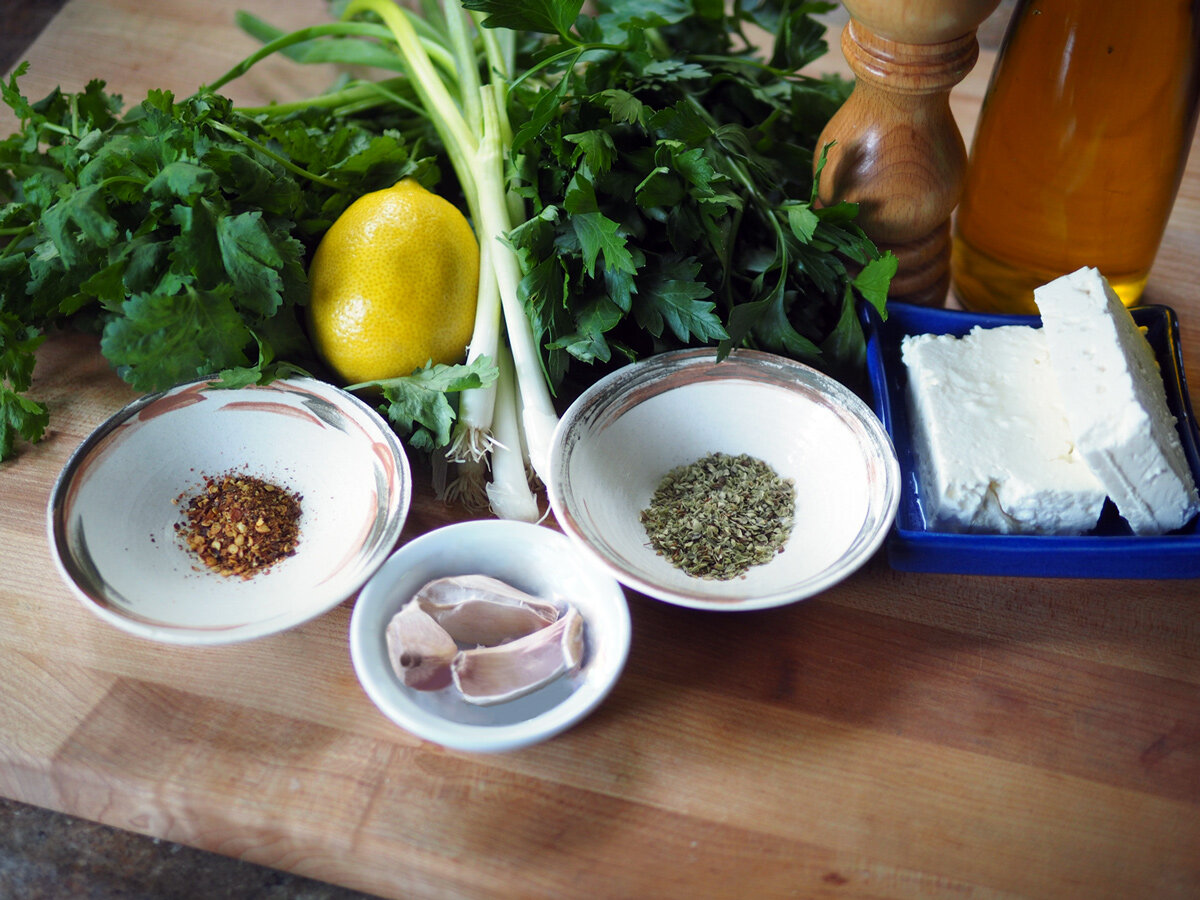
The ingredients that provide major zing: Cilantro, lemon, scallions, parsley, black pepper, olive oil, feta, oregano, garlic, red pepper flakes.
Ingredients
7 oz. Feta cheese (sheep’s milk cheese in brine. I prefer the French one, as it it softer and milder)
*if you wanted to double the about of cheese the below marinade ingredients will be enough
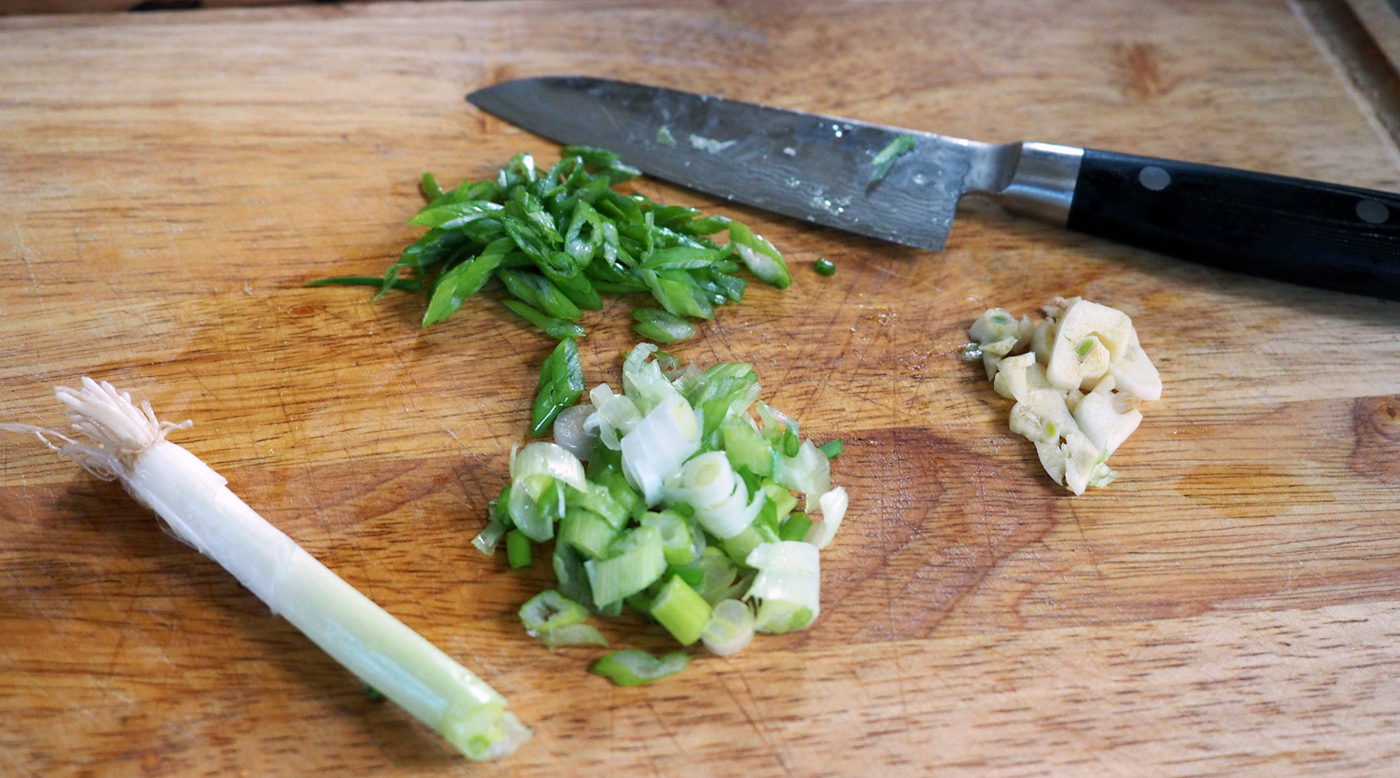
2 T Scallions, sliced thinly
1/2 c Clilantro leaves loosely packed, minced (3 T)
1/2 c Parsley leaves loosely packed, minced (3T)
1-2 Garlic cloves, crushed (1 t)
2 t Dry Oregano
1/8 t Red pepper flakes
Black pepper
1 t lemon zest
2 t lemon juice
2/3 c olive oil
a few twists of ground pepper

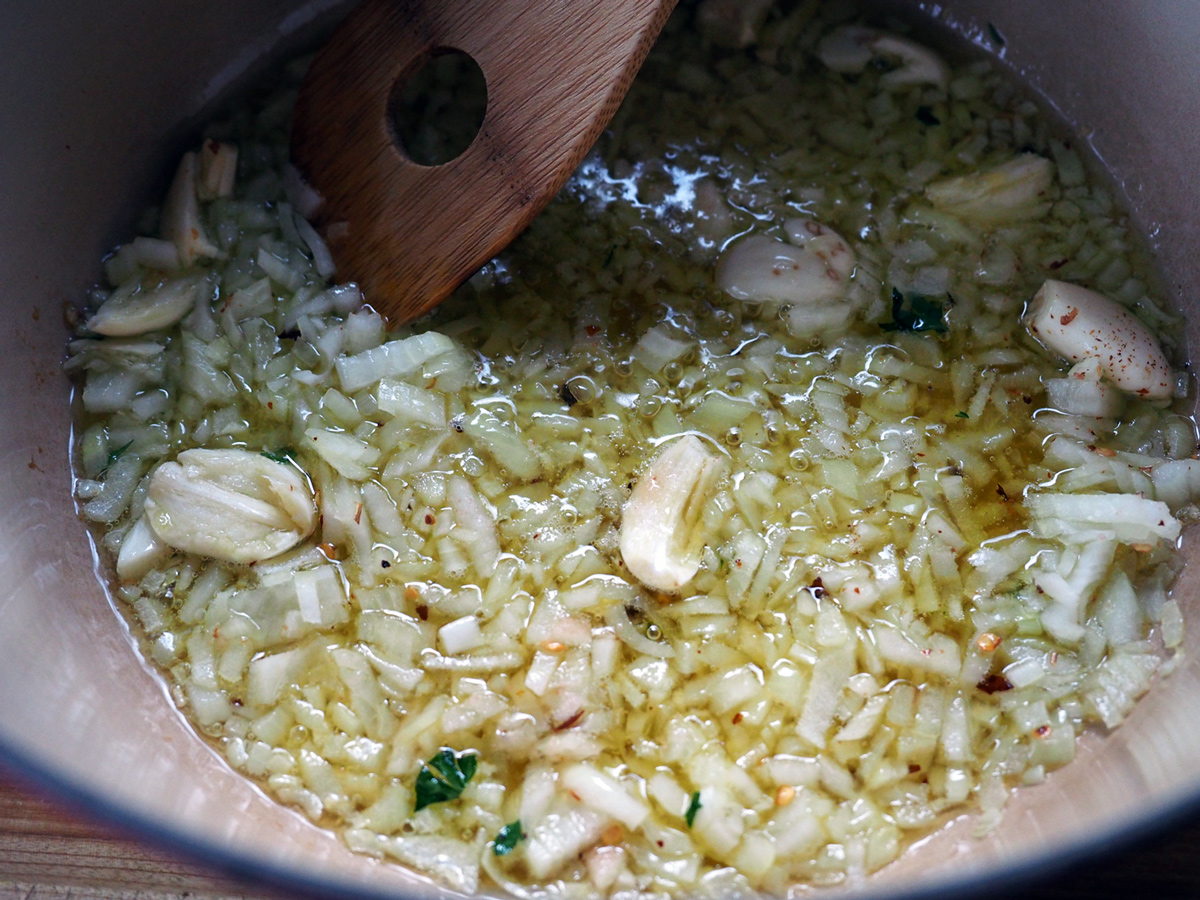
It’s the small touches of red pepper flakes and garlic that really bring a zing to this dressing.
Instructions
I feel silly telling you what to do, but here goes.
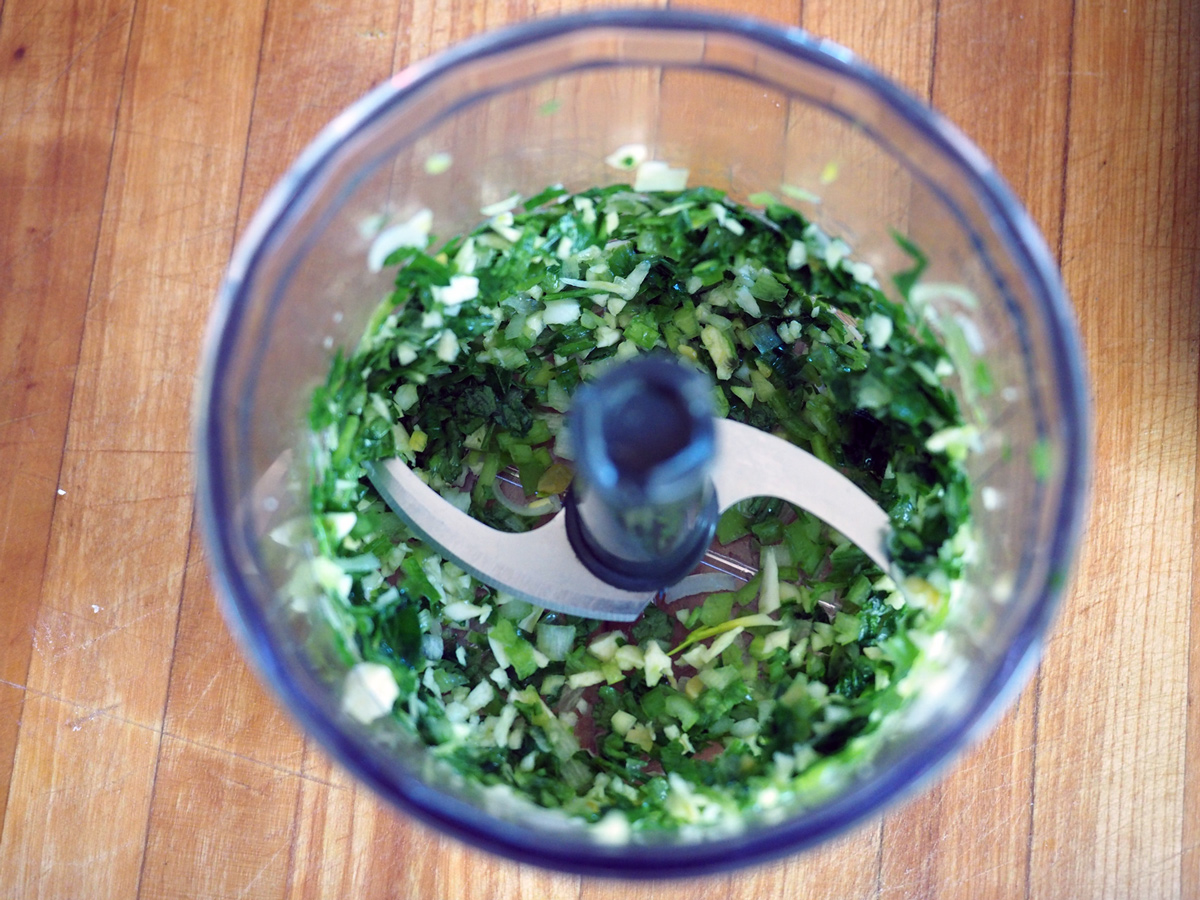
Cut, chop, mince, crush according to ingredient list above.
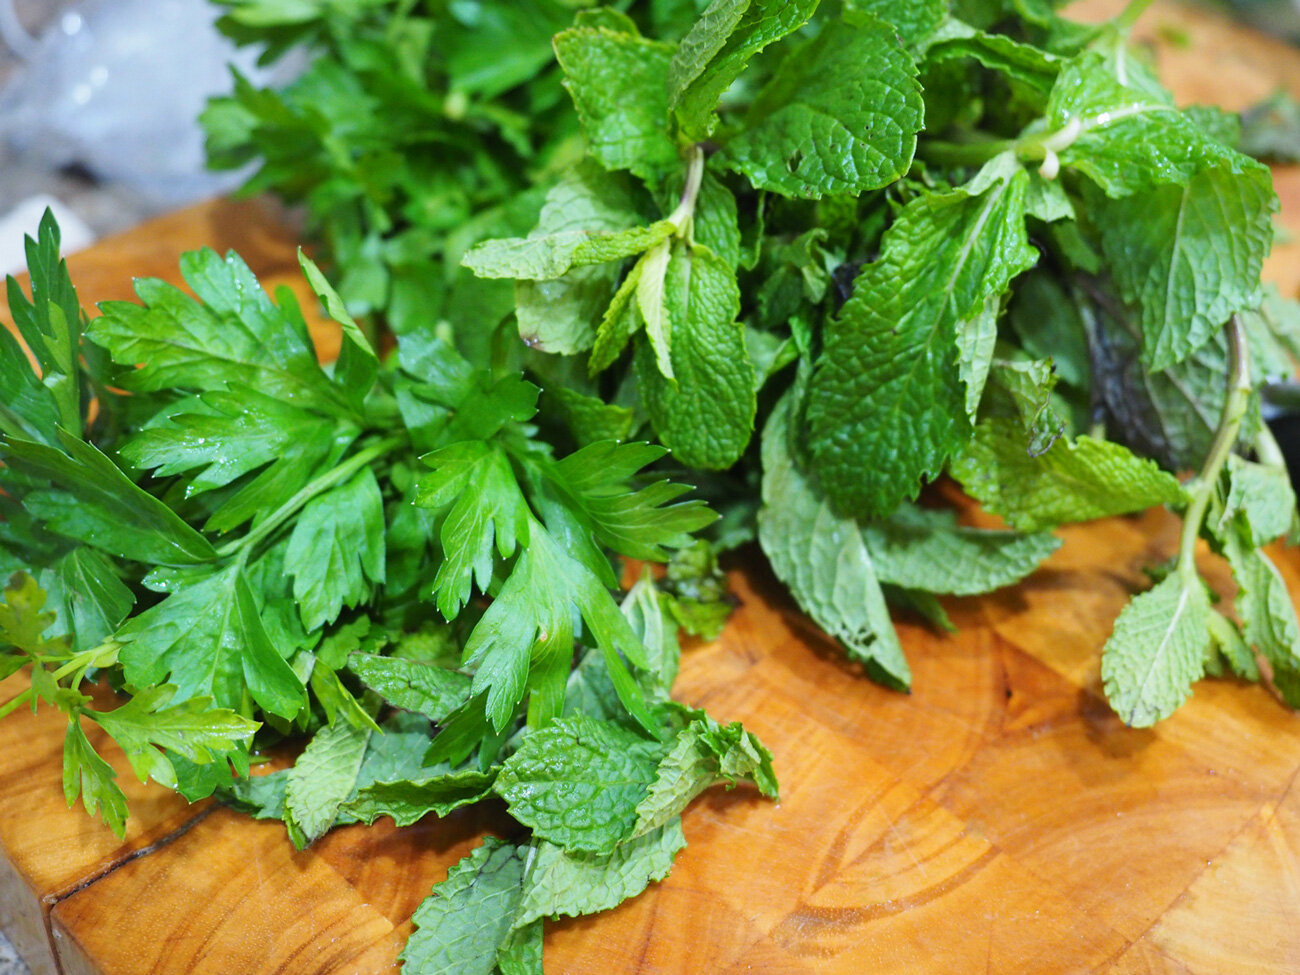
It is so essential to use the freshest ingredients, always, but more so when you are making a raw dressing like this one. Freshness and brightness are key.

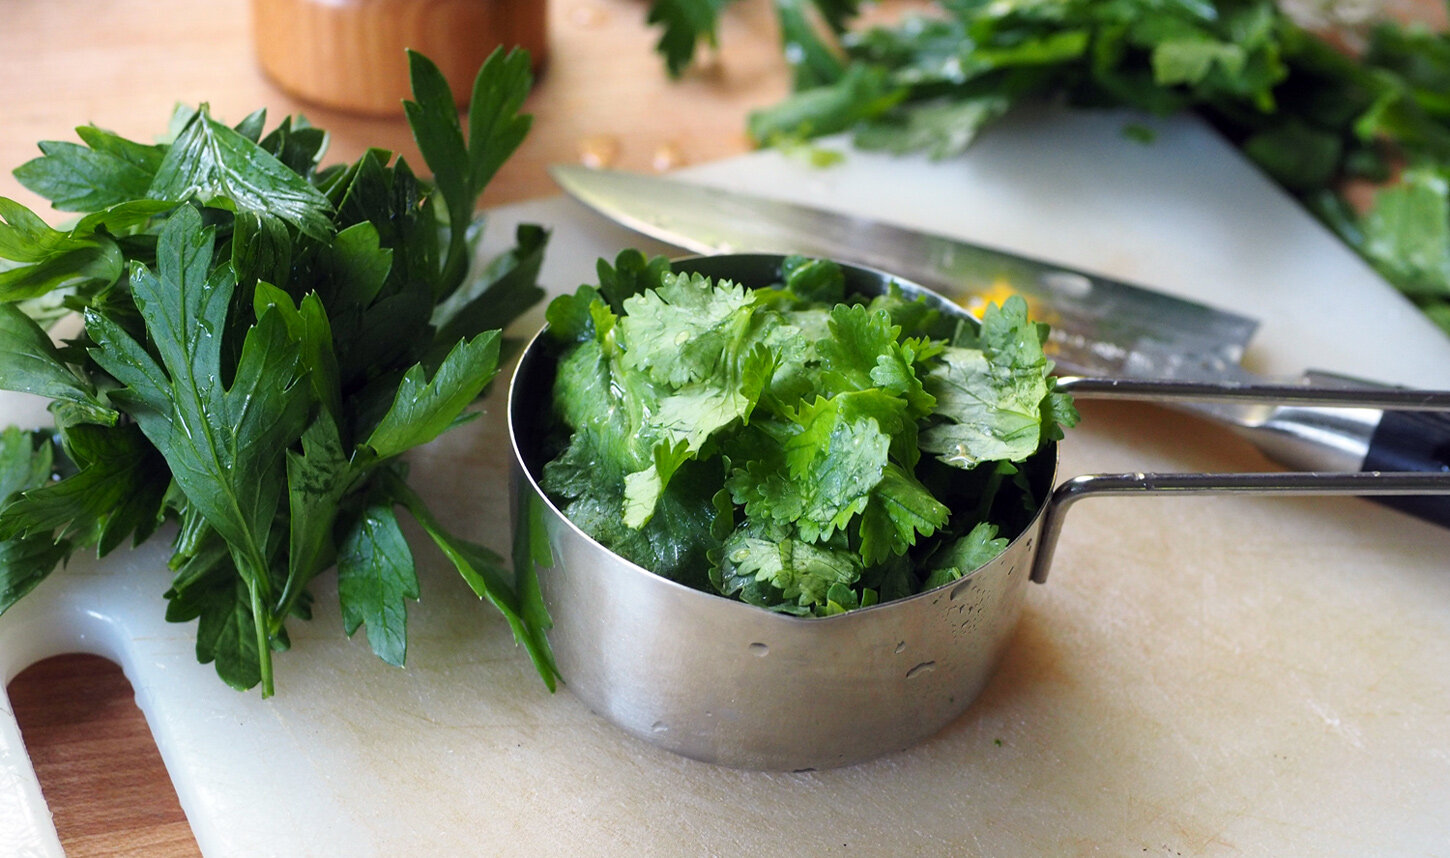
Give the herbs a good mince, and the scallions a thick slice.

The zest and juice of lemon adds a brightness and acidity that rounds out all the flavors.
Gently cube the feta and place in an airtight container. (I prefer a glass container.)

Salty, briny, delicious French feta
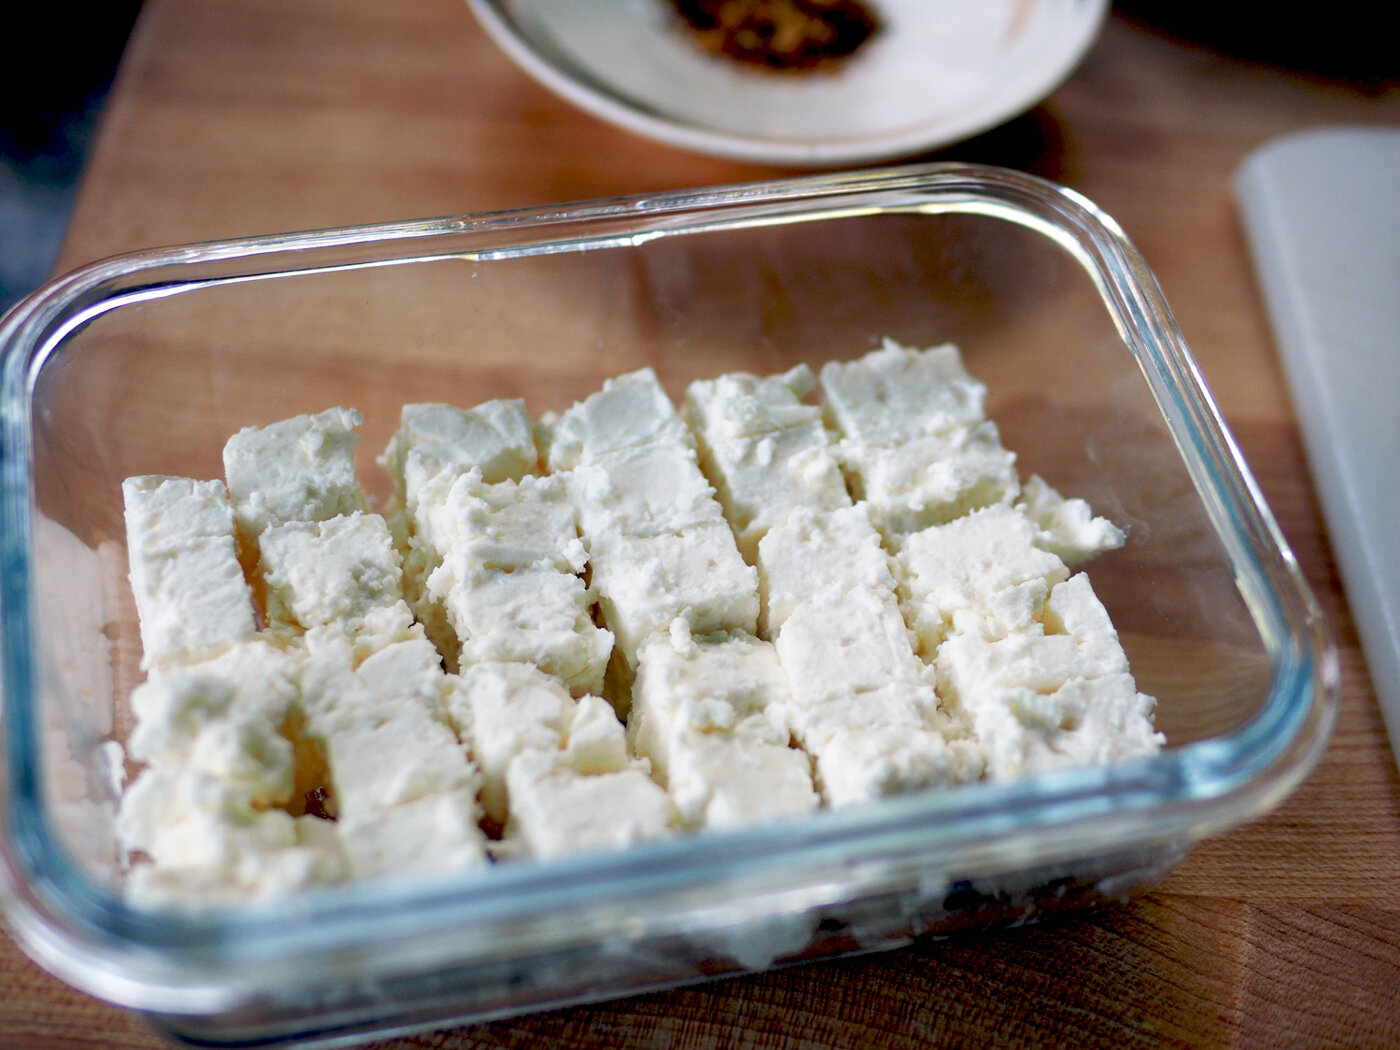
You can make the cubes any size you want. I like small ones.
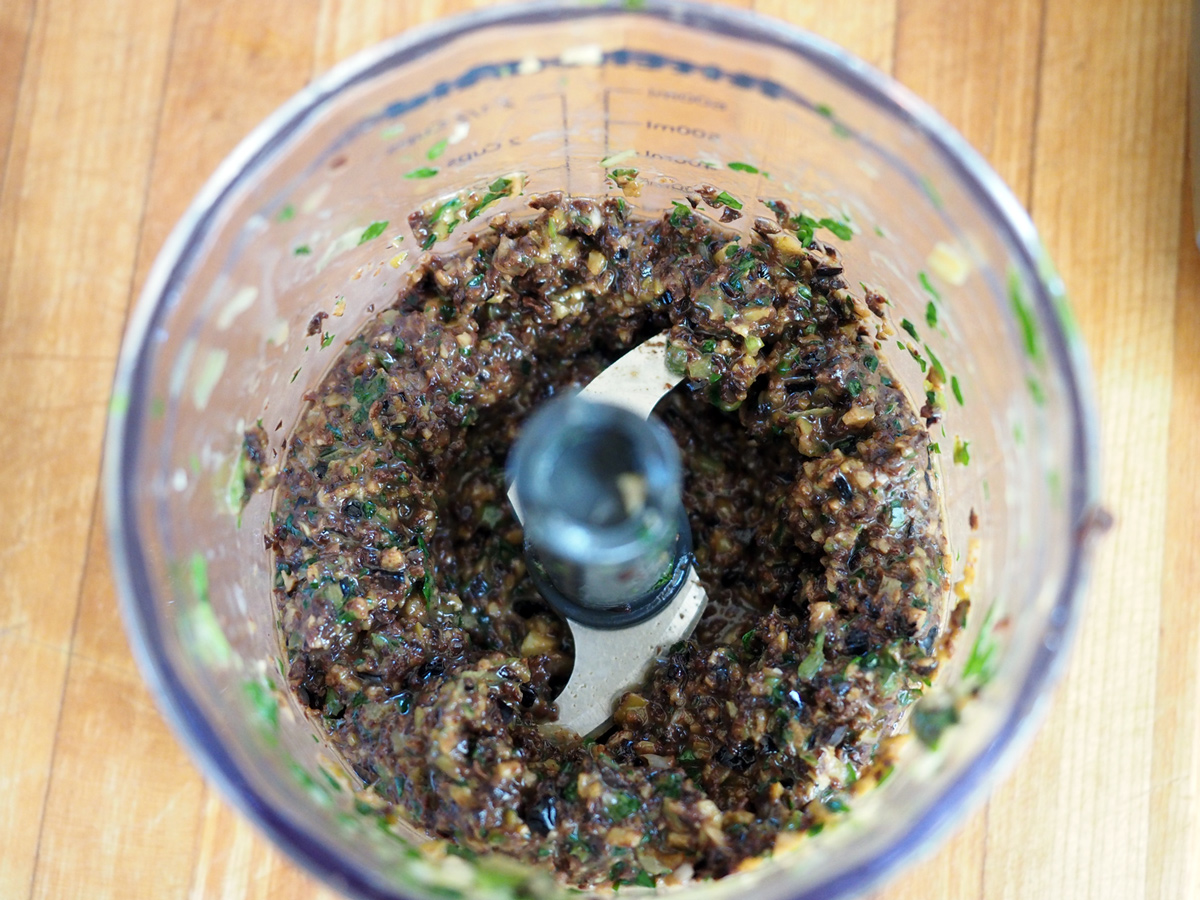
Combine all the ingredients and whisk together.

Crushed garlic

Dry oregano
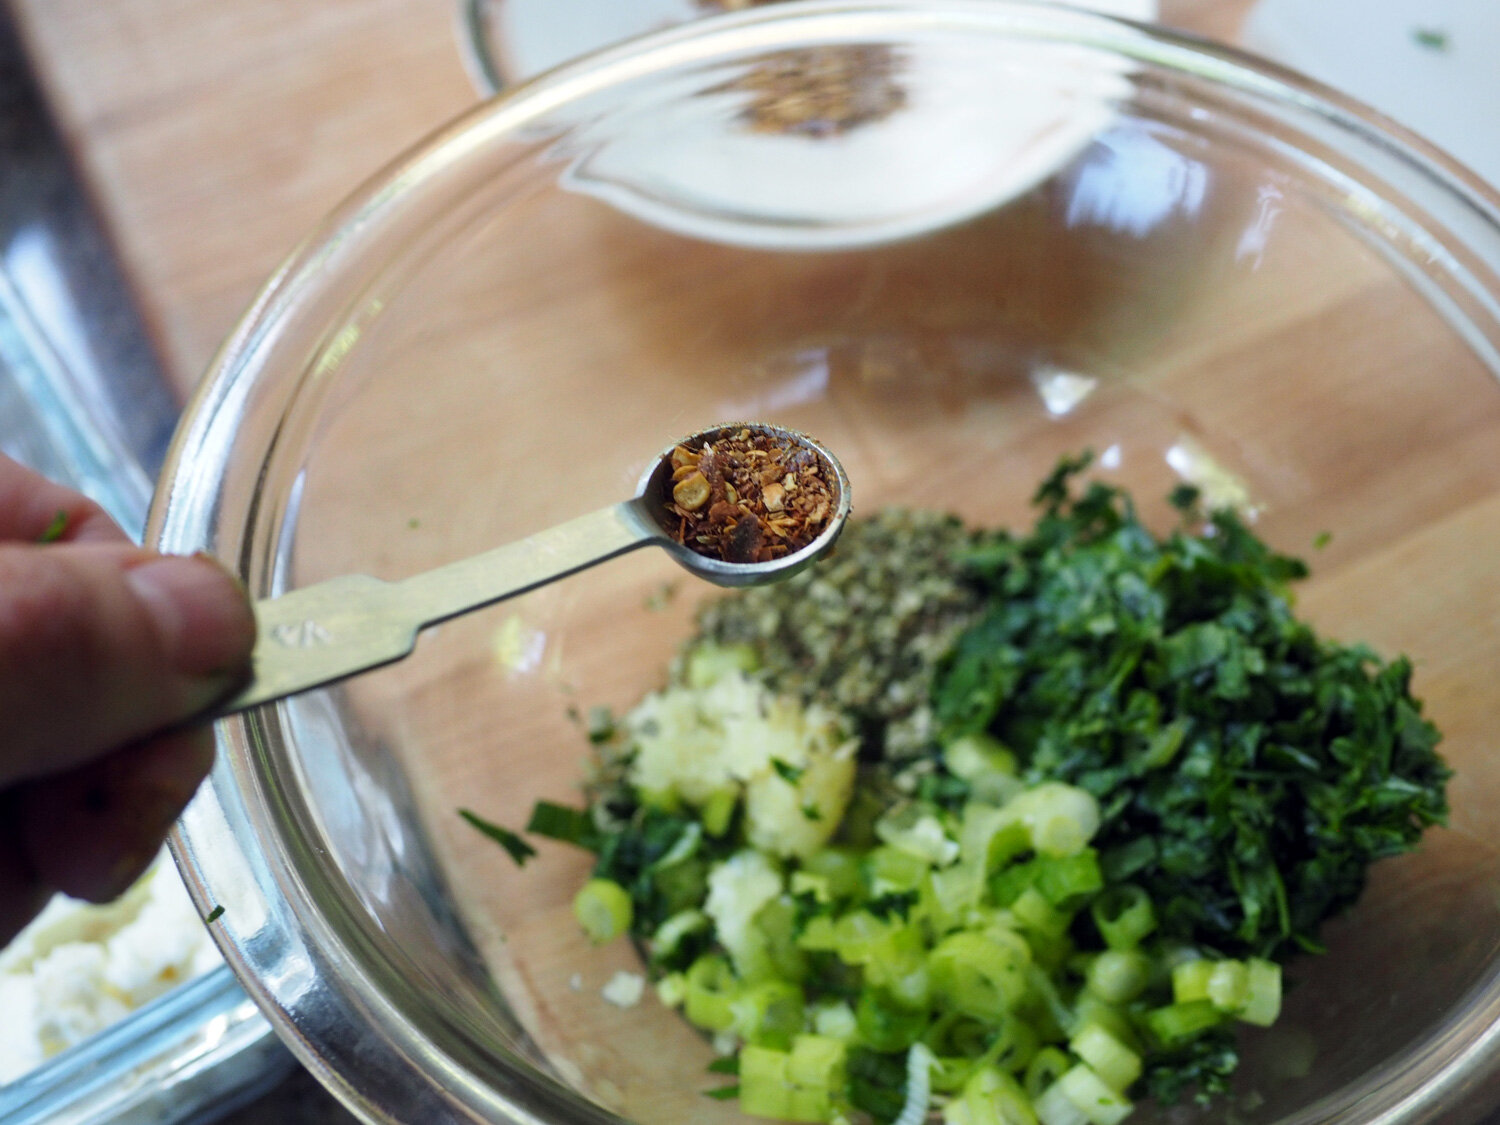
Red Pepper Flakes


Add all the ingredients and whisk together until combined.
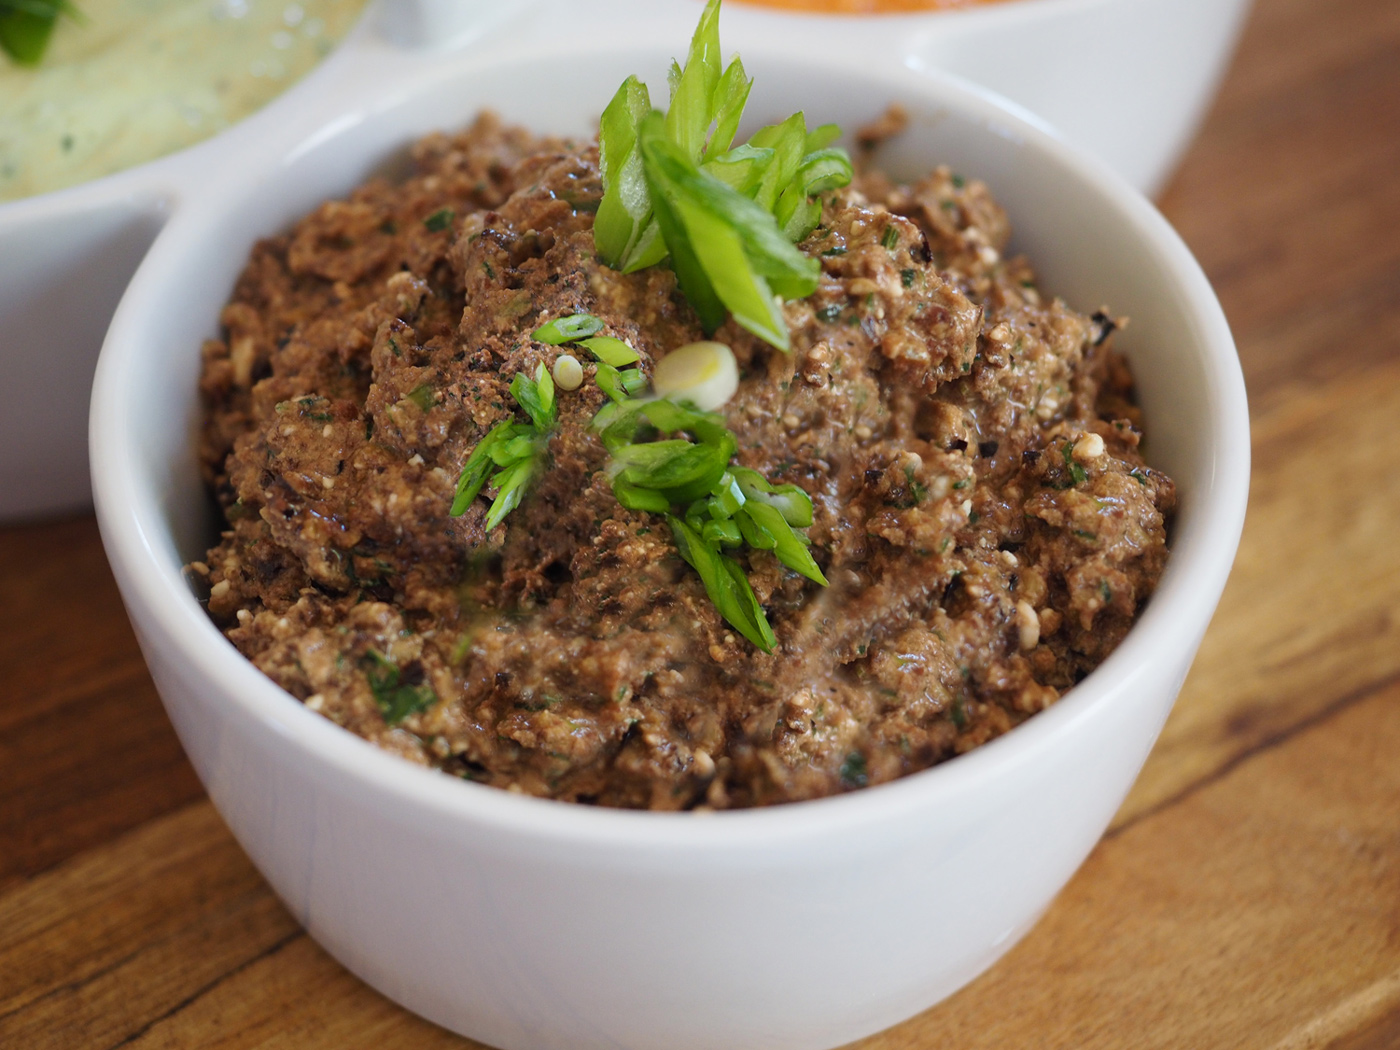
Pour over the cheese, lovingly.

Pour the mixture all over the cheese ensuring every last piece is covered.
Note, that there is no salt in the ingredients. That is because the feta is brined in salt and you definitely do not need any additional. However, since the dressing amounts above make about twice what you need to marinate 7 oz of feta, you can do one of two things. You can add salt to the remaining marinade and use it to top fish, chicken or pork. Or you can simply double the about the feta, which is what I do because 7 oz may be enough for your crew, but it’s definitely not whenever I serve it. When you are ready to serve this up, remove it from the fridge at least 15 minutes prior so the oil comes back to room temp.
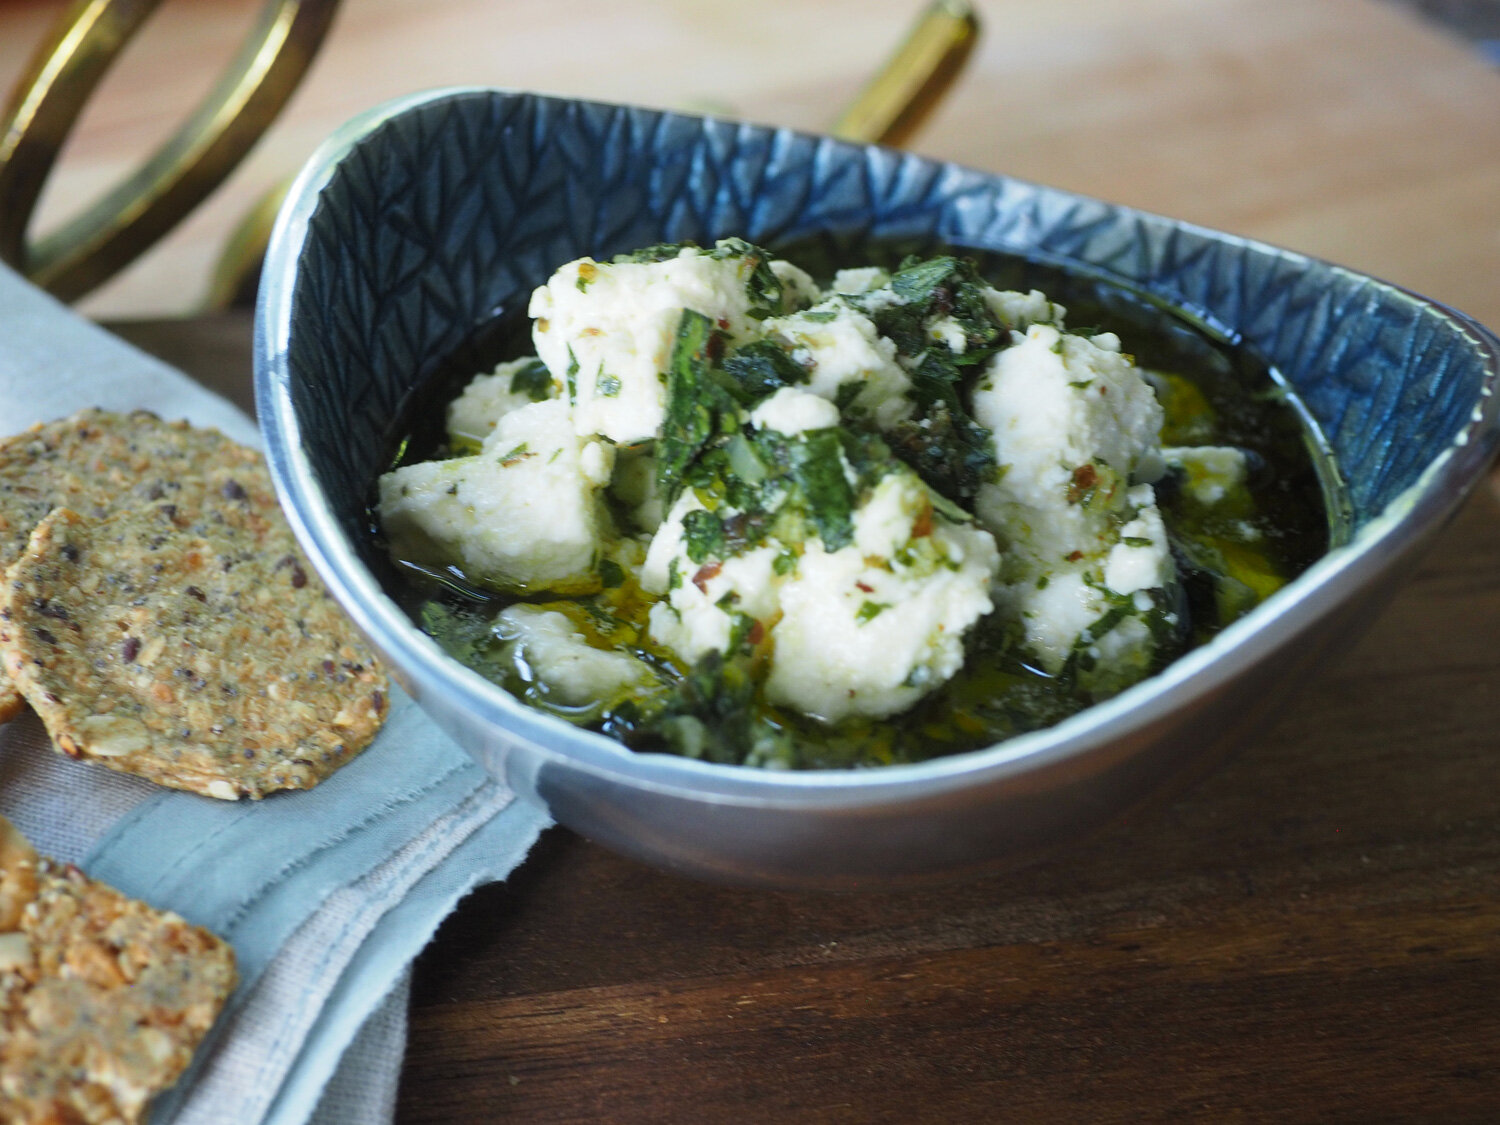
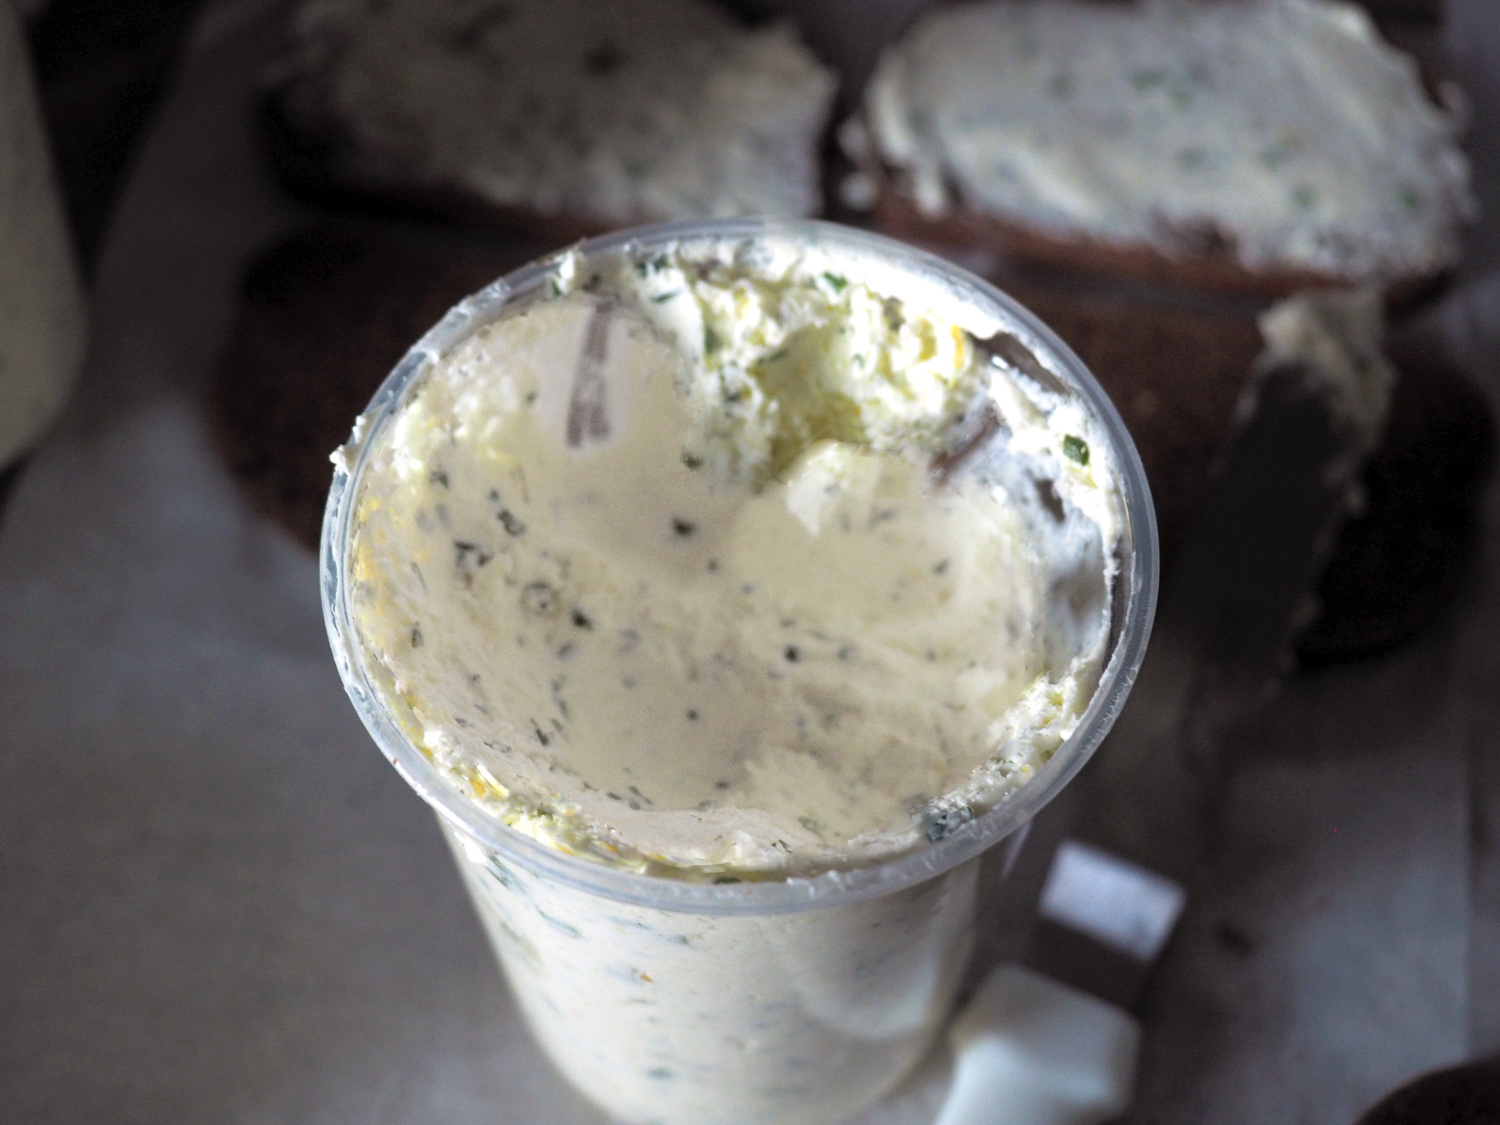
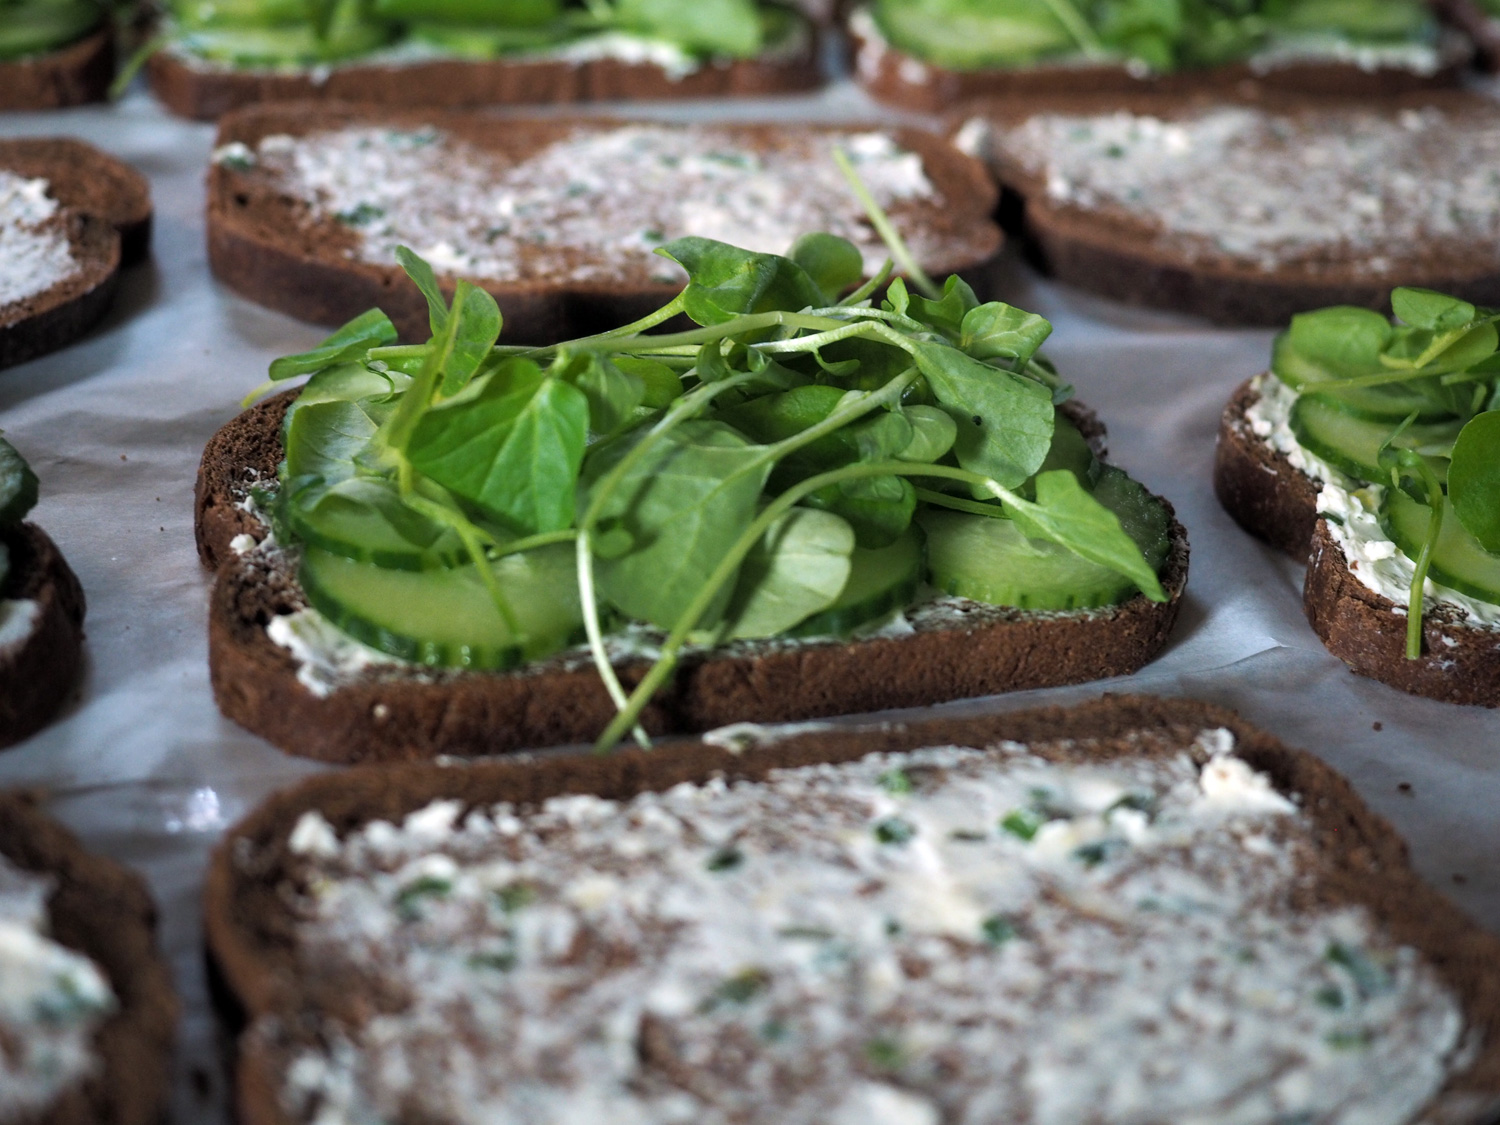
When I say it can be slathered on everything, I mean it. Naturally, it’s divine on crusty bread. A no brainer. But I’ve seen guests dollop it on salad. Eat with grilled shrimp. Top polenta, rice and pasta with it. Need I go on. As a matter of fact, we social distanced at my sister, Alyssa’s house this past weekend, and we literally had a slew of foods that this feta worked so well with. Pasta with pesto and shrimp, chick pea salad with fennel and herbs, sautéed string beans, a big salad and grilled sausage. We all made a big plate and mixed it all up together, and amazingly it was a medley in our mouths.
I recently made breakfast tortilla/tacos from leftover roasted veggies and decided to add some zing by topping them with this marinated feta. It took these already delicious tacos to another level.

Roasted cauliflower, onions, sautéd spinach on corn tortillas topped with marinated feta.
I love when something takes on a whole new versatility. Marinated ‘feta’. It’s a very good thing!