There are a ton of ways to say it…
Ask and you shall receive
Put it out there
Tell the universe what you want
Whatever saying you espouse, it’s all based on energy and the Laws of Attraction. If you want something, all you have to do is ask. Once you float an idea out there, the universe, full of energy, tries to provide you with the answer. I can attest to this theory in dozens of real life examples. I could go on and on about the “careful what you wish for“ statement. Which seems a bit more negative in tone than it’s true meaning. But it heeds the warning of be mindful of what you put forth because your wish will probably be granted. And so mine was. Sure, it had been brewing for some time, but the universe doesn’t have deadlines. It delivers what you need when you need it.
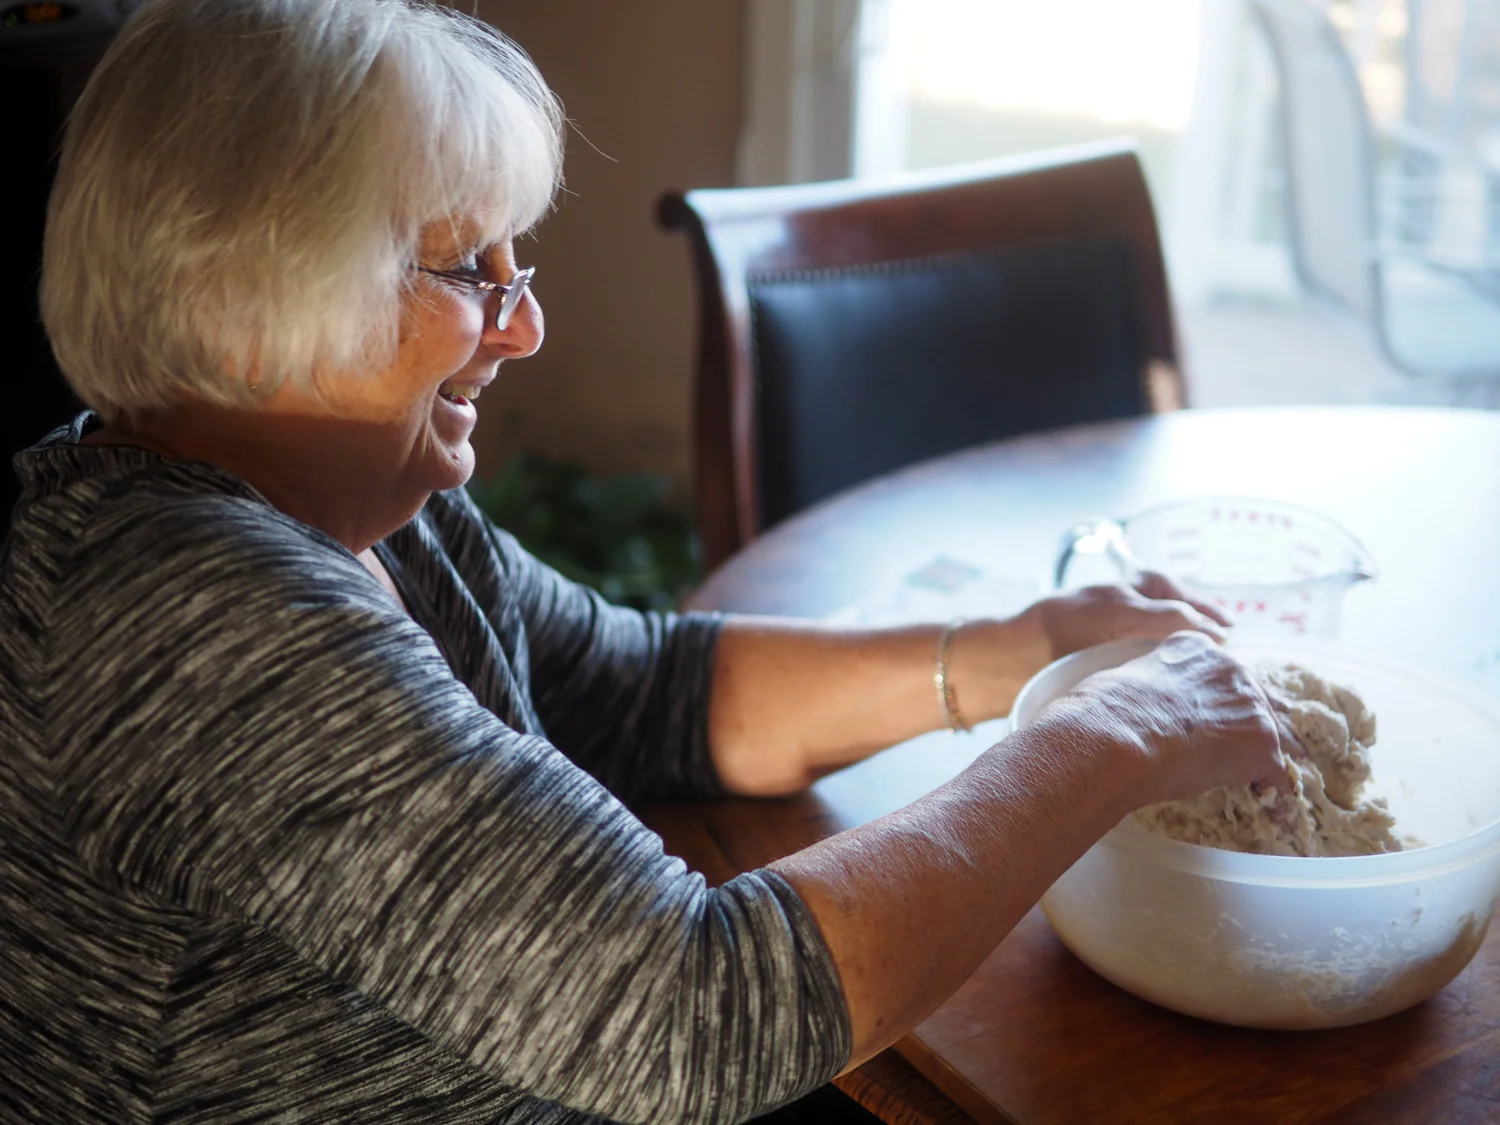
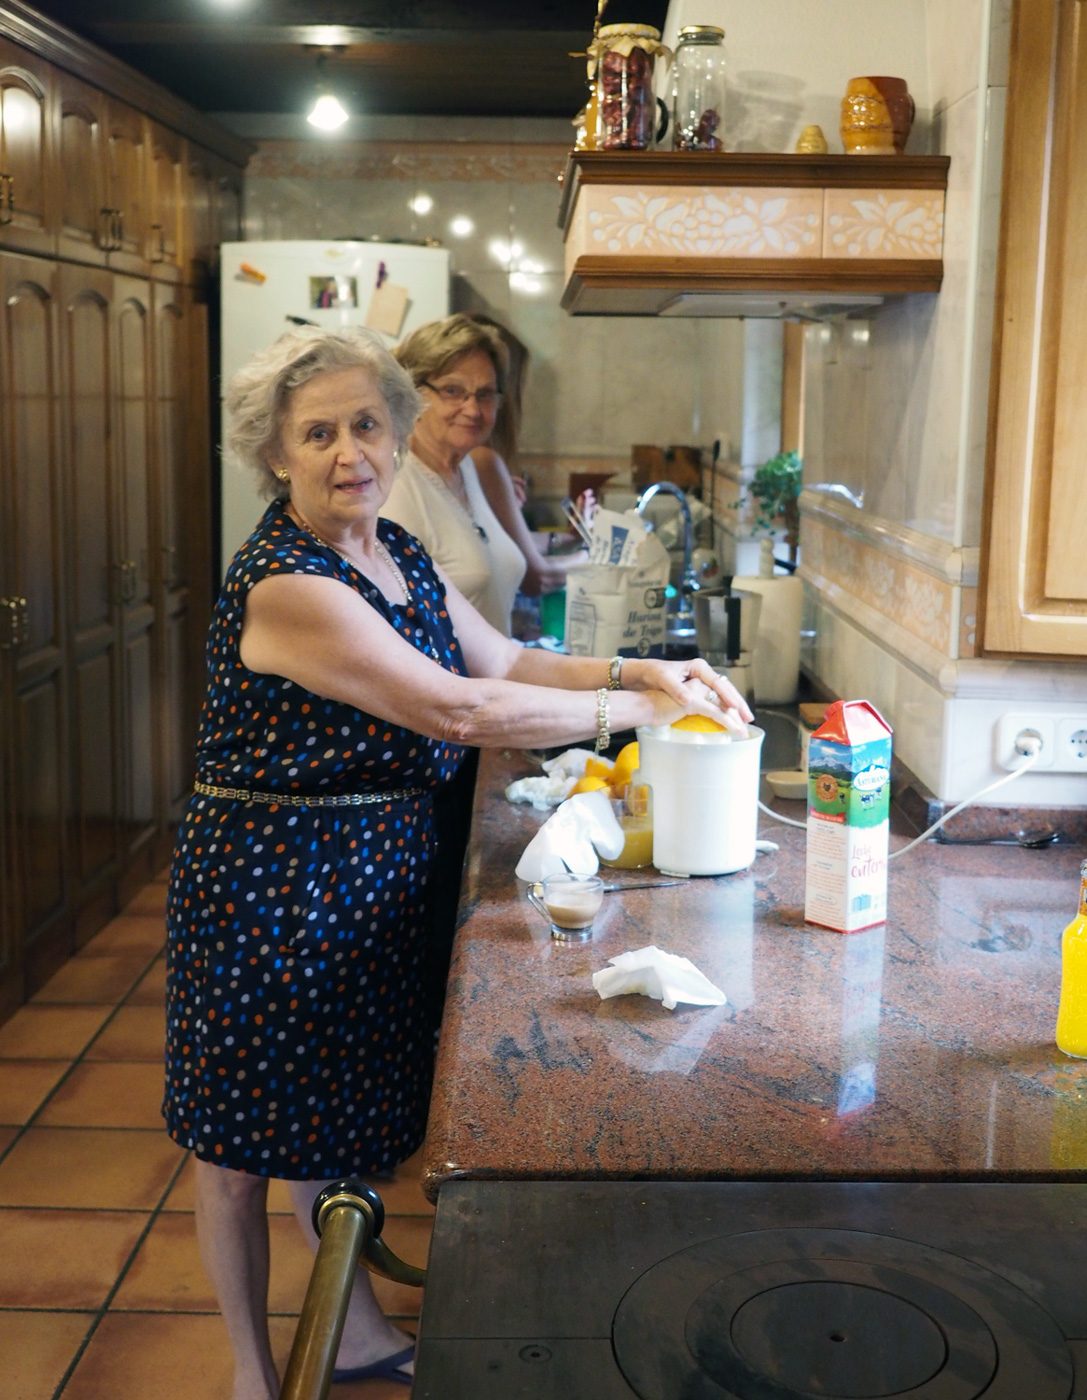
Now granted this is not one of those major life altering wishes. It was way more frivolous. More like a desire and Saturday morning daydream. None the less, it was a wish. I had been wanting to throw a tea party for the longest time. I know, you are thinking; Really, after all that blabber on the universe providing and it’s energy and that is what you wished for? It was. No judgement, please. However, I had two big hesitations. One, I can’t eat bread, and two, who would I invite? The latter is an easy challenge to overcome. The former, well that is another story entirely, which is why I have never thrown a tea party. BUT, out there I put the thought. Floating around like whisper waiting to be heard. And so, there was a cosmic little giggle when I was recently asked to cater a tea party. And there it was… Call it serendipity. Call it fate. Call it my prayers were answered. Call it whatever you like, but I asked and I received. And the funny part of it was, it literally answered all the challenges. Since it wasn’t MY tea party I didn’t have to eat the bread, or figure out who to invite. Talk about wishes coming true.
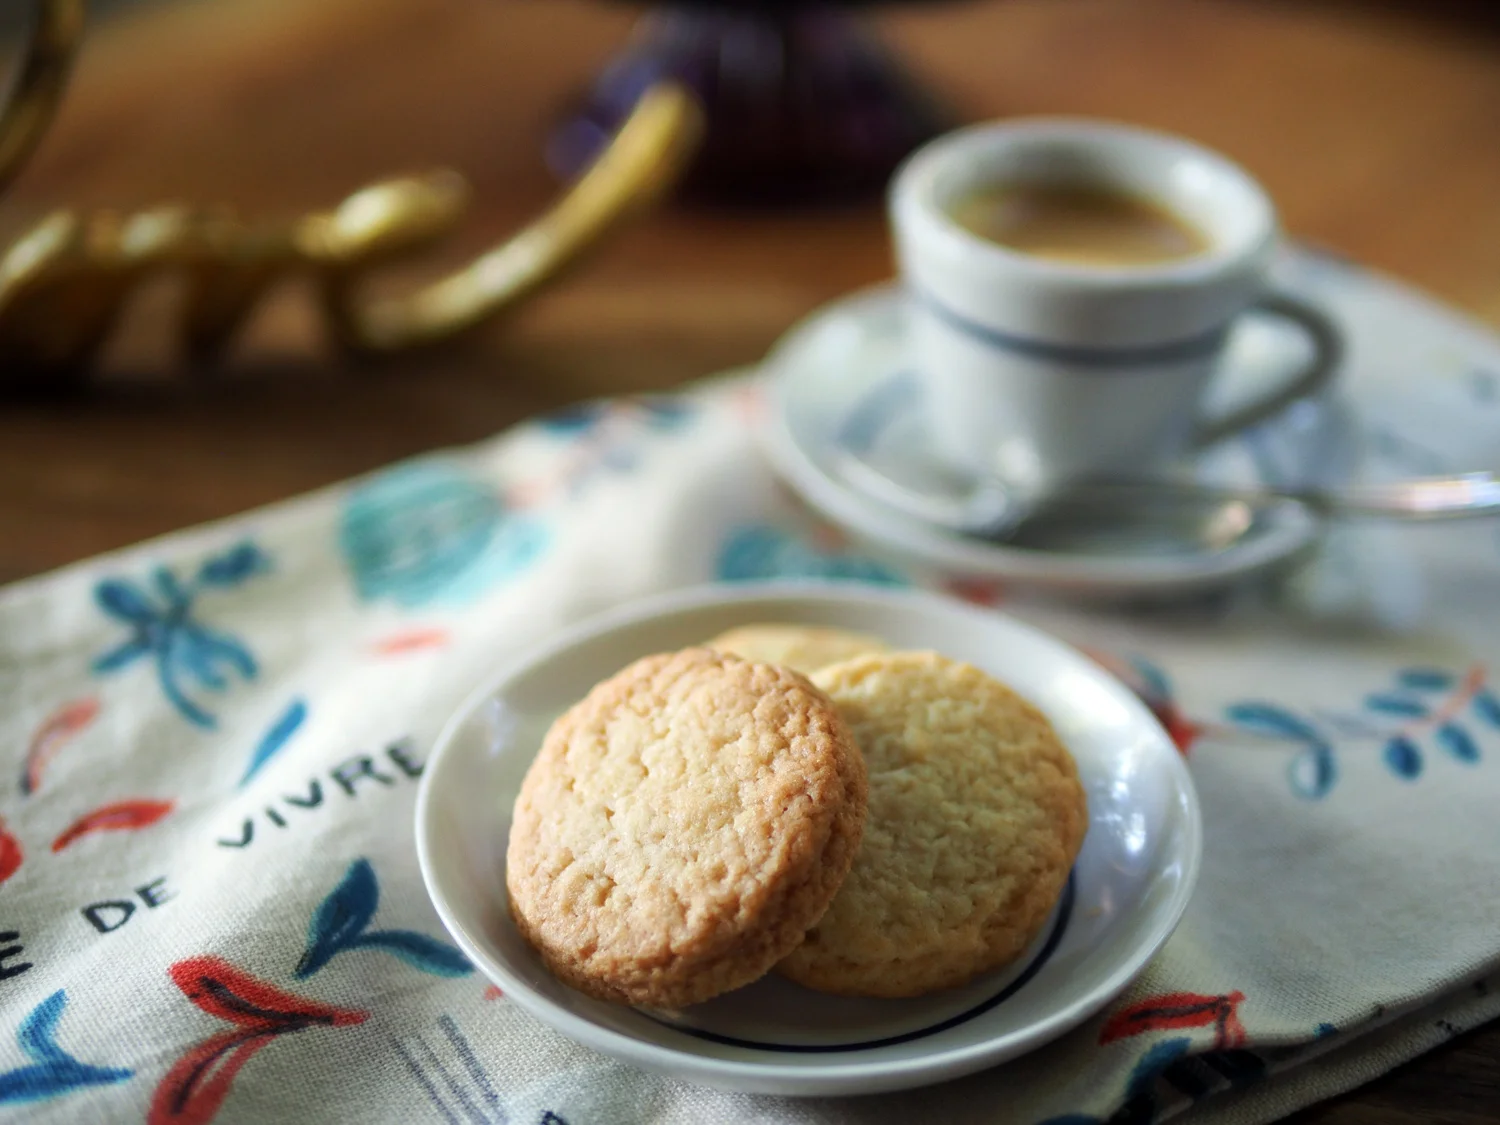
This is one of the easiest and most classic tea sandwiches.
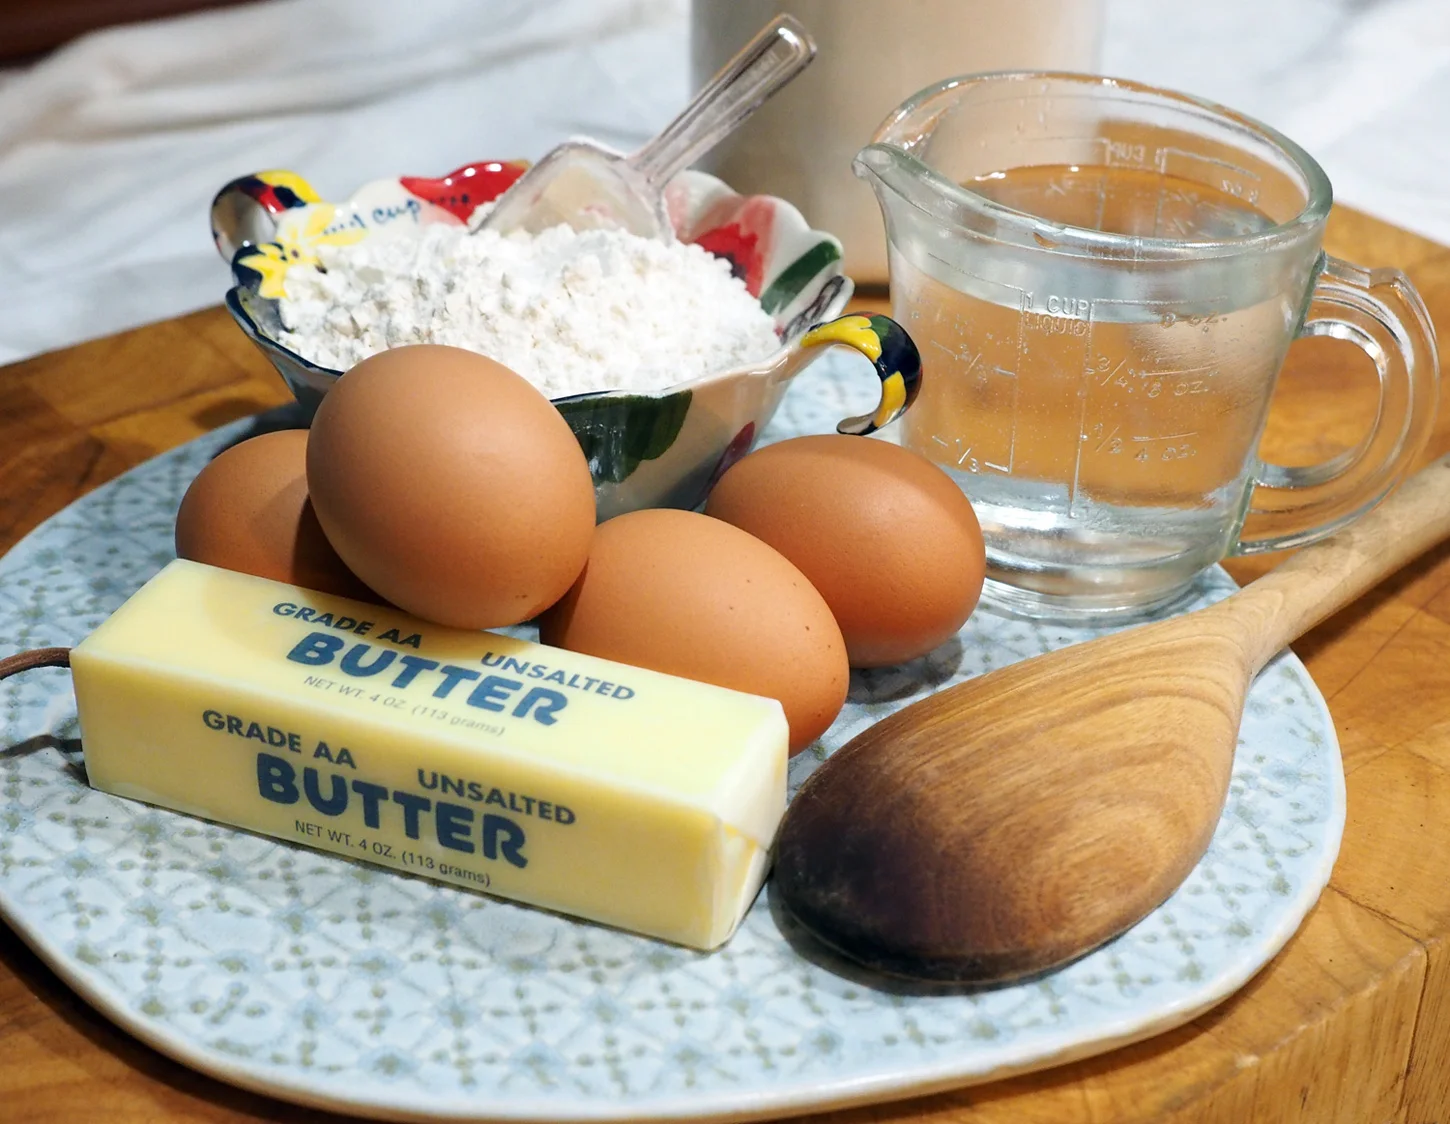
Ingredients
Black Rye Bread
Watercress
English Cucumber, thin round slices
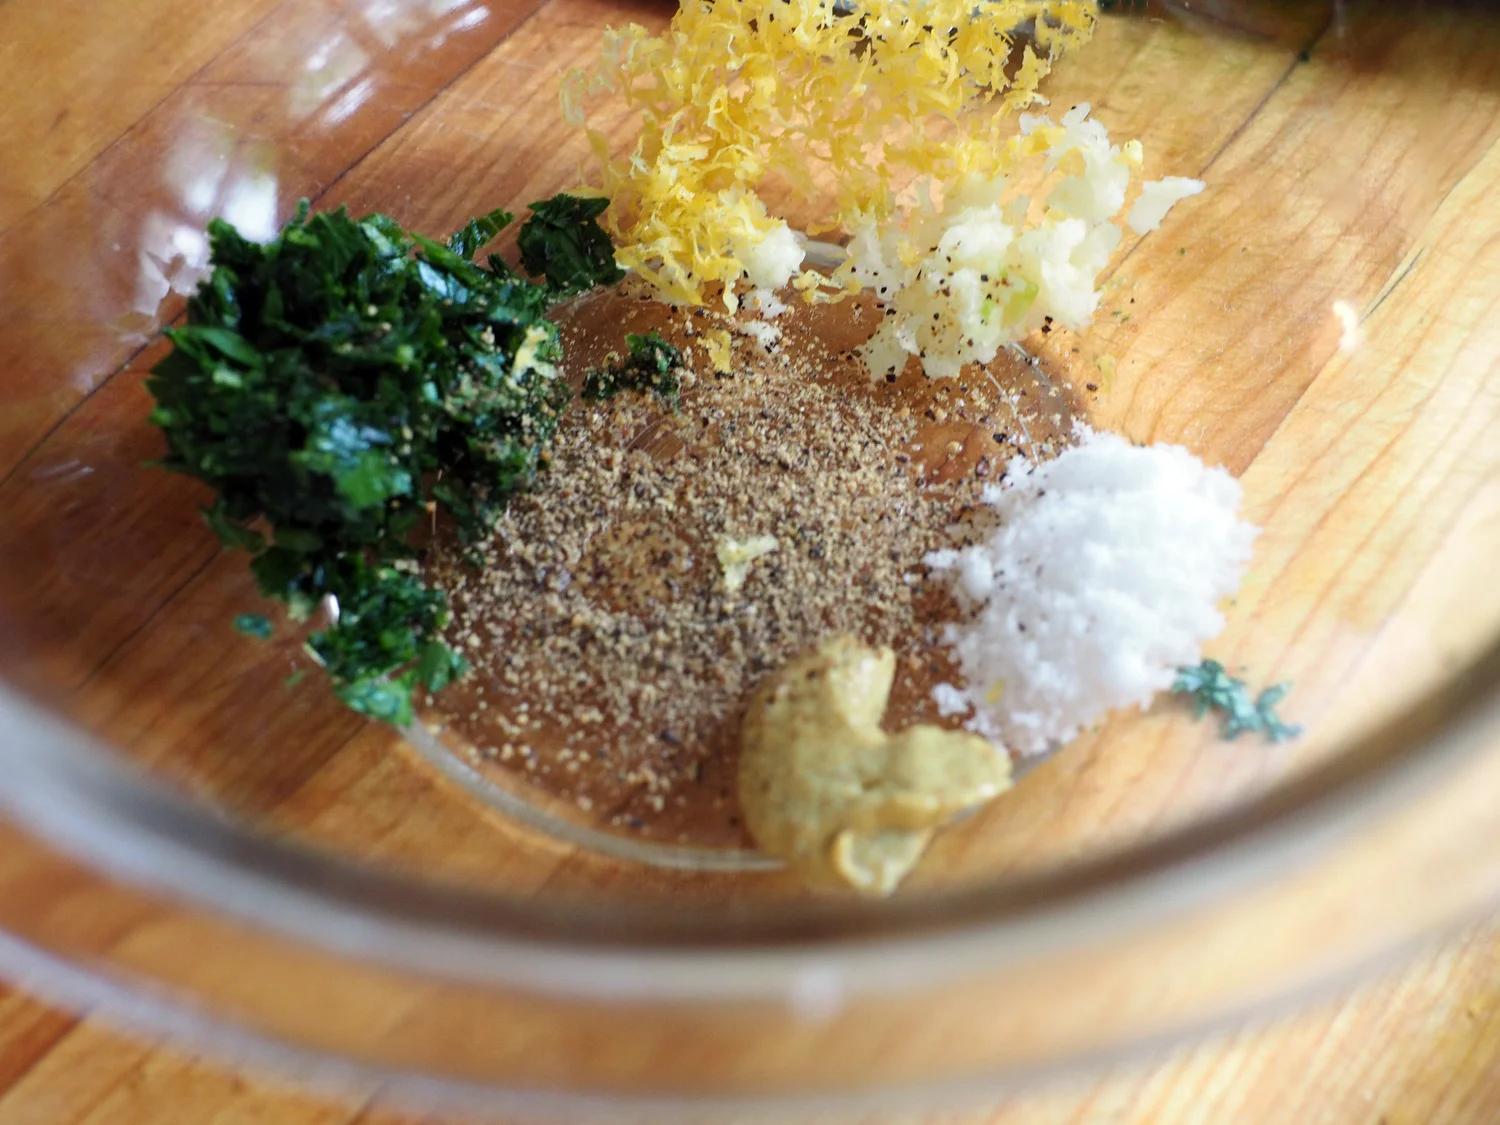
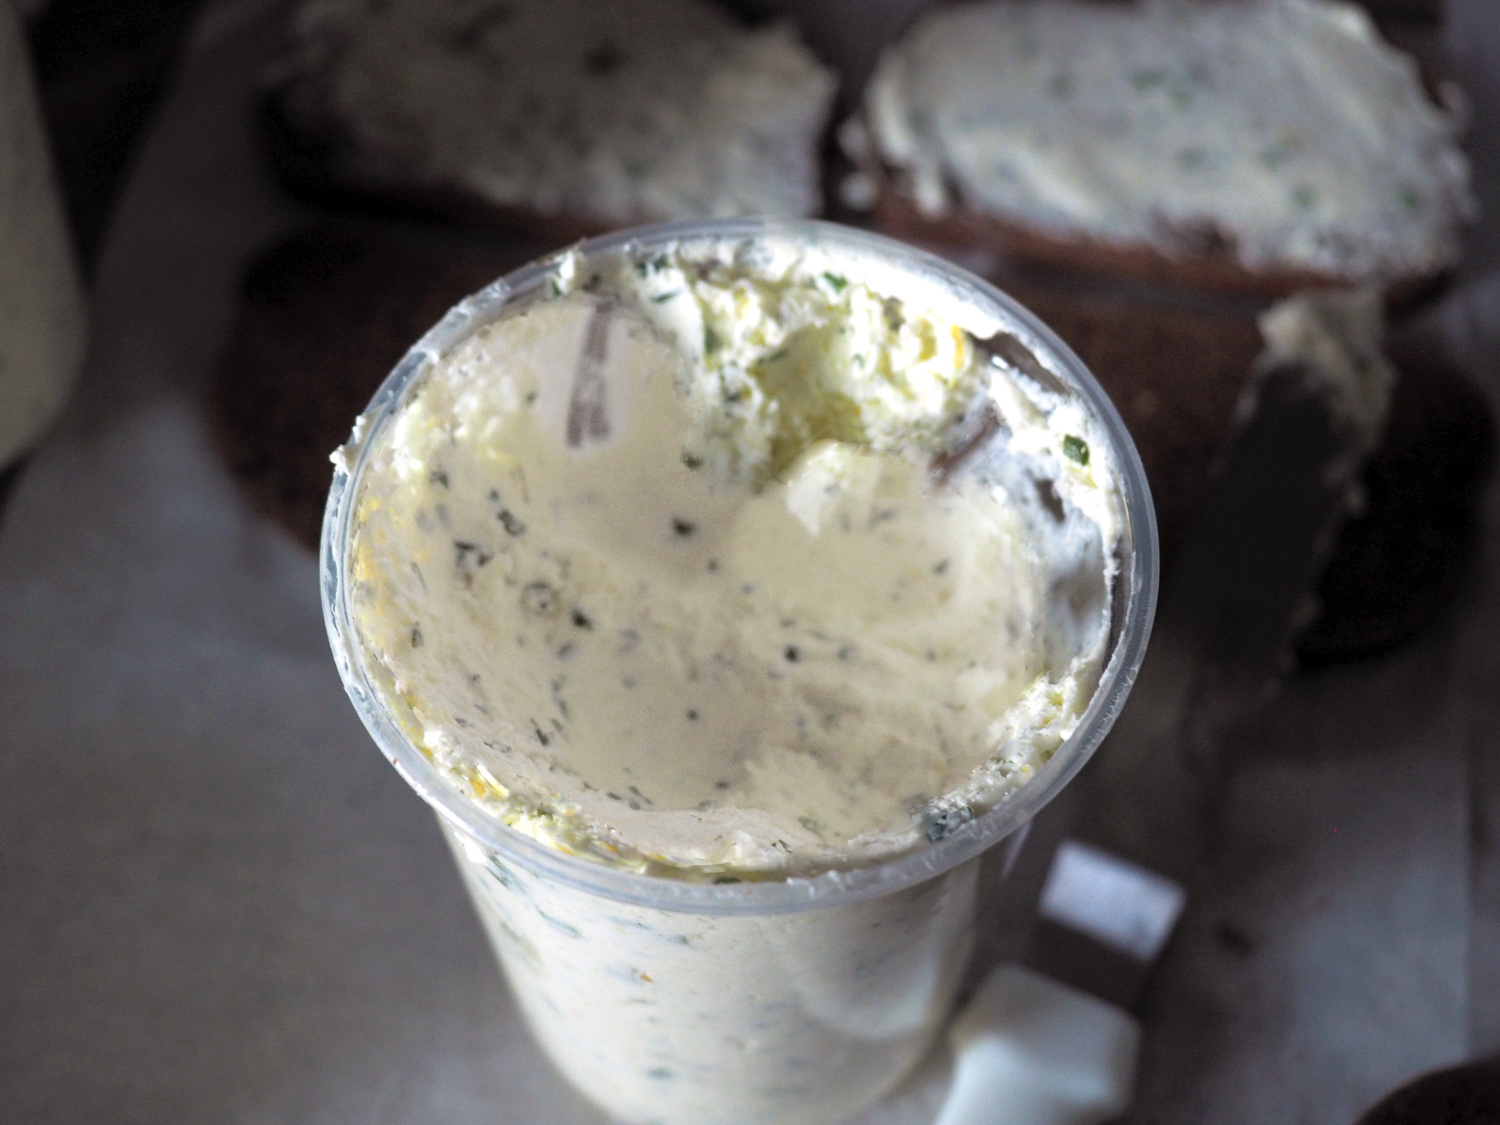
Herbed Butter, room temperature
1 stick unsalted butter, softened
2 T chives, chopped
2 T parsley
1 T lemon juice
Lemon zest
1 t salt
Instructions
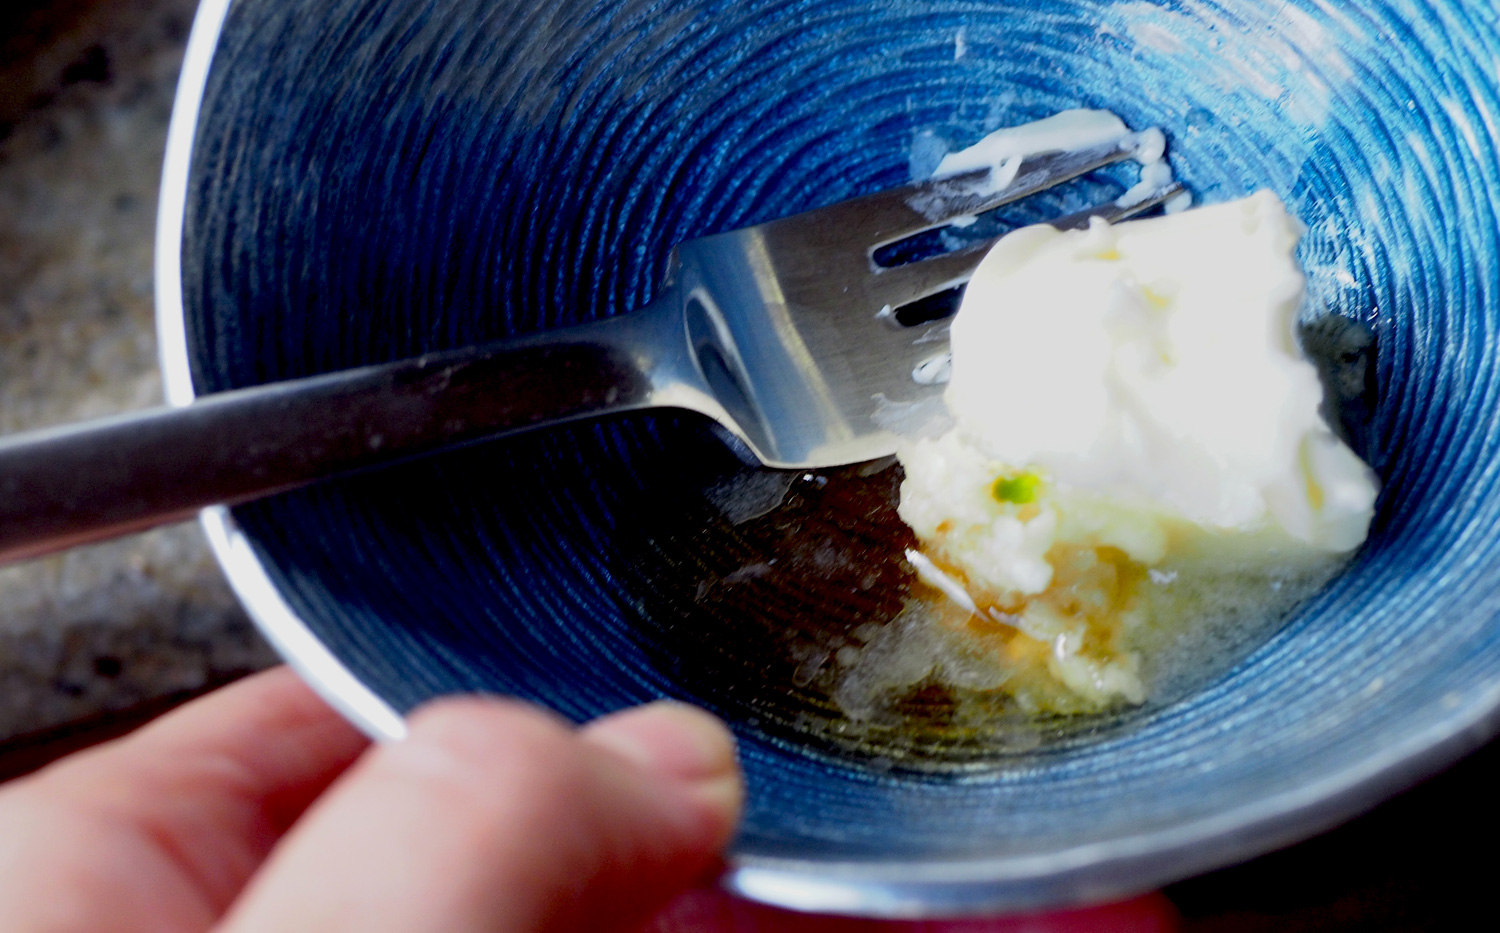
1.First things first, make the herbed butter. Start with softened room temperature unsalted butter. It is important that the butter is really soft so the added ingredients can be blended in thoroughly and easily. Chop the herbs. Then using a mixer with a paddle attachment, blend together. Add the lemon juice, zest and salt to taste, mix a bit more but do not over mix. Set aside and leave at room temperature so it is easy to spread on the bread.
The best part about this butter is that you can place it in plastic wrap, roll it up like a log and freeze. You can then slice it anytime you want. Add it to rice or noodles or to finish a steak or fish.
I made a a lot because I had to make plenty of sandwiches. I froze the leftovers
2. Wash and thoroughly dry the watercress. Thinly slice the cucumber into rounds.
3. Get all the ingredients ready, placing the bread out.
4. Heavily butter one side, then lightly butter the other side of the bread. Then place the cucumber down first.

Line everything up to create your own assembly line. Of course, I made way more than you will need, but the concept still works even for a few sandwiches.
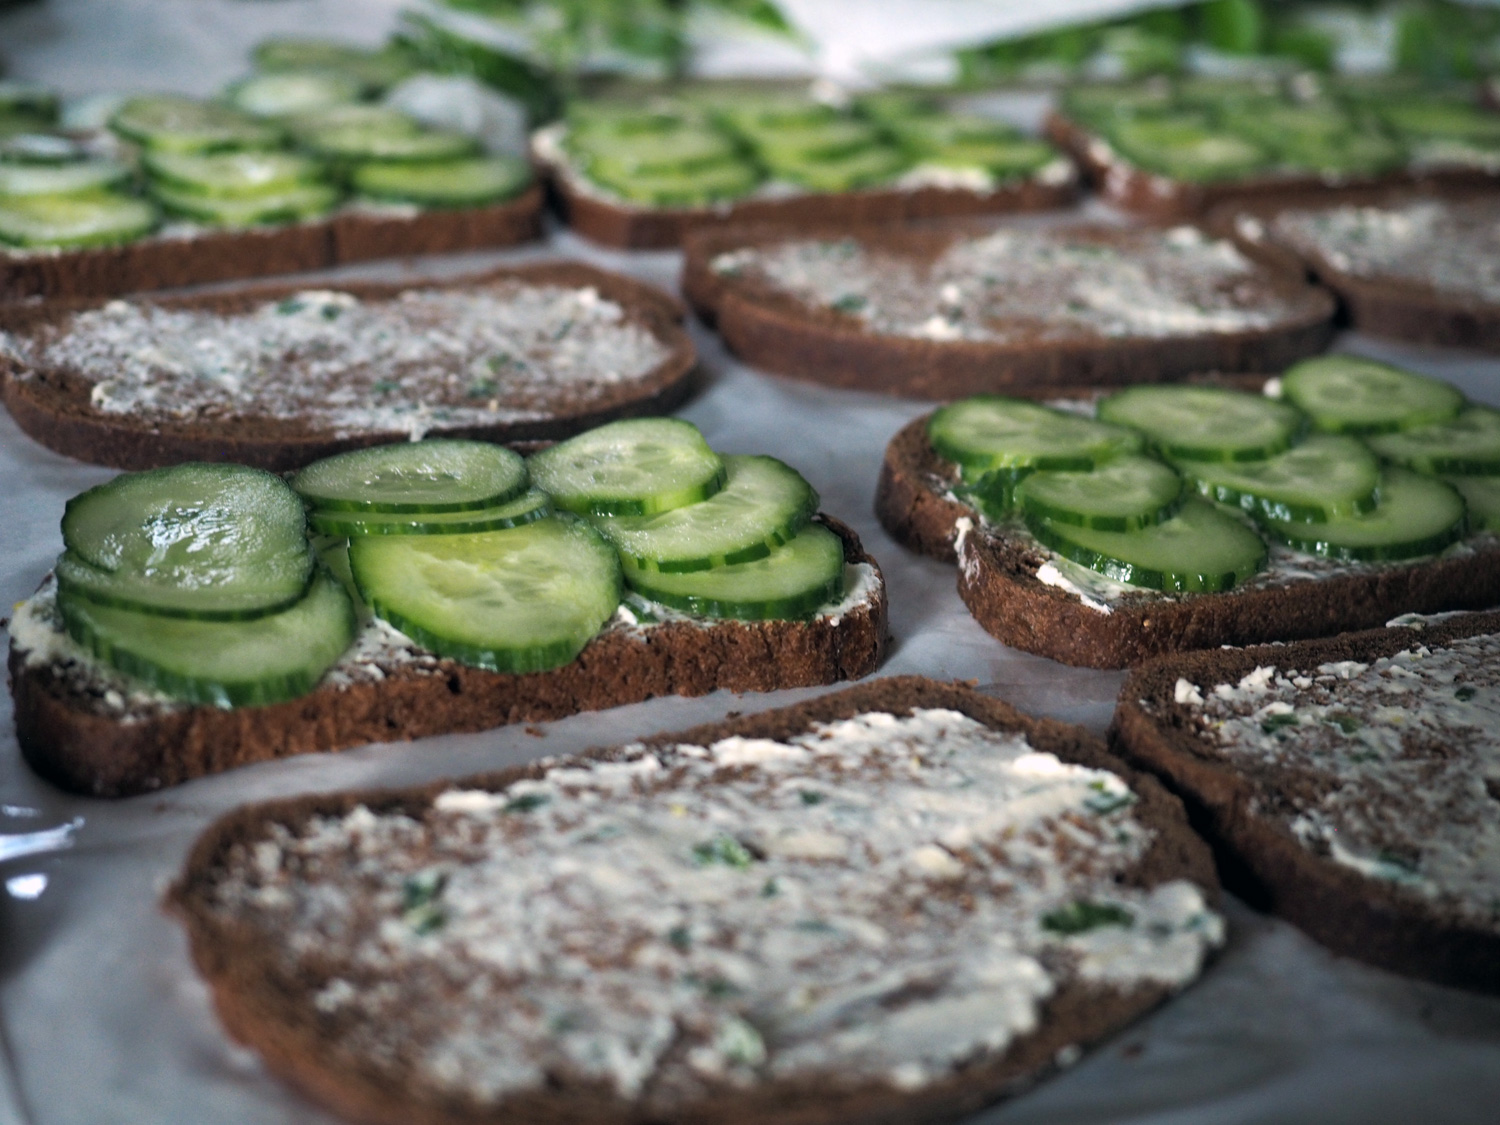
I placed 3 slices in a row x3. This way when I cut the bread into finger sandwiches I used the cucumber rows as my guide to create 3 bite sized sandwiches.
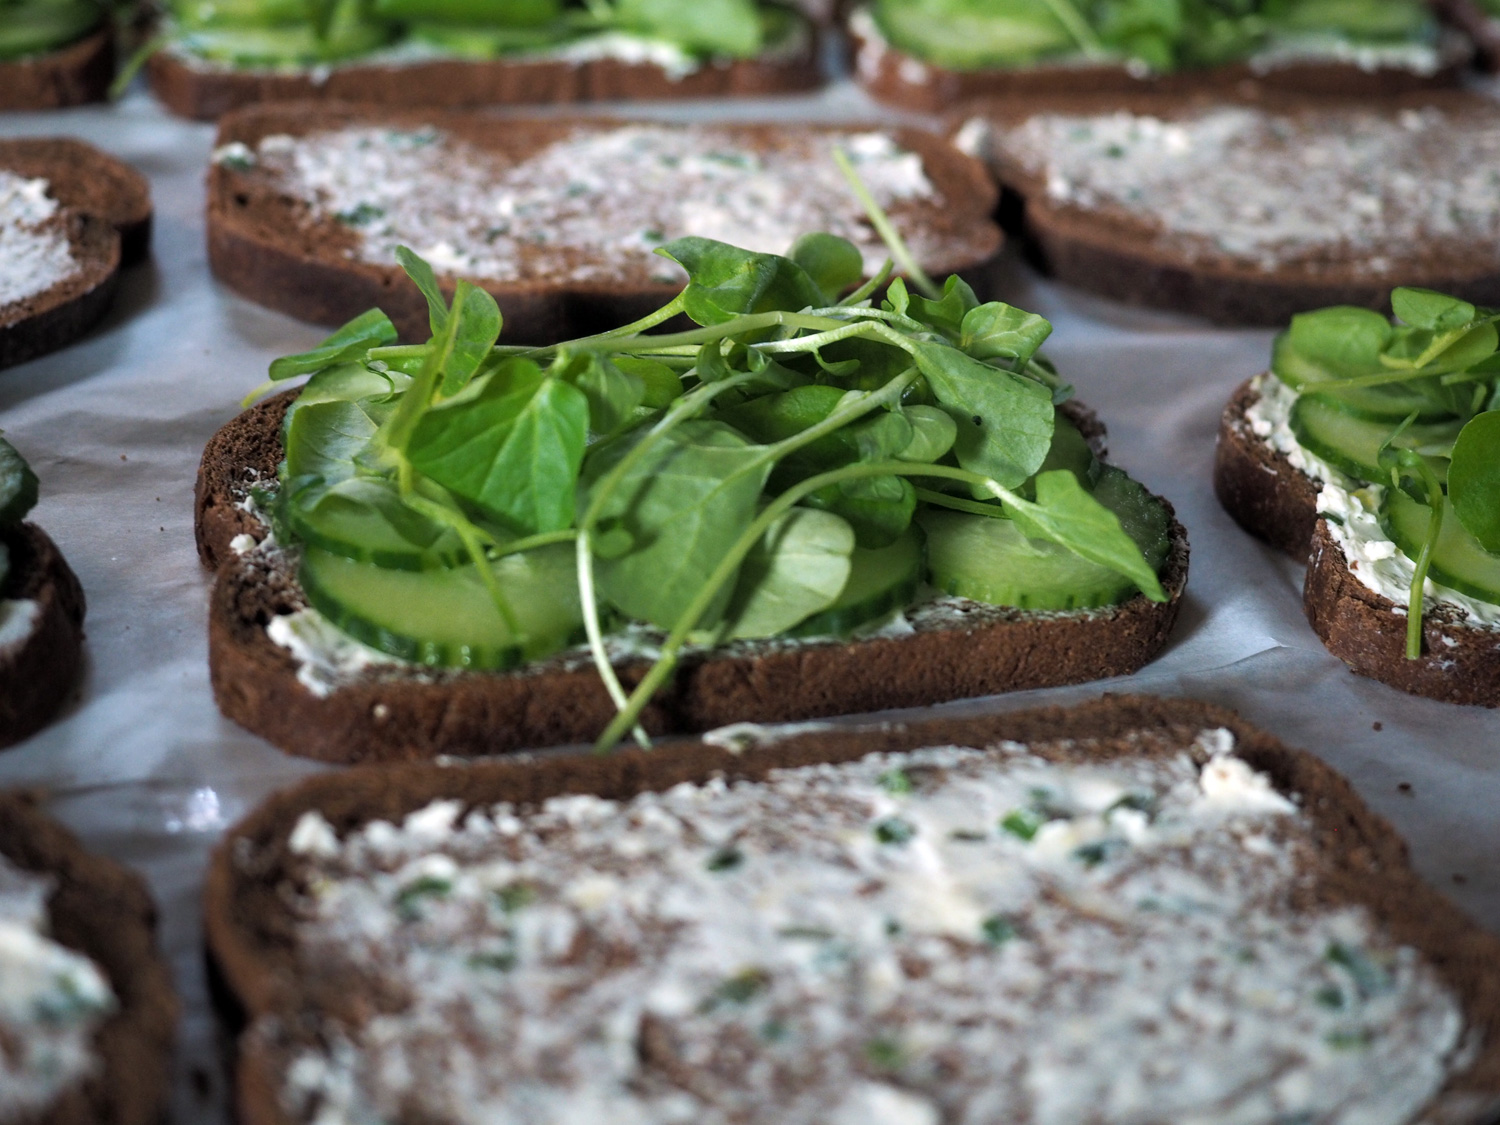
5. Pile the watercress on top. Close the sandwich and trim the crusts. Then cut the full sandwich into smaller finger sandwich pieces. I chose to cut these into thirds. You can also cut them in quarters to create squares or on a diagonal to create diamonds. Your choice. It tastes the same no matter the shape. It’s all about your visual preference, so do what turns you on.

When only using but a few ingredients freshness is of the utmost importance.
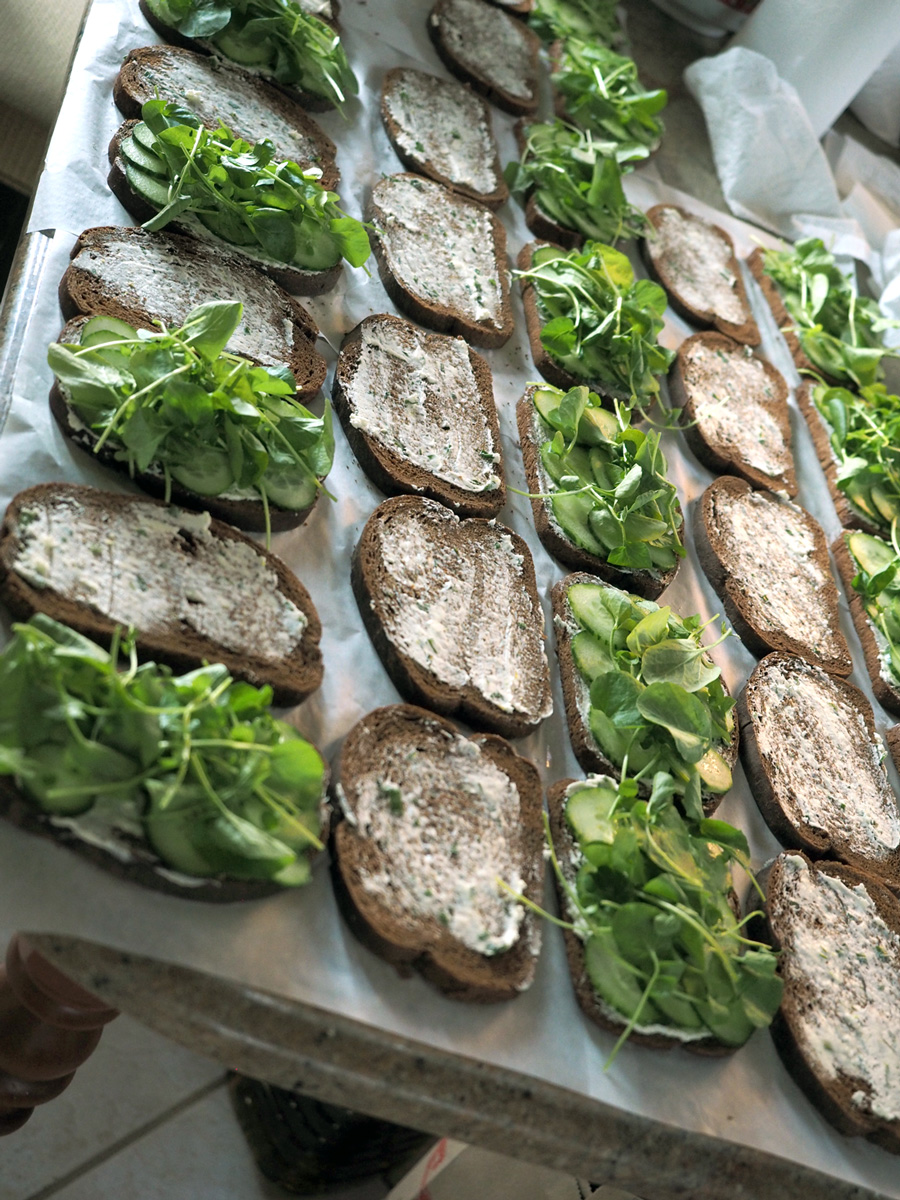
I needed plenty of finger sandwiches for my event. Assembly line work is in my blood and makes the task go faster.

The scraps. Just as edible, if you like the crust.
This sandwich has such a wonderful flavor profile. The butter provides a huge amount by giving you sweet, salt and herbaceous notes. The watercress is slightly peppery and the cucumber is crisp and cool. The bread, well that is down right comforting while also adding an earthiness. This simple little sandwich packs a powerful big punch.
I hope your wishes all come true. Remember to be mindful of what you ask… the universe is listening.