We love to travel, and try to do it as often as possible. We love exploring the sights, sounds and flavors of places that are full of life. We recently returned from a 12 day trek through the northern part of Spain. What a glorious part of the country. Mountainous and green. Fresh air and beauty abound. The views are more spectacular than any lens can capture, but I did my best. And in those 12 days, we saw, did and tasted a lot but there is still so much more to see, do and taste. We thoroughly enjoyed every inch of our tour through the north. However, the absolute, truly most special part of this trip was when we stayed with our dear friends, Marcos and Angelica in Marcos' hometown of Amieva, Asturias. What an enormous treat. An adventure like no other.

Beauty which ever way you turn.
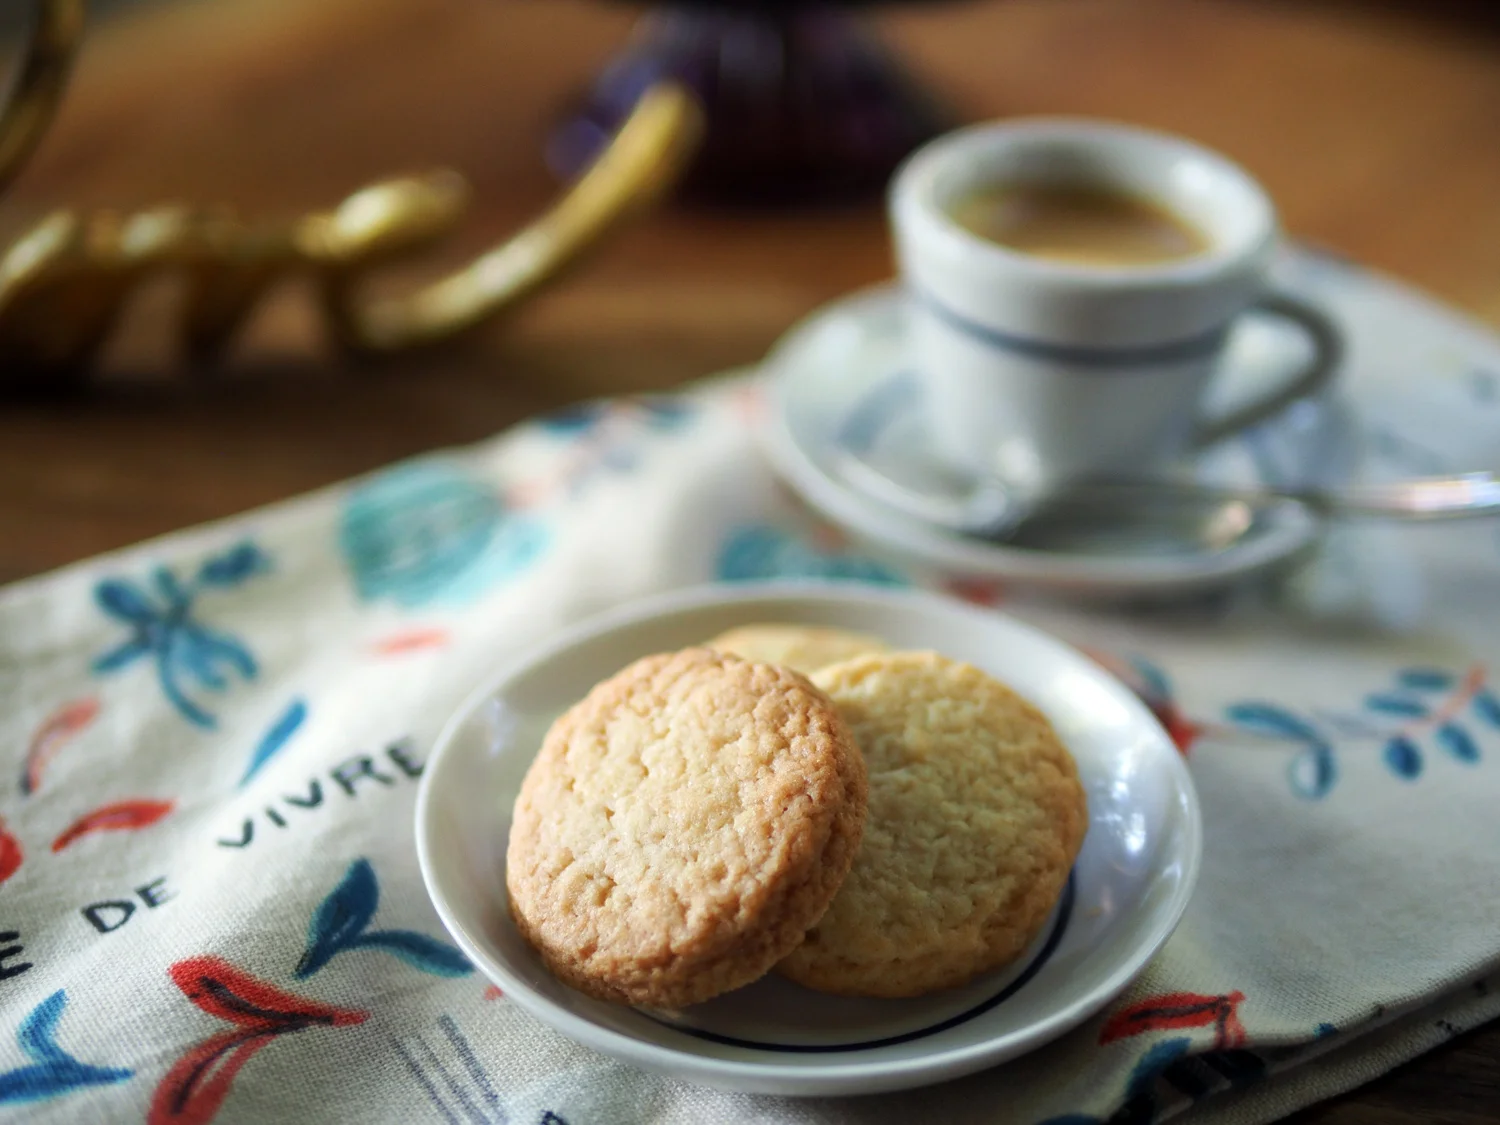
This tiny town of 200 people is tucked away high in the mountains and provides picturesque views from every angle. I promise I will be writing more about our entire trip and the special time at their home and all the unbelievably delicious food we were treated to. Today I want to focus on a simple little cookie that grabbed my husband's heart. And when something grabs hold of him that he enjoys, I do what I can to ensure he gets grabbed again. Knowing how much he loved eating these tiny bite sized treats with his espresso, I asked Marisa, a local to the town and chef of the house, to fork over the recipe. As with everything she did, she did so with "alegria”.

Sofia looking on as Maria sifts the flour and Marisa mixes the dough.
These cookies couldn't be easier to make. Much less work than any of the more labor intensive cookies I bake for Christmas. So, here it is. From Marisa in Amieva, Asturias to me in Hartsdale, NY to you, wherever you may be.
I snapped a few shots of the lovely María and Marisa making yet another batch since every time they made them, these not too sweet but really satisfying cookies disappeared.
(That's something I loved about the style of living there. It was no big deal to just whip up another batch of anything. No worries...we'll make more!)
A tiny side note; another thing I loved about the original house - the big kitchen. I loved how everyone was in it. Making stuff, prepping stuff, snacking, drinking and chatting. Oh, if only I had a kitchen this big and ample to gather all my loved ones. This tugged at my heart every time I stepped into it.

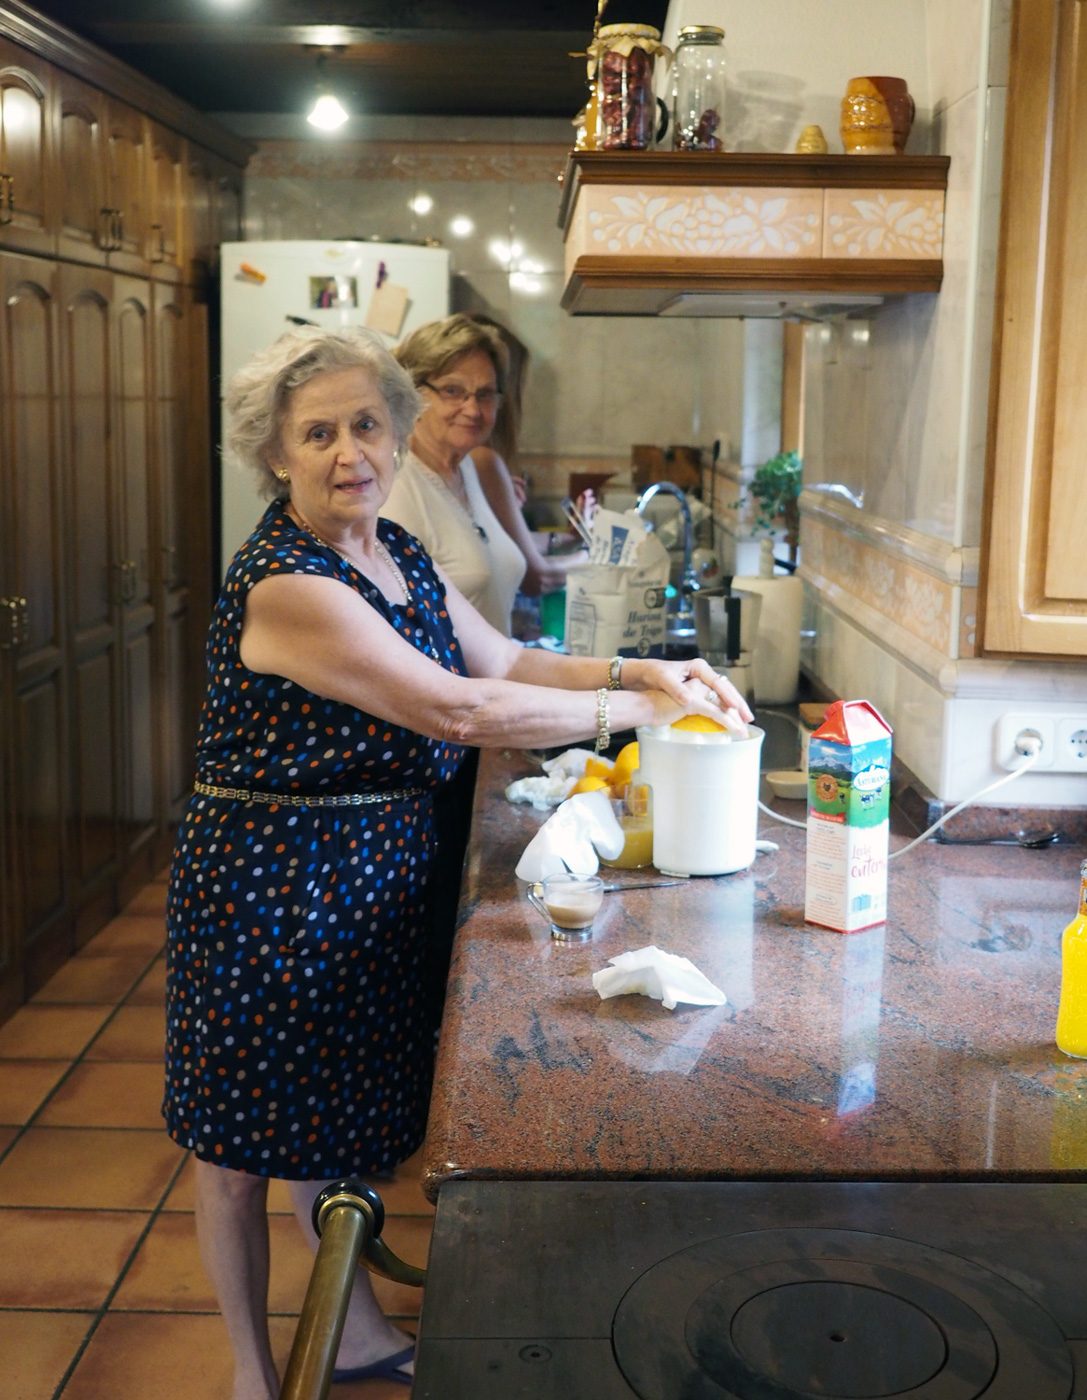
Maxi and Sofia making fresh orange juice while the sequillos are being made further down this long kitchen work space
A dream of a space where everyone could wander in, sit down or participate in the festivities. I can dream, can't I?
Back to Marisa's setup and making of the cookies.

Marisa's set up in Amieva.

Sifting the flour.

And now the details of how to make them.

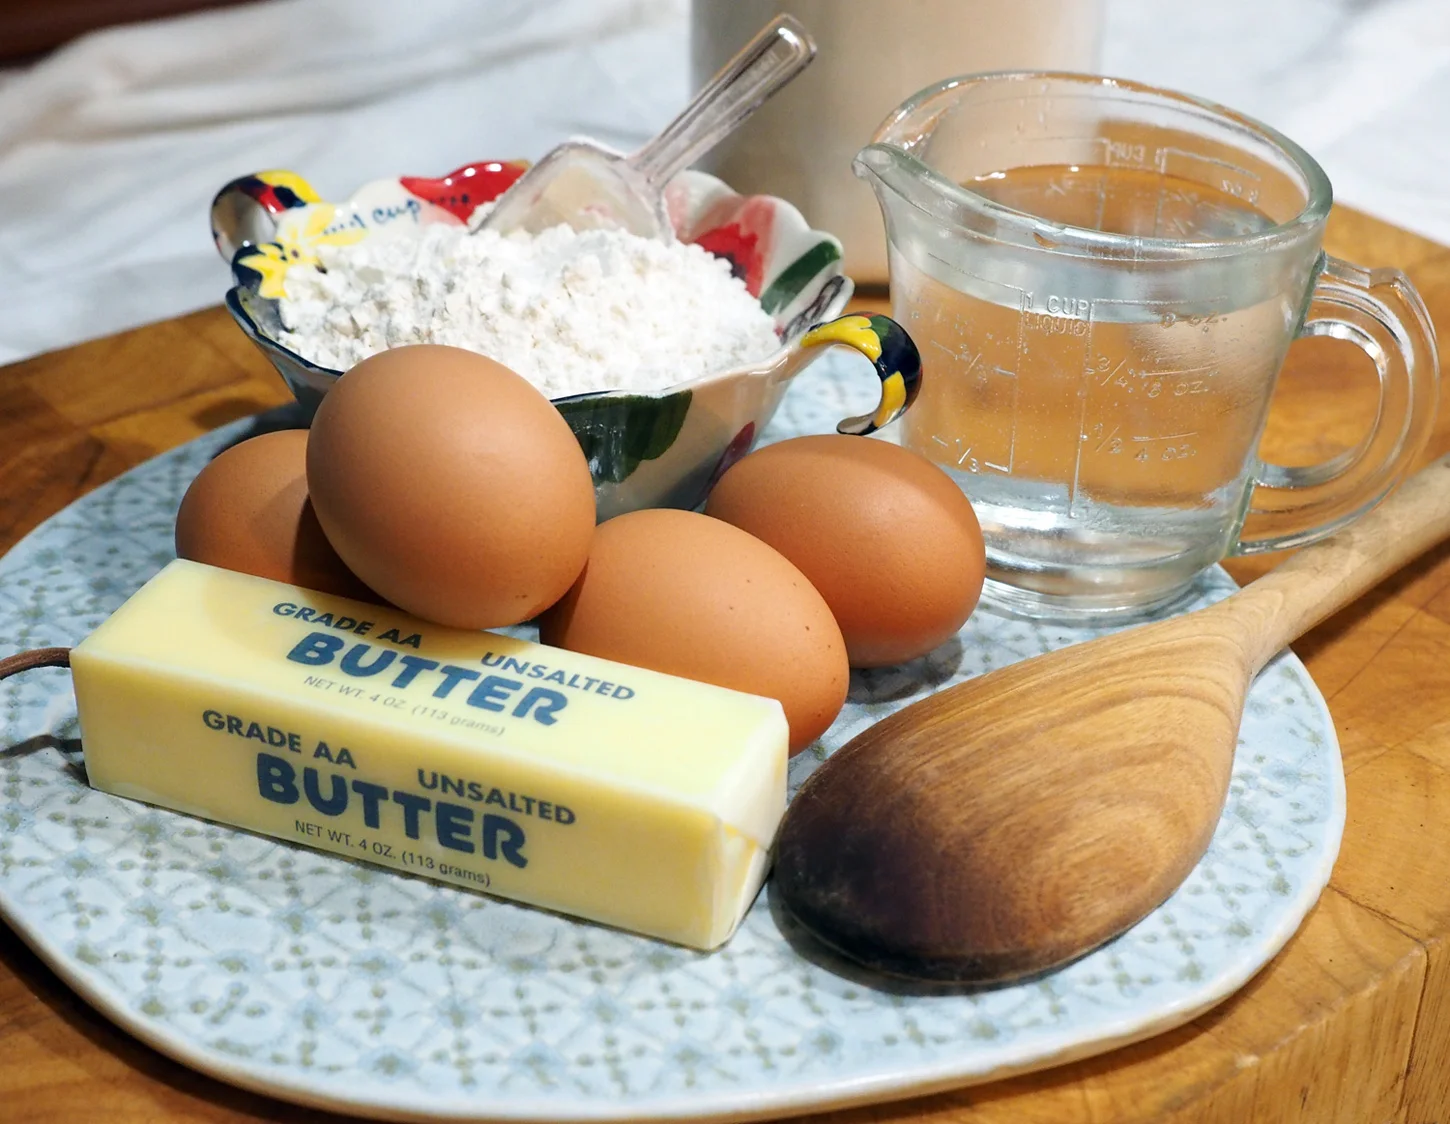
ingredients
600 gr sifted flour
2 eggs
250 gr sugar
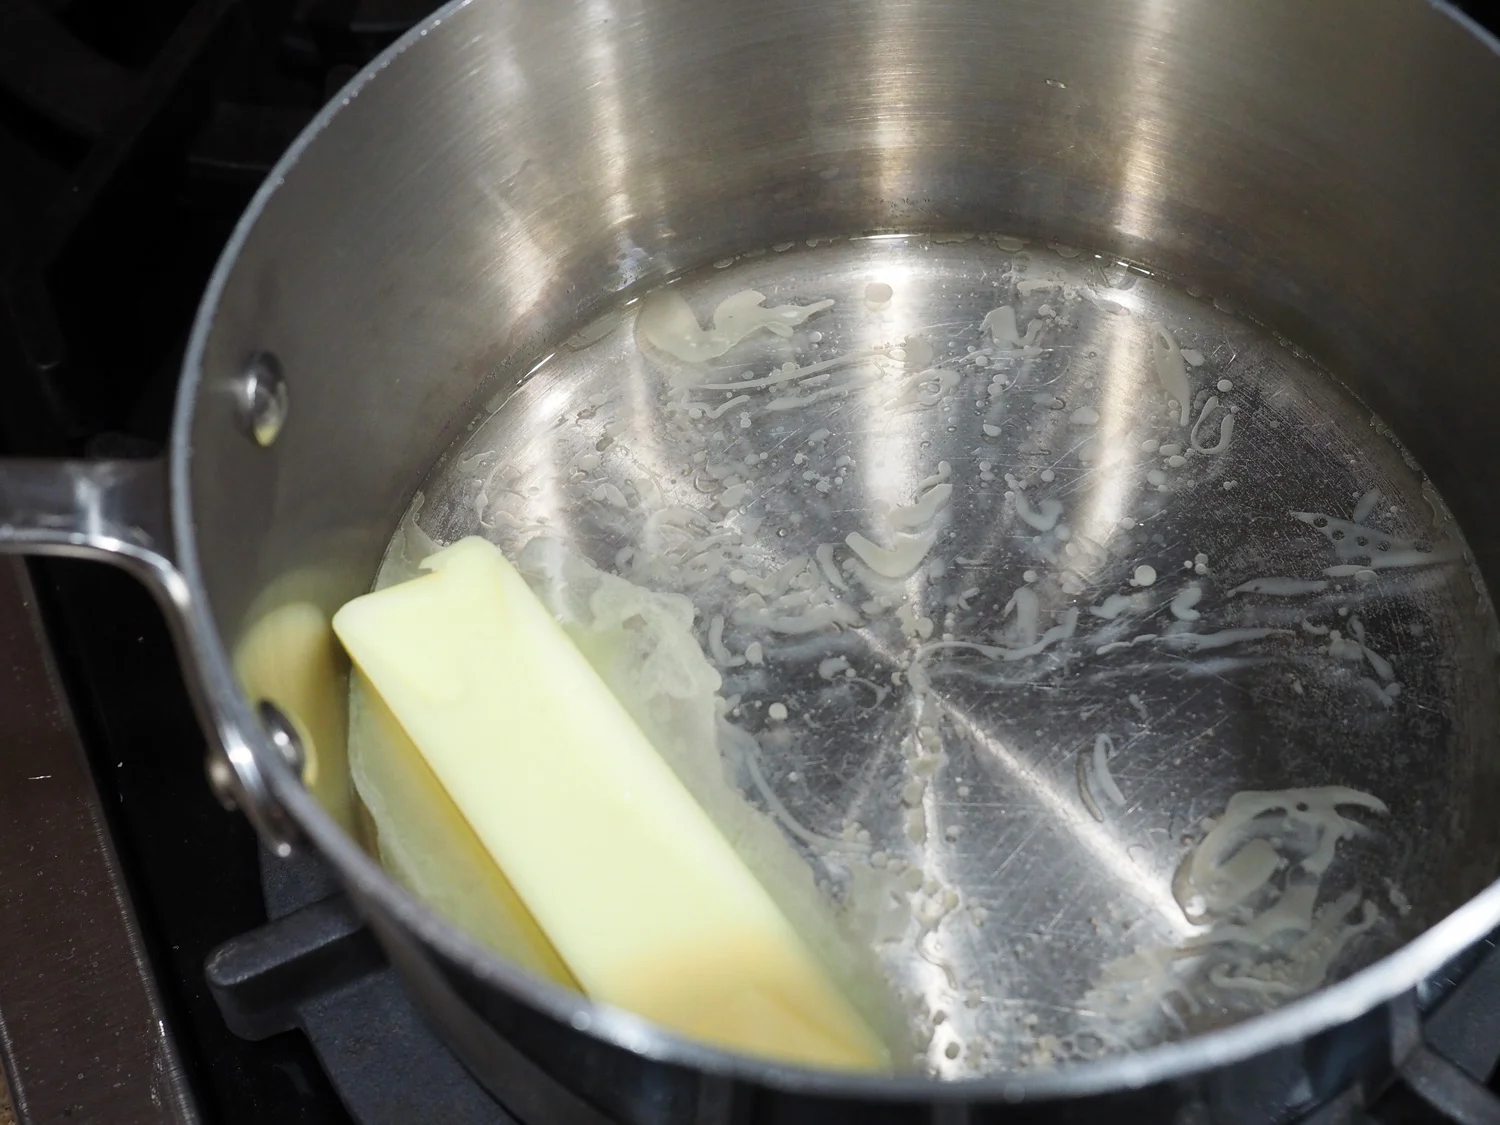
250 gr butter, melted
1 tsp salt
1 tsp heaping baking powder
5 T Anís or Anisette
(I used Vermouth because it was all I had.)
Instructions
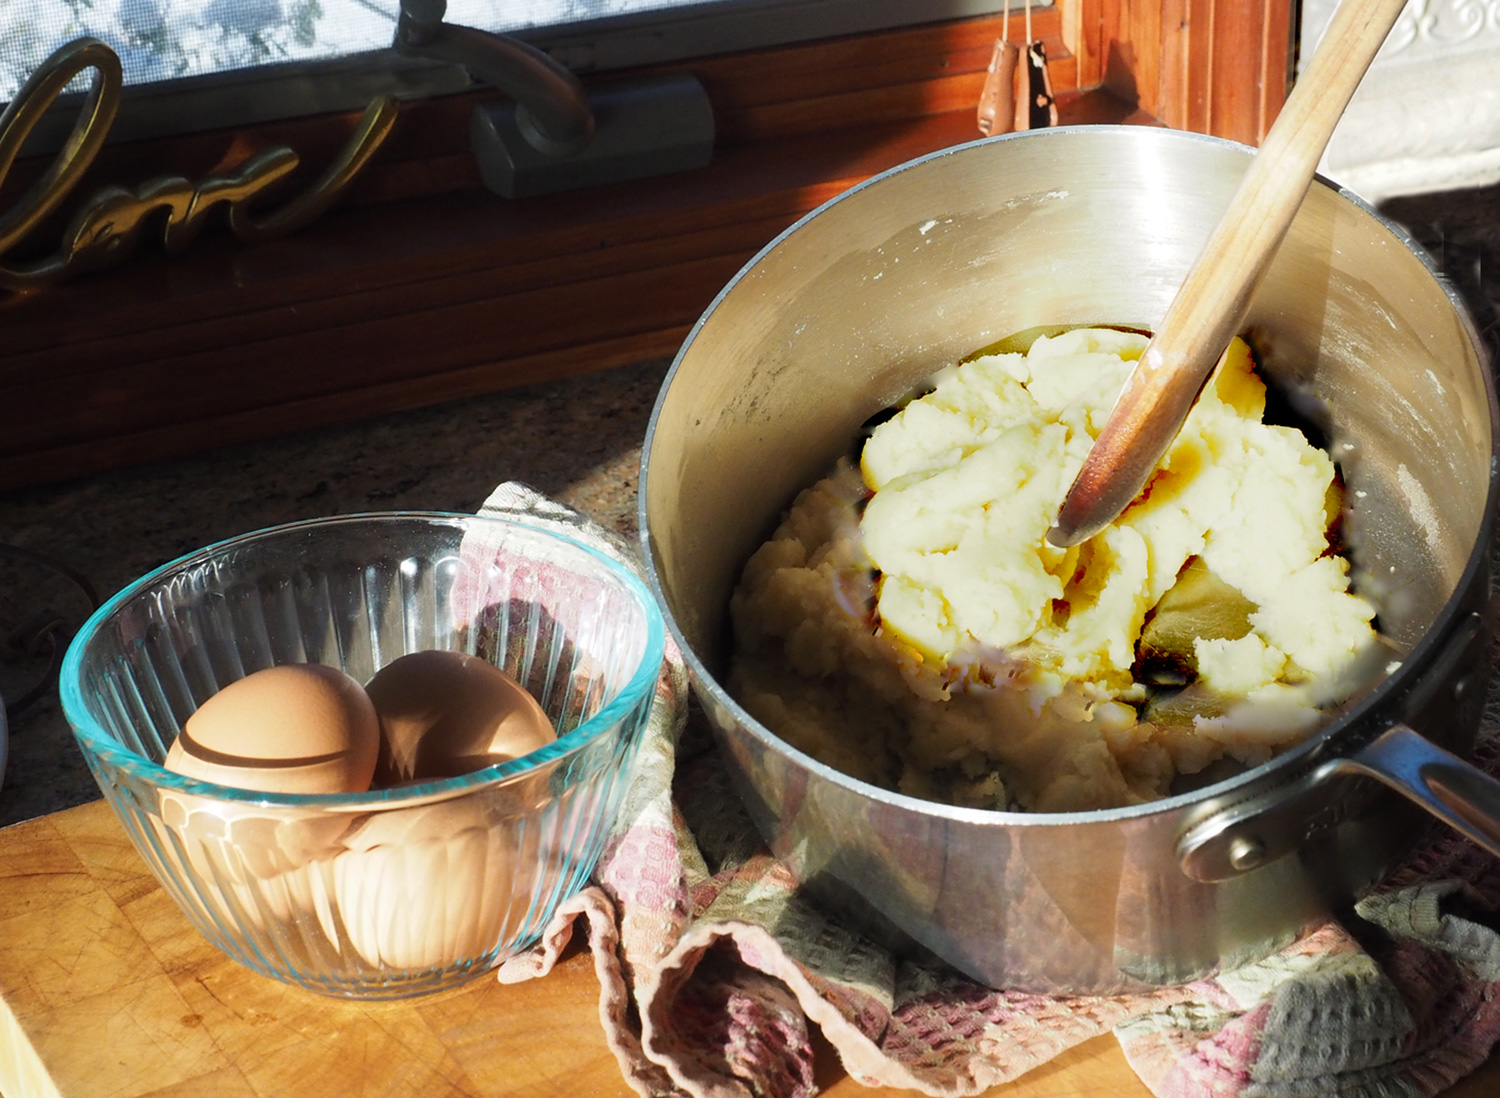
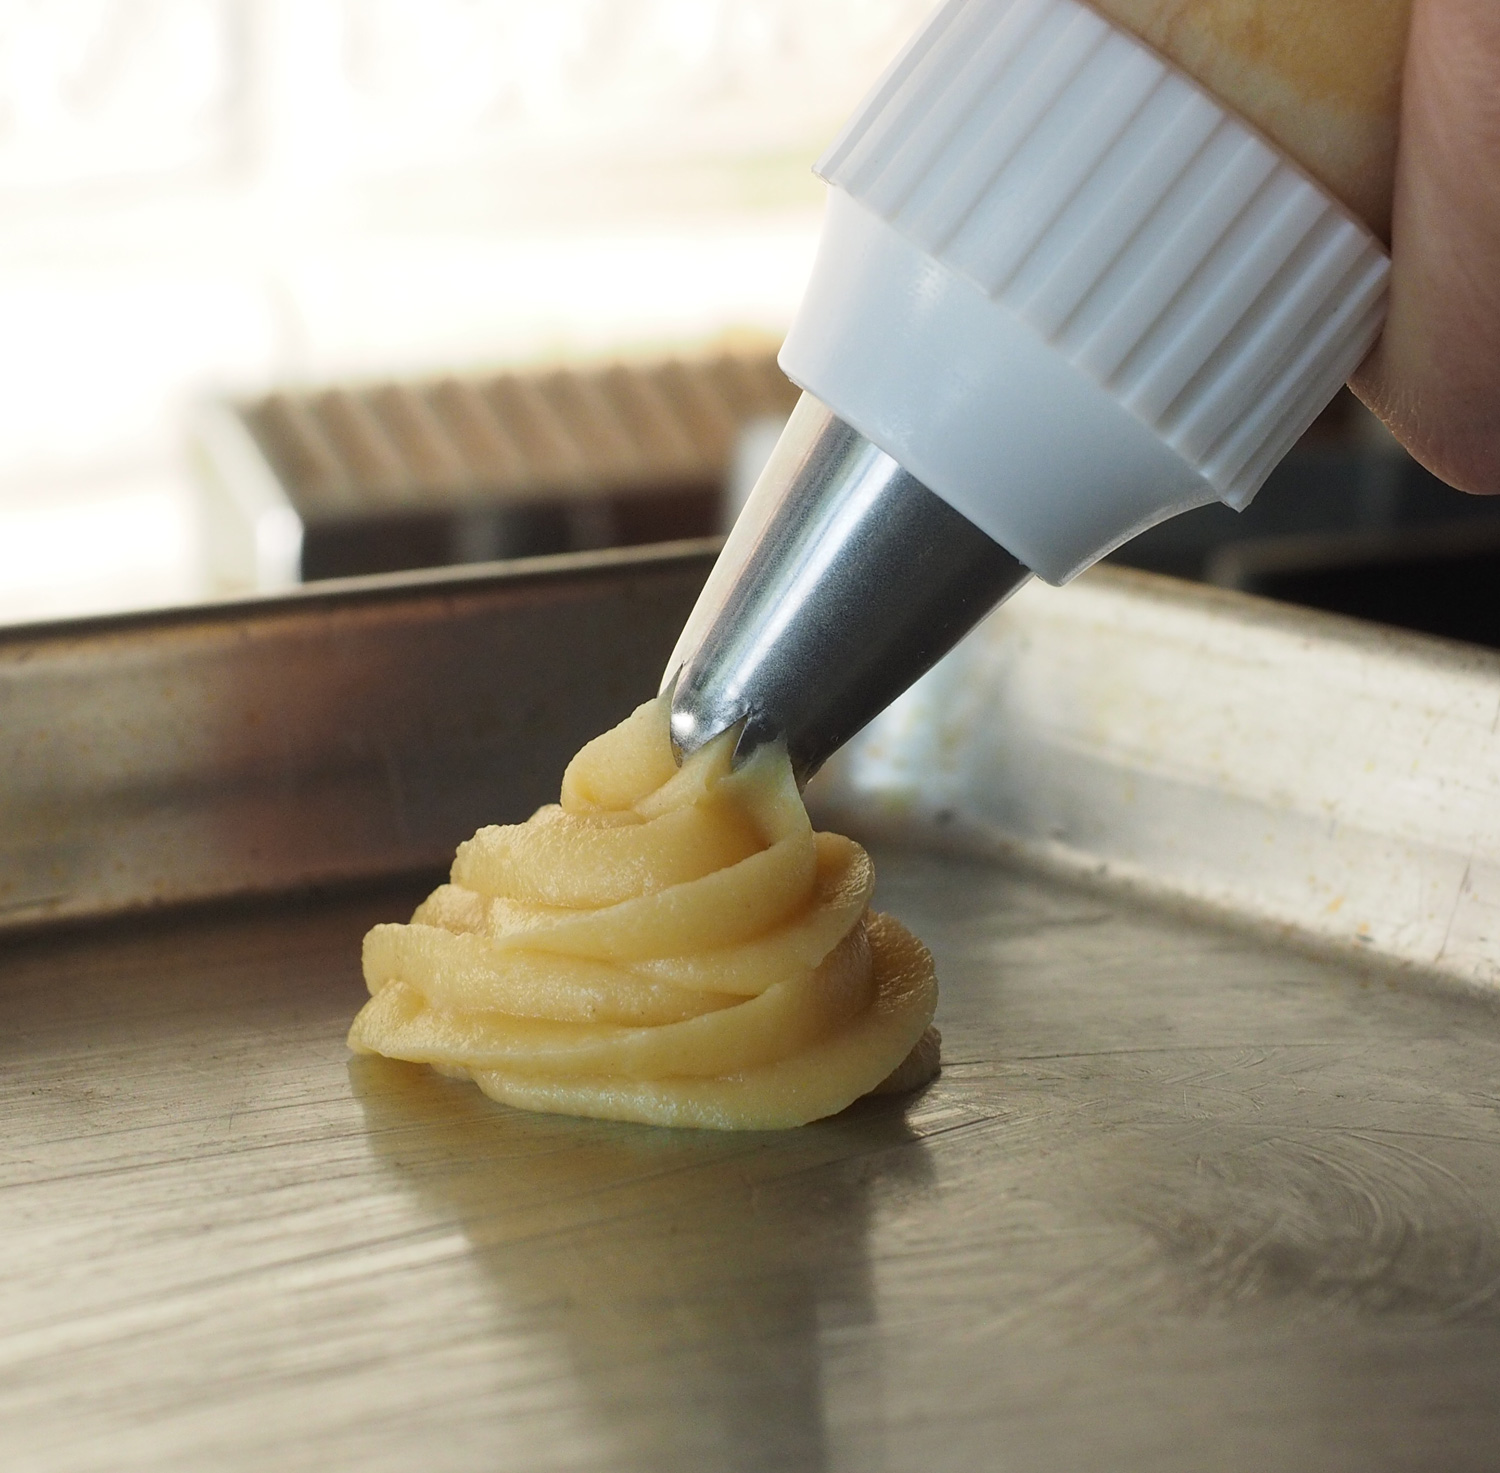
In a large mixing bowl, add all the dry ingredients and make a hole in the middle. Then add eggs, (cooled) melted butter and Anís in the middle. Begin to combine all ingredients together until it forms a dough. Taking small pieces, form a round shape (approximately 1.5" w x 1/2" thick) and place in tiny cupcake papers to make them the traditional way.

My dough

Marisa's cute little cookies in cupcake holders.
Since I like finding ways that are not only efficient, time saving but help make each one look consistent, I rolled the dough out and used a cookie cutter. However, I should have made them thicker like Marisa's. So, definitely make yours at least 1/2" thickness. (Not as thin as mine below.)

If you are using the cupcake papers, just place them on a baking sheet. If not, then line the baking sheet with parchment paper and place each cookie at least 1" apart. Bake at 350 degrees for approximately 25 minutes.


Mine, a bit flatter, wider but still tasty.

Marisa's, gorgeous, chunkier ones.
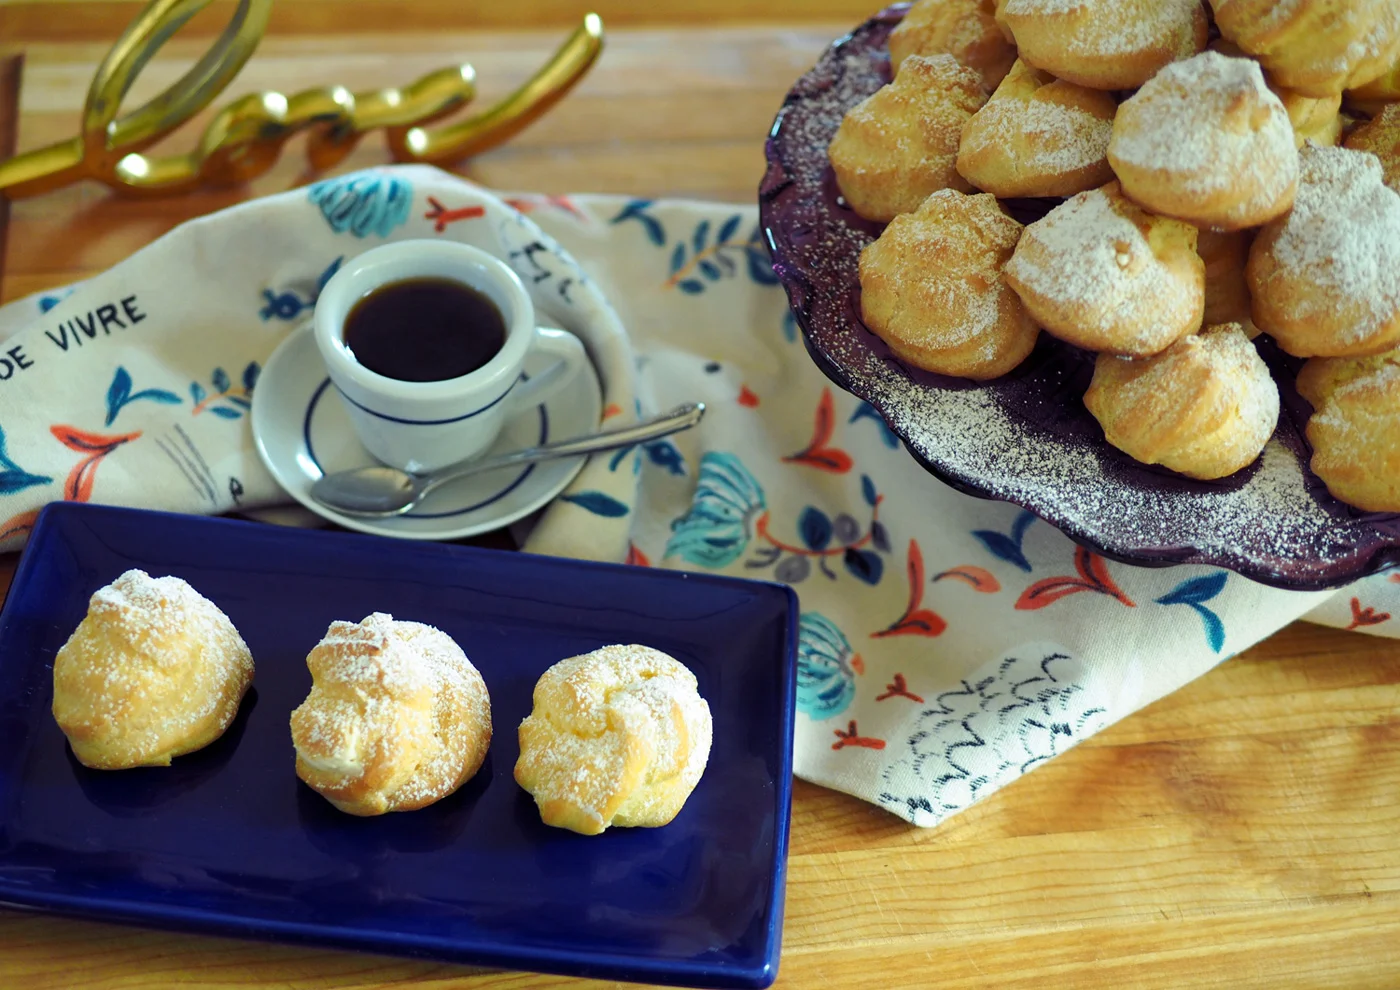
Once they cool down, place them on cute plate or stack up on cake stand. Well, the serving device might not matter because they may not last long before you need to make another batch.

Thanks to Marcos and Angelica for sharing the joys of their home, family, friends and traditions with us. So I could bring this little treasure back for you from the mountain tops of Spain. The simple but delicious, simply delicious Sequillos. Que disfruten! (Enjoy!)