When I was growing up we mostly ate homemade food, and even homemade desserts. Between my mom and grandmothers, cooking and baking were daily activities. Going out to dinner or buying already prepared items was a rarity, and if you could believe it, considered a treat. Funny, how the tides have turned. The trick was on us, since now, a home cooked meal is something to be cherished. (In my mind, it always was and still is.) We went out to dinner on special occasions, like New Year’s Day. But mostly we gathered at our kitchen table for meals. As far as desserts, my grandmother who lived with us would bake some of her specialties. We did however from time to time indulge in some packaged goodies. I must admit that when I was a kid I ate, and enjoyed a few of those artificial treats, including pop tarts. Back then we didn’t pay much attention to labels. So reading a label to ensure it was good for us just wasn’t in our active consciousness. I cannot attest to how much crap might have been in them way back when, but given how shelf stable they were I would imagine quite a lot. They probably were not great for us then. I do know that now I wouldn’t let those chemical enhanced things touch my lips. But that doesn’t mean I don’t reminisce about the dough filled treat. So, when I realized that I had cream cheese and fig jam that needed to be used up, I immediately thought of pop tarts. I guess pop tarts didn’t have cream cheese so these might be more in line with a Cuban pastelito. For some reason pop tarts popped to mind first. I always have puff pastry in my freezer. And this is the exact reason why. You never know when you might need or want a little ‘something something’. And I’ve found that puff pastry has often come to my rescue.
These couldn’t be simpler. Really, I mean it.

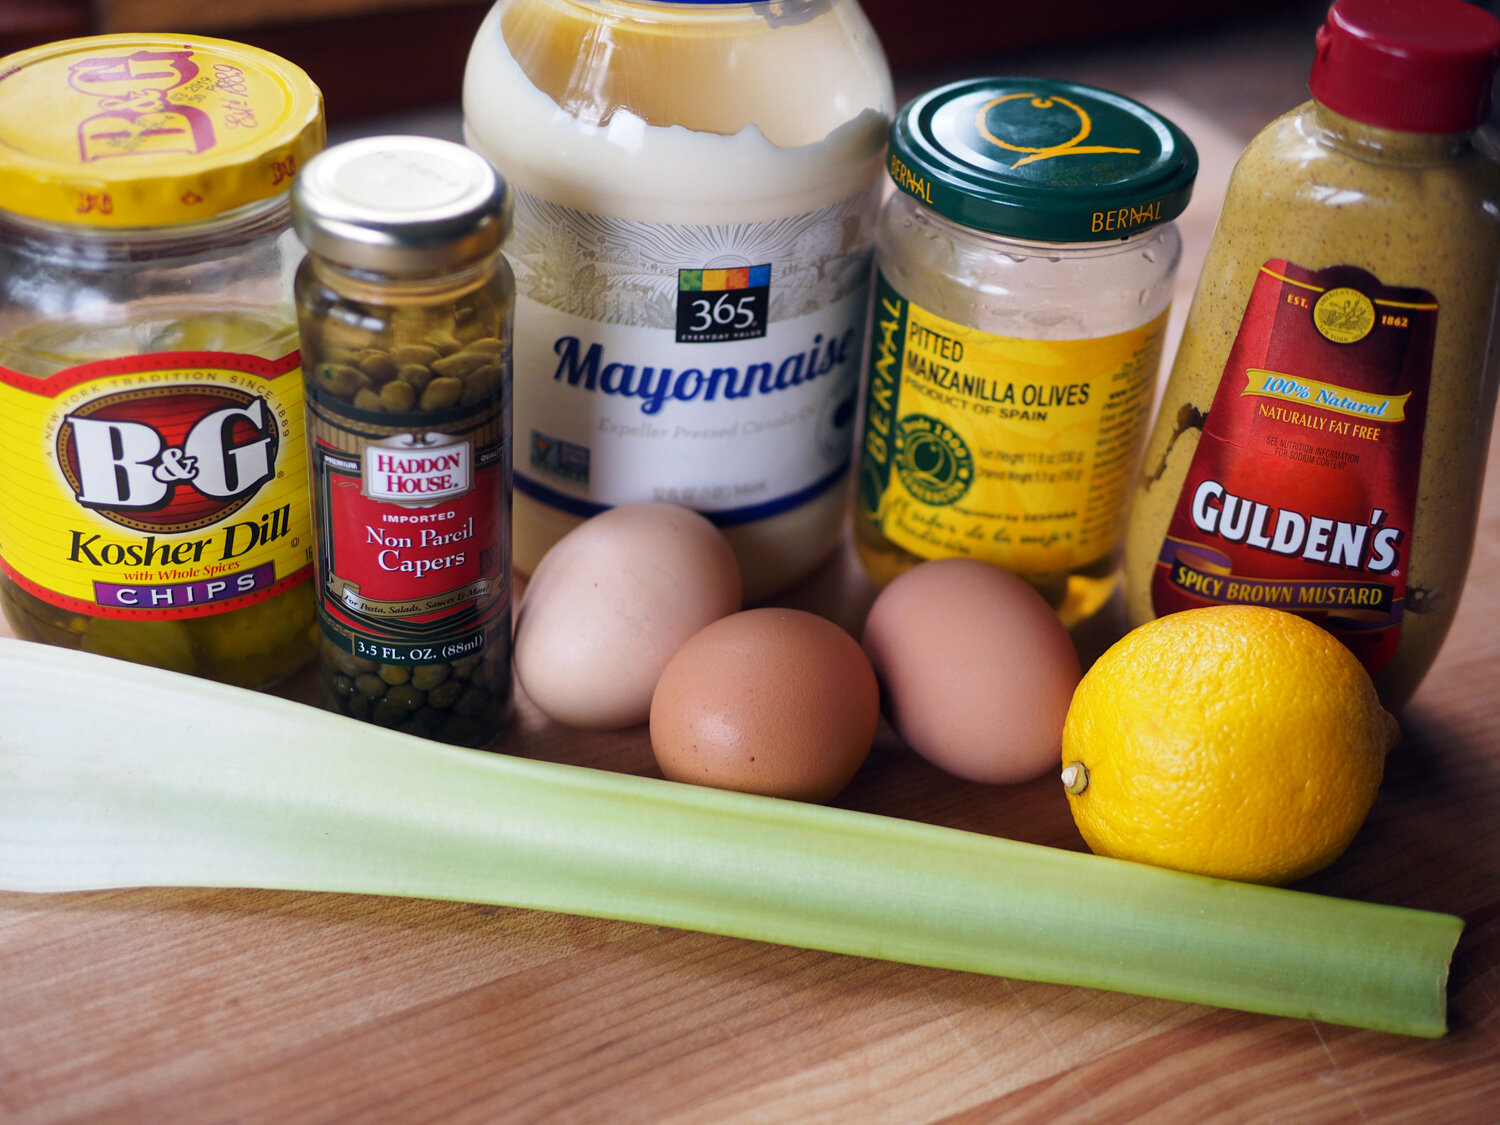
Ingredients
3/4 c approx. Cream Cheese
1/2 c approx. Jam (I used fig jam)
Puff Pastry Sheet*
* You can also use pie crust. I would imagine that that dough will be an even closer taste and feel to the original pop tart. Either puff pastry or pie crust will do the trick.
Instructions
Thaw out the puff pastry. Once at room temperature, dust the board with flour and gently roll it out to approximately 16” x 12”. Cut the pastry into 2” wide strips, then cut those strips in half.

Roll out the dough, and be sure to sprinkle the board with some flour so it doesn’t stick.
2. Spread approx. 1.5 - 2 tsp of jam onto the middle of each strip. Then dollop approx. 1 tbsp of cream cheese on one end.

Spread the jam in the center making sure to not go to the edges.

A nice dollop of cream cheese is always a good thing.
3. Brushing the edges with water before folding over the dough, then fold the dough over in half.

A simple fold is all you need to do.
4. Then using a fork, crimp around all the edges to seal. Place them on a tray with parchment paper and let them chill in the refrigerator for 15 minutes.

Crimping the edges seals the deal, and the pastry, of course.

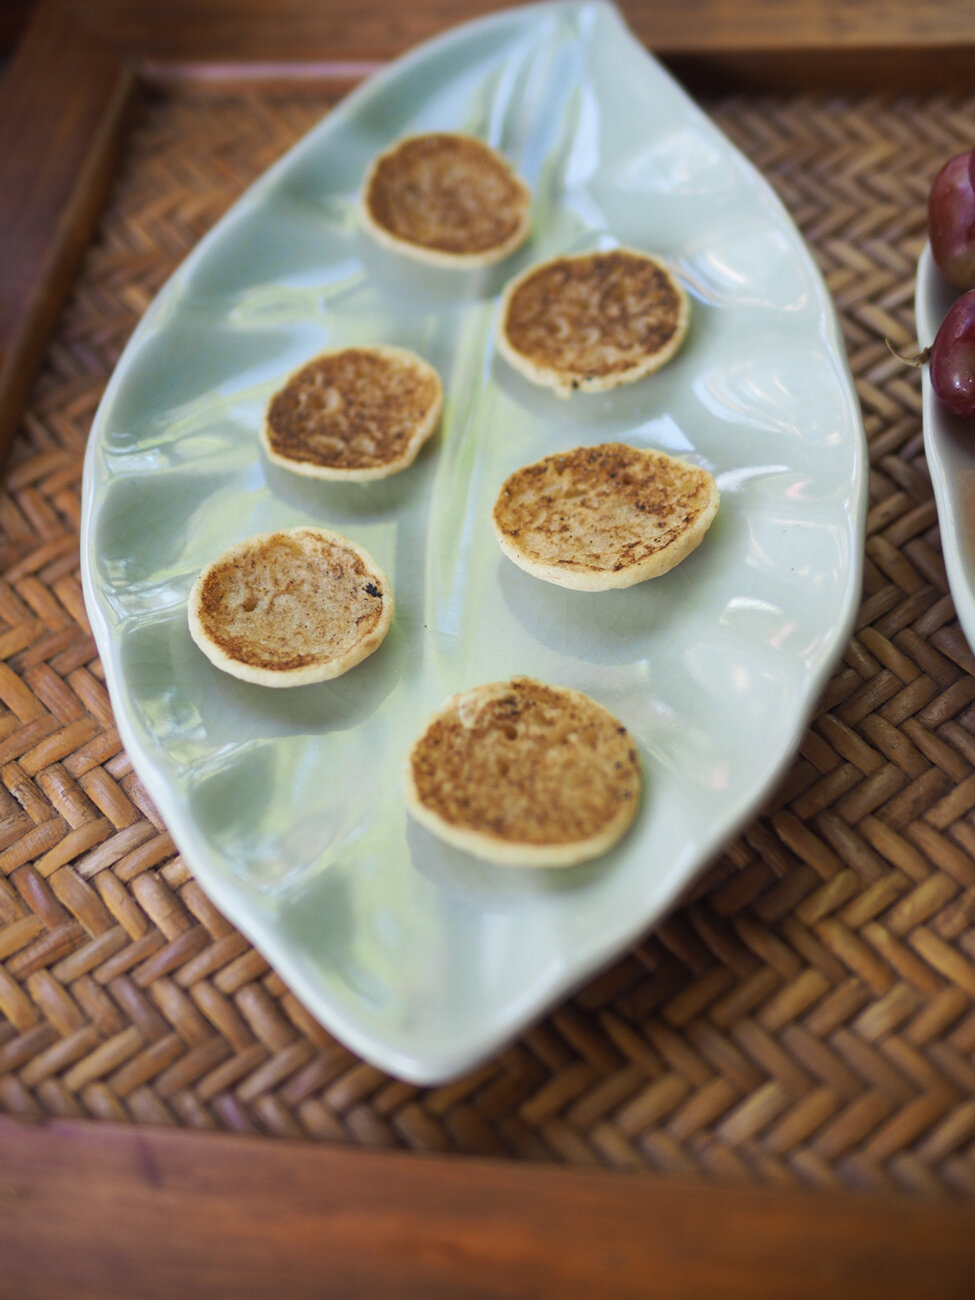
Lined up little treats.

Love, lined up and ready for baking.
5. Bake in a 375-400 degree oven for 15-20 minutes until golden brown.
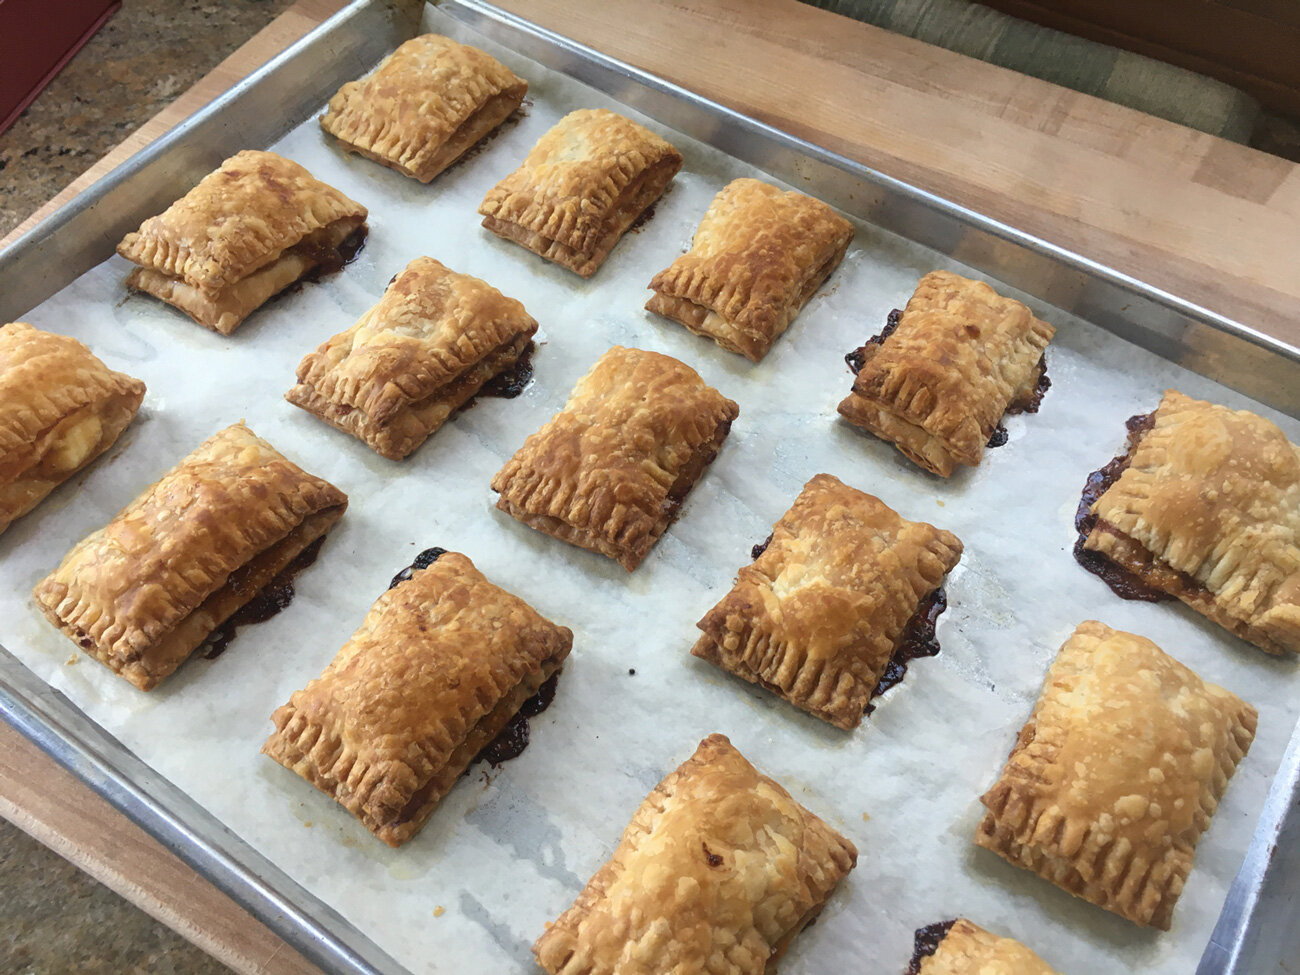
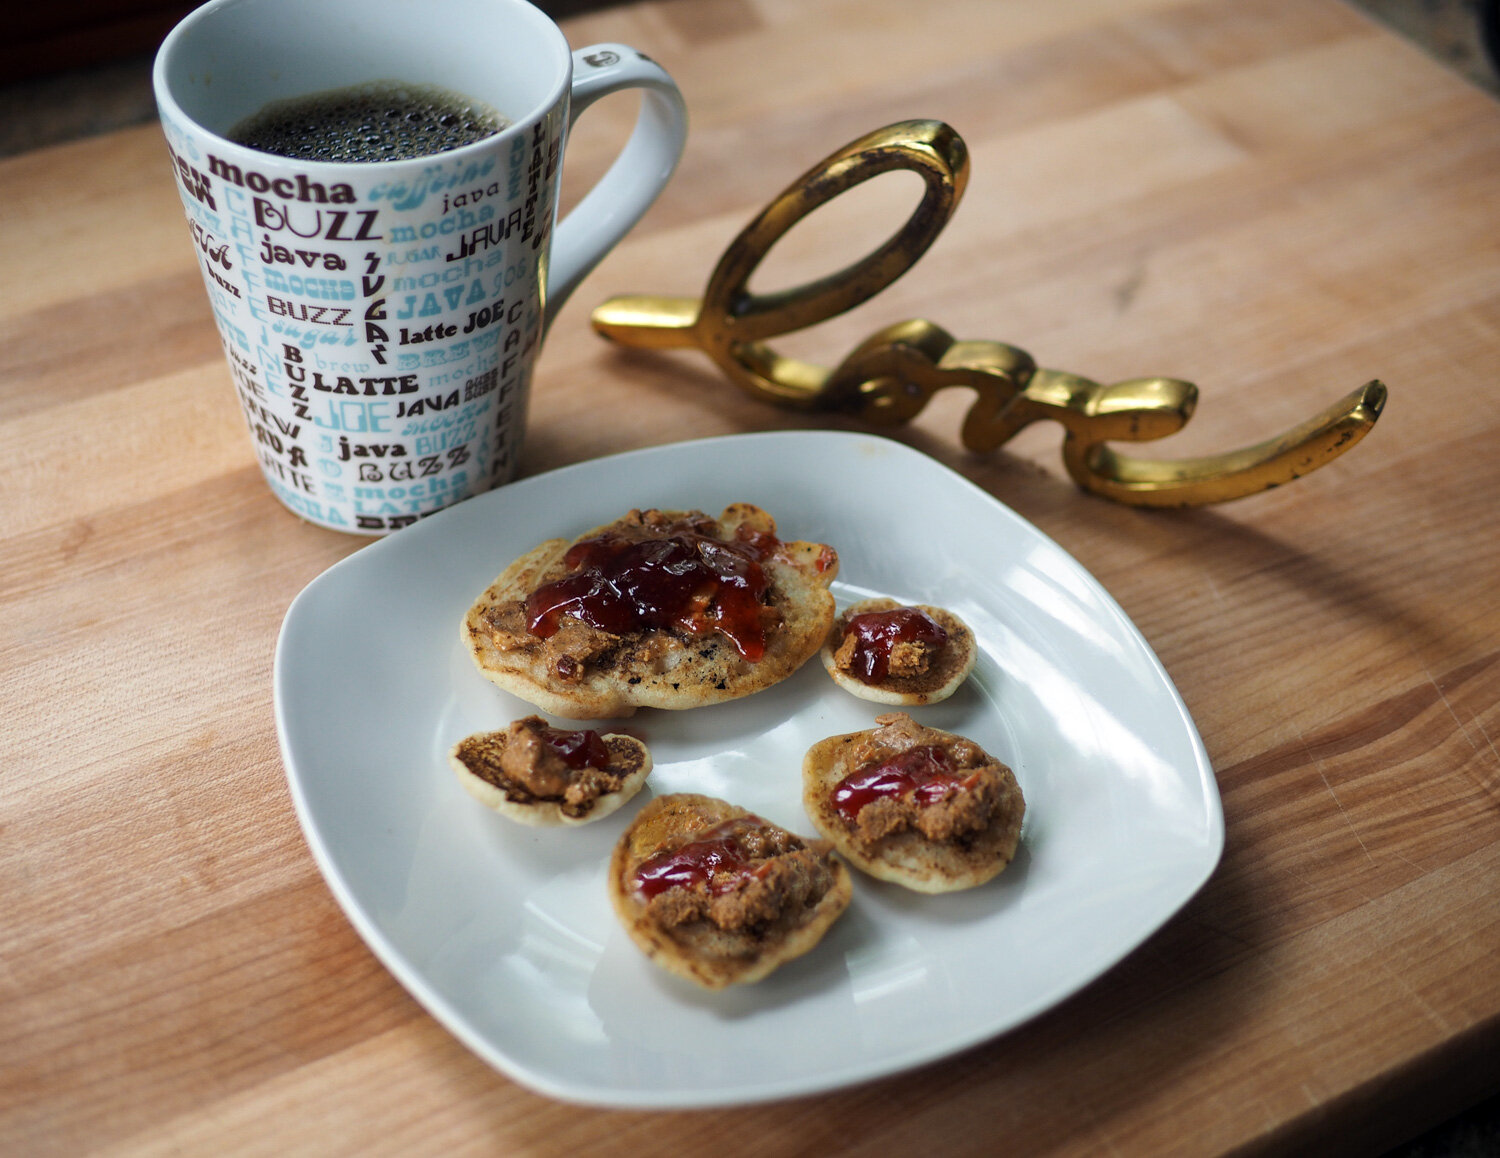
These look and taste better than a pop tart. I promise.

Golden brown, flaky, sweet goodness.
And just like that you have a tasty, sweet and savory pop tart or pastelito. Whatever you call it, just make sure to include the word delicious.

Sure you can stack them up on a plate. Then watch the plate empty out.
Note: If you like it a tad sweeter and more like a traditional pop tart, drizzle a glaze over top. (To make a glaze, mix 3 Tbsp confectioner’s sugar with 1 tbsp milk and whisk until you get a nice glaze.)

That’s a whole lotta LOVE.