Organization is my thing. I love being prepared, having everything ready to go, having lists and knowing what needs to get done. There’s is nothing more satisfying than checking items off the list and a sense of reaching the finish line. It’s actually a big joke ‘round these parts - “Dana, what’s next on the list?” Laugh all you want, I can take it, but rest assured I will never leave something undone or left at the back of the refrigerator… unless I choose. So, no shocker that pre-thinking the table and platters is part of my to do list. Having a plan of attack makes any job easier. And it’s no different when entertaining. All the same rules apply.
Of course, you’ve read previous posts spouting the importance of pre-pro (that’s short in the TV world for pre-production) in the food prep area, or in culinary terms mise en place. Certainly having all your food prepped is vital but it’s equally important for setting up the final table, all the platters and serving utensils. Decades ago when I entertained, I had one set of dishes and very few serving items. So it was a tad simpler. Now that I have more of everything, I have more options which can be overwhelming. But even if you only have a few items from which to choose, you still need to make those work for you in the best ways possible. That’s why envisioning the entire event can actually shave time and energy in the long run. Ask yourself, what should the table look like and what platters or bowls should be used to make the day of party flow easier? Putting some thought to this prior to is one less task that needs to get done right before guests arrive.
I thought I would share with you a carefree table setting, the platter choices and arrangement that I did for a recent brunch. As a matter of fact, that gathering was originally slated for a Saturday evening but we needed to reschedule. Our new date landed us on a Sunday midday; perfect for brunch.
The Table
No formal table setting for this brunch. Nor a fully covered table. It’s well documented that I love putting a table cloth down, but for this sunny, brunch buffet that felt too stuffy. Whimsy was my main goal. So, I used a small square light blue tablecloth and placed it with the end points on the center of the table, leaving the ends of the table exposed.

Then for movement and visual interest, I tossed a swath of white sheer material down the length of the table. Thus creating the exact vibe I intended. Both haphazard yet purposeful, it softened the whole table. It actually drew the eye to center of the table. Now I had a landing strip for the food platters.


Florals
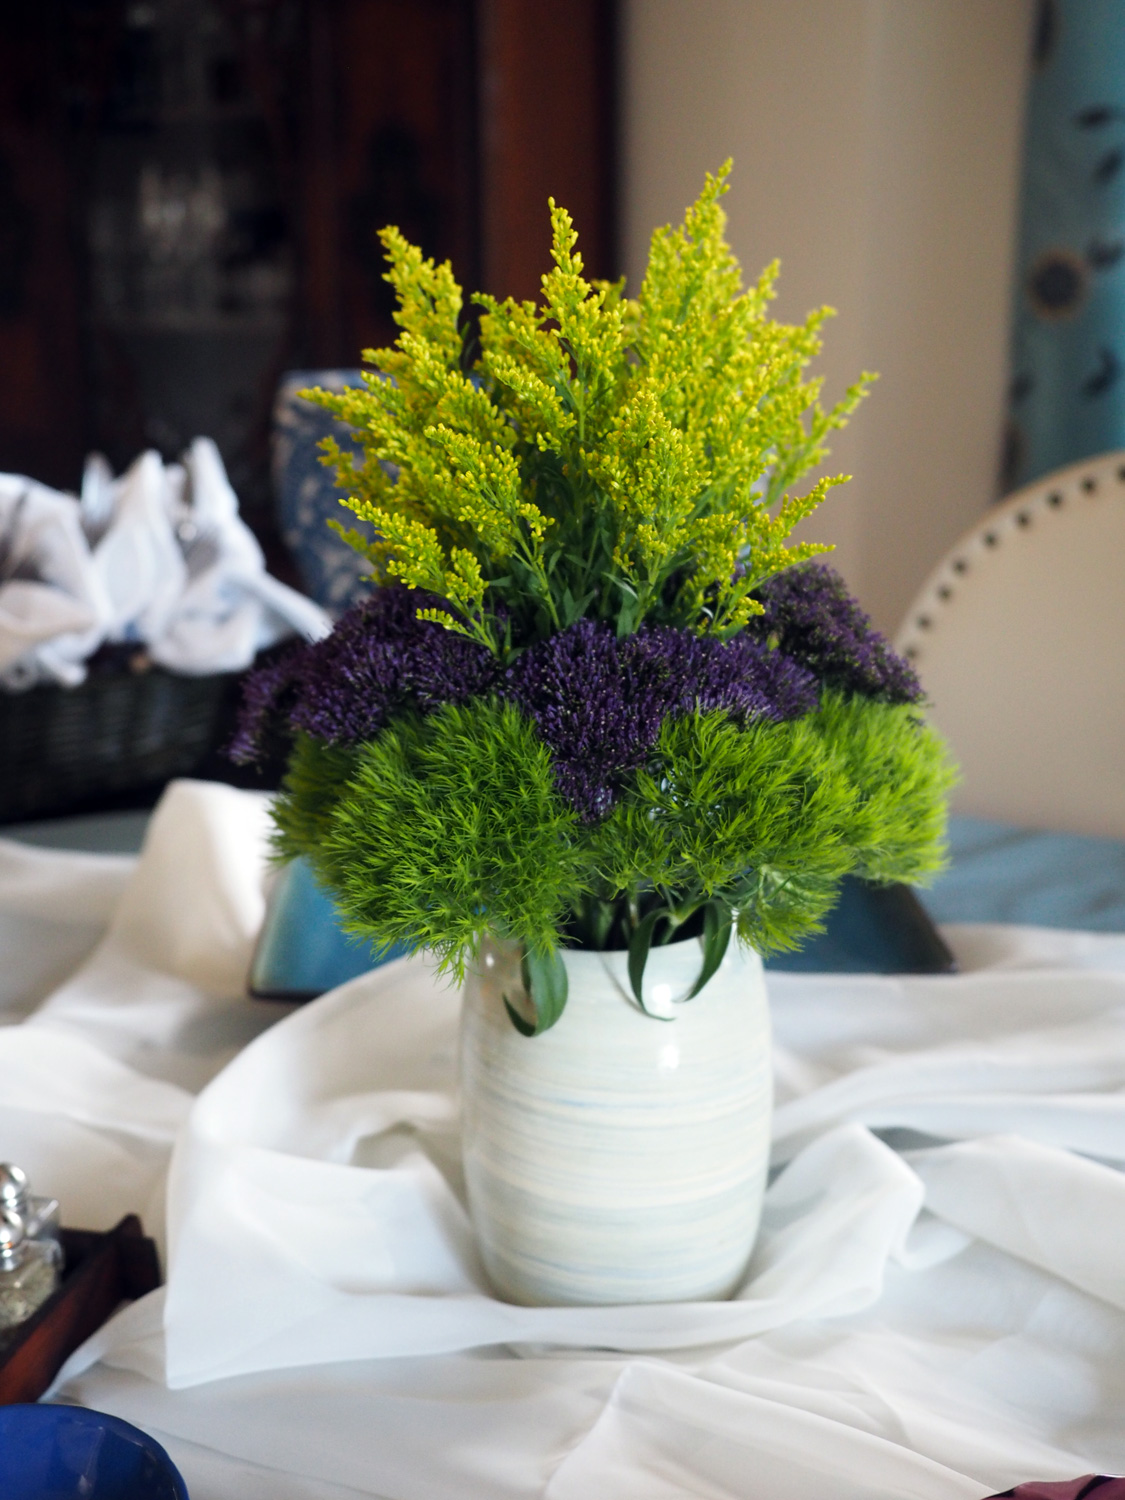
With the variety of food I had planned, I knew there would be a lot of platters occupying space, so I opted for a very simple and small floral arrangement. Using only filler florals that I found at Trader Joe’s, I arranged the three different florals in a color blocking, circular manner to create a bright, burst of life. Total of $9. I placed in the center, and knew that the colors would be the inspiration for for the platter choices.

Bold, bright, contrasting and complimentary colors.
Napkins/Utensils/Dishes
There are so many ways to go when arranging napkins and utensils. For more ideas, check out my post Napkin Folding - 5 Basic Folds - Countless Options. Originally I was going to use a simple roll up technique but after letting my mind float about what would make sense for the event I came up with something very different. Since this was going to be a small gathering, just 6 in total, I still wanted the silverware/napkin set up to be an easy grab. Here’s the thinking…

I grabbed simple rustic, cotton cloth for napkins for an relaxed Sunday vibe. In my drawer of tricks I found 6 lengths of ties, 3 different colors that all coordinated and played nicely with the overall color theme. Can you identify what these ‘strings’ are from?

If you guessed the handles from clothing shopping bags you would have been correct. 3 different bags, 2 ties each of harmonious colors. For all those who say, don’t save stuff, I say BooHoo to that. These were perfect in every way. There is an art to seeing the usefulness of an item that you would normally toss away.
I decided to create napkin pockets by stacking a knife, fork and spoon together. The equivalent to a ménage à trois cutlery spooning situation. Then I placed them in the center of the folded napkin and gathered up the material around it like a flower petal.
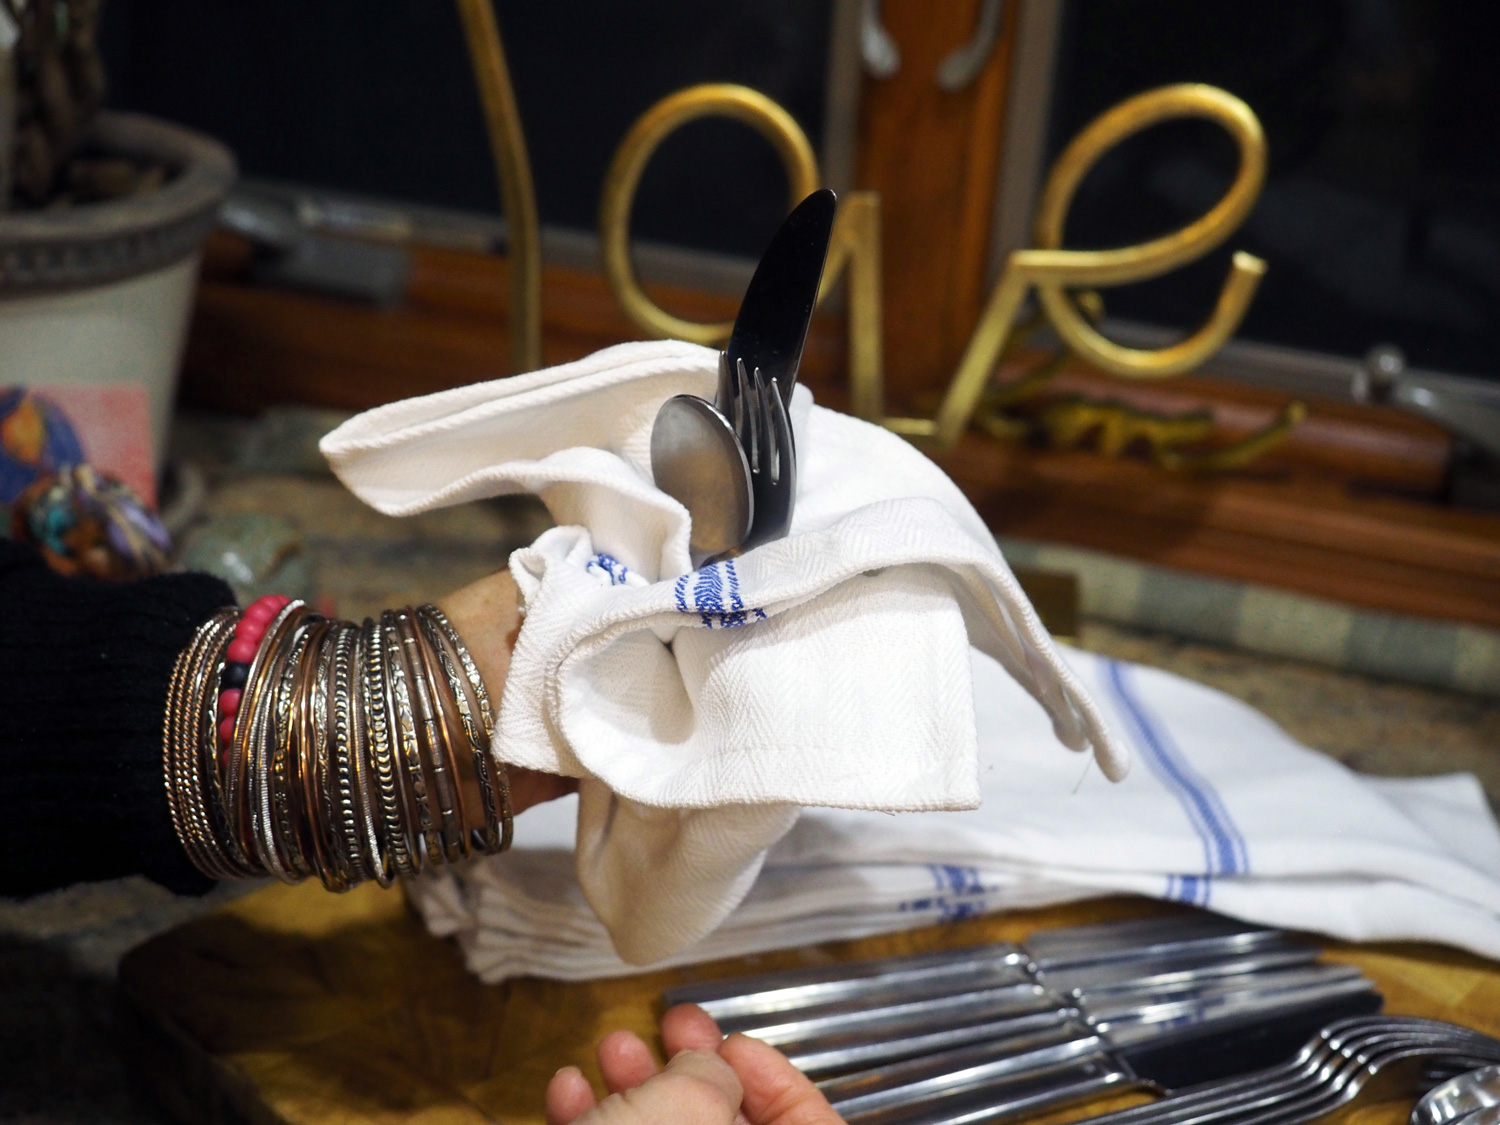
Using the string, I tied them together about 3/4 ways up to create a flower like pocket.

Next… how to corral them. I remembered I still had a basket with leftover pinecones in it. Perfect for an organic feel.

I kept the pinecones stacked on one side and lined the napkin ‘florals’ in the basket placing it next to a stack of white dinner plates for a grab and go station.

Serving Platters
This is really where the menu plan meets the serving plan. Think about your menu. Think of the amounts of each item you plan to serve, then pull some platters and see what works and looks good together. Once I have a good sense, I then place them in the position on the table to review the flow.
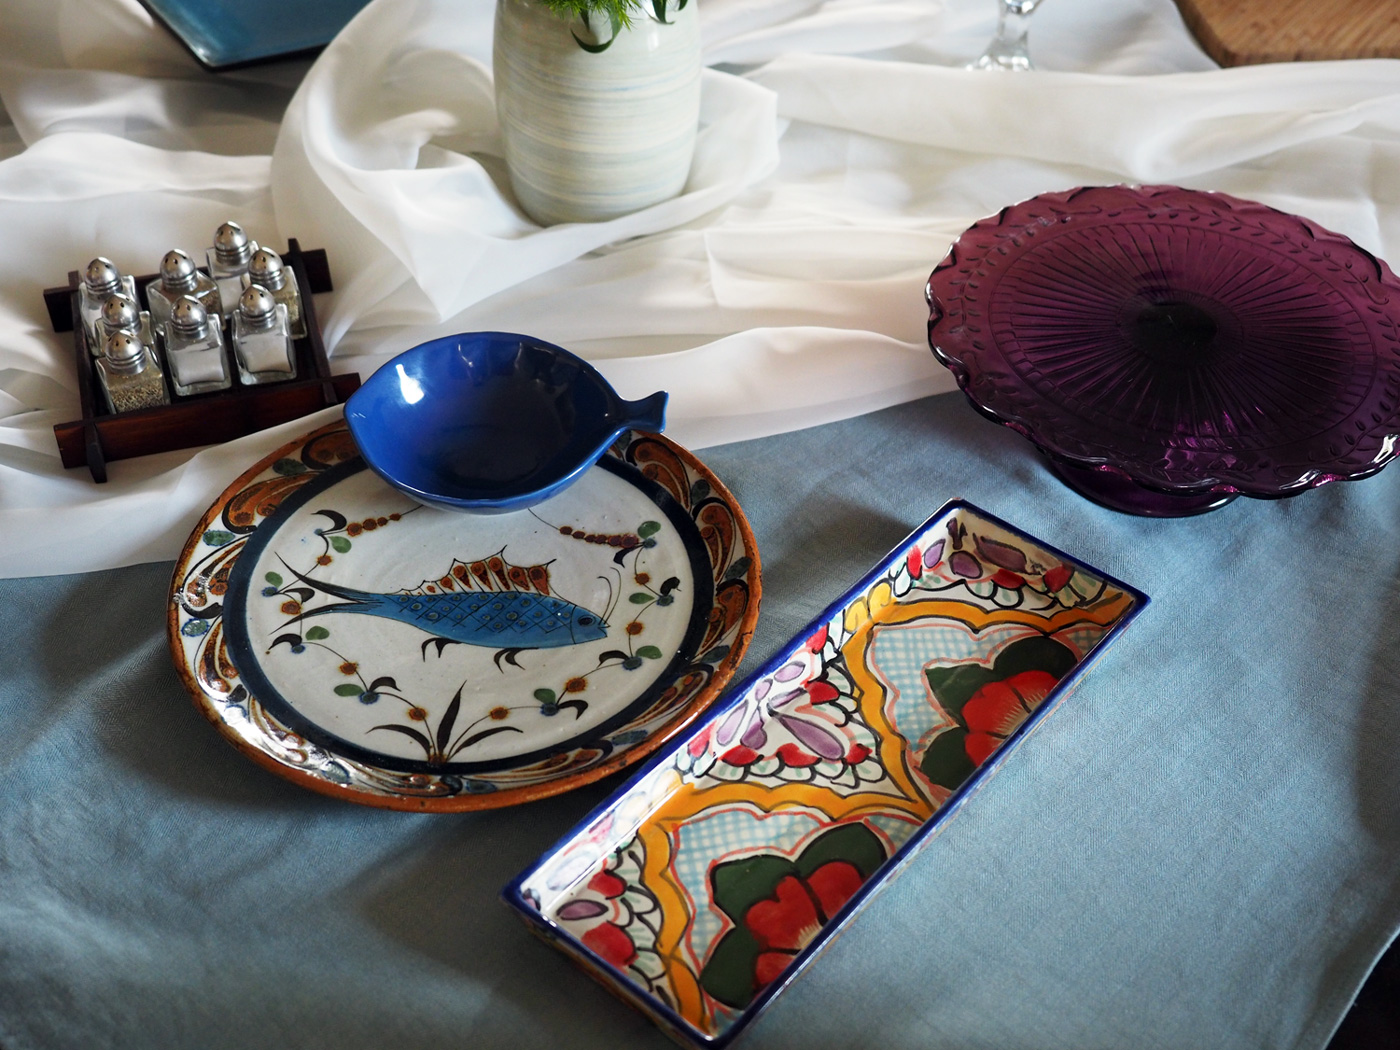
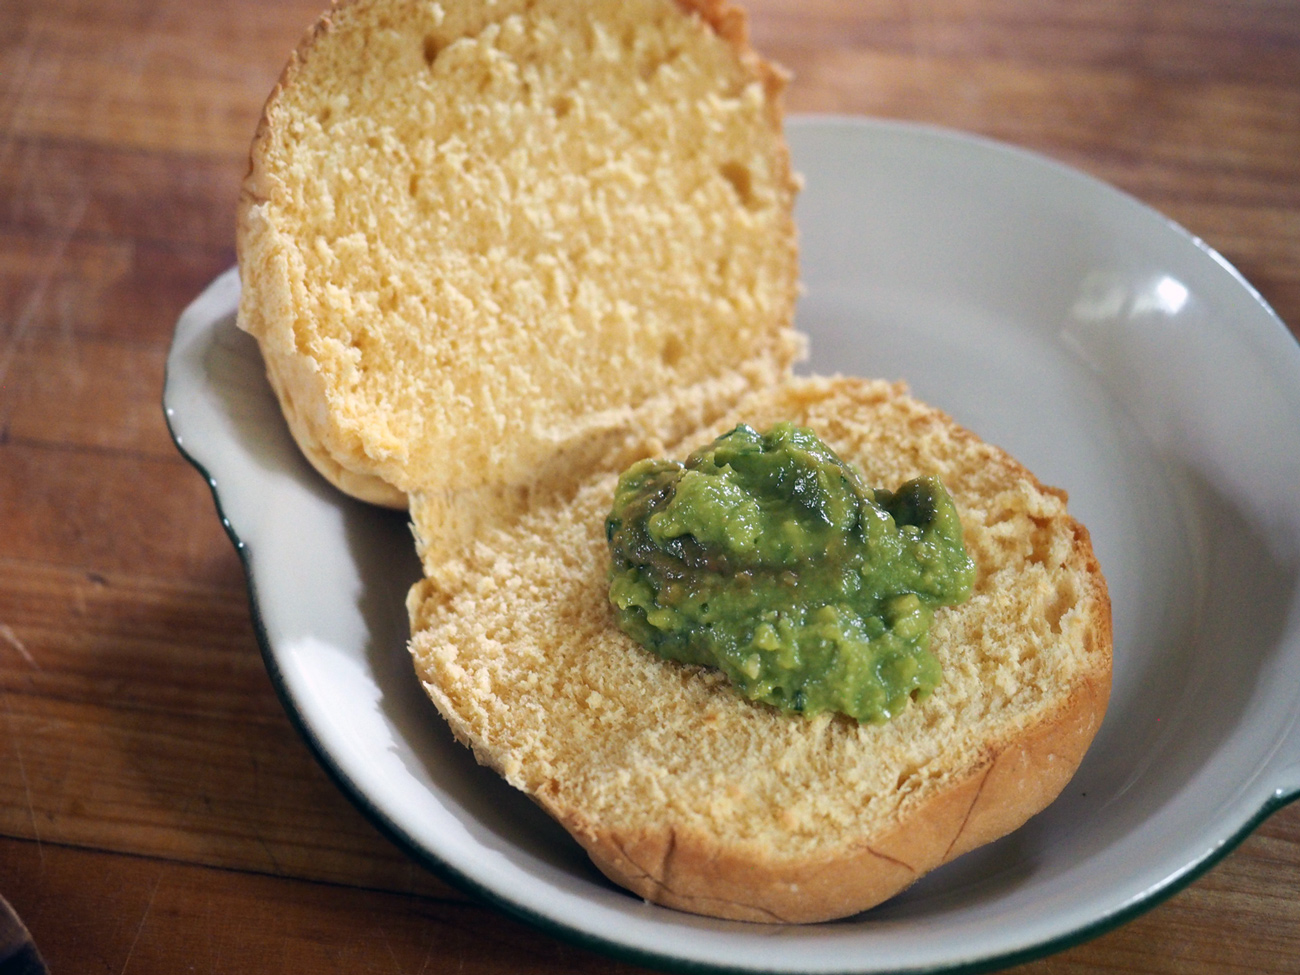
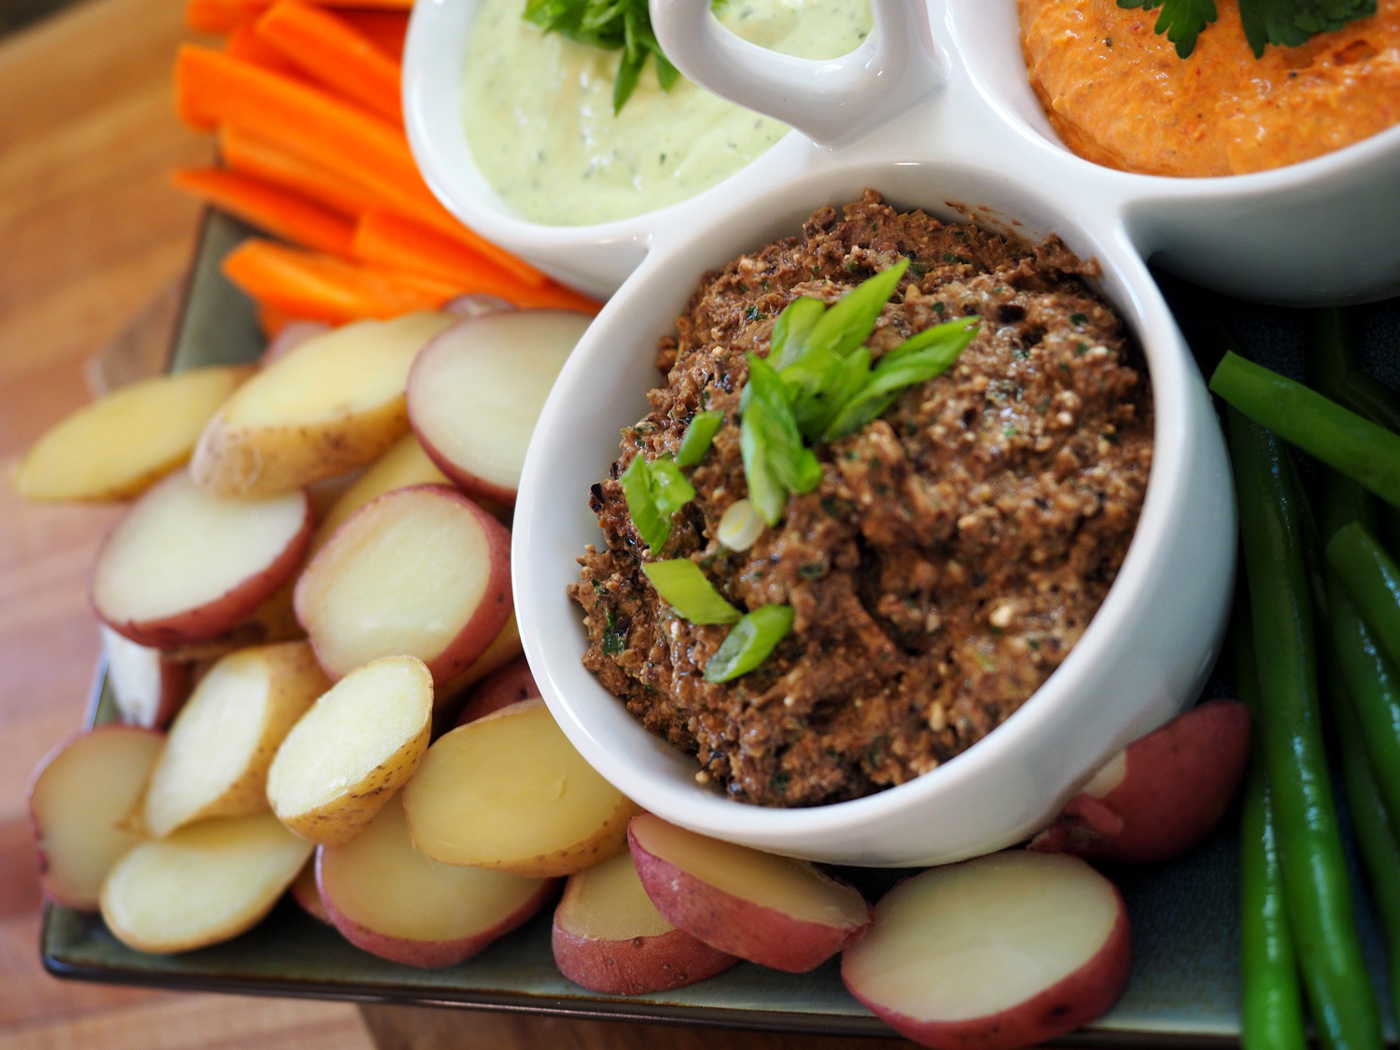
Wanting to bring color and pizzaz to the table, I pulled out my most colorful, playful platters. The round fish plate would be for salmon burgers, the blue fish bowl for the relish, the long rectangular for the mini buns and purple cake stand for the traditional Spanish tortilla.
Create Stations
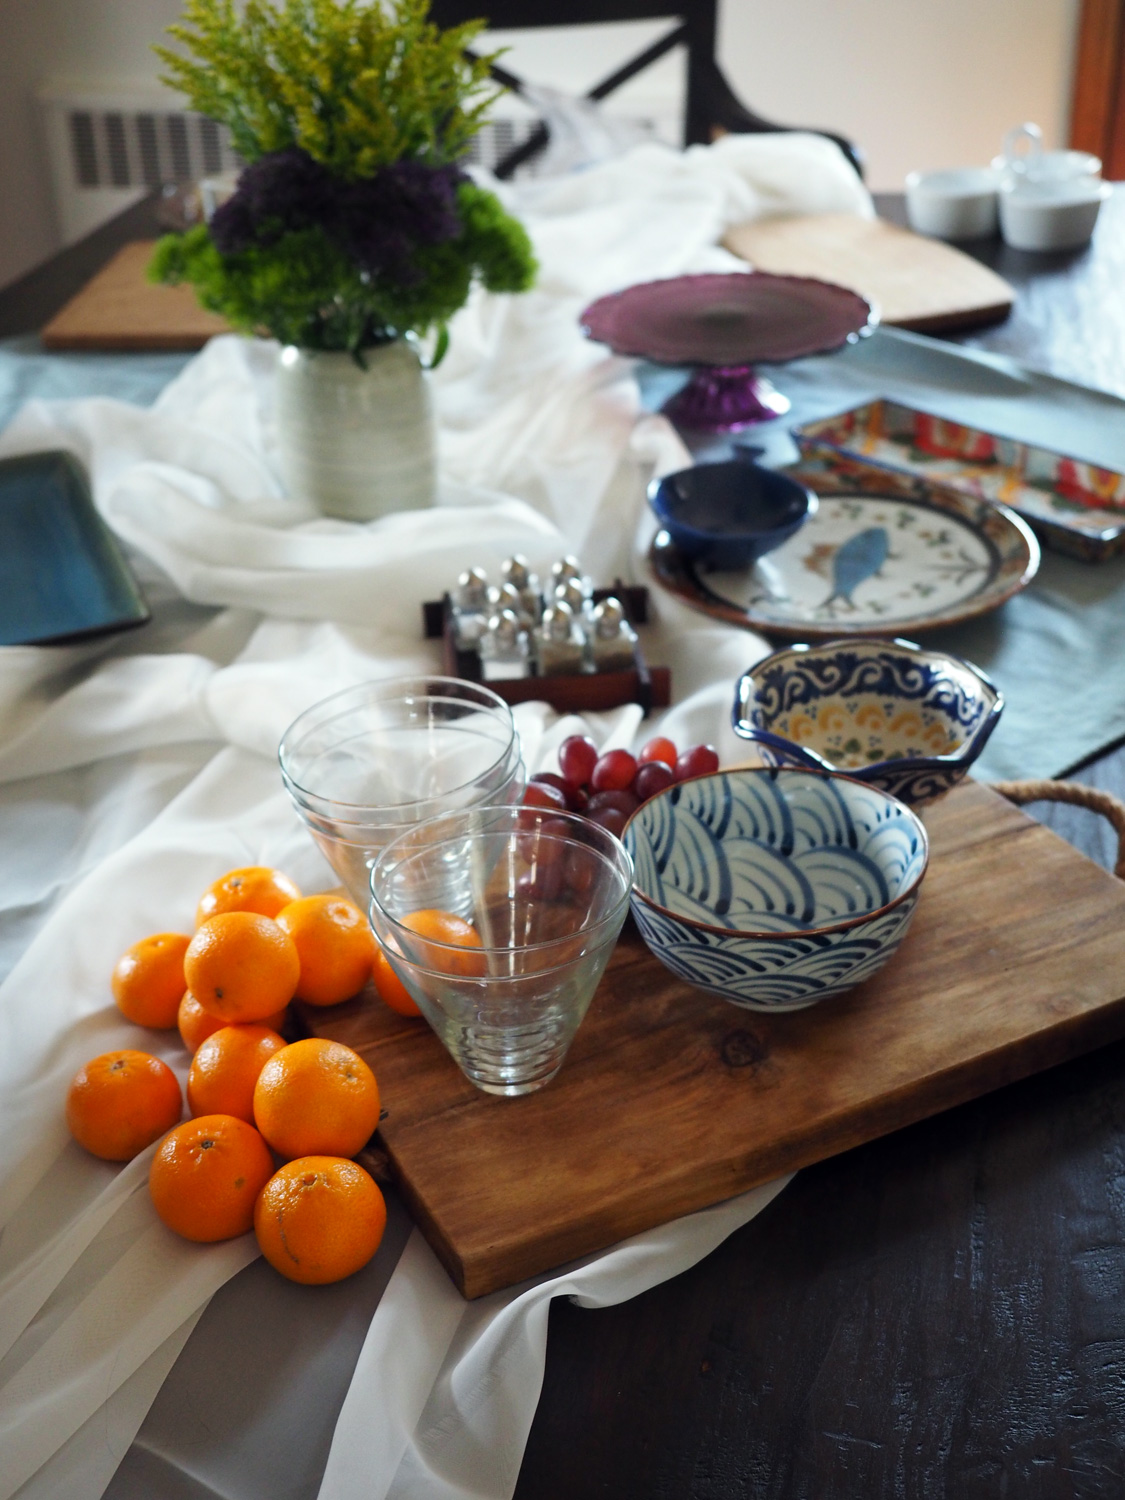
I like culling food items that go together in a ‘station’. This is accomplished simply by huddling them on a board, tray or platter and use smaller bowls within. Given that I had a few offerings for the guests to create their own yogurt parfait, a yogurt ‘station’ was a must. I chose a small wooden board for a rustic feel, then to invite color and whimsy, I chose two different bowls in the similar color scheme. One for yogurt and one for granola. Instead of cereal bowls, I stacked glass, stemless martini glasses for yogurt parfaits. Toss some fruit around and you now have a Yogurt/Granola Station.

Whole Table
Place all the platters, boards around the table to make sure there is good flow and visual interest. Move them around until it feels right to you. I kept most of the platters toward the center leaving room if our guests wanted to sit at the table to eat. We all opted to pile our plates and eat by the fireplace in the living room.
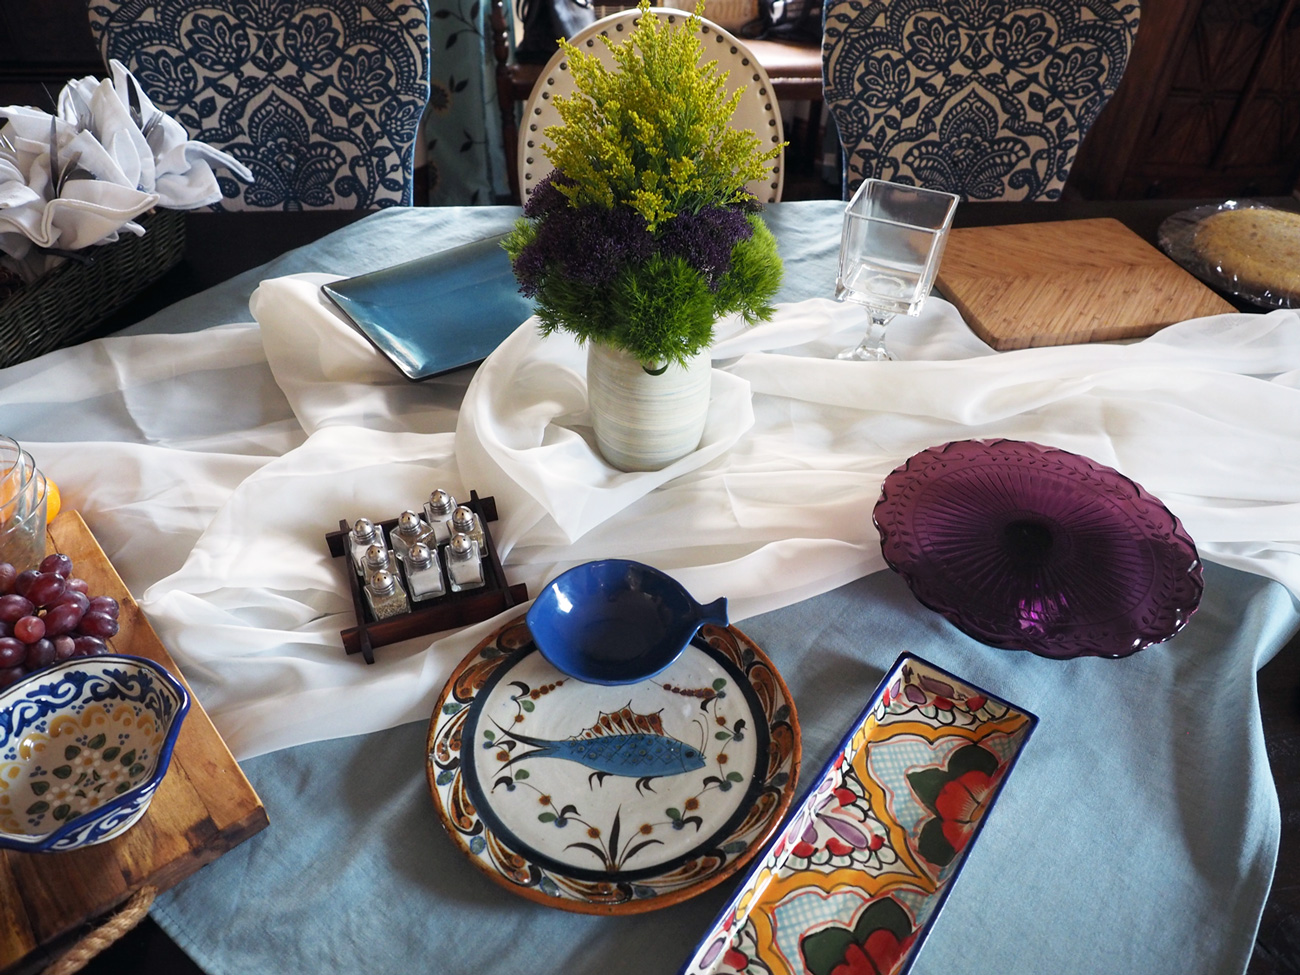
Sure it’s lots of color, and different styles but the blues and hues unite them.
The end result should be an inviting burst of tantalizing offerings that entice your guests to continue wandering around the table to pick and nibble away.


Bruce and Maryann eyeing the offerings and creating a sumptuous plate of good bites.
Our guests did just that. Hopefully, this inspired you to create your own buffet table scape. I guarantee that having all the platters and the table pre-set will be a blessing not a chore.
Side note: I didn’t mention beverage station, but we always have one. If you look over MaryAnne’s right shoulder in the photo above you get a glimpse of the sparkle of glassware. We have a credenza that we use to house all the glassware and beverages as a self serve station. If you don’t have a credenza, add a small folding table, or carve out some space on your main buffet table. The idea is to have all the beverage items together to make it easy for your guests to serve themselves.
It’s springtime folks, Brunch is served!