No, not dull. Dal. And it’s anything but. If you like lentils, you will love Dal. Why?, because Dal is lentils- a lentil stew.
I’ve made lentils before. Both as a soup and as a side dish. Both using mirepoix for the base. But, I have never made Dal before. I looked up what spices are traditionally used in making Dal and decided I would use my own version. Ballsy, I know, but what the hell.
If you read last week’s blog post, and I hope you did, you know I had an inspiration spurt propelling me to create a complete Indian meal for JC, my sis Jill and myself. It started with the rice. Then moved onto what will go with the rice.
That’s where the Dal came in.
I used a couple of items that might not be traditional Indian ones but they blended beautifully in the dish.
I had roasted tomatoes. Boy, did I have roasted tomatoes since I just finished making 100lbs. of tomatoes. No, that wasn’t a typo; 100 glorious pounds. JC thought I was nuts. (I must admit that after the first 25lbs, I thought I was nuts too!) So, with plenty of roasted tomatoes on hand, I figured why not use them in my Dal. I also had celery and long hot peppers and wanted to use those up. I always taste as I go, so when I cut into the peppers, which I thought were supposed to hot, they didn’t seem to have the heat I expected. So, I added a jalapeño, too. Believe it or not, the spice level ended up being perfect for my palate. Not so spicy that I couldn’t taste anything else or not be able to detect that my tongue was still attached to my mouth. Yet spicy enough to wake up the senses.
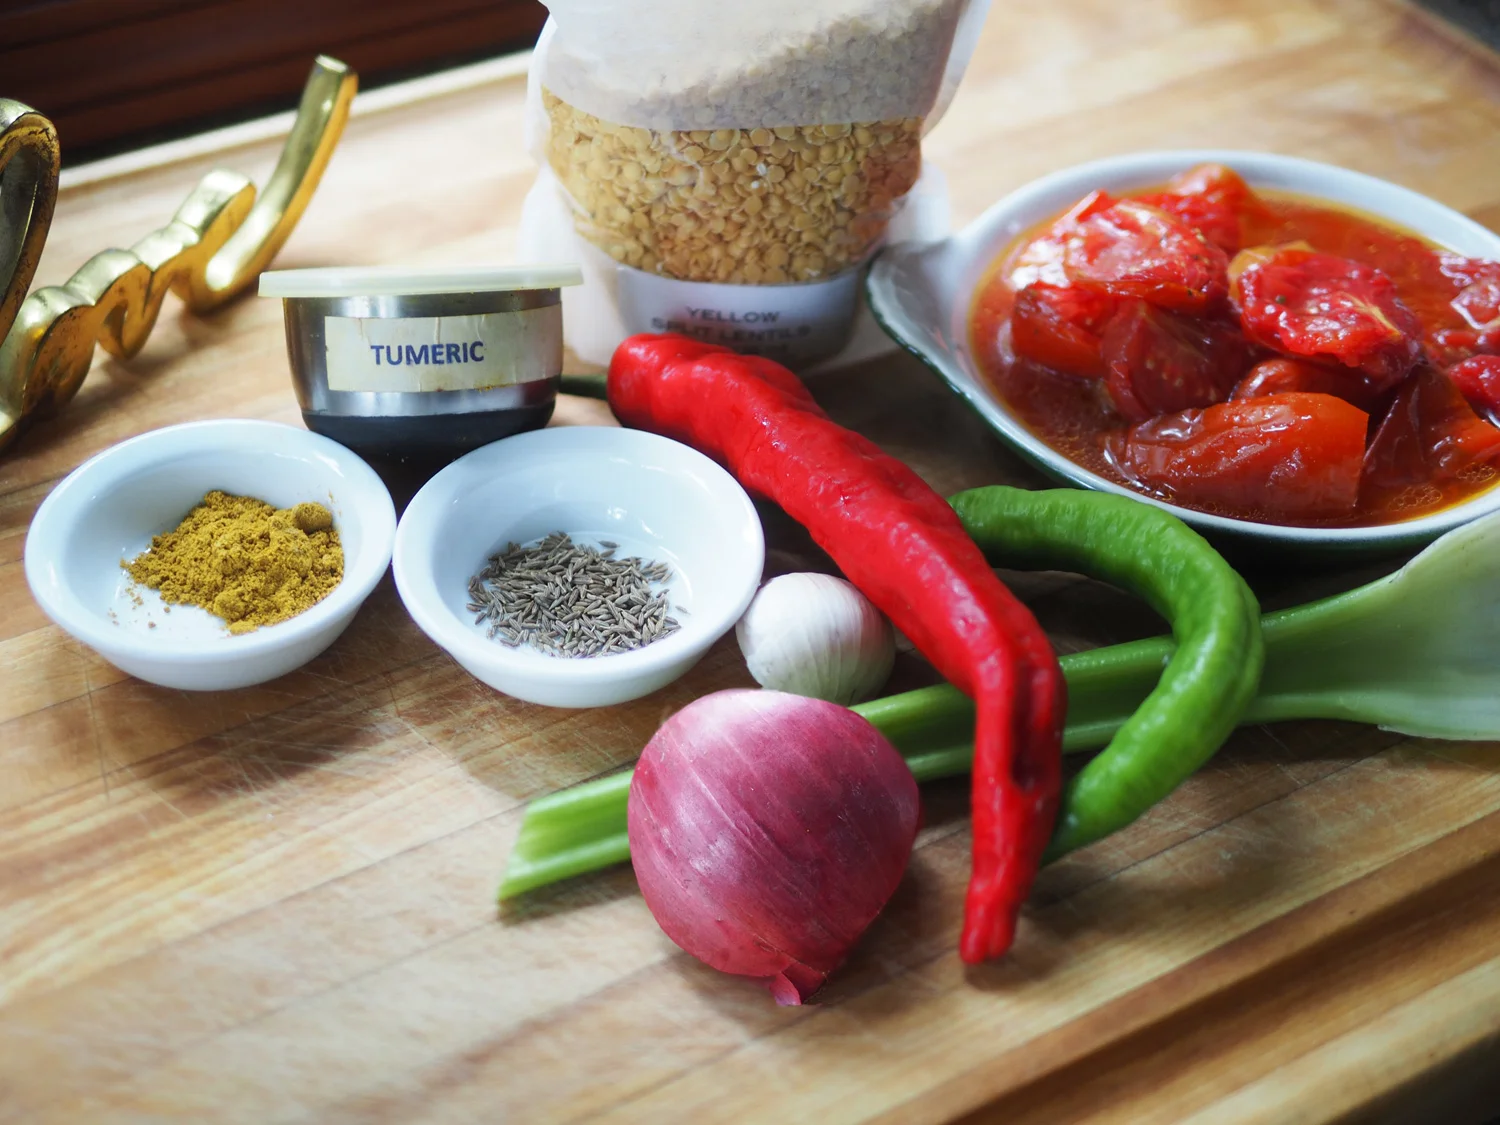
Ingredients
3 c yellow lentils
1/2 c onion, small dice
2 T celery, small dice
1/3 c red & green long peppers hot, sliced
1/4 c jalapeño, minced
1.5 T crushed garlic
3 T oil
1 T turmeric
1 t cumin seeds
2.5 t curry powder
1 t salt
1 c roasted tomatoes + their juices
2.5 c water
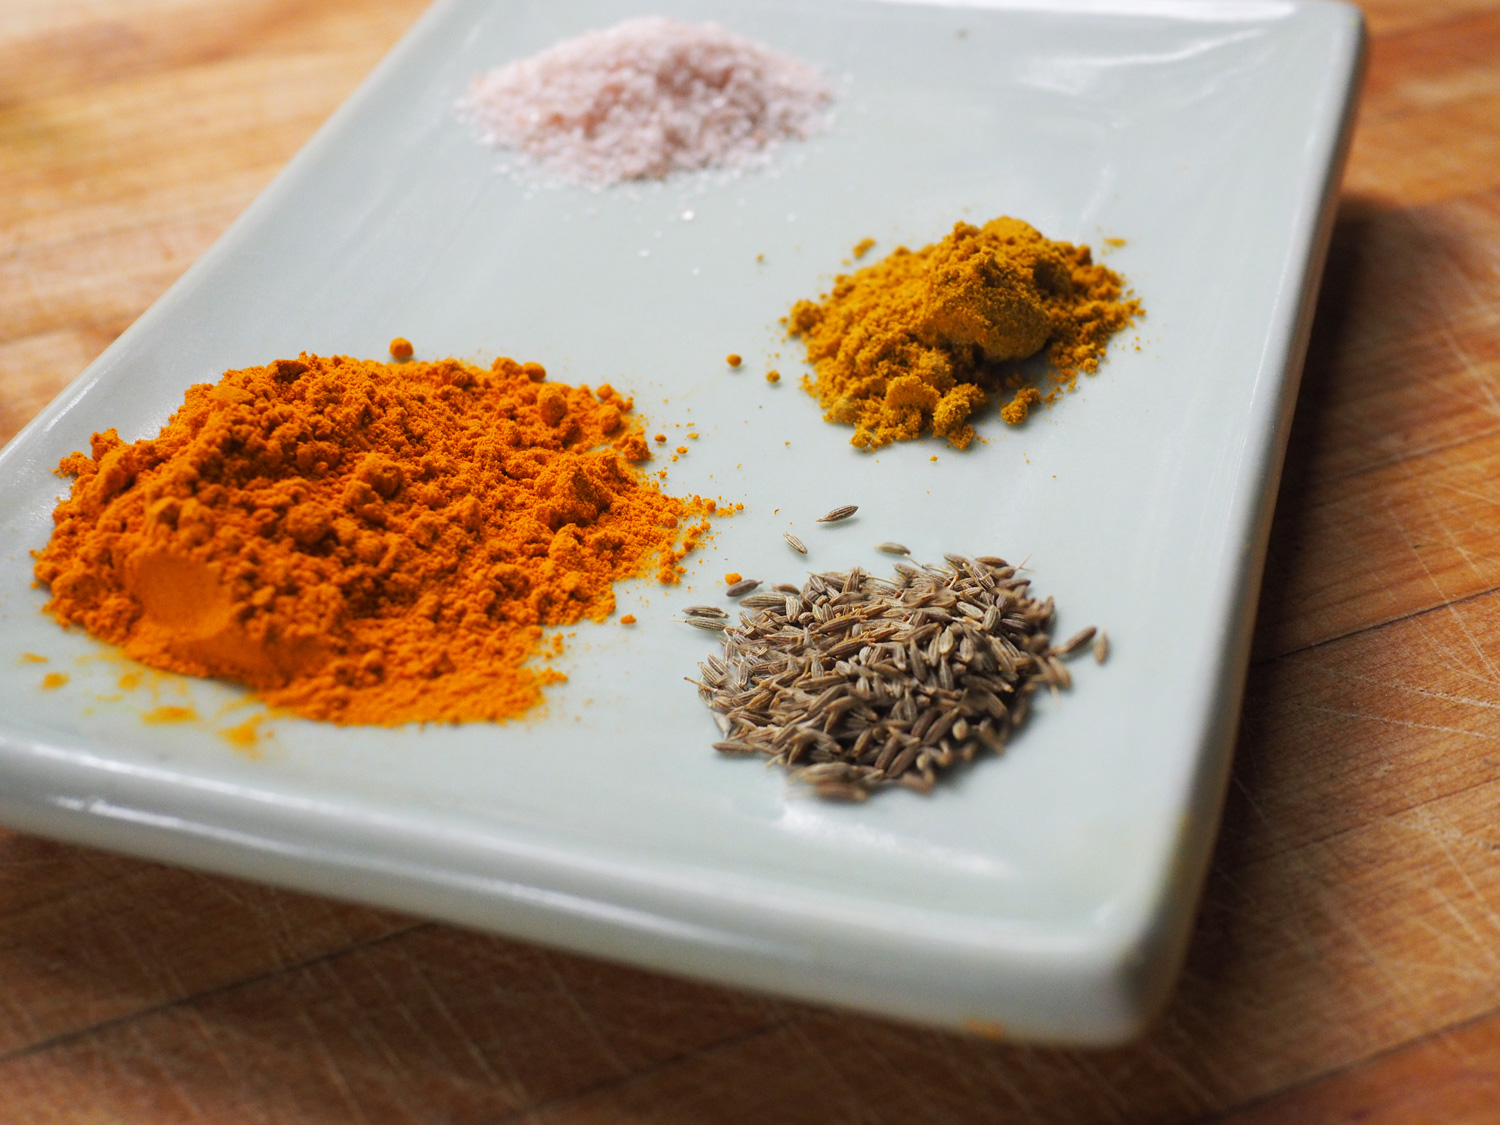
The spice of life. Turmeric, salt, curry powder, cumin seeds.
Instructions
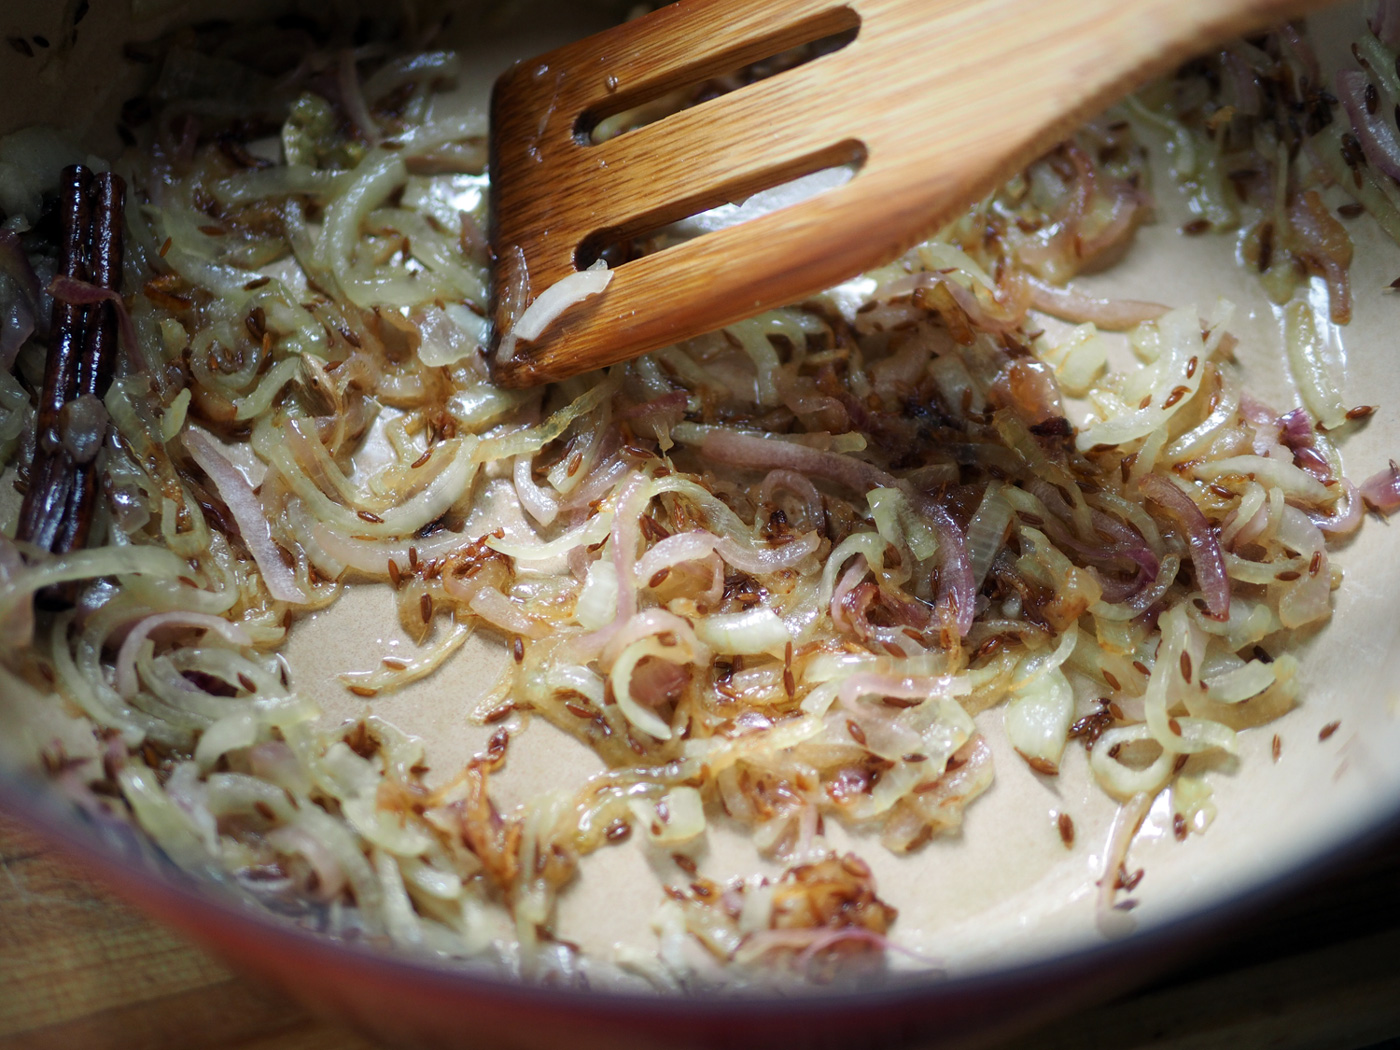
I chopped everything up into a small dice, slice and a fine mince. I wanted to create a sofrito, if you will. Then sautéd those in a pan with oil.


Fresh aromatics lightly sauteéd.
Once the fresh aromatics were softened, I added the dried spices and let them get all cozy together until they created a lusciously blended ‘sofrito’ base.

Dry spices in to truly spice things up.

Cook down until it all becomes soften and luscious together.
When you have homemade roasted tomatoes, then that is what you use. They were made with love, so…
(If you don’t have roasted, you can also use whole tomatoes in a can. And then add them in with love.) In went the tomatoes and lentils. Then I added water, covered the pan and let simmer until done.


Tomatoes and lentils finish off the main ingredients, as they wait for their water bath to gently cook them.
And that is just how easy it was to make Dal. Again, boasting is not my style, yet two weeks in a row, it’s seems to becoming a trend. Here I am tooting my own horn again, because this Dal dish came out super tasty. I was worried about the spice level having added the jalapeño plus the long peppers, but it was quite on point. Again, I got the thumbs up for Jill and JC, both lovers of Indian food.

I served it with the Indian Spiced Rice, Spiced Cauliflower, Potato Pancakes and raita.
Now, I’m not saying that I’m some sort of expert, nor is this a traditional Indian Dal. But I am seriously happy at my first real foray into using Indian spices to create delicious dishes. I’m all for learning the traditional methods, staying true to a cultures cuisine. But I also believe that you have to just dive in and not be intimidated by its complexity. And that’s what I did here. Plus my style has always been, get a glimpse then make it my own.
Don’t forget to make the Indian Spiced Rice to go along with this. In the coming weeks, I will post the potato pancakes and cauliflower. Here’s to spicing up your life!